Introduction
The Samsung S22 Ultra is a powerful and feature-packed smartphone that offers an incredible user experience. One of its notable features is the expandable storage option through the use of an SD card. With an SD card, you can easily increase the storage capacity of your device, allowing you to store more photos, videos, and documents without worrying about running out of space.
If you’re new to the S22 Ultra and not familiar with how to put an SD card in the device, this guide is here to help. In this article, we will walk you through the step-by-step process of inserting an SD card into the S22 Ultra, ensuring that you can make the most of the expandable storage feature.
Whether you want to transfer files from your old device or simply expand your storage options, adding an SD card to your S22 Ultra is a straightforward process that can be done in a matter of minutes. So, let’s dive right in and get started with inserting an SD card into your S22 Ultra!
Step 1: Locate the SD card slot in the S22 Ultra
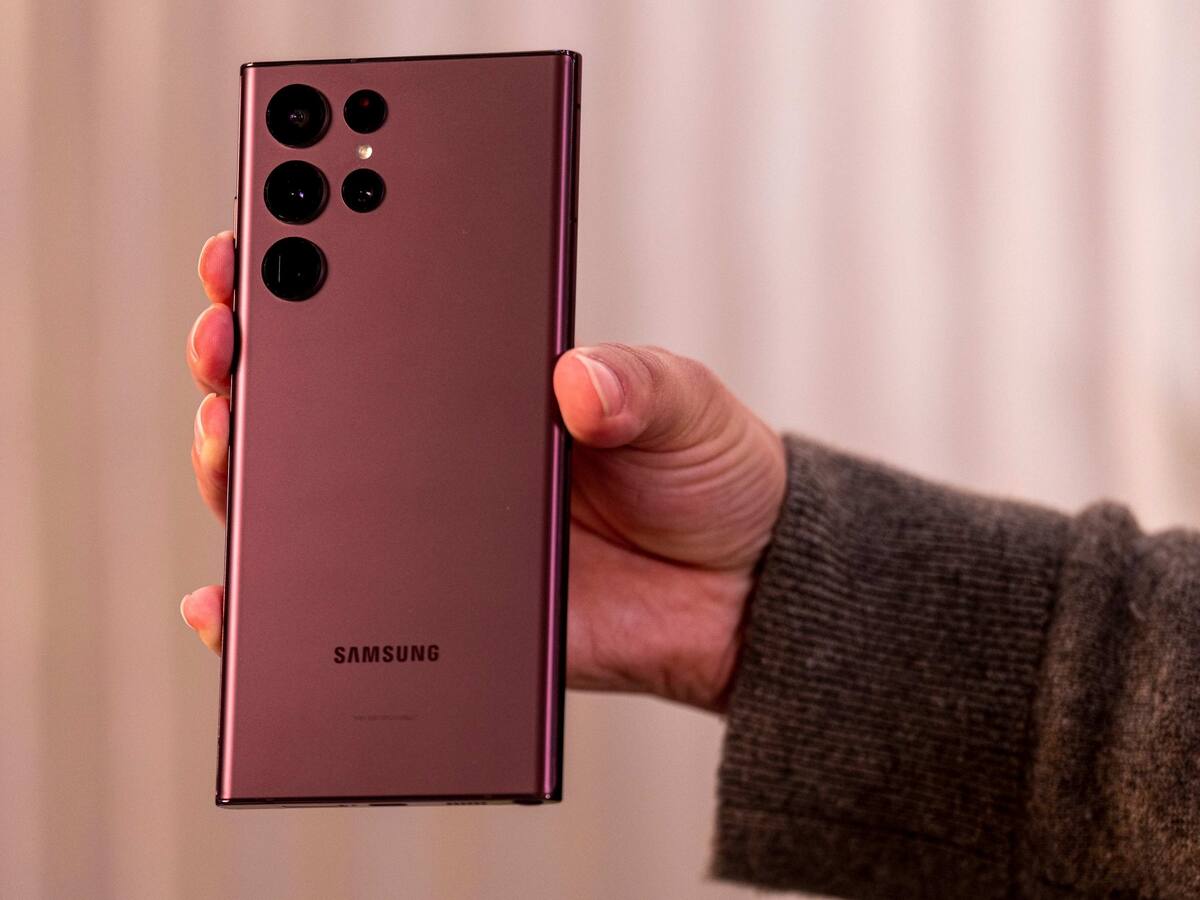
The first step in inserting an SD card into your S22 Ultra is to locate the SD card slot. To do this, you need to orient the phone in your hand so that the screen is facing you. The SD card slot is usually located on the same side as the volume buttons, typically at the top or bottom of the device.
Take a closer look at the sides of your S22 Ultra and look for a small tray or a slot with a tiny pinhole. This pinhole is the eject button for the SD card tray. If you can’t find it, refer to your device’s user manual for specific instructions on the location of the SD card slot.
Once you’ve located the SD card slot, you can proceed to the next step of preparing the SD card for insertion. It’s important to note that the S22 Ultra supports microSD cards, so ensure that you have the correct type of SD card ready before proceeding.
Step 2: Prepare the SD card
Before inserting the SD card into your S22 Ultra, it’s essential to prepare the card to ensure a smooth and successful insertion. Follow these steps to prepare your SD card:
- Ensure the SD card is compatible: The S22 Ultra supports microSD cards, so make sure you have a microSD card that meets the specifications required by your device.
- Format the SD card: If the SD card is brand new or has been used in another device, it’s recommended to format it before inserting it into your S22 Ultra. Formatting the SD card will erase any existing data and optimize it for use with your device.
- Backup important data: If you have any important data on the SD card, make sure to back it up to another storage device before formatting. This will prevent any loss of data during the formatting process.
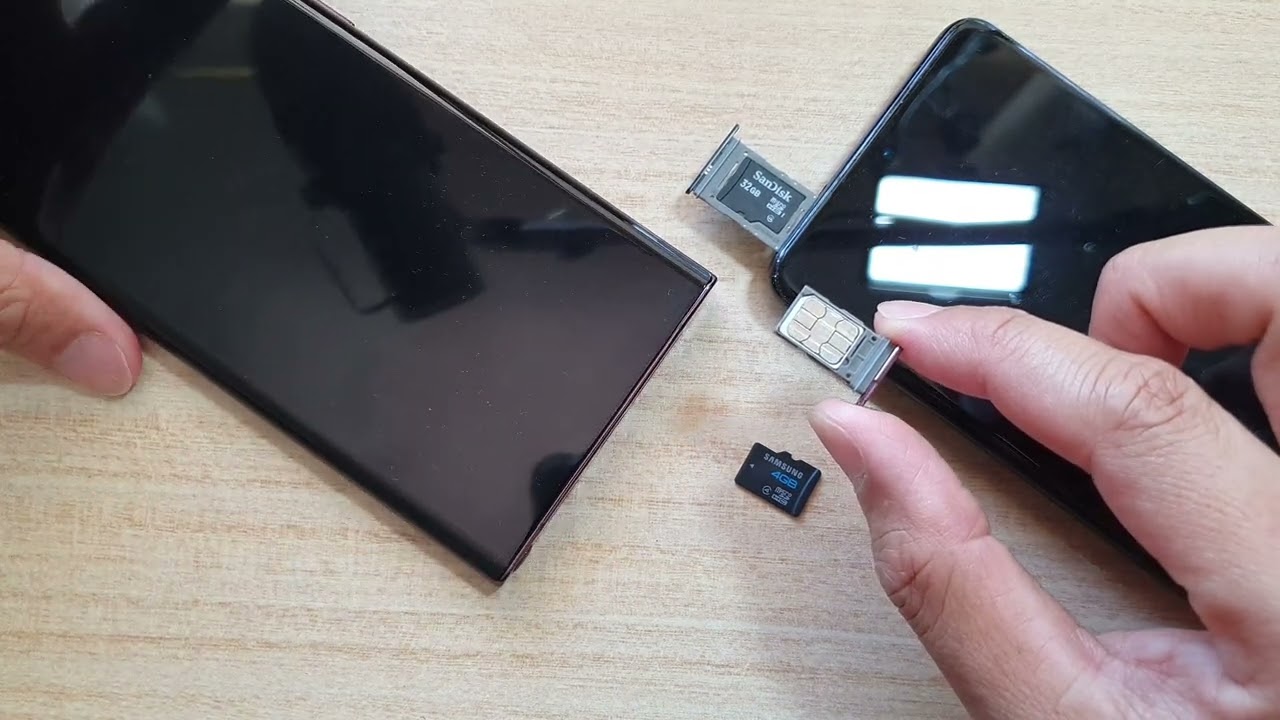
- Eject the SD card tray: Using a SIM card eject tool or a small paperclip, gently insert it into the pinhole next to the SD card tray to eject the tray. The tray should pop out slightly, allowing you to safely remove it from the device.
- Insert the SD card into an SD card reader: If your computer or laptop has an SD card slot or an SD card adapter, it’s a good idea to insert the SD card into the reader to format it. This can be done using the appropriate software or through the operating system’s disk management tool.
- Follow the formatting instructions: Once the SD card is inserted into the reader, follow the on-screen instructions to format it. Make sure to select the appropriate file system for your device (usually exFAT for larger storage cards).
By following these preparation steps, you can ensure that your SD card is ready to be inserted into your S22 Ultra without any compatibility issues or data loss concerns.
Step 3: Insert the SD card into the S22 Ultra
Now that you have prepared your SD card, it’s time to insert it into your S22 Ultra. Follow these steps to properly insert the SD card:
- Locate the SD card tray: As mentioned earlier, the SD card tray is usually located on the same side as the volume buttons, either at the top or bottom of your S22 Ultra.
- Eject the SD card tray: Use a SIM card eject tool or a small paperclip to gently insert it into the pinhole next to the SD card tray. Apply a slight amount of pressure until the tray pops out.
- Place the SD card on the tray: Carefully place the SD card on the tray. Make sure the metal contacts on the SD card are facing down and aligned with the contacts on the tray.
- Reinsert the SD card tray: Once the SD card is placed on the tray, gently push the tray back into the device until it is fully inserted. Ensure that the tray is securely closed and flush with the device.
It’s important to handle the SD card and the SD card tray with care to avoid any damage or misalignment. If you encounter any resistance while inserting the tray, double-check the orientation and alignment of the SD card to ensure it is properly inserted.
Congratulations! You have successfully inserted the SD card into your S22 Ultra. Now you can enjoy the expanded storage and take full advantage of the extra space for your photos, videos, and other files.
Step 4: Check the SD card status
After inserting the SD card into your S22 Ultra, it’s important to verify that the device recognizes and properly detects the SD card. Here’s how you can check the SD card status on your device:
- Access the Settings menu: Open the app drawer and tap on the Settings icon to access the device settings.
- Navigate to Storage settings: In the Settings menu, scroll down and find the “Storage” or “Storage & USB” option and tap on it.
- View SD card status: In the Storage settings, you should be able to see the status of the SD card. It will display information such as the total storage size, available storage space, and the SD card name.
- Verify proper detection: Ensure that the SD card is properly detected and recognized by the device. It should display the correct details about the SD card, indicating that it is ready for use.
If the SD card is not recognized or if you encounter any issues, try the following troubleshooting steps:
- Reinsert the SD card: If the SD card is not detected, remove it from the tray, and reinsert it carefully, making sure to align it properly.
- Restart your device: Sometimes, a simple restart can resolve any temporary issues with the SD card detection.
- Try a different SD card: If you have access to another SD card, try inserting it into your device to determine if the problem lies with the card or the device.
- Check for firmware updates: Make sure your device is running the latest firmware updates. Sometimes, updating the device’s software can resolve compatibility issues.
By checking the SD card status on your device, you can ensure that the SD card is properly recognized and ready for use. If everything looks good, you’re all set to start utilizing the expanded storage available on your S22 Ultra!
Step 5: Removing the SD card from the S22 Ultra
When the time comes to remove the SD card from your S22 Ultra, follow these steps to safely eject the card:
- Eject the SD card tray: Locate the SD card tray on your device, which is typically located on the same side as the volume buttons.
- Insert the eject tool: Take a SIM card eject tool or a small paperclip and gently insert it into the small pinhole next to the SD card tray. Apply a little pressure until the tray pops out slightly.
- Remove the SD card tray: Once the tray is partially ejected, carefully pull it out using your fingers. Be cautious not to tilt or twist the tray to prevent any damage to the SD card or the tray itself.
- Remove the SD card: You will now see the SD card sitting on the tray. Gently push the SD card out of the tray, making sure to hold it by the edges to avoid any damage from fingerprint smudges or scratches.
It’s crucial to handle the SD card and the SD card tray with care while removing the SD card. Avoid touching the gold contacts on the SD card as oils and dirt can interfere with its performance.
Now that you have safely removed the SD card from your S22 Ultra, you can either insert it into another device or safely store it for future use.
Conclusion
Adding an SD card to your S22 Ultra is a great way to expand its storage capacity and ensure you have enough space for all your files, photos, and videos. In this article, we provided a step-by-step guide on how to insert an SD card into the S22 Ultra.
We started by locating the SD card slot on the device and then moved on to preparing the SD card by ensuring compatibility, formatting it, and backing up any important data. Next, we covered the process of inserting the SD card into the S22 Ultra, emphasizing the importance of proper handling and alignment.
After inserting the SD card, we discussed how to check the SD card status on the device, ensuring that it is properly recognized. We also provided some troubleshooting tips in case any issues arise.
Lastly, we covered the steps to safely remove the SD card from the S22 Ultra when needed, emphasizing the importance of careful handling to avoid any damage.
By following these steps, you can easily make use of the expandable storage feature offered by the S22 Ultra and enjoy the peace of mind that comes with having ample storage space for your files. Whether it’s capturing stunning photos or recording high-quality videos, the added storage capacity provided by an SD card ensures that you’ll never miss a moment.
So, go ahead and unlock the full potential of your S22 Ultra by adding an SD card. With the increased storage capacity, you can effortlessly store all your important files and media without worrying about running out of space.
Start exploring the possibilities with your expanded storage and get ready to take your S22 Ultra experience to the next level!