Introduction
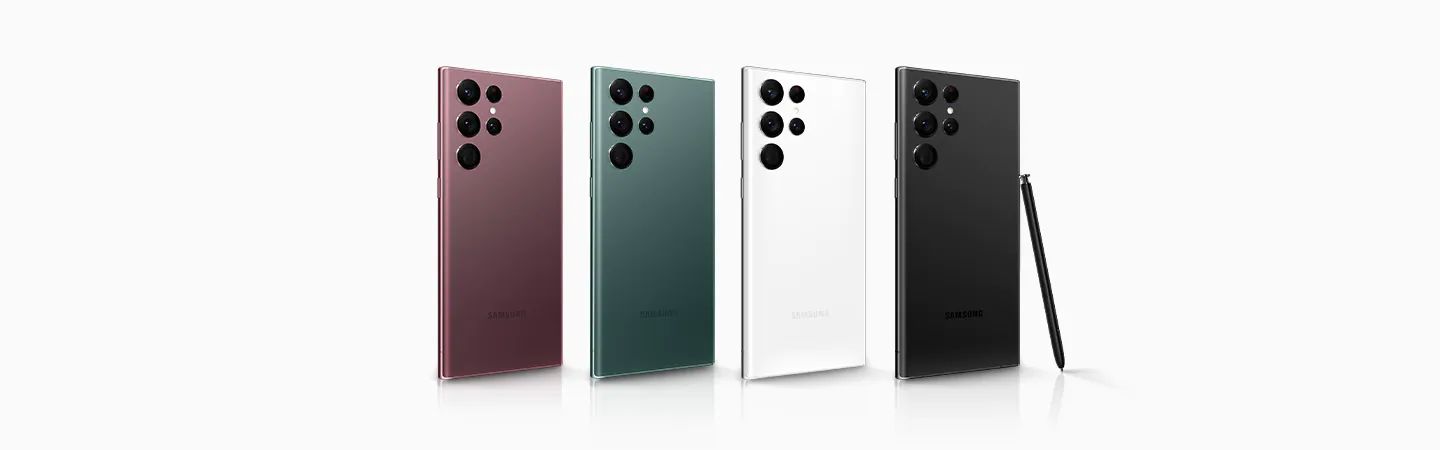
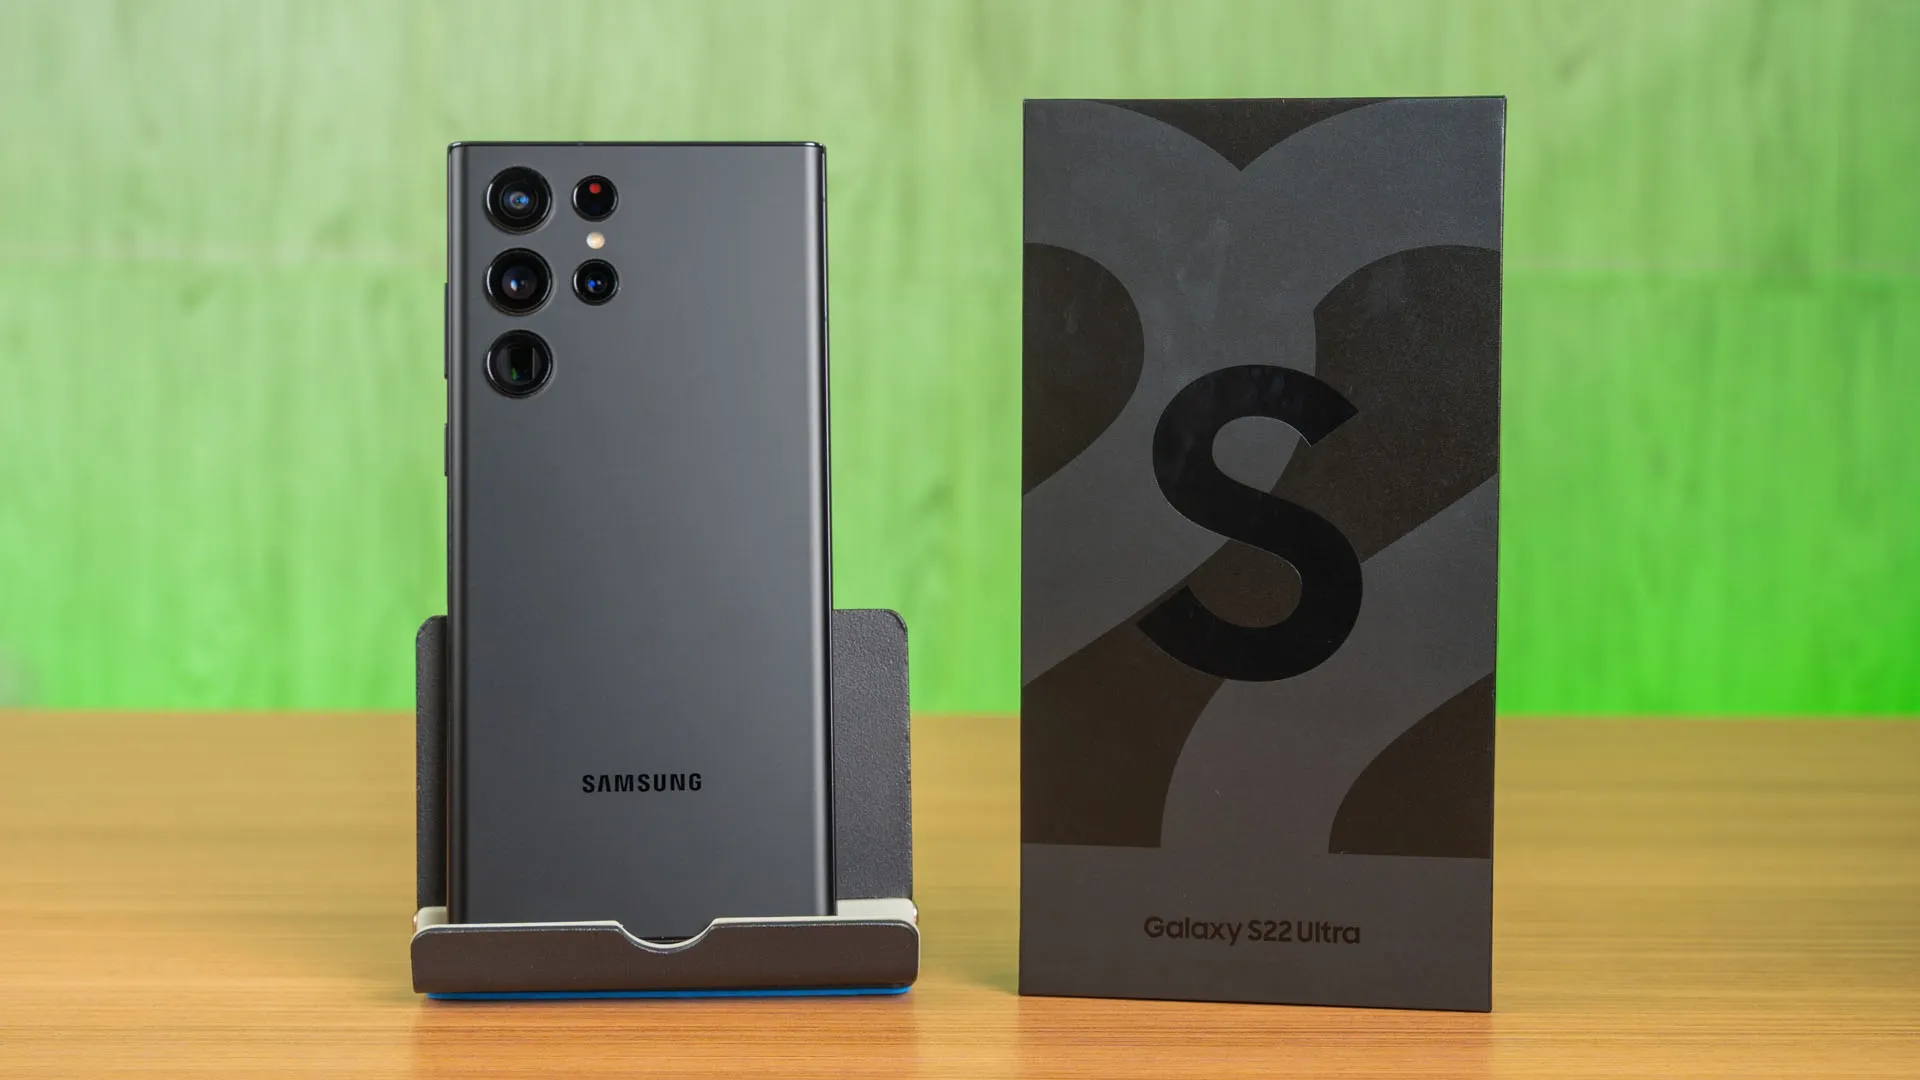
In the era of seamless connectivity, mobile devices have become an indispensable part of our daily lives. The Samsung S22 Ultra, with its cutting-edge features and advanced technology, is a testament to the evolution of mobile communication. One crucial aspect of setting up this powerhouse device is the proper insertion of a SIM card. Whether you're upgrading from an older device or setting up a new Samsung S22 Ultra, understanding the process of inserting a SIM card is essential.
The SIM card, short for Subscriber Identity Module, serves as the key to unlocking the full potential of your Samsung S22 Ultra. It not only enables cellular connectivity but also stores crucial information such as your phone number, carrier details, and contacts. As such, ensuring the correct insertion of the SIM card is vital for a seamless and uninterrupted mobile experience.
In this comprehensive tutorial, we will guide you through the step-by-step process of inserting a SIM card into your Samsung S22 Ultra. By following these instructions, you can ensure that your device is ready to harness the power of high-speed mobile networks and stay connected with the world around you. Let's dive into the details of locating the SIM card tray, ejecting the tray, inserting the SIM card, and reassembling the tray with precision. With this knowledge at your fingertips, you'll be well-equipped to set up your Samsung S22 Ultra and embark on a journey of unparalleled connectivity and productivity.
Step 1: Locate the SIM card tray
The first step in the process of inserting a SIM card into your Samsung S22 Ultra is to locate the SIM card tray. This tray is designed to securely hold the SIM card and ensure proper connectivity with the device. To begin, you'll need to identify the precise location of the SIM card tray on your Samsung S22 Ultra.
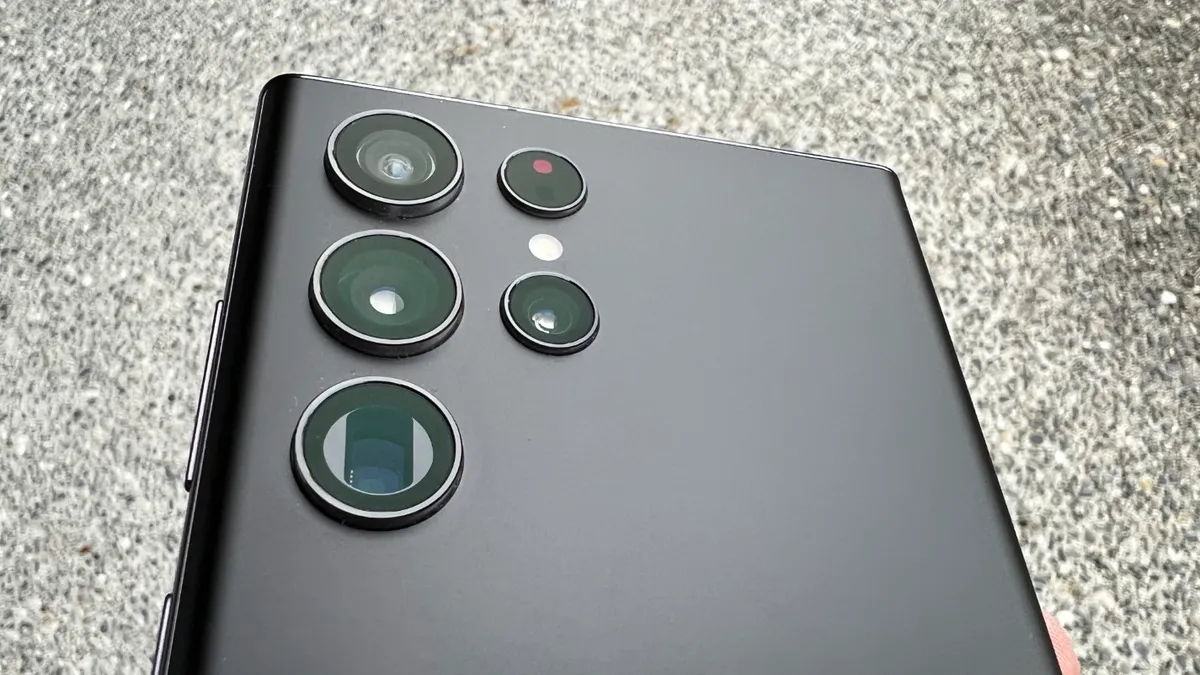
On the Samsung S22 Ultra, the SIM card tray is typically located on the upper edge of the device. It is important to note that the exact placement of the SIM card tray may vary slightly depending on the model and design of the device. To avoid any confusion, refer to the user manual or online resources provided by Samsung for specific guidance tailored to your device.
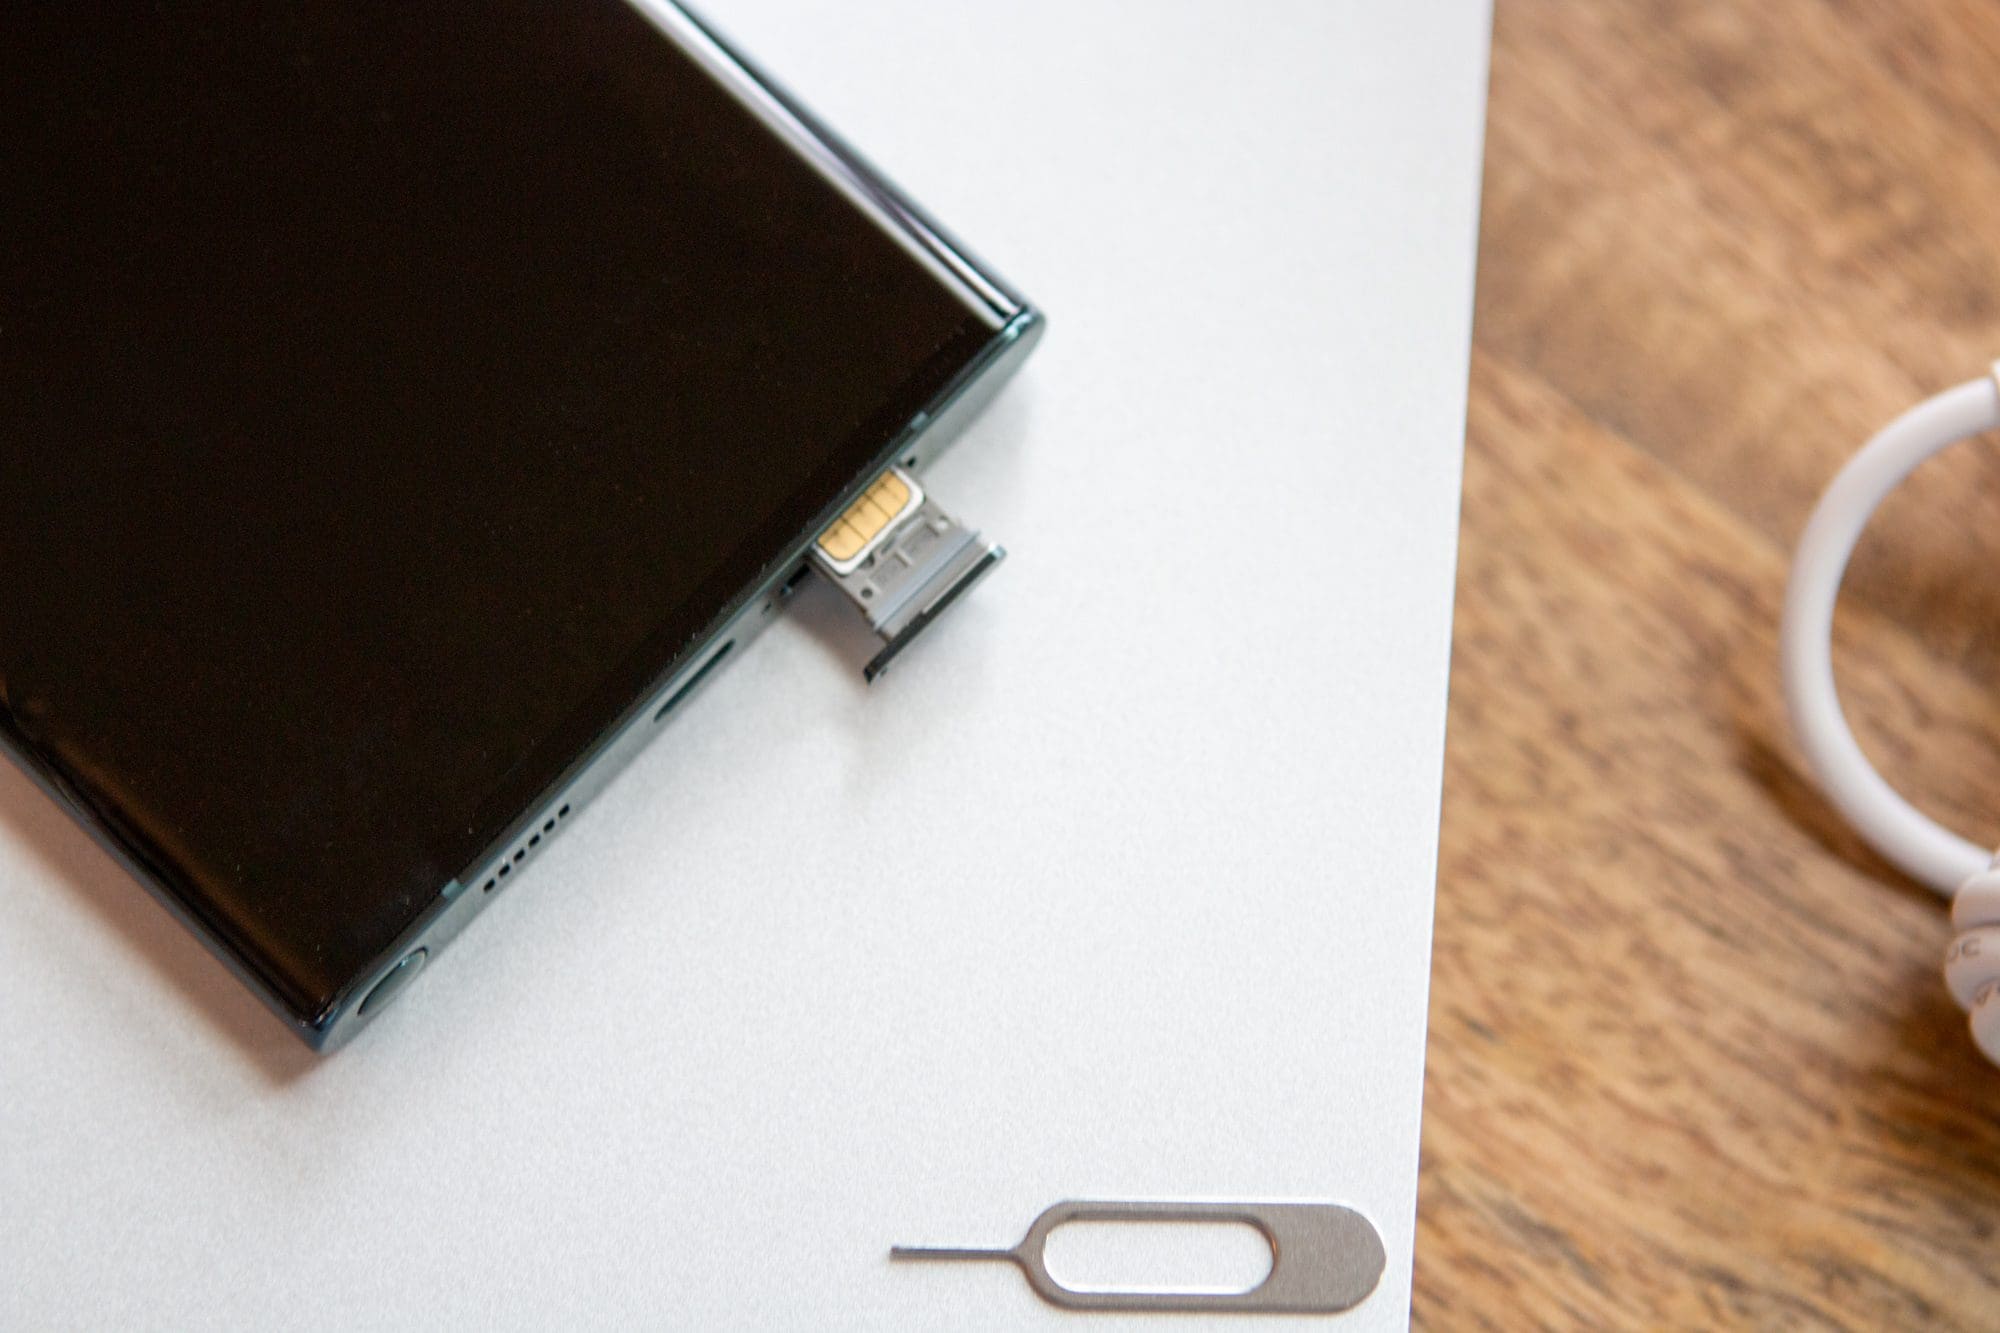
Once you have identified the location of the SIM card tray, take a moment to familiarize yourself with its appearance. The SIM card tray is a small, rectangular slot with a pinhole or a small indentation. This design allows for the insertion and ejection of the tray using a SIM ejector tool or a small, pointed object such as a paperclip.
It's worth noting that the SIM card tray may be positioned alongside the adjacent slot for a microSD card, which expands the device's storage capacity. While the microSD card slot and the SIM card tray are distinct, they are often located in close proximity to each other. Therefore, exercise caution to ensure that you are specifically identifying the SIM card tray.
By taking the time to locate the SIM card tray and understand its physical characteristics, you are laying the groundwork for a smooth and hassle-free insertion process. With this essential preliminary step completed, you are now ready to proceed to the next phase of the tutorial, where we will delve into the process of ejecting the SIM card tray from your Samsung S22 Ultra.
Step 2: Eject the SIM card tray
Ejecting the SIM card tray from your Samsung S22 Ultra is a crucial step that paves the way for the seamless insertion of the SIM card. By following the precise procedure for ejecting the tray, you can ensure that the SIM card fits securely and establishes a reliable connection with the device. Let's delve into the detailed process of ejecting the SIM card tray with precision and confidence.
To initiate the ejection process, you will need to acquire a SIM ejector tool, which is often included in the original packaging of the Samsung S22 Ultra. Alternatively, a small, pointed object such as a paperclip can be used as an improvised ejector tool. Once you have the ejector tool at hand, proceed with the following steps:
-
Identify the SIM card tray: As mentioned in the previous section, the SIM card tray is typically located on the upper edge of the Samsung S22 Ultra. Ensure that the device is powered on and that the screen is unlocked before proceeding with the ejection process.
-
Locate the ejector slot: Examine the SIM card tray to identify the small pinhole or indentation designed for the ejector tool. This slot is strategically positioned to facilitate the safe and effortless removal of the tray without causing any damage to the device.
-
Insert the ejector tool: With the SIM ejector tool or the improvised object in hand, carefully insert the tip into the ejector slot on the SIM card tray. Apply gentle pressure to engage the internal mechanism responsible for releasing the tray from its secured position.
-
Eject the tray: Upon exerting pressure on the ejector slot, you will feel a slight resistance as the internal mechanism disengages. Continue to apply steady pressure until the SIM card tray protrudes slightly from the device, signaling that it is ready to be removed.
-
Remove the tray: Once the SIM card tray is partially ejected, grasp it firmly and pull it out of the device with a smooth, controlled motion. Exercise caution to avoid applying excessive force or bending the tray, as this could lead to potential damage.
By meticulously following these steps, you can successfully eject the SIM card tray from your Samsung S22 Ultra, setting the stage for the next phase of the tutorial: inserting the SIM card. With the tray in hand, you are now prepared to proceed to the subsequent step and seamlessly integrate the SIM card into your device, unlocking its full potential for connectivity and communication.
Step 3: Insert the SIM card
With the SIM card tray successfully ejected from your Samsung S22 Ultra, the next pivotal step is to delicately insert the SIM card into the designated slot. This process demands precision and care to ensure that the SIM card fits snugly and establishes a secure connection within the device. Let's delve into the detailed procedure of inserting the SIM card with finesse and confidence.
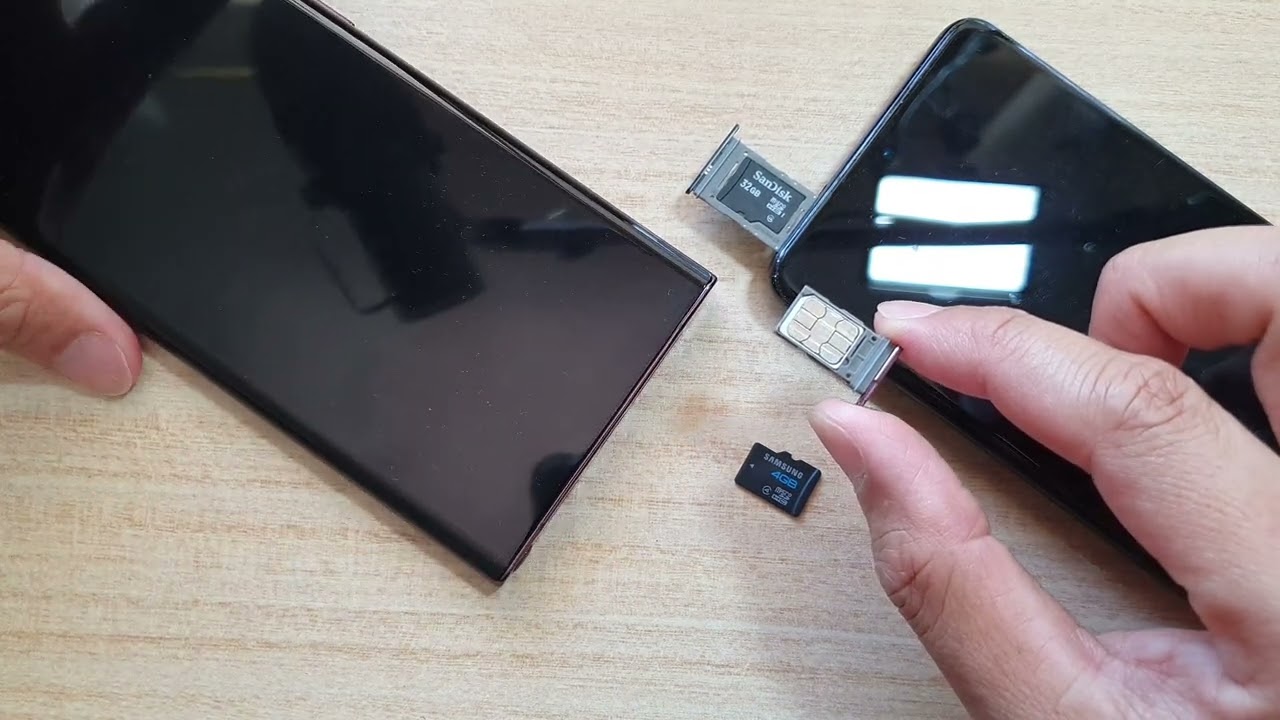
Upon removing the SIM card tray from the device, take a moment to examine its interior. You will notice a small, rectangular compartment within the tray, specifically designed to accommodate the SIM card. Before proceeding, it's important to identify the orientation in which the SIM card should be inserted. Most SIM cards are equipped with a notch or a corner cutout, indicating the correct alignment for insertion. Aligning the SIM card according to the designated orientation is crucial to ensure compatibility and functionality.
Once you have familiarized yourself with the orientation of the SIM card, carefully place it within the designated compartment in the SIM card tray. Ensure that the gold contacts on the SIM card are facing downward, in direct contact with the corresponding connectors within the tray. This alignment is essential to facilitate seamless communication between the SIM card and the device, enabling cellular connectivity and network access.
As you position the SIM card within the compartment, apply gentle pressure to ensure that it sits flush and level with the surface of the tray. Avoid exerting excessive force, as this could potentially damage the SIM card or the internal components of the device. The goal is to achieve a secure and stable placement of the SIM card within the tray, preparing it for reintegration into the Samsung S22 Ultra.
With the SIM card securely positioned within the tray, carefully realign the tray with the slot on the device. Ensure that the tray is inserted in the correct orientation, taking note of any notches or guiding markers that facilitate a seamless fit. Once the tray is aligned, gently slide it back into the device, applying steady and even pressure to ensure that it glides into place without resistance.
By meticulously following these steps, you can successfully insert the SIM card into your Samsung S22 Ultra, setting the stage for the final phase of the tutorial: reinserting the SIM card tray and completing the setup process. With the SIM card integrated into the device, you are now poised to harness the full potential of your Samsung S22 Ultra, leveraging its advanced connectivity features to stay seamlessly connected with the world around you.
Step 4: Reinsert the SIM card tray
With the SIM card successfully inserted into your Samsung S22 Ultra, the final step involves reinserting the SIM card tray back into the device. This crucial phase ensures that the SIM card is securely housed within the device, ready to facilitate seamless communication and connectivity. Let's explore the detailed process of reinserting the SIM card tray with precision and finesse.
Begin by carefully aligning the SIM card tray with the slot on the device, ensuring that it is positioned in the correct orientation. Take note of any guiding markers or notches that facilitate a seamless fit, as improper alignment may lead to difficulty in reinserting the tray. It is essential to approach this step with patience and attention to detail, as a secure and accurate placement of the tray is paramount.
Once the SIM card tray is aligned with the slot, gently guide it back into the device, taking care to maintain a steady and even pressure. The tray should slide smoothly into place without encountering resistance. Avoid forcing the tray into the slot, as this could potentially damage the device or the tray itself. By exercising caution and precision, you can ensure that the tray seamlessly integrates with the Samsung S22 Ultra, completing the setup process.
After reinserting the SIM card tray, take a moment to verify that it sits flush and level with the device's surface. Ensure that the tray is securely seated, with no protruding edges or misalignment. This visual inspection serves as a final checkpoint to confirm that the tray is properly reinserted, ready to support the functionality of the SIM card within the device.
With the SIM card tray securely reinserted into your Samsung S22 Ultra, you have successfully completed the process of inserting a SIM card into your device. This milestone signifies that your device is now equipped to harness the power of high-speed mobile networks and seamless connectivity. Whether you're making calls, sending messages, or accessing online services, the SIM card plays a pivotal role in enabling these essential functions on your Samsung S22 Ultra.
By following the step-by-step instructions outlined in this tutorial, you have gained the knowledge and confidence to navigate the process of inserting a SIM card into your Samsung S22 Ultra with ease. With the SIM card securely integrated into your device, you are now poised to embark on a journey of unparalleled connectivity and productivity, leveraging the advanced features of the Samsung S22 Ultra to stay seamlessly connected with the world around you.
Conclusion
In conclusion, mastering the art of inserting a SIM card into your Samsung S22 Ultra is a fundamental skill that empowers you to unlock the full potential of your device. By following the comprehensive tutorial outlined above, you have gained invaluable insights into the precise steps involved in this essential setup process. From locating the SIM card tray to delicately inserting the SIM card and reassembling the tray with precision, each step is a testament to the meticulous attention to detail required to ensure seamless connectivity and communication.
The SIM card, often overlooked in its physical form, serves as the gateway to a world of connectivity, enabling you to stay in touch with loved ones, access essential services, and leverage the full spectrum of mobile communication features offered by the Samsung S22 Ultra. By understanding the intricacies of inserting a SIM card, you have equipped yourself with the knowledge to seamlessly integrate this vital component into your device, setting the stage for a seamless and uninterrupted mobile experience.
As you embark on your journey with the Samsung S22 Ultra, armed with the knowledge gained from this tutorial, you can navigate the setup process with confidence and finesse. Whether you're a seasoned tech enthusiast or a first-time user, the ability to proficiently handle the insertion of a SIM card is a foundational skill that enhances your overall experience with the device.
Furthermore, the process of inserting a SIM card serves as a symbolic initiation into the world of mobile connectivity, marking the beginning of a journey filled with possibilities. With the SIM card securely integrated into your Samsung S22 Ultra, you are now poised to explore the myriad features and functionalities offered by the device, leveraging its advanced technology to stay seamlessly connected with the world around you.
In essence, the act of inserting a SIM card transcends the physical action; it signifies the seamless integration of your device with the broader network of communication and connectivity. With the SIM card in place, your Samsung S22 Ultra is ready to serve as a reliable companion, keeping you connected, informed, and empowered in the digital age.
As you proceed with your Samsung S22 Ultra setup, remember that the meticulous attention to detail demonstrated in the SIM card insertion process sets the stage for a smooth and rewarding experience with your device. Embrace the power of seamless connectivity, and let your Samsung S22 Ultra become an extension of your digital lifestyle, enabling you to stay connected, informed, and engaged in the world around you.