Introduction
Removing the SD card from your Samsung phone may seem like a straightforward task, but if you’re new to the world of smartphones or simply unfamiliar with the process, it can be a bit confusing. Whether you want to transfer files, upgrade your SD card, or troubleshoot issues, knowing how to properly remove the SD card is important to prevent any damage to your phone or data loss.
An SD card, short for Secure Digital card, is a small, removable storage device that expands the storage capacity of your Samsung phone. It allows you to store photos, videos, documents, and other files separate from your phone’s internal memory. If you’re wondering how to remove the SD card from your Samsung phone, you’ve come to the right place.
In this article, we will guide you through the step-by-step process of removing the SD card from your Samsung phone. Whether your device is running on Android or the Samsung One UI, the instructions provided are applicable to most Samsung phone models. So, let’s get started and learn how to safely remove the SD card from your Samsung phone.
Step 1: Power off the phone
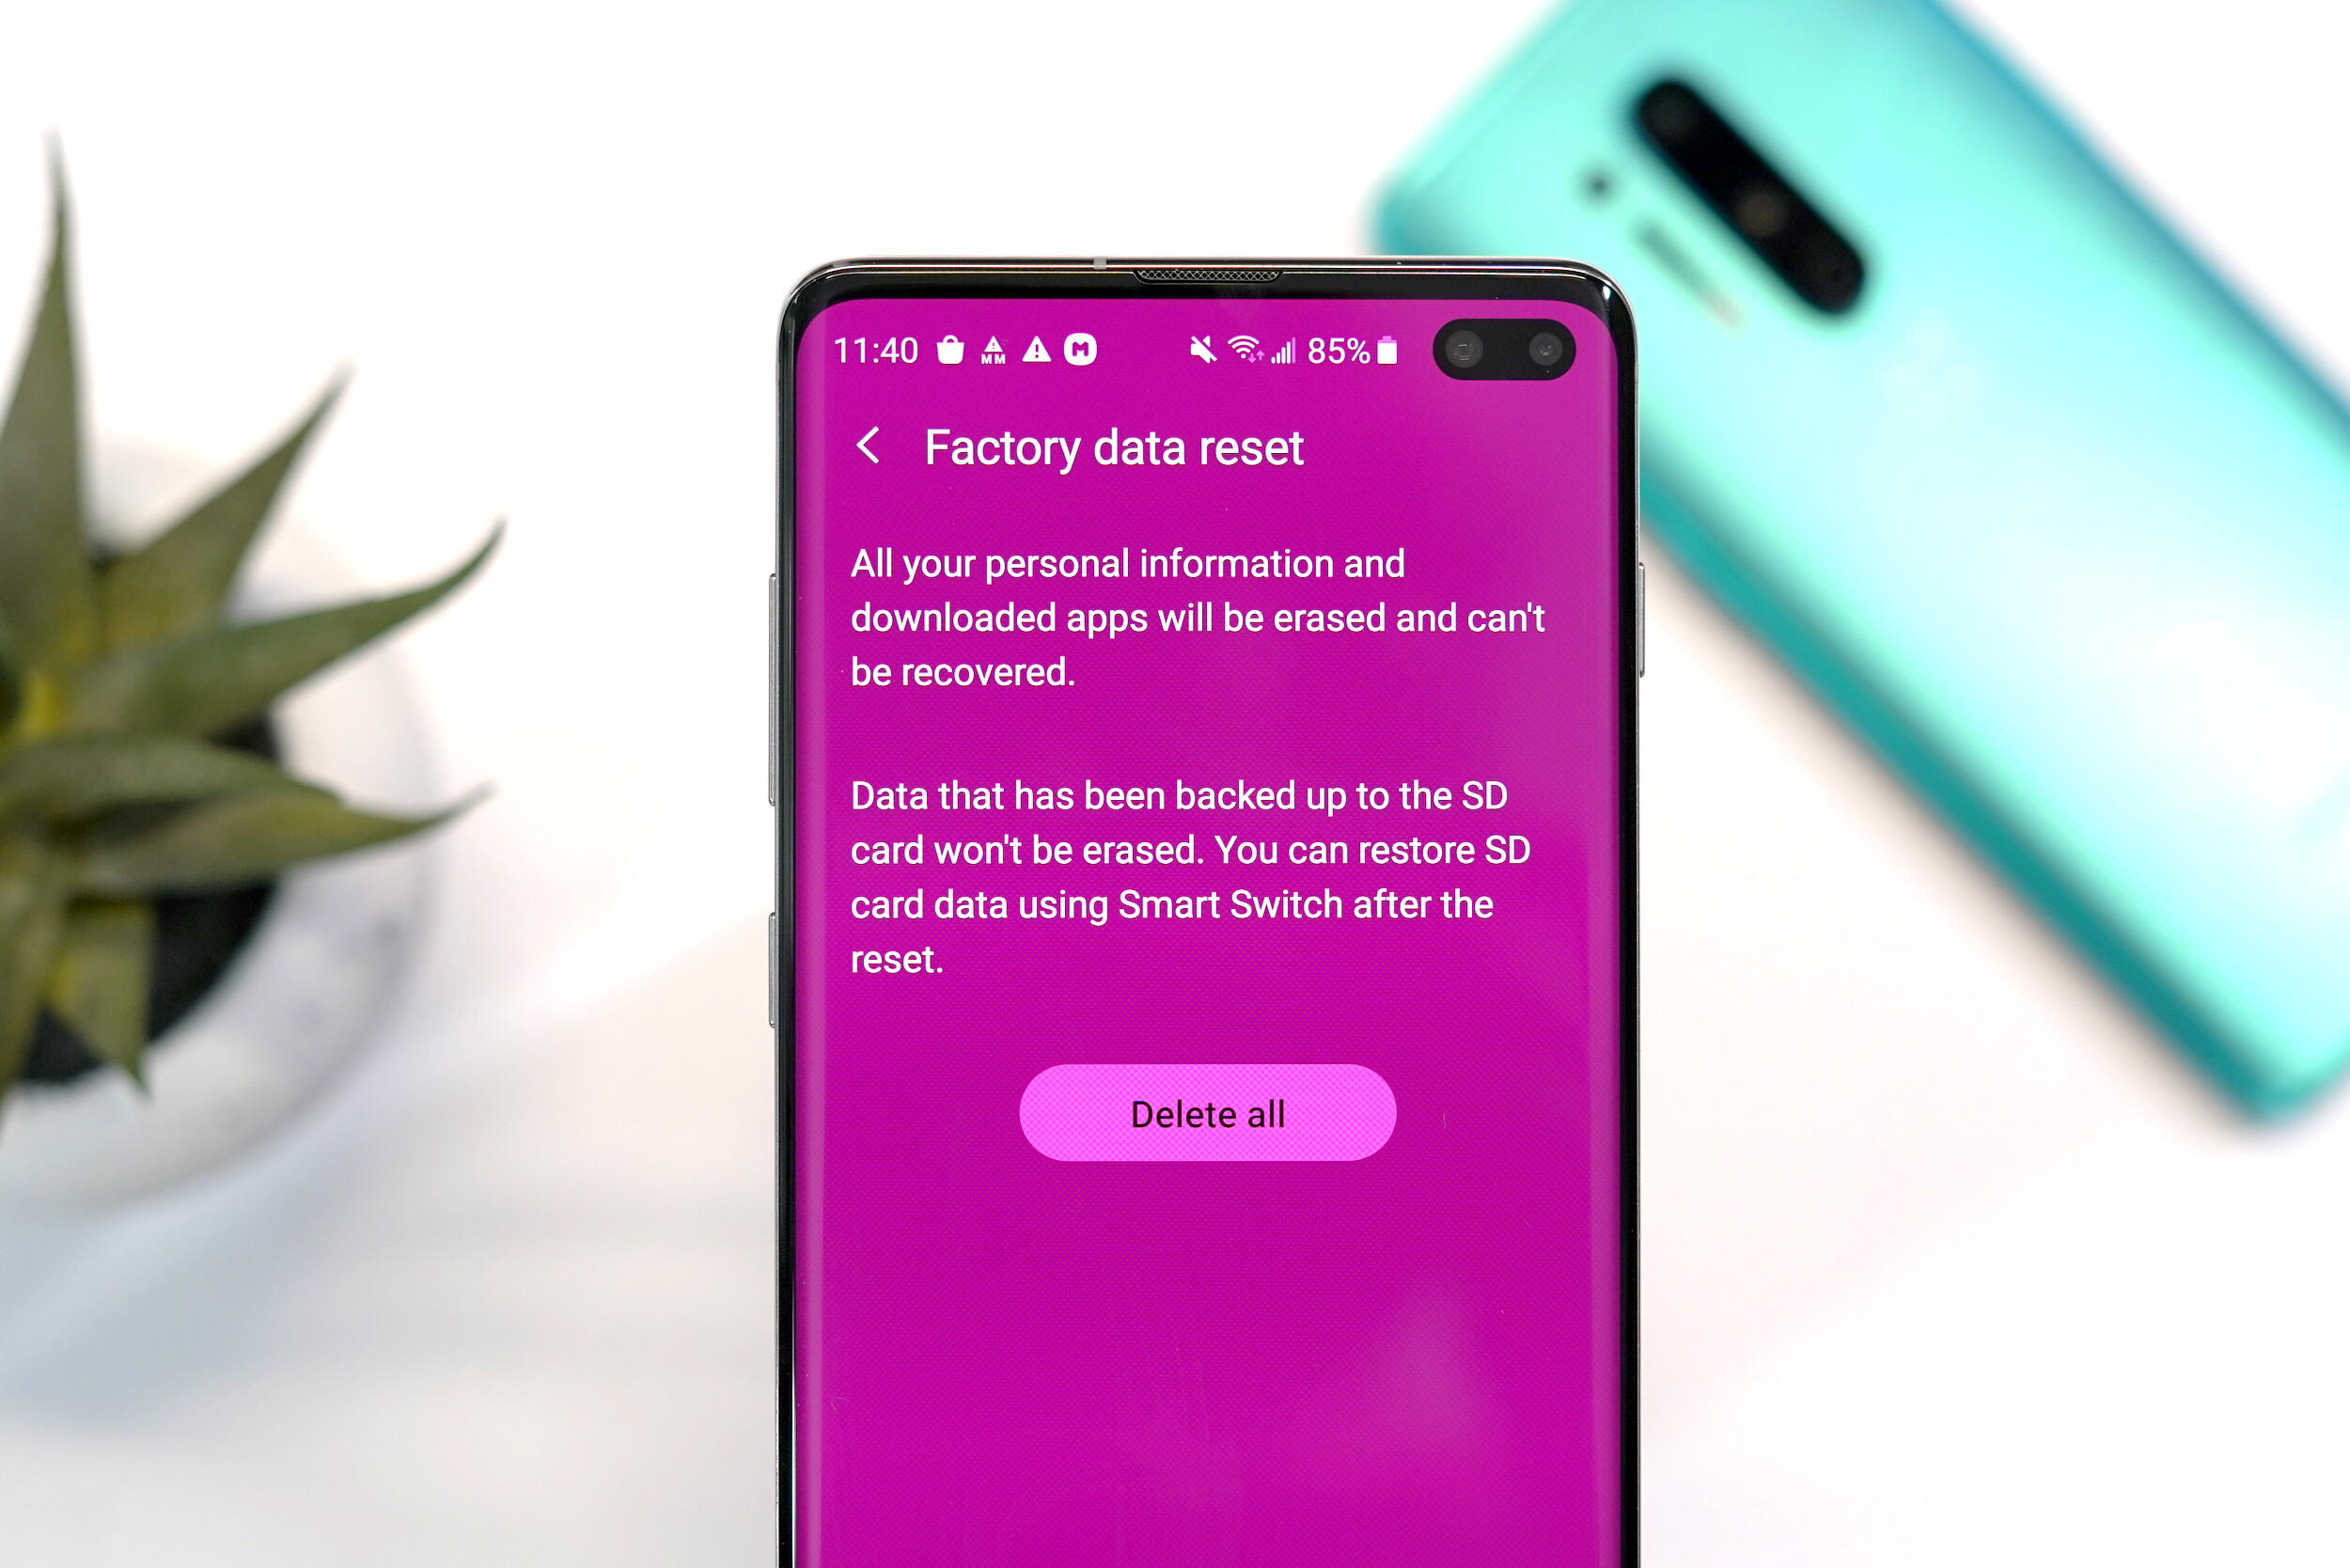
The first step before removing the SD card from your Samsung phone is to ensure that the device is powered off. This is an important precautionary measure as it protects both the phone and the SD card from any potential damage. By powering off the phone, you minimize the risk of data corruption and accidental removal of the SD card while the device is still active.
To power off your Samsung phone, press and hold the power button located either on the side or the top of the device. A menu will appear on the screen, giving you the option to power off the phone. Tap on the “Power Off” or “Shutdown” option, and wait for a few seconds until the screen goes completely dark and the phone shuts down.
If your Samsung phone has a removable battery, you can also remove the battery to ensure the device is completely powered off. However, this step is not applicable to all Samsung phone models, as many modern smartphones come with non-removable batteries. In such cases, simply powering off the device using the power button is sufficient.
Turning off the phone not only protects the SD card but also prevents any potential software or hardware conflicts that may occur during the removal process. It’s always a good practice to power off your phone before making any hardware changes to avoid any unwanted complications.
Once the phone is powered off, you can proceed to the next step of locating the SD card slot on your Samsung phone.
Step 2: Locate the SD card slot
After making sure your Samsung phone is powered off, the next step is to locate the SD card slot. Depending on the model of your Samsung phone, the location of the SD card slot may vary. In most Samsung phones, you can find the slot on the side of the device or underneath the back cover.
If your Samsung phone has a side-mounted SD card slot, look for a small tray or compartment on the edge of the device. You may need to use a SIM card ejection tool or a small paperclip to open the slot. Insert the tool into the tiny hole adjacent to the slot and apply gentle pressure to release the tray.
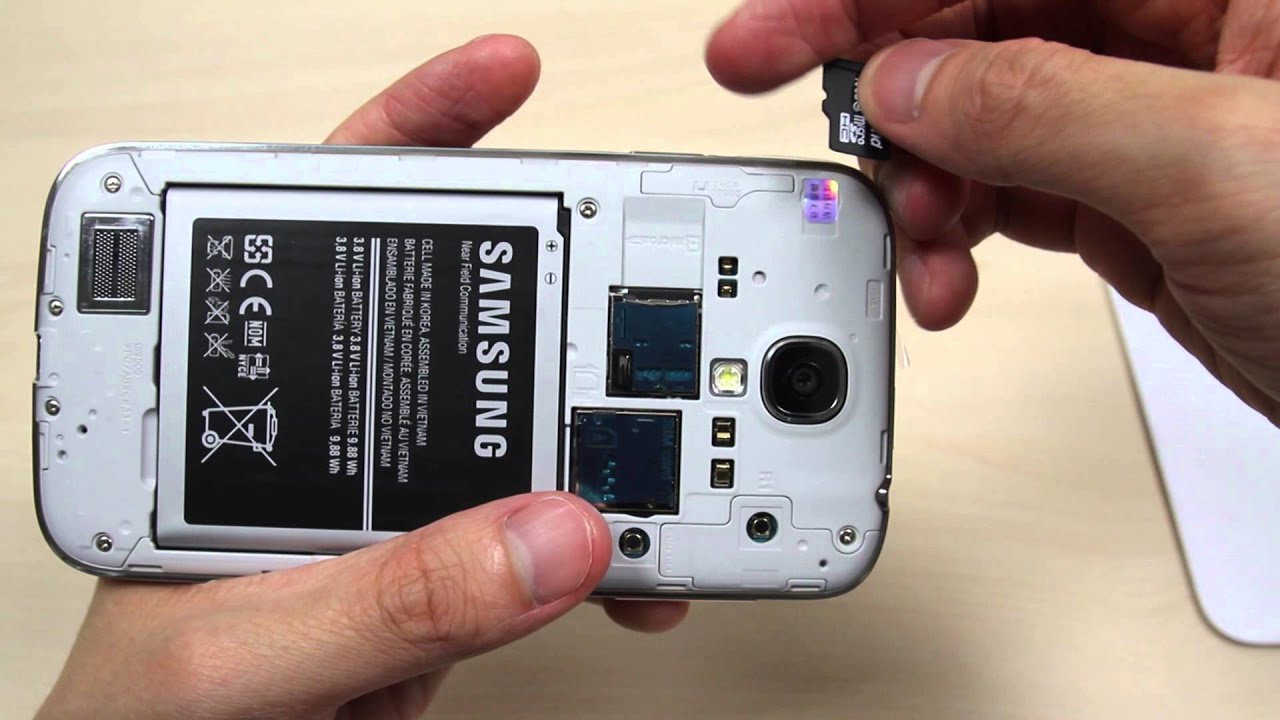
For Samsung phones with a back-mounted SD card slot, you will need to remove the back cover of the device. To do this, locate the small notch or groove on the edge of the phone. With your fingernail or a small prying tool, carefully lift the cover and remove it from the phone.
Inside the back cover, you will find the SD card slot along with the SIM card slot in some models. The SD card slot will be clearly labeled, making it easy to identify. Take a moment to familiarize yourself with the slot’s location to ensure a smooth removal process.
It is worth noting that not all Samsung phone models support expandable storage via an SD card. If you cannot locate an SD card slot on your device, it is likely that your phone does not have one. In such cases, you may need to explore alternative methods to expand your phone’s storage capacity or transfer files.
Now that you know where to find the SD card slot on your Samsung phone, let’s move on to the next step of inserting an ejector tool or a paperclip to remove the SD card tray.
Step 3: Insert the ejector tool or a paperclip
Once you have located the SD card slot on your Samsung phone, the next step is to prepare an ejector tool or a paperclip that you will use to remove the SD card tray from the device. This tool is essential for accessing the SD card and safely removing it without causing any damage.
Many Samsung phones come with an ejector tool included in the box. It is a small pin-like object that is specifically designed to eject the SD card tray. If you have the ejector tool, simply take it out from its packaging or storage compartment.
However, if you don’t have the ejector tool, don’t worry. A bent paperclip can serve as a suitable alternative. Just straighten out one end of a paperclip, ensuring that it forms a small, narrow, and sturdy point. This will allow you to easily insert it into the small hole beside the SD card slot and eject the tray.
Ensure that the ejector tool or paperclip is clean and free from any dirt or debris. This helps prevent any particles from getting stuck in the SD card slot, which could hinder the removal process or potentially damage the contacts on the SD card or in the slot.
Hold the ejector tool or paperclip firmly and get ready to move on to the next step. With the tool in hand, you are now fully prepared to remove the SD card tray from your Samsung phone and access the SD card inside.
Step 4: Eject the SD card tray
With the ejector tool or paperclip in hand, it’s time to proceed with ejecting the SD card tray from your Samsung phone. This step will allow you to access the SD card and remove it safely from the device.
Locate the small hole or notch next to the SD card slot on your Samsung phone. This is where you will insert the ejector tool or the bent end of the paperclip. Apply gentle but firm pressure to push the tool into the hole. You should feel a slight resistance as you do so.
Continue to push the ejector tool or paperclip until you hear a click or feel a release. This indicates that the SD card tray has been unlocked and is ready to be removed. Be cautious not to apply excessive force or bend the tool during this process.
Once you have successfully ejected the SD card tray, carefully pull it out from the device. The tray should slide out smoothly, allowing you easy access to the SD card inside. Take note of the orientation of the tray and the position of the SD card within it.
It is important to handle the SD card tray and the SD card itself with care. Avoid touching the gold contacts on the SD card, as they are sensitive and can be easily damaged by dirt, oil, or static electricity. Hold the SD card tray and the SD card by their edges to minimize the risk of any damage.
Congratulations! You have successfully completed the step of ejecting the SD card tray from your Samsung phone. Now, let’s move on to the next step of removing the SD card from the tray itself.
Step 5: Remove the SD card from the tray
Now that you have successfully ejected the SD card tray from your Samsung phone, it’s time to remove the SD card from the tray itself. This step allows you to safely detach the SD card and perform any necessary actions, such as transferring files or upgrading to a new SD card.
Inspect the SD card tray that you have removed from your Samsung phone. You will notice a small slot or groove within the tray where the SD card is placed. Gently push the SD card from the tray to partially release it.
With one hand, carefully grip the SD card and slide it out of the tray entirely. Be cautious not to apply any unnecessary force or bend the card during this process. If the SD card seems stuck, do not force it out. Instead, check if you have properly released it from the tray and adjust your grip if needed.
Take a moment to examine the SD card and ensure that it is in good condition, free from any visible physical damage. If you notice any cracks, bends, or scratches on the card, it is recommended to avoid using it and consider replacing it with a new one to prevent any potential data loss or compatibility issues.
Once the SD card is removed from the tray, store it in a safe and clean place to prevent any damage or loss. It is advisable to place the SD card in a protective case or a small plastic bag to keep it free from dust, moisture, and other contaminants.
At this point, you have successfully removed the SD card from the tray of your Samsung phone. Now, you can proceed to the final step of reinserting the SD card tray back into your phone and powering it on.
Step 6: Reinsert the SD card tray into the phone
After removing the SD card from the tray of your Samsung phone, it’s time to reinsert the tray back into the device. This step ensures that the SD card is securely placed in the phone, allowing you to access its storage and use its functionalities.
Take the SD card tray that you previously removed and align it with the slot on your Samsung phone. Make sure that the tray is facing the correct way, as indicated by the markings or labels on the tray itself. The orientation may vary depending on your specific phone model.
Carefully slide the SD card tray back into the device until it is fully inserted. Ensure that the tray goes in smoothly and fits snugly into the slot. If you encounter any resistance or difficulty while inserting the tray, double-check its alignment and try again.
Once the SD card tray is fully inserted, give it a gentle push to ensure that it is securely positioned in the phone. Avoid applying excessive force that could potentially damage the tray or the phone itself. A gentle and firm press is usually sufficient to lock the tray into place.
With the SD card tray securely reinserted into your Samsung phone, you can now power on the device. Press and hold the power button until the screen lights up and the phone starts to boot. It may take a few moments for the phone to fully power on and recognize the newly-inserted SD card.
Once the phone has fully booted up, you can access the SD card and start using it to store files, expand your storage capacity, or perform other tasks according to your needs. Remember to regularly back up your data from the SD card to prevent any potential loss in case of unforeseen circumstances.
Congratulations! You have successfully reinserted the SD card tray into your Samsung phone. Now you can enjoy the benefits and convenience of having expandable storage in your device.
Conclusion
Removing the SD card from your Samsung phone may have seemed like a daunting task at first, but with these step-by-step instructions, you can confidently remove and reinsert the SD card without any issues. Remember to follow each step carefully to ensure the safety of both your phone and the SD card.
By powering off the phone, locating the SD card slot, using an ejector tool or a paperclip to remove the SD card tray, and gently removing the SD card from the tray, you can successfully access the storage and perform various tasks such as transferring files or upgrading your SD card.
It is important to handle the SD card and the SD card tray with care to prevent any damage to the delicate contacts or the card itself. Regularly back up your data to avoid any unforeseen data loss and protect your valuable files.
Now that you have mastered the art of removing and reinserting the SD card on your Samsung phone, you can enjoy the benefits of expandable storage and effortlessly manage your files and media with ease. Whether you need to free up space, transfer files, or simply upgrade your SD card capacity, you now have the know-how to accomplish it.
We hope this guide has been helpful to you. Remember to consult your device’s user manual or refer to Samsung’s official support resources if you encounter any specific issues or have any further questions. Happy SD card management!