Introduction
Welcome to our comprehensive guide on how to replace the screen of a Samsung Galaxy S3. As one of the most popular smartphones of its time, the Galaxy S3 revolutionized the mobile industry with its sleek design and impressive features. However, accidents happen, and if you find yourself with a cracked or damaged screen, fear not! With a little patience and the right tools, you can easily replace the screen yourself and bring your phone back to life.
Replacing the screen of your Samsung Galaxy S3 is a cost-effective alternative to purchasing a brand-new phone or paying for expensive repairs. By following the steps outlined in this guide, you will not only save money but also gain the satisfaction of successfully completing a DIY repair project.
Before we dive into the steps, it is important to note that performing any repairs on your device may void the manufacturer’s warranty. We recommend checking the warranty status of your device before proceeding. Additionally, make sure to back up any important data on your phone, as there is a small risk of data loss during the repair process.
Whether you have previous experience with smartphone repairs or are a complete beginner, we have broken down each step into easy-to-follow instructions, accompanied by clear images. We have also provided a list of the necessary tools you will need to successfully complete the screen replacement.
Now, let’s gather our tools and get started on replacing the screen of your Samsung Galaxy S3!
Safety Precautions
Before we begin the screen replacement process, it is crucial to prioritize your safety. Working with small components and delicate electronics can pose certain risks, so it is important to take the necessary precautions to ensure a safe and successful repair. Here are some safety guidelines to keep in mind:
- Power Off the Device: Before starting any repairs, completely power off your Samsung Galaxy S3. This will prevent any accidental electrical shocks or damage to the device.
- Work in a Clean and Well-Lit Area: Find a spacious and well-lit workspace to perform the repair. This will help you clearly see the components and prevent any accidental damage.
- Use Protective Gear: It is advisable to wear safety glasses and latex gloves to protect your eyes and hands from any potential injuries.
- Organize Your Workstation: Lay out a clean cloth or small tray to keep track of the screws and small components. This will prevent them from rolling away or getting lost during the repair.
- Handle Tools with Care: Use the appropriate tools for each step and handle them with care. Avoid using excessive force or applying excessive pressure, as this can damage the device or its components.
- Disconnect the Battery: It is crucial to disconnect the battery before working on any internal components. This will prevent any accidental short circuits or damage to the device.
- Follow the Guide Step-by-Step: Carefully read and follow each step of the guide. Skipping or rushing through steps can lead to mistakes or permanent damage to the device.
- Take Your Time: Patience is key when performing any repair. Give yourself ample time to complete the process and double-check each step before proceeding.
By adhering to these safety precautions, you can minimize the risk of accidents and ensure a smooth and successful screen replacement for your Samsung Galaxy S3.
Tools Needed
Before we begin the screen replacement process, it’s important to gather all the necessary tools. Having the right tools at your disposal will make the repair easier and more efficient. Here is a list of the tools you will need:
- Small Phillips Screwdriver: This will be used to remove the screws holding the device together.
- Plastic Opening Tools: These tools will help you pry open the device without causing any damage to the delicate components.
- Guitar Pick or Spudger: This is especially handy for separating the screen from the adhesive.
- Tweezers: Tweezers will assist you in handling small components and delicate cables.
- Adhesive Strips: You will need these to secure the new screen in place.
- Microfiber Cloth: Use a microfiber cloth to clean the screen and remove any fingerprints or smudges.
- Heat Gun or Hair Dryer: You may require heat to soften the adhesive before removing the broken screen.
- Anti-Static Wrist Strap: This optional tool is recommended to prevent any electrostatic discharge that could damage the internal components of the device.
It’s important to have these tools ready and easily accessible before you begin the repair process. This will allow you to work efficiently without the need to search for tools or pause the repair midway.
If you don’t have these tools readily available, you can easily find them at local electronics stores or online retailers. Investing in these tools will not only help you with the screen replacement but also future DIY repairs or maintenance for various electronic devices.
Now that we have gathered the necessary tools, let’s move on to the step-by-step process of replacing the screen of your Samsung Galaxy S3.
Step 1: Power Off the Device
The first step in replacing the screen of your Samsung Galaxy S3 is to power off the device completely. This is an important safety precaution that will prevent any accidental electrical shocks or damage during the repair process.
To power off the device, press and hold the power button located on the right-hand side of the phone. A menu will appear on the screen. Tap on the “Power Off” option to shut down the device.
If your device is unresponsive or the screen is completely broken, you can force a shutdown by pressing and holding the power button for about 10 seconds until the device powers off. This method is useful in situations where you cannot access the on-screen menu.
Once the device is powered off, wait for a few seconds to ensure that it is completely turned off before proceeding to the next step.
This step is crucial as it eliminates the risk of electrical shock or accidental damage to the internal components of the device. It’s always better to be safe and ensure that the device is powered off before starting any repair work.
Now that the device is powered off, we can move on to the next steps of the screen replacement process. Make sure to follow each step carefully to ensure a successful repair.
Step 2: Remove the Back Cover and Battery
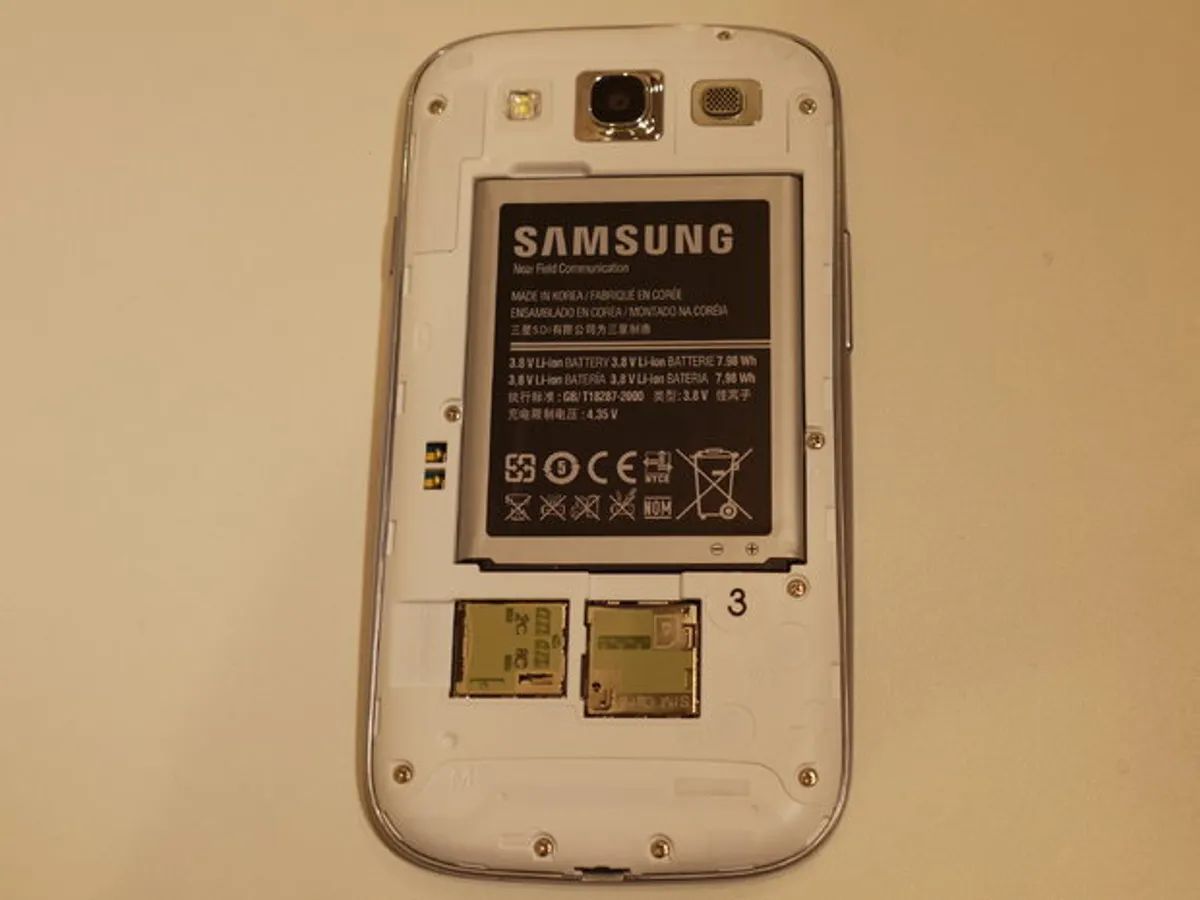
Now that the device is powered off, it’s time to remove the back cover and battery of your Samsung Galaxy S3. This step will give us access to the internal components and prepare the device for further disassembly.
Follow these steps to remove the back cover and battery:
- Flip the device over so that the back is facing up.
- Locate the small notch or groove on the bottom-right corner of the device. This is where you’ll start removing the back cover.
- Insert your fingernail, a plastic opening tool, or a guitar pick into the notch and gently pry the back cover away from the device.
- Work your way around the edges of the device, slowly separating the back cover from the rest of the device. Be careful not to use excessive force, as this may damage the plastic clips holding the back cover in place.
- Once the back cover is loosened, lift it off and set it aside.
- With the back cover removed, you’ll now have access to the battery.
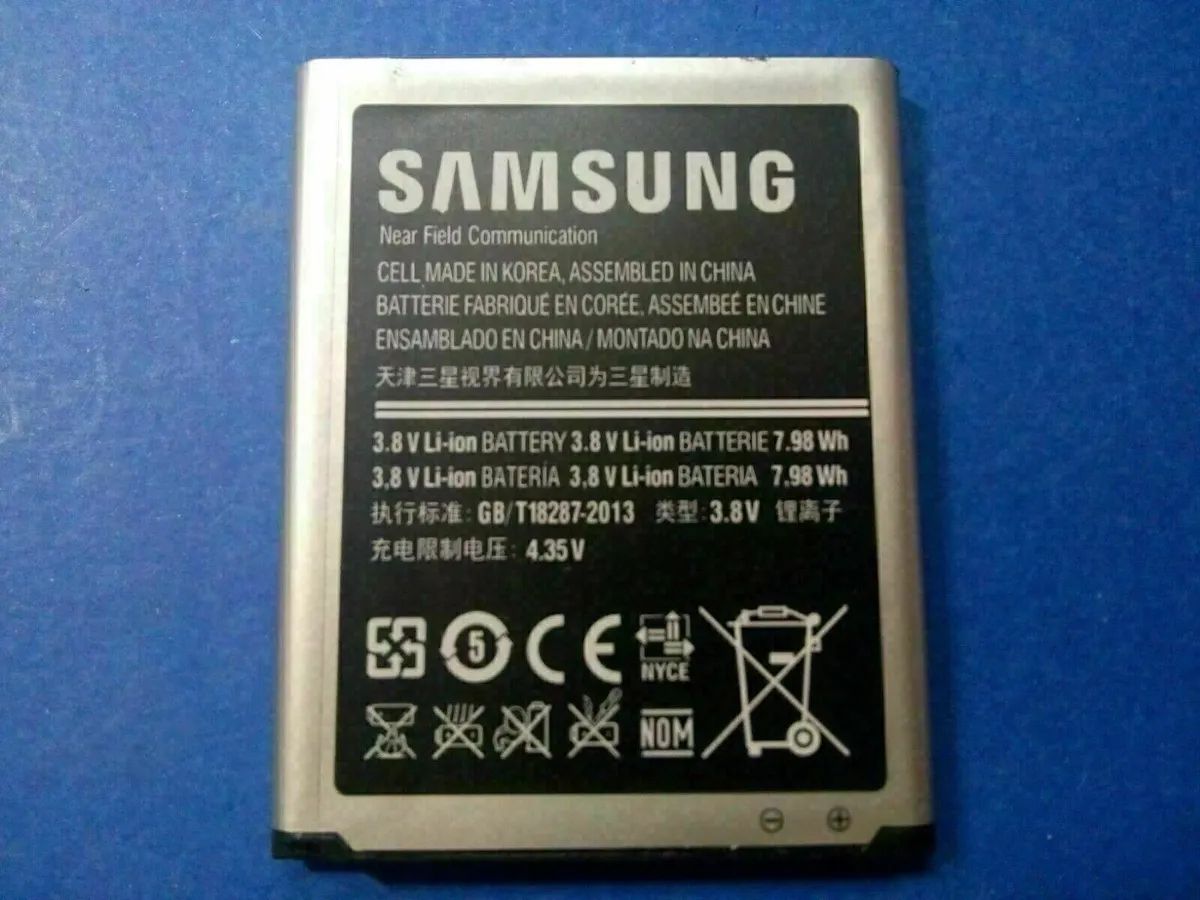
- Locate the battery, which is a rectangular-shaped component usually at the top of the device.
- Carefully lift the battery from the device using your fingers or a plastic opening tool. Gently pry it up from the bottom and remove it.
Removing the back cover and battery can be relatively straightforward, but it’s essential to handle the components with care. The plastic clips securing the back cover can be delicate, so be gentle when prying it off. Similarly, when removing the battery, ensure that you don’t bend or puncture it.
By following these steps, you have successfully removed the back cover and battery of your Samsung Galaxy S3. These components can be set aside for reassembly later in the repair process.
Now that we have access to the internal components, we can proceed with further disassembly in the following steps. Make sure to follow each step carefully to ensure a successful screen replacement for your device.
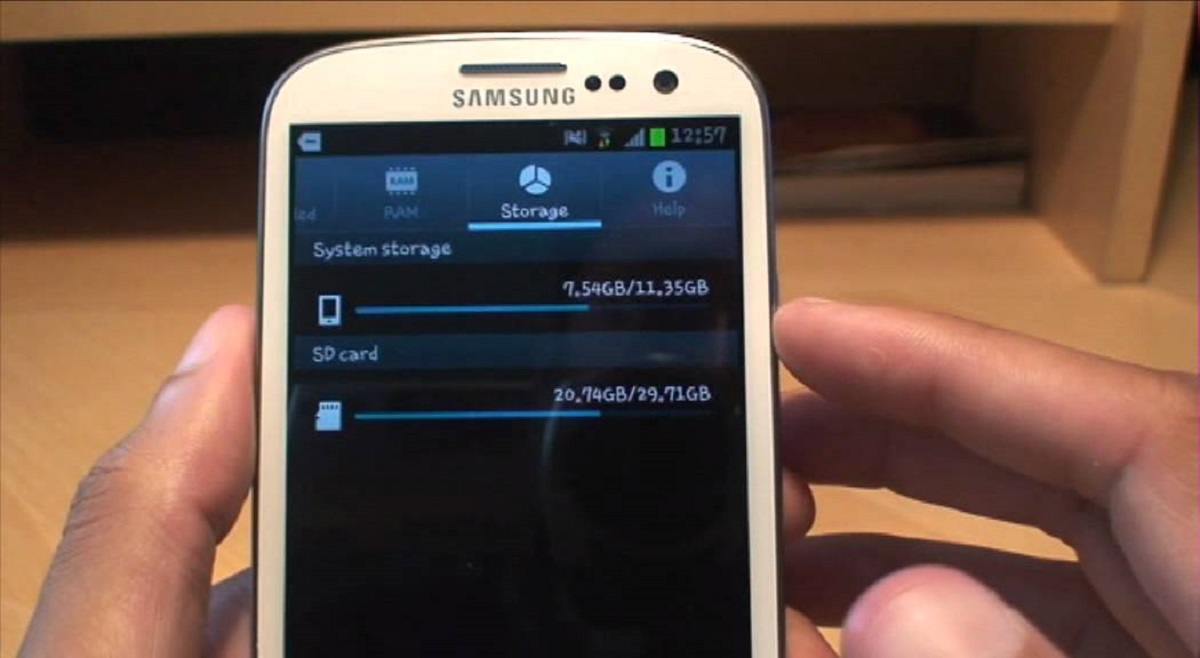
Step 3: Remove the SIM Card and SD Card (if applicable)
Before we continue with the screen replacement process, it’s important to remove the SIM card and SD card (if applicable) from your Samsung Galaxy S3. This step ensures that these small, removable components are safely stored and not accidentally damaged during the repair.
Follow these steps to remove the SIM card and SD card:
- Locate the SIM card slot on the side of the device. It is usually located near the top or bottom edge.
- Insert the SIM ejector tool that came with your device into the small hole next to the SIM card slot. Alternatively, you can use a paperclip if the ejector tool is not available.
- Gently push the tool or paperclip into the hole until the SIM card tray pops out slightly.
- Carefully pull the SIM card tray out of the device using your fingers or a pair of tweezers.
- Remove the SIM card from the tray and set it aside in a safe place.
- If your device has an SD card slot, locate it near the SIM card slot or on the side of the device.
- Use the same method as above to eject the SD card tray from the device.
- Remove the SD card from the tray and set it aside.
It’s important to handle both the SIM card and SD card with care. Avoid touching the gold contacts on the cards and store them in a safe place, away from any potential damage or static electricity.
If your device does not have an SD card slot, you can skip this step and proceed to the next one.
By removing the SIM card and SD card (if applicable), you have ensured the safety of these components during the screen replacement process. Now, without any obstructions, we can move on to the next steps of the repair.
Step 4: Remove the Top Frame and Mainboard
Now that we have removed the back cover, battery, and SIM card/SD card (if applicable), it’s time to move on to removing the top frame and mainboard of your Samsung Galaxy S3. This step will allow us to access the display and digitizer cables for the screen replacement.
Follow these steps to remove the top frame and mainboard:
- Locate the small screws securing the top frame to the device. These screws are usually located near the top edges of the device.
- Using a small Phillips screwdriver, remove the screws carefully. Set the screws aside in a safe place, as you will need them for reassembly later.
- Once the screws are removed, you can start prying the top frame away from the device. Use a plastic opening tool or a guitar pick to gently separate the frame from the rest of the device.
- Work your way around the edges of the device, slowly lifting the top frame. Take your time and be careful not to apply too much force, as it can cause damage to the plastic clips or cables connecting the frame to the device.
- As you lift the top frame, you may need to disconnect some cables that are still attached to the mainboard. Use a pair of tweezers or a plastic opening tool to carefully disconnect these cables.
- Once all cables are disconnected, fully remove the top frame from the device and set it aside.
- With the top frame removed, you will now have access to the mainboard beneath it.
- Locate any remaining screws securing the mainboard to the device and remove them using the Phillips screwdriver.
- Gently lift the mainboard from the bottom, being cautious of any cables that may still be attached.
- If there are any cables still connected to the mainboard, carefully disconnect them using the tweezers or a plastic opening tool.
- Set the mainboard aside in a safe place.
Removing the top frame and mainboard can be a delicate process, requiring patience and precision. Take your time and be gentle to avoid any damage to the device or its internal components.
Now that we have successfully removed the top frame and mainboard, we’re one step closer to completing the screen replacement for your Samsung Galaxy S3.
Step 5: Disconnect the Display and Digitizer Cables
In order to proceed with the screen replacement, we need to disconnect the display and digitizer cables from the mainboard of your Samsung Galaxy S3. These cables are responsible for transmitting the video and touch input signals to the screen.
Follow these steps to disconnect the display and digitizer cables:
- Locate the display and digitizer cables on the mainboard. They are usually located near the top or bottom of the mainboard.
- Using a pair of tweezers or a plastic opening tool, gently lift up the small latch securing the connector in place.
- Once the latch is lifted, carefully disconnect the cables from the connector by pulling the cables away from the connector.
- Repeat this process for each cable, if there are multiple cables connected to the mainboard.
- After all the cables are disconnected, double-check that they are completely free from the connector before proceeding.
When disconnecting the cables, it’s important to be gentle and avoid applying excessive force. Pulling too hard on the cables or damaging the connectors can result in permanent damage to the device.
If the cables are difficult to disconnect, you can try using a plastic opening tool to carefully pry them away from the connectors. Take your time and be patient to avoid any damage.
Once the display and digitizer cables are disconnected, you have successfully prepared the device for the screen replacement. The old screen can now be safely removed, and we can proceed with installing the new screen.
Now that we have disconnected the display and digitizer cables, let’s move on to the next step, which involves removing the broken screen from your Samsung Galaxy S3.
Step 6: Remove the Broken Screen
With the display and digitizer cables disconnected, it’s time to remove the broken screen from your Samsung Galaxy S3. Removing the broken screen will make way for the installation of the new screen.
Follow these steps to remove the broken screen:
- Inspect the broken screen to identify any adhesive or tape securing it to the device.
- If there is adhesive or tape, use a heat gun or a hairdryer on a low setting to warm up the edges of the screen. This will soften the adhesive, making it easier to remove the screen.
- Be careful not to overheat the device—excessive heat can damage internal components. Ensure that the heat is evenly distributed and avoid focusing the heat on one spot for too long.
- Once the adhesive is sufficiently warmed up, insert a plastic opening tool or a guitar pick between the broken screen and the device’s frame.
- Gently pry the screen away from the frame, gradually working your way around the edges of the device. Take your time and apply even pressure to prevent any damage to the underlying components.
- As you work your way around, the adhesive should start to loosen, allowing the broken screen to separate from the device.
- Continue to lift the screen slowly until it is completely detached.
- Once the broken screen is fully removed, carefully place it aside for proper disposal.
- Inspect the device’s frame to ensure that there are no remaining adhesive residues or other debris that could interfere with the installation of the new screen. If necessary, gently clean the frame using a microfiber cloth or a small brush.
Removing the broken screen requires patience and caution. Take your time to avoid any accidental damage to the device or its internal components.
Remember to properly dispose of the broken screen using appropriate electronic waste disposal methods. It’s important to handle electronic waste responsibly to protect the environment.
Now that the broken screen is removed, we can move on to the next step, which involves installing the new screen on your Samsung Galaxy S3.
Step 7: Install the New Screen
With the old screen removed, it’s time to install the new screen onto your Samsung Galaxy S3. The new screen should be compatible with your device model and come with the necessary components for installation.
Follow these steps to install the new screen:
- Inspect the new screen to ensure that it is free from any defects or damages.
- If the new screen has a protective film or cover, remove it carefully before installation.
- Take note of any adhesive strips or tabs that are included with the new screen. These will be used to secure the new screen in place.
- Align the new screen with the device’s frame, making sure that the cables and connectors are in the correct position.
- Gently press down on the new screen to adhere it to the device’s frame.
- If there are adhesive strips or tabs, remove the protective covering and firmly press down on the screen to secure it in place.
- Ensure that the new screen is aligned properly and sits flush with the frame.
- Take a moment to inspect the installed screen and ensure that there are no gaps or unevenness.
When installing the new screen, it’s important to handle it with care and avoid applying excessive force that could potentially damage the screen or its connectors.
If the new screen does not fit properly or is not functioning correctly, double-check the cables and connectors to ensure they are securely connected. Also, ensure that there are no obstructions or misalignments causing any issues.
Once the new screen is properly installed, you’re one step closer to completing the screen replacement process for your Samsung Galaxy S3.
Now that we have successfully installed the new screen, it’s time to move on to the next step, which involves reconnecting the display and digitizer cables.
Step 8: Reconnect the Display and Digitizer Cables
Now that the new screen is installed, it’s time to reconnect the display and digitizer cables on your Samsung Galaxy S3. These cables are crucial for transmitting the video and touch input signals to the screen, allowing it to function properly.
Follow these steps to reconnect the display and digitizer cables:
- Locate the connectors on the mainboard where the display and digitizer cables were previously disconnected.
- Ensure that the cables are clean and free from any debris or residue.
- Align the connectors on the cables with the corresponding connectors on the mainboard.
- Gently but firmly press the cables into the connectors until they are securely seated. You may hear a small click or feel a slight resistance when the cables are properly connected.
- Double-check that the cables are fully inserted and not crooked or misaligned.
- If there are multiple cables, repeat the process for each cable, making sure they are all connected properly.
When reconnecting the cables, it’s important to be gentle and avoid applying excessive force. Pushing too hard or at a wrong angle can damage the connectors or the cables themselves.
If the cables do not connect easily, reevaluate the alignment and try again. It’s crucial to ensure a secure and proper connection for the screen to function correctly.
Once the display and digitizer cables are successfully reconnected, we’re one step closer to completing the screen replacement for your Samsung Galaxy S3.
Now that we have reconnected the display and digitizer cables, let’s move on to the next step, which involves reassembling the top frame and mainboard of the device.
Step 9: Reassemble the Top Frame and Mainboard
Now that the display and digitizer cables are reconnected, it’s time to reassemble the top frame and mainboard of your Samsung Galaxy S3. This step involves securing the mainboard and reattaching the top frame to ensure the components are properly aligned and protected.
Follow these steps to reassemble the top frame and mainboard:
- Take the mainboard and carefully align it with the device. Ensure that any screw holes on the mainboard align with the corresponding holes on the device.
- Gently place the mainboard into position, being mindful of any cables or connectors that may need to be reconnected.
- If there are any screws that were previously removed, carefully insert them back into their respective holes and tighten them using a Phillips screwdriver. Ensure that they are securely fastened, but avoid overtightening to prevent damage.
- Next, take the top frame and align it with the device. Ensure that any clips or tabs on the frame align with the corresponding slots or notches on the device.
- Gently press the top frame into place, starting from one edge and working your way around the device. You may hear a slight click or feel a subtle snap as the top frame securely attaches to the rest of the device.
- Go over the edges of the device to ensure that the top frame is fully seated and there are no gaps or misalignments.
When reassembling the top frame and mainboard, it’s important to handle the components with care and ensure they are properly aligned. Rushing or applying excessive force can result in damage to the device or its internal components.
Take your time to ensure all the screws are securely tightened and the top frame is properly attached. This will help protect the components and ensure the device is structurally sound.
Once the top frame and mainboard are reassembled, we’re almost done with the screen replacement for your Samsung Galaxy S3.
Now that we have successfully reassembled the top frame and mainboard, let’s move on to the next step, which involves inserting the SIM card and SD card (if applicable).
Step 10: Insert the SIM Card and SD Card (if applicable)
Now that the top frame and mainboard are reassembled, it’s time to insert the SIM card and SD card (if applicable) back into your Samsung Galaxy S3. These cards allow you to connect to a cellular network and expand the device’s storage capacity, respectively.
Follow these steps to insert the SIM card and SD card (if applicable):
- Locate the SIM card slot on the side of the device. It is usually located near the top or bottom edge.
- Take the SIM card and ensure it is properly oriented. Align the notched corner of the SIM card with the corresponding notch on the SIM card slot.
- Gently insert the SIM card into the slot, ensuring a snug fit.
- If your device has an SD card slot, locate it near the SIM card slot or on the side of the device.
- Take the SD card and ensure it is properly oriented. Align the notched corner of the SD card with the corresponding notch on the SD card slot.
- Gently insert the SD card into the slot, ensuring a snug fit.
- Push the SIM card and SD card trays back into the device until they are flush with the rest of the device.
When inserting the SIM card and SD card, it’s important to handle them with care and ensure they are correctly oriented. Forcing the cards or inserting them the wrong way can result in damage to the cards or the device.
If your device does not have an SD card slot, you can skip this step and proceed to the next one.
With the SIM card and SD card inserted, your Samsung Galaxy S3 is ready to connect to the cellular network and utilize additional storage capacity.
Now that we have inserted the SIM card and SD card (if applicable), let’s move on to the next step, which involves reinstalling the battery and back cover.
Step 11: Reinstall the Battery and Back Cover
With the SIM card and SD card inserted, it’s time to reinstall the battery and back cover of your Samsung Galaxy S3. These components complete the assembly of the device and provide protection to the internals.
Follow these steps to reinstall the battery and back cover:
- Take the battery and ensure it is clean and free from any debris.
- Align the battery’s connectors with the corresponding connectors inside the device.
- Gently place the battery into the battery compartment, ensuring it sits flat and is properly aligned.
- Press down on the battery until it is fully seated and securely locked in place.
- Take the back cover and ensure it is clean and free from any debris.
- Align the back cover with the edges of the device.
- Starting from one edge, press down on the back cover until it snaps into place. Work your way around the edges, ensuring that the clips lock securely.
- Gently press on the back cover to ensure it is evenly seated and there are no gaps or misalignments.
When reinstalling the battery and back cover, it’s important to handle them with care and ensure they are properly aligned. Applying too much force or not aligning them correctly can cause damage to the device or result in an improper fit.
Take your time to ensure the battery is securely in place and the back cover is properly attached. This will ensure the device functions correctly and is protected.
With the battery and back cover reinstalled, your Samsung Galaxy S3 is almost ready to be powered on.
Now that we have completed the installation of the battery and back cover, let’s move on to the final step, which involves powering on the device.
Step 12: Power On the Device
With all the components reassembled and in place, it’s now time to power on your Samsung Galaxy S3 and ensure that the new screen is functioning properly.
Follow these steps to power on the device:
- Press and hold the power button located on the side of the device.
- After a few seconds, you should see the Samsung logo appear on the screen.
- Release the power button and wait for the device to boot up.
- Once the device is powered on, you should see the home screen or lock screen displayed on the new screen.
- Test the functionality of the screen by swiping and tapping on different areas of the display. Ensure that the touch response is accurate and the screen is displaying content correctly.
- If you encounter any issues, such as unresponsive touch or abnormal display, power off the device and recheck the connections of the display and digitizer cables.
- If everything is functioning properly, congratulations! You have successfully replaced the screen of your Samsung Galaxy S3.
Powering on the device is an exciting moment, as it signifies the completion of the screen replacement process. Take your time to ensure that the screen is responsive and displaying content accurately.
If you encounter any issues during the power-on process or notice any problems with the screen’s functionality, double-check the connections and consider rechecking the installation steps. It’s always best to ensure everything is properly connected and aligned.
Now that your Samsung Galaxy S3 is powered on and the new screen is operating correctly, you can start using your device as usual.
Great job on successfully completing the screen replacement process!
Conclusion
Congratulations on successfully replacing the screen of your Samsung Galaxy S3! By following the step-by-step guide, you have taken the initiative to save money and restore the functionality of your device. We hope this process has been informative and empowering for you.
Throughout the guide, we covered important safety precautions to ensure your well-being during the repair process. We highlighted the tools needed to efficiently replace the screen, emphasizing the importance of using the correct tools for each step. Additionally, we provided detailed instructions on every stage of the process, including powering off the device, removing the back cover and battery, disconnecting cables, removing the broken screen, installing the new screen, reassembling the device, and finally, powering it back on.
Remember, patience and precision are key when performing any repair on your electronic devices. Take your time, follow the steps meticulously, and handle the components with care to avoid any damage. If you encounter any difficulties or uncertainties along the way, it may be helpful to consult additional resources or seek professional assistance.
We hope that this screen replacement guide has empowered you to take control of your device and provided a cost-effective solution to the broken screen issue. By following the steps outlined, you have successfully revived your Samsung Galaxy S3 and extended its usability.
Thank you for choosing our guide, and we wish you many more seamless moments with your newly restored Samsung Galaxy S3!