Introduction
Welcome to this guide on locating and managing the SIM card on your Samsung Galaxy S3. Whether you’re a new owner of the device or looking to replace or troubleshoot your SIM card, we’re here to help. The SIM card plays a vital role in your device’s functionality, as it enables you to connect to your mobile network, make calls, send messages, and access mobile data.
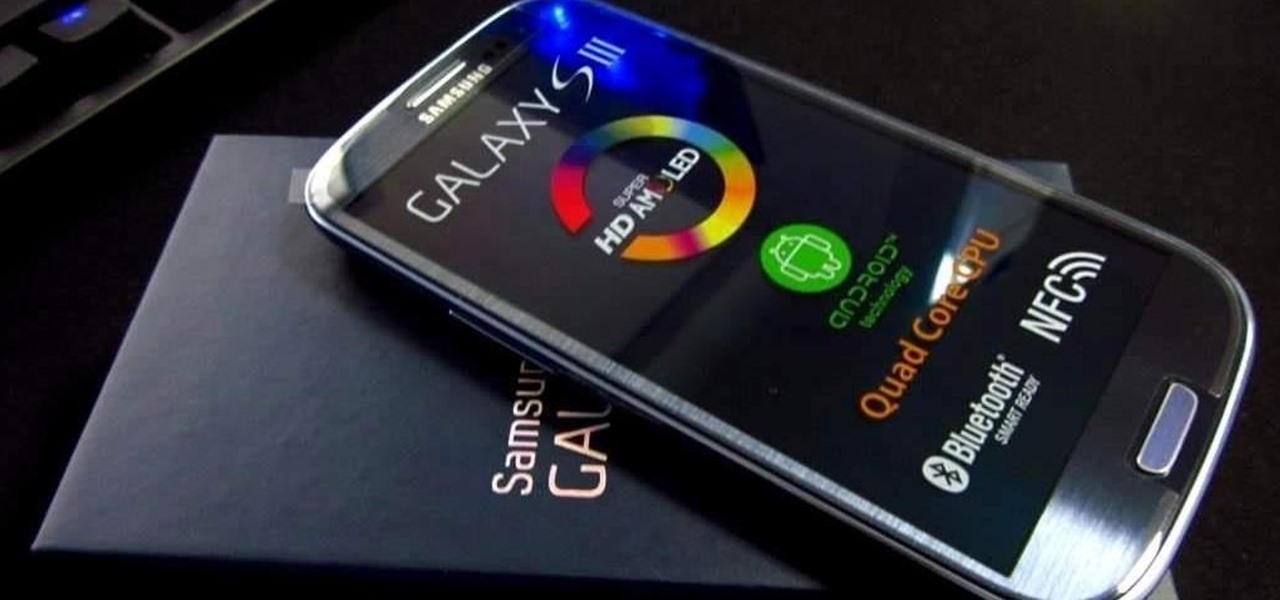
The Samsung Galaxy S3, with its sleek design and powerful features, was a popular device when it was released. Despite being an older model, many people still use the Galaxy S3 due to its reliability and versatility. It is important to understand the process of locating and managing the SIM card to ensure a seamless user experience.
In this guide, we will walk you through the steps to locate the SIM card slot on your Samsung Galaxy S3, as well as how to remove and insert a new SIM card. We will also cover some common issues that users might encounter with the SIM card and provide troubleshooting tips.
Whether you’re upgrading your SIM card, changing carriers, or facing connectivity issues, knowing how to handle the SIM card on your Samsung Galaxy S3 will prove helpful. So, let’s dive in and explore the world of SIM cards in the Samsung Galaxy S3!
What is a SIM card and why is it important in a Samsung Galaxy S3?
A SIM (Subscriber Identity Module) card is a small, removable smart card that is installed in a mobile device, such as the Samsung Galaxy S3, to identify and authenticate the subscriber to the mobile network. It stores essential information about the user’s account and enables the device to connect to the cellular network and make calls, send messages, and access mobile data.
The SIM card essentially carries your mobile identity and allows you to use the network services provided by your carrier. It contains your unique identification number, known as the International Mobile Subscriber Identity (IMSI), as well as the SIM card’s serial number, network authorization data, and personal information associated with the user’s account.
In a Samsung Galaxy S3, the SIM card plays a crucial role in enabling the device’s functionality. It allows the phone to identify the user and establish a secure connection with the mobile network. Without a properly inserted and functioning SIM card, the device will be unable to make calls, send messages, or access mobile data services.
The SIM card also allows users to switch between different mobile networks and carriers by simply replacing the SIM card with one from their desired provider. This flexibility makes it easier for users to enjoy competitive pricing plans, better network coverage, and specific features provided by different carriers.
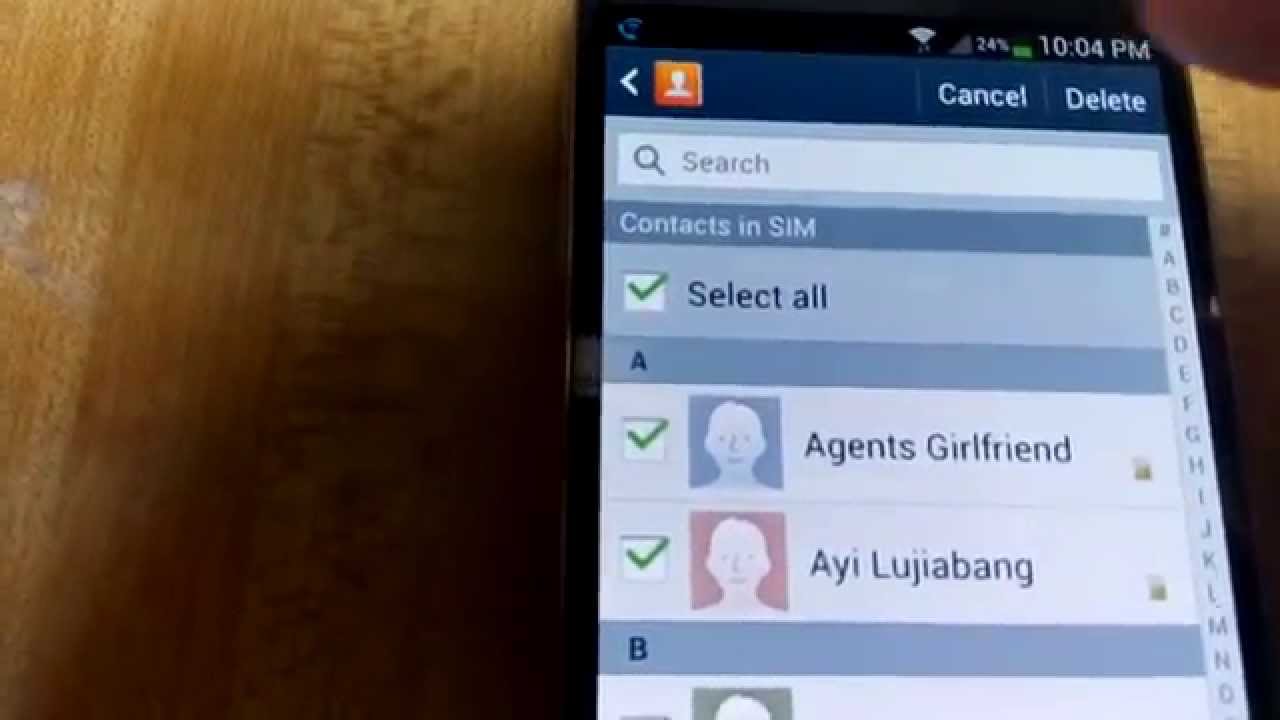
Furthermore, the SIM card is often used to store personal contacts, text messages, and other data specific to the user. This feature allows users to easily transfer their contacts and data from one device to another by simply moving the SIM card.
In summary, the SIM card is a vital component in a Samsung Galaxy S3, as it enables the device to connect to the mobile network, make calls, send messages, and access mobile data services. It carries the user’s unique identification and allows for flexibility in switching carriers. Understanding the importance of the SIM card is essential for proper device functionality and a seamless mobile experience.
Locating the SIM card slot on a Samsung Galaxy S3
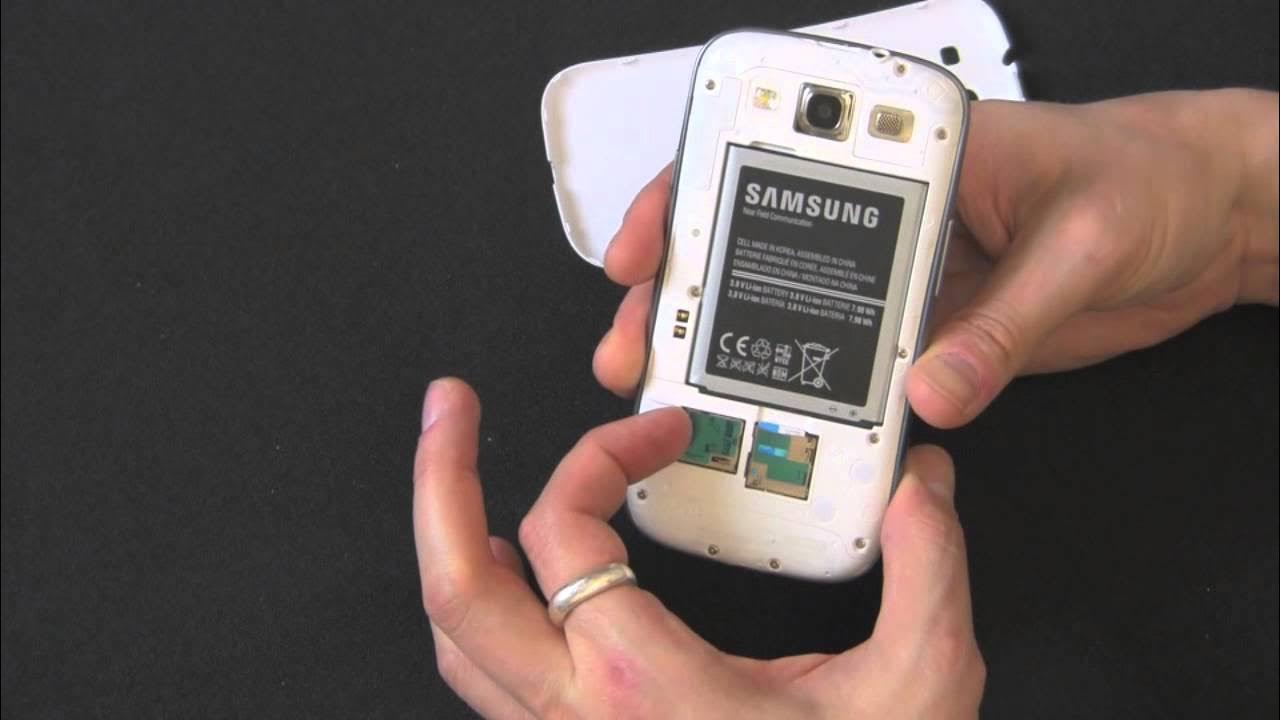
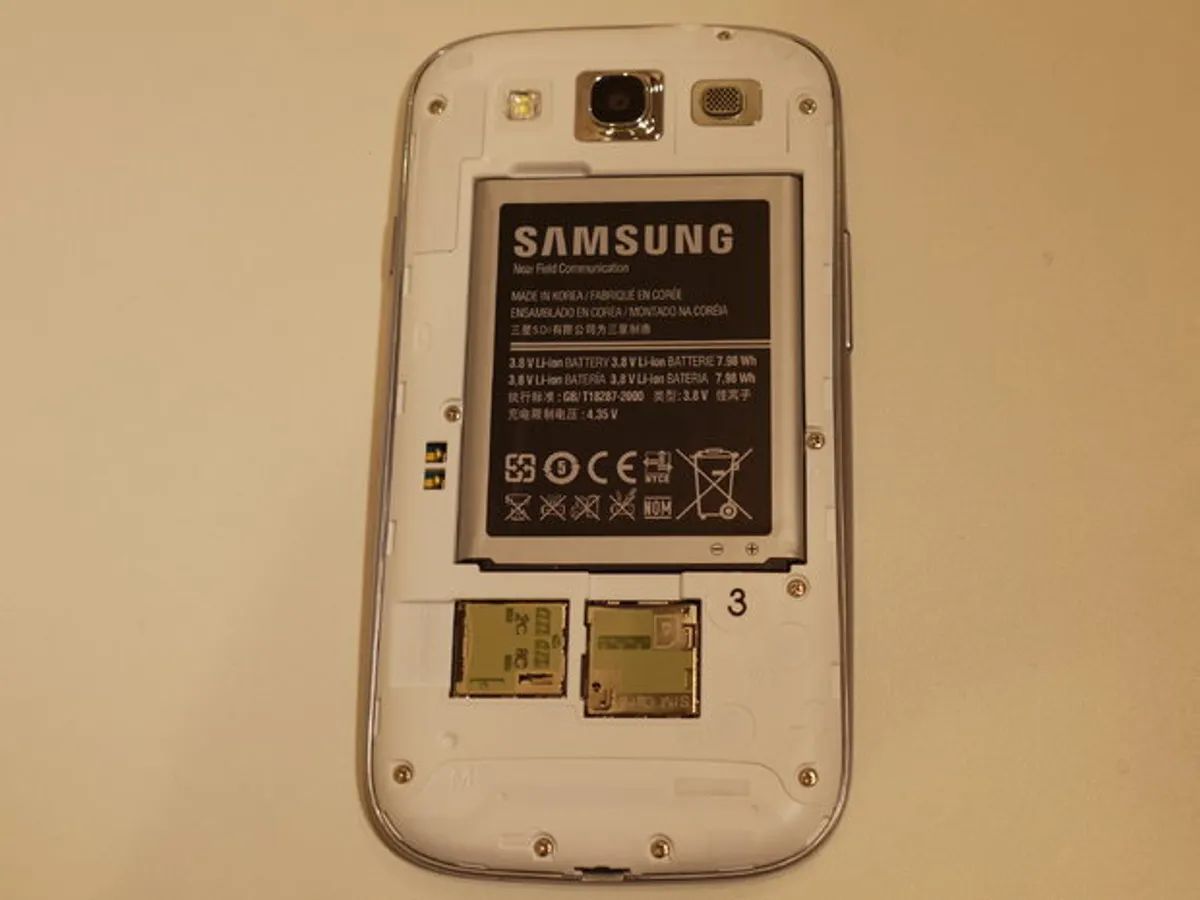
The SIM card slot on a Samsung Galaxy S3 is located on the back of the device, underneath the battery cover. Follow these steps to locate the SIM card slot:
- Power off your Samsung Galaxy S3 by pressing and holding the power button until the power options menu appears. Select “Power off” to turn off the device.
- Hold the device firmly and locate the small indent on the top left corner of the back cover.
- Insert your fingernail or a flat object, such as a small screwdriver, into the indent and pry the back cover off gently.
- Once the back cover is removed, you will see the battery. Lift the battery out of the device to reveal the SIM card slot.
- The SIM card slot is a small, rectangular slot located near the top of the device, underneath where the battery was positioned.
It’s important to handle the SIM card slot with care, as excessive force or mishandling can damage the slot or the SIM card itself. Take note of the orientation of the SIM card slot and make sure not to insert the SIM card upside down or backwards.
Now that you’ve located the SIM card slot on your Samsung Galaxy S3, you’re ready to remove or insert a new SIM card. In the next sections, we’ll guide you through the steps to take for both of these processes.
Steps to remove the SIM card from a Samsung Galaxy S3
If you need to remove the SIM card from your Samsung Galaxy S3, follow these steps:
- Ensure that your Samsung Galaxy S3 is powered off.
- Remove the back cover by inserting your fingernail or a flat object, such as a small screwdriver, into the small indent on the top left corner of the back cover. Gently pry the back cover off.
- Lift the battery out of the device to access the SIM card slot.
- Locate the SIM card slot near the top of the device, underneath where the battery was positioned.
- Gently push the edge of the SIM card that is inserted into the slot to release it. The SIM card slot may have a spring-loaded mechanism to assist with the removal process.
- Carefully pull the SIM card out of the slot using your fingers or a pair of tweezers, if necessary. Make sure to handle the SIM card with care and avoid touching the gold contacts on the card.
- Once the SIM card is removed, place it in a safe and clean location, away from dust or debris.
It’s important to note that removing the SIM card will disconnect your Samsung Galaxy S3 from the cellular network, and you will not be able to make calls, send messages, or access mobile data until a new SIM card is inserted.
Now that you’ve successfully removed the SIM card from your Samsung Galaxy S3, you can proceed with inserting a new SIM card if needed. Follow the upcoming steps for guidance on inserting a new SIM card into your device.
How to insert a new SIM card into a Samsung Galaxy S3
If you need to insert a new SIM card into your Samsung Galaxy S3, follow these steps:
- Ensure that your Samsung Galaxy S3 is powered off.
- Remove the back cover by inserting your fingernail or a flat object, such as a small screwdriver, into the small indent on the top left corner of the back cover. Gently pry the back cover off.
- Lift the battery out of the device to access the SIM card slot.
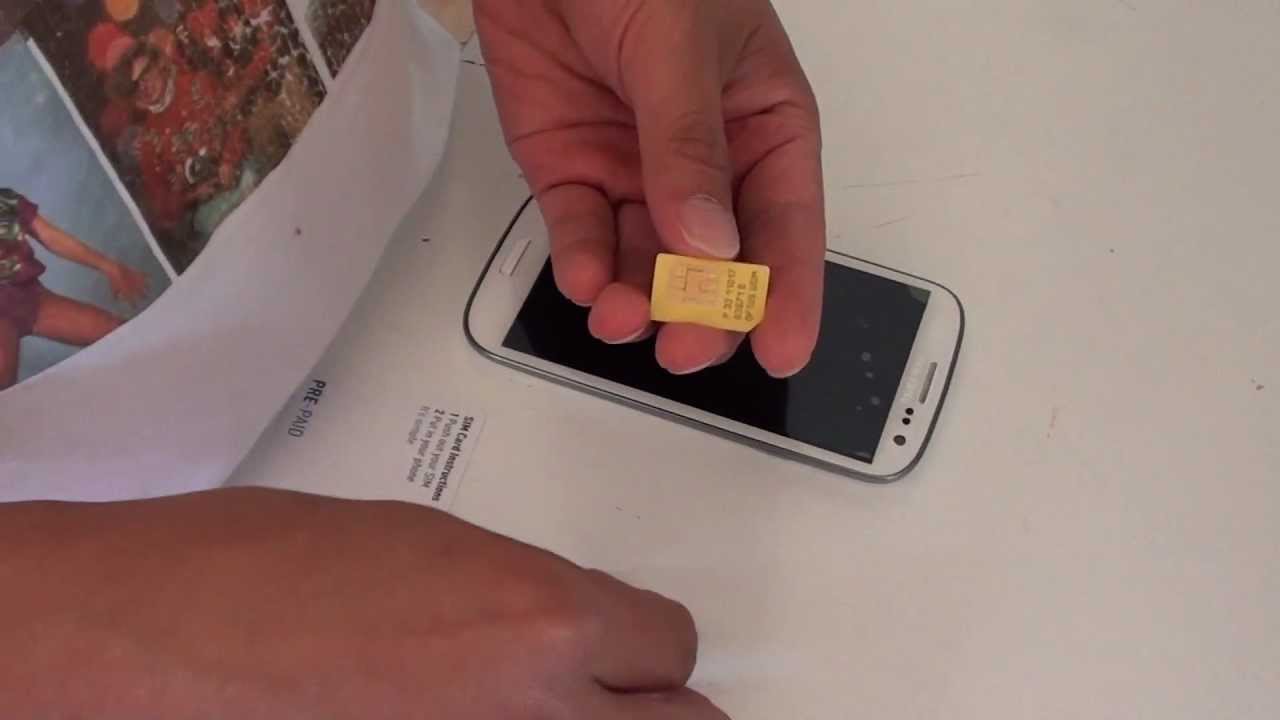
- Take your new SIM card and hold it with the gold contacts facing down and the cut corner or notch aligned with the SIM card slot.
- Gently slide the SIM card into the slot, making sure that it is properly seated and aligned with the slot.
- Once the SIM card is inserted, push it down gently with your finger until it clicks into place or until it is fully inserted into the slot.
- Replace the battery by aligning the contacts on the battery with the corresponding connectors in the device. Press the battery down to secure it in place.
- Put the back cover back on by aligning it with the device and pressing it down until it snaps into place.
- Power on your Samsung Galaxy S3 by pressing and holding the power button until the device boots up.
Once the device is powered on, it will recognize the new SIM card, and you will be able to use the mobile network services provided by your carrier.
It’s important to note that if you are switching to a new SIM card, you may need to activate it with your carrier before you can use it to make calls, send messages, or access mobile data.
Congratulations! You have successfully inserted a new SIM card into your Samsung Galaxy S3. Enjoy using your device with the new SIM card and the services provided by your carrier.
Troubleshooting common issues with the SIM card on a Samsung Galaxy S3
While using a SIM card in your Samsung Galaxy S3, you may encounter some common issues. Here are some troubleshooting tips to help you resolve these problems:
- No SIM card detected: If your Samsung Galaxy S3 is displaying a “No SIM card” or “SIM card not detected” error, ensure that the SIM card is properly inserted into the SIM card slot. Remove and reinsert the SIM card, making sure it is securely in place. If the problem persists, try cleaning the contacts on the SIM card with a soft, lint-free cloth or gently blowing into the SIM card slot to remove any debris.
- Weak or no signal: If you are experiencing weak or no signal on your Samsung Galaxy S3, check if the SIM card is properly inserted and not damaged. Ensure that you are in an area with sufficient network coverage. You can also try restarting your device or toggling airplane mode on and off to refresh the network connection. If the issue persists, contact your carrier for assistance.
- Unable to make calls or send messages: If you are unable to make calls or send messages, verify that your Samsung Galaxy S3 is connected to the mobile network. Ensure that the SIM card is inserted correctly and that your account is active and in good standing with your carrier. If you are still experiencing difficulties, try resetting the network settings on your device or contacting your carrier for further assistance.
- SIM card locked: If your SIM card becomes locked, you may see an error message prompting you to enter a PIN or PUK code. The PIN code is typically provided by your carrier and is used to unlock the SIM card. If you enter the wrong PIN multiple times, you will be prompted to enter the PUK code. The PUK code is also provided by your carrier. If you do not have this information, contact your carrier’s customer support for assistance.
- SIM card compatibility: Ensure that the SIM card you are using is compatible with the Samsung Galaxy S3. Not all SIM cards are compatible with all devices, so check with your carrier or refer to your device’s documentation for the correct SIM card specifications. Using an incompatible SIM card can result in errors or limited functionality.
If you have tried the troubleshooting tips above and are still experiencing issues with your SIM card on the Samsung Galaxy S3, it is recommended to reach out to your carrier’s customer support or visit a service center for further assistance. They will be able to provide specific guidance and solutions for your situation.
Conclusion
Managing the SIM card on your Samsung Galaxy S3 is essential for ensuring a seamless mobile experience. In this guide, we have provided you with the necessary information to locate the SIM card slot on your device, remove and insert a new SIM card, and troubleshoot common issues that may arise.
Remember, the SIM card is a vital component that allows your Samsung Galaxy S3 to connect to the mobile network, make calls, send messages, and access mobile data services. Whether you are upgrading your SIM card, changing carriers, or troubleshooting connectivity issues, understanding how to handle the SIM card is crucial.
We discussed the importance of the SIM card, its role in identifying and authenticating the subscriber, and the flexibility it offers in switching networks and carriers. We also provided step-by-step instructions on how to locate and remove the SIM card, as well as insert a new SIM card into the Samsung Galaxy S3.
Additionally, we shared troubleshooting tips for common SIM card issues, such as a SIM card not being detected, weak signal, inability to make calls or send messages, and SIM card locking. These tips can help you resolve these issues and get your device back to optimal functionality.
If you have followed the steps and suggestions provided in this guide and are still experiencing difficulties with your SIM card on the Samsung Galaxy S3, it is recommended to contact your carrier’s customer support or visit a service center for further assistance.
We hope this guide has been helpful in understanding and managing the SIM card on your Samsung Galaxy S3. By effectively managing your SIM card, you can ensure a smooth and reliable mobile communication experience.