Introduction
Inserting a SIM card into a Samsung Galaxy S3 is a fundamental step in setting up the device for communication. Whether you're a new user or upgrading to this iconic smartphone, understanding how to insert a SIM card is essential for seamless connectivity. The SIM card serves as the gateway to your mobile network, enabling you to make calls, send messages, and access mobile data. In this guide, we will walk you through the simple process of inserting a SIM card into your Galaxy S3, allowing you to harness the full potential of your device.
The Samsung Galaxy S3, known for its sleek design and advanced features, has been a popular choice for users seeking a reliable and feature-rich mobile experience. With its vibrant display, powerful performance, and versatile capabilities, the Galaxy S3 has stood the test of time as a dependable companion for communication, productivity, and entertainment. By mastering the art of inserting a SIM card, you can unlock the true potential of this iconic smartphone and stay connected wherever you go.
Now, let's delve into the step-by-step process of inserting a SIM card into your Samsung Galaxy S3, ensuring that you can seamlessly integrate your device with your mobile network and embark on a fulfilling digital journey.
Step 1: Locate the SIM card slot
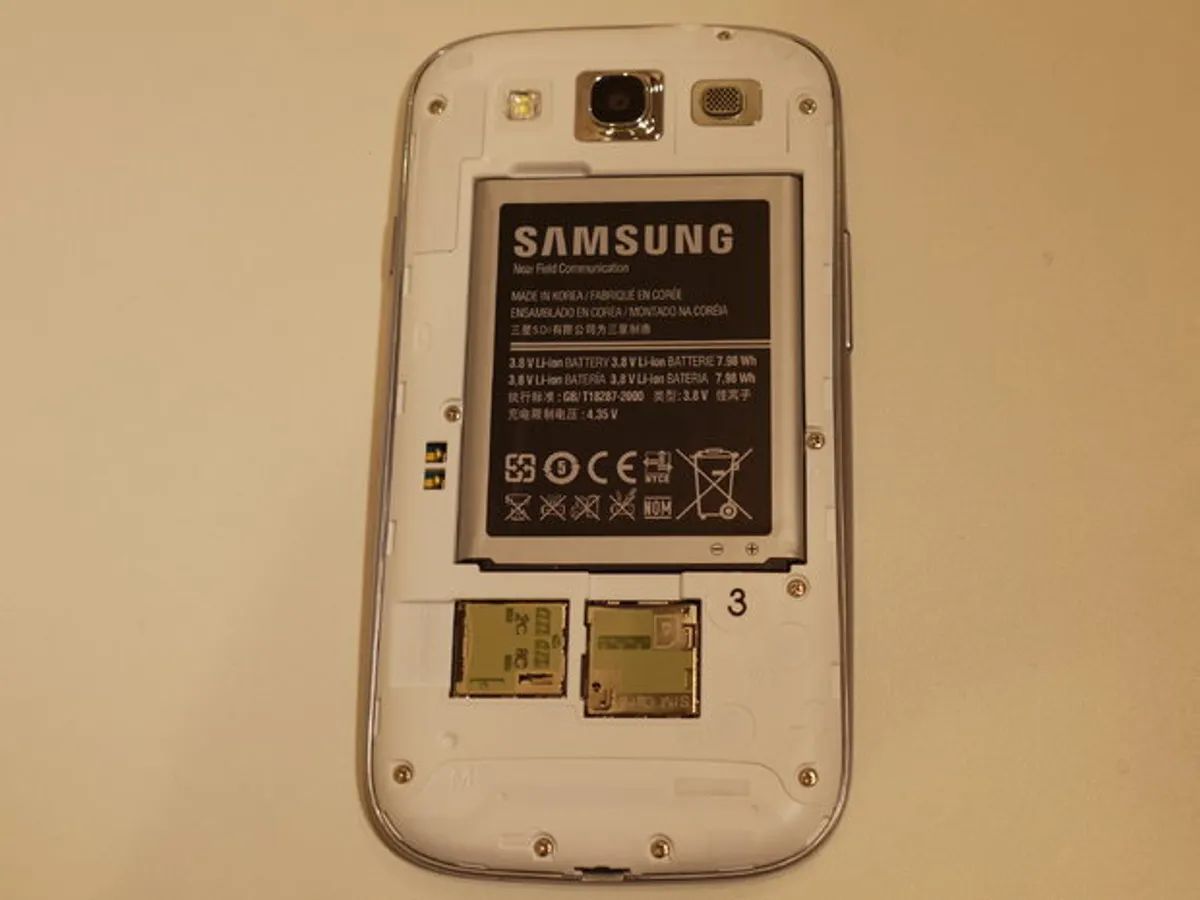
The first step in inserting a SIM card into your Samsung Galaxy S3 is to locate the SIM card slot. The SIM card slot on the Galaxy S3 is typically located on the side of the device. To find it, you'll need to identify the small tray or compartment that houses the SIM card. The exact location may vary slightly depending on the specific model of the Galaxy S3, but it is commonly situated on the upper left-hand side of the device.
Once you have located the SIM card slot, you will notice a small pinhole or a slot with a removable cover. This is where the SIM card will be inserted to establish a connection with your mobile network. The design of the SIM card slot is intended to ensure that the SIM card is securely fitted into the device, providing reliable connectivity and seamless communication capabilities.
In some models of the Galaxy S3, the SIM card slot may be accompanied by a microSD card slot, allowing you to expand the device's storage capacity. It's important to differentiate between the two slots to avoid any confusion when inserting the SIM card. The SIM card slot is specifically designated for the SIM card, while the microSD card slot is intended for expanding the device's storage with a memory card.
By identifying the SIM card slot on your Galaxy S3, you are one step closer to integrating your device with your mobile network and unleashing its full potential. The strategic placement of the SIM card slot ensures that it is easily accessible while maintaining the device's sleek and ergonomic design. With the SIM card slot within reach, you can proceed to the next step of inserting the SIM card into your Samsung Galaxy S3, paving the way for seamless communication and connectivity.
Now that you have successfully located the SIM card slot on your Galaxy S3, let's move on to the next step of the process: inserting the SIM card into the designated slot, ensuring a secure and reliable connection with your mobile network.
Step 2: Insert the SIM card
With the SIM card slot of your Samsung Galaxy S3 now identified, the next crucial step is to insert the SIM card into the designated slot. This process is straightforward and essential for establishing a seamless connection with your mobile network.
Here's a comprehensive guide to inserting the SIM card into your Samsung Galaxy S3:
-
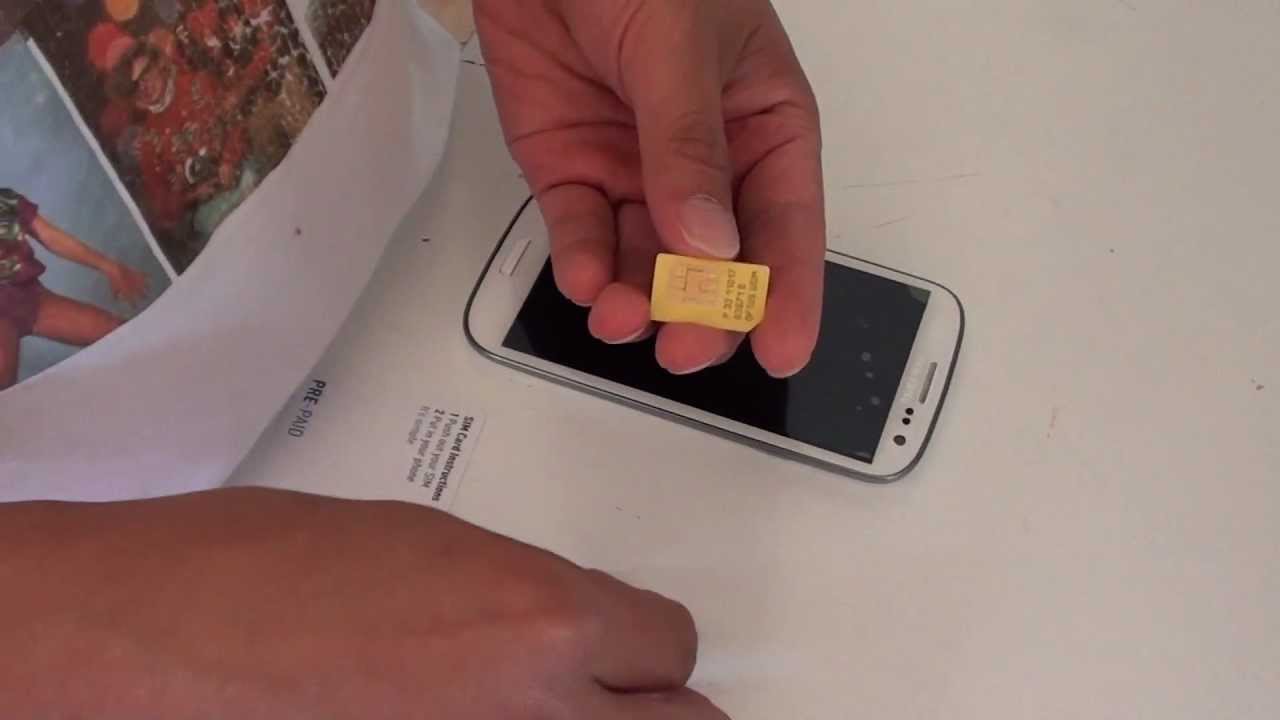
Prepare the SIM card: Before inserting the SIM card, it's important to ensure that the card is compatible with your mobile network. The Samsung Galaxy S3 typically utilizes a standard-sized SIM card, also known as a mini-SIM. If your SIM card is a different size, such as a micro-SIM or nano-SIM, you may need to use an adapter to make it compatible with the Galaxy S3's SIM card slot. Additionally, make sure the SIM card is activated by your mobile carrier and is free from any physical damage.
-
Power off the device: To avoid any potential disruption or damage to the SIM card or the device itself, it's advisable to power off your Samsung Galaxy S3 before inserting the SIM card. This ensures a safe and smooth insertion process, minimizing the risk of any technical issues.
-
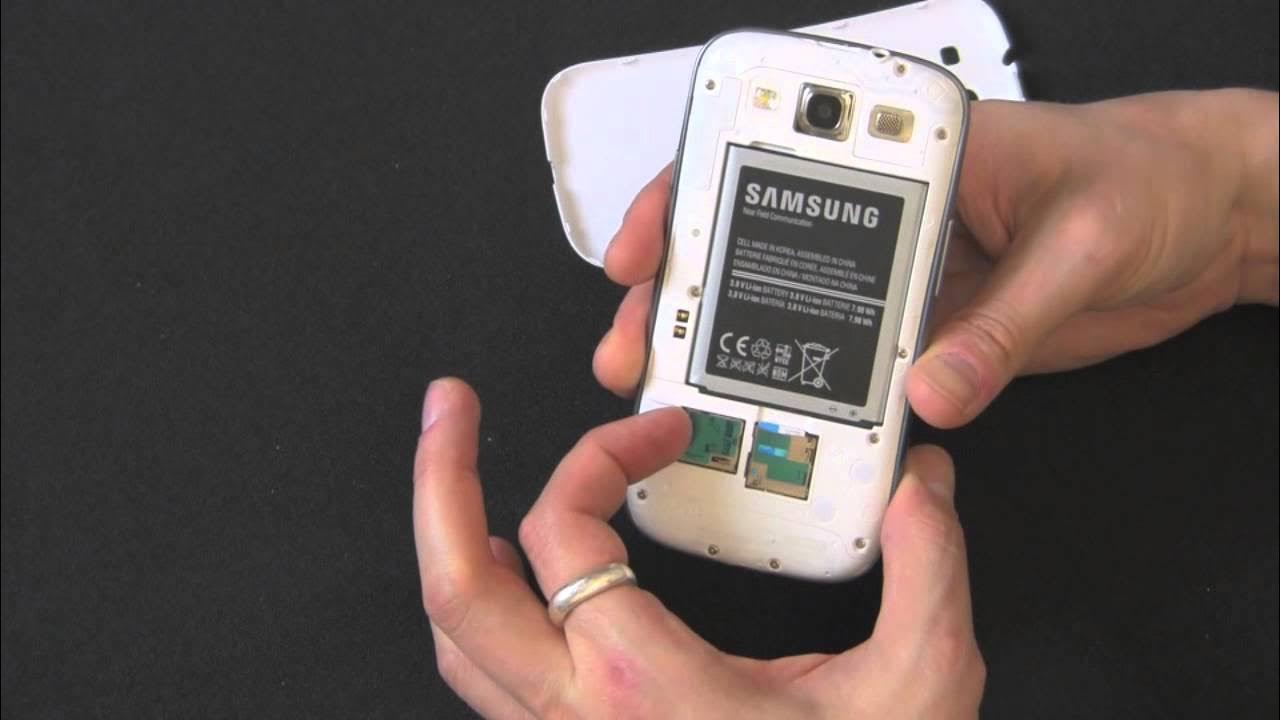
Open the SIM card slot: Using the SIM ejection tool provided with your Galaxy S3 or a small paperclip, gently insert the tool into the pinhole or slot adjacent to the SIM card slot. Apply light pressure to release the SIM card tray, which will pop out slightly. Carefully pull out the SIM card tray from the device, taking care not to exert excessive force.
-
Position the SIM card: Place the SIM card on the SIM card tray, ensuring that the gold contacts on the SIM card align with the corresponding contacts on the tray. The SIM card should fit securely without any protrusion or misalignment. Take a moment to verify that the SIM card is positioned correctly, as improper insertion may lead to connectivity issues.
-
Reinsert the SIM card tray: Once the SIM card is securely positioned on the tray, carefully slide the tray back into the SIM card slot until it is fully inserted. Ensure that the tray sits flush with the device, maintaining a seamless and ergonomic design. Avoid applying excessive pressure during this step to prevent any damage to the SIM card or the device.
-
Power on the device: With the SIM card successfully inserted, power on your Samsung Galaxy S3 to initiate the device's connection with your mobile network. Upon powering on the device, it will recognize the SIM card and establish the necessary network connectivity, enabling you to make calls, send messages, and access mobile data.
By following these steps, you can confidently insert the SIM card into your Samsung Galaxy S3, setting the stage for uninterrupted communication and connectivity. With the SIM card seamlessly integrated into your device, you are now poised to harness the full potential of your Galaxy S3, staying connected and empowered in your digital endeavors.
Step 3: Power on the device
Powering on your Samsung Galaxy S3 after inserting the SIM card is the final step in the process of integrating your device with your mobile network. This pivotal step initiates the device's recognition of the SIM card and establishes the essential network connectivity, enabling you to make calls, send messages, and access mobile data. Here's a detailed exploration of the significance and the seamless process of powering on your Samsung Galaxy S3:
Significance of Powering on the Device
Powering on the Samsung Galaxy S3 after inserting the SIM card is a critical moment that marks the convergence of hardware and network connectivity. As the device boots up, it undergoes a sequence of operations to recognize the SIM card, establish a secure connection with the mobile network, and configure the necessary settings for seamless communication. This pivotal process sets the stage for a seamless and uninterrupted mobile experience, ensuring that you can leverage the full capabilities of your Galaxy S3 without any connectivity barriers.
Seamless Power-On Process
Upon inserting the SIM card and ensuring that it is securely positioned in the designated slot, you can proceed to power on your Samsung Galaxy S3. The power button, typically located on the side or the top of the device, serves as the gateway to activate the device and initiate the boot-up sequence. By pressing and holding the power button for a few seconds, you will witness the vibrant display of the Galaxy S3 coming to life, signaling the commencement of the power-on process.
As the device powers on, the Samsung logo may grace the screen, indicating that the internal hardware components are initializing and the device is preparing to establish the necessary network connectivity. During this phase, the Galaxy S3 performs a series of automated tasks, including recognizing the SIM card, authenticating it with the mobile network, and configuring the network settings to ensure seamless communication and data access.
Once the power-on sequence is complete, the Samsung Galaxy S3 will display the home screen, signaling that the device is ready for use. At this juncture, the SIM card has been successfully recognized and integrated with the mobile network, empowering you to make calls, send messages, and access mobile data without any further intervention. The device is now fully equipped to deliver a comprehensive and immersive mobile experience, seamlessly bridging the gap between communication, productivity, and entertainment.
By meticulously following the process of powering on your Samsung Galaxy S3 after inserting the SIM card, you have ensured that the device is primed for seamless connectivity and optimal performance. With the SIM card securely in place and the device powered on, you are ready to embark on a fulfilling digital journey, leveraging the advanced features and capabilities of the iconic Galaxy S3 to stay connected and empowered in the dynamic digital landscape.
Conclusion
In conclusion, the process of inserting a SIM card into your Samsung Galaxy S3 is a fundamental step that paves the way for seamless communication, connectivity, and mobile empowerment. By following the step-by-step guide outlined in this article, you have gained a comprehensive understanding of the essential process of integrating your device with your mobile network, ensuring that you can harness the full potential of the iconic Galaxy S3.
The journey began with the crucial task of locating the SIM card slot on your Galaxy S3, a strategic step that sets the stage for the seamless insertion of the SIM card. By identifying the SIM card slot, you have familiarized yourself with the device's hardware layout, ensuring that the insertion process proceeds smoothly and efficiently.
Moving forward, the process of inserting the SIM card into the designated slot was meticulously detailed, encompassing essential preparatory steps and the seamless insertion of the SIM card. By adhering to the comprehensive guide, you have successfully positioned the SIM card within the device, setting the stage for secure connectivity and uninterrupted mobile access.
The final step of powering on the device marked the culmination of the integration process, as your Samsung Galaxy S3 recognized the SIM card, established the necessary network connectivity, and prepared to deliver a seamless mobile experience. By powering on the device, you have initiated the convergence of hardware and network connectivity, ensuring that your Galaxy S3 is primed for immersive communication and digital empowerment.
As you embark on your digital journey with the Samsung Galaxy S3, the successful insertion of the SIM card serves as a foundational milestone, enabling you to make calls, send messages, and access mobile data with ease and reliability. The device stands ready to accompany you in your endeavors, seamlessly bridging the gap between communication, productivity, and entertainment.
With the SIM card securely integrated into your Samsung Galaxy S3, you are now poised to explore the myriad features and capabilities of the device, leveraging its advanced functionalities to stay connected and empowered in the dynamic digital landscape. Whether it's staying in touch with loved ones, conducting business on the go, or immersing yourself in digital content, the Galaxy S3 is your steadfast companion, empowered by the seamless integration of the SIM card.
In essence, the process of inserting a SIM card into your Samsung Galaxy S3 is not merely a technical task; it signifies the commencement of a transformative digital experience, where communication, connectivity, and empowerment converge seamlessly. With the SIM card in place and the device powered on, you are now equipped to embark on a fulfilling digital journey, leveraging the iconic Samsung Galaxy S3 to stay connected and empowered in the vibrant realm of mobile technology.