Introduction
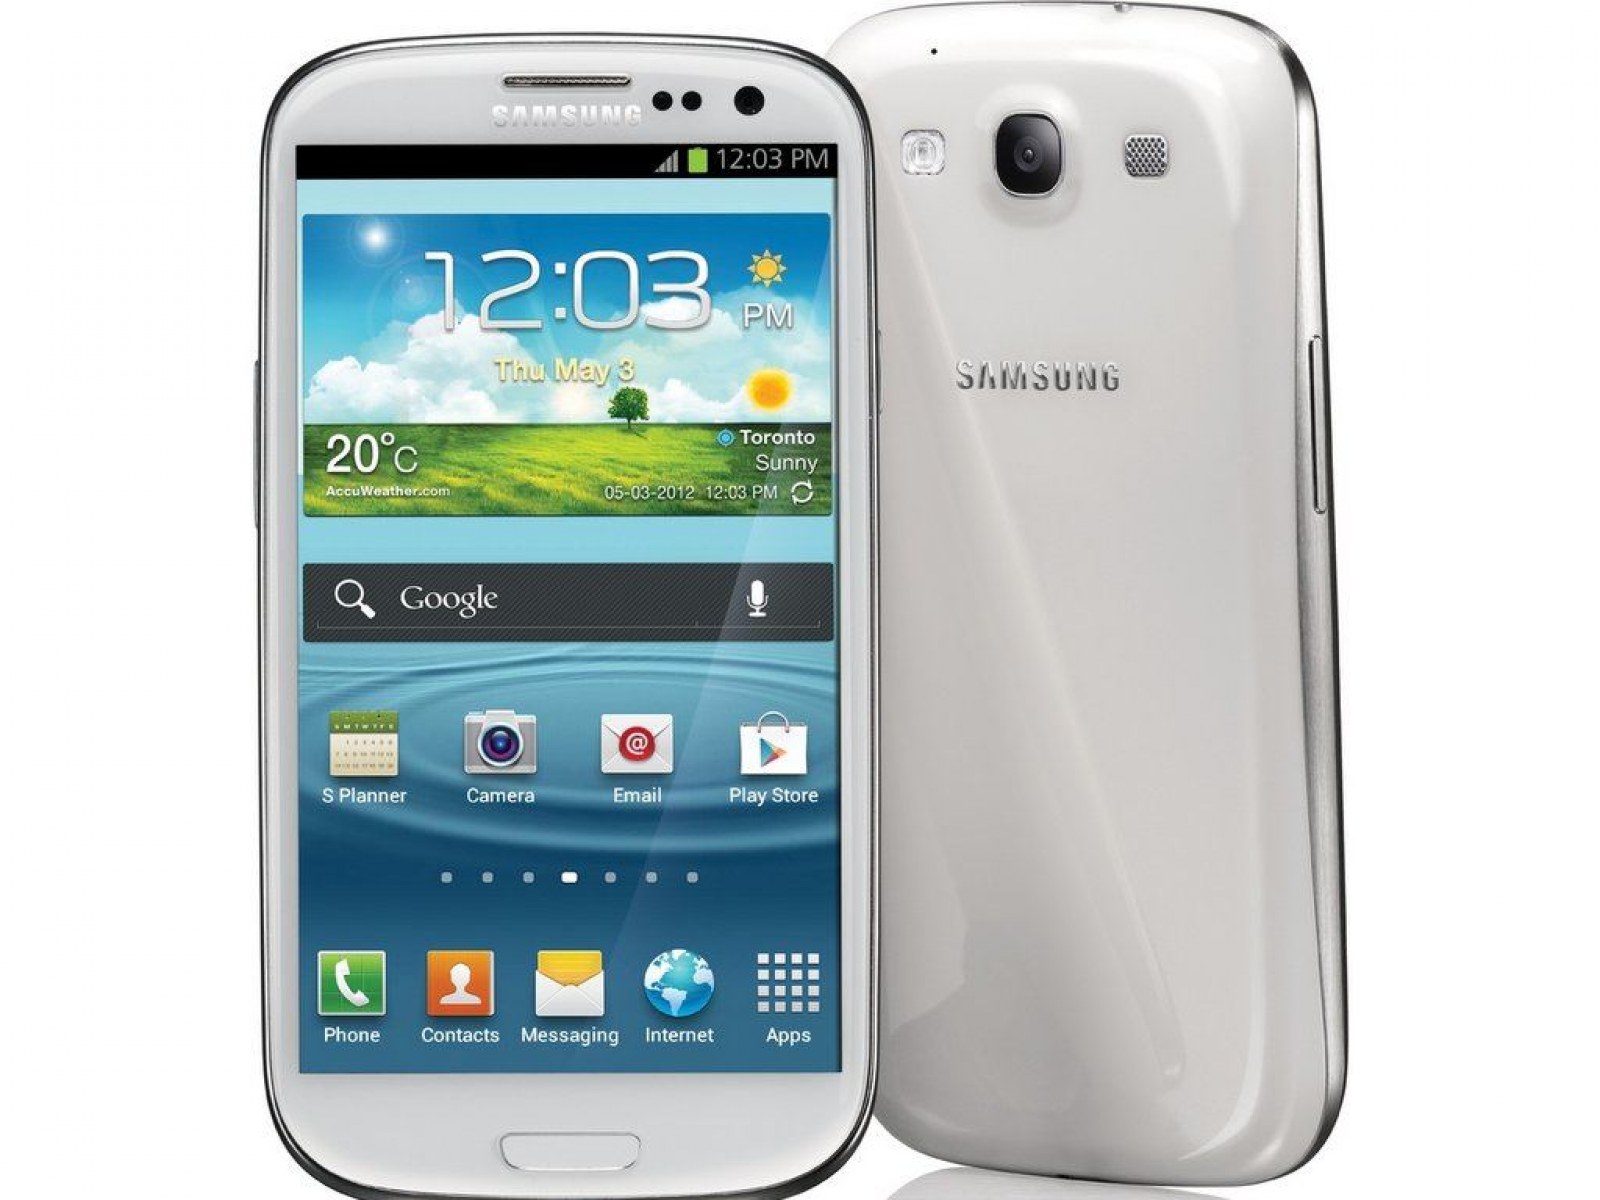
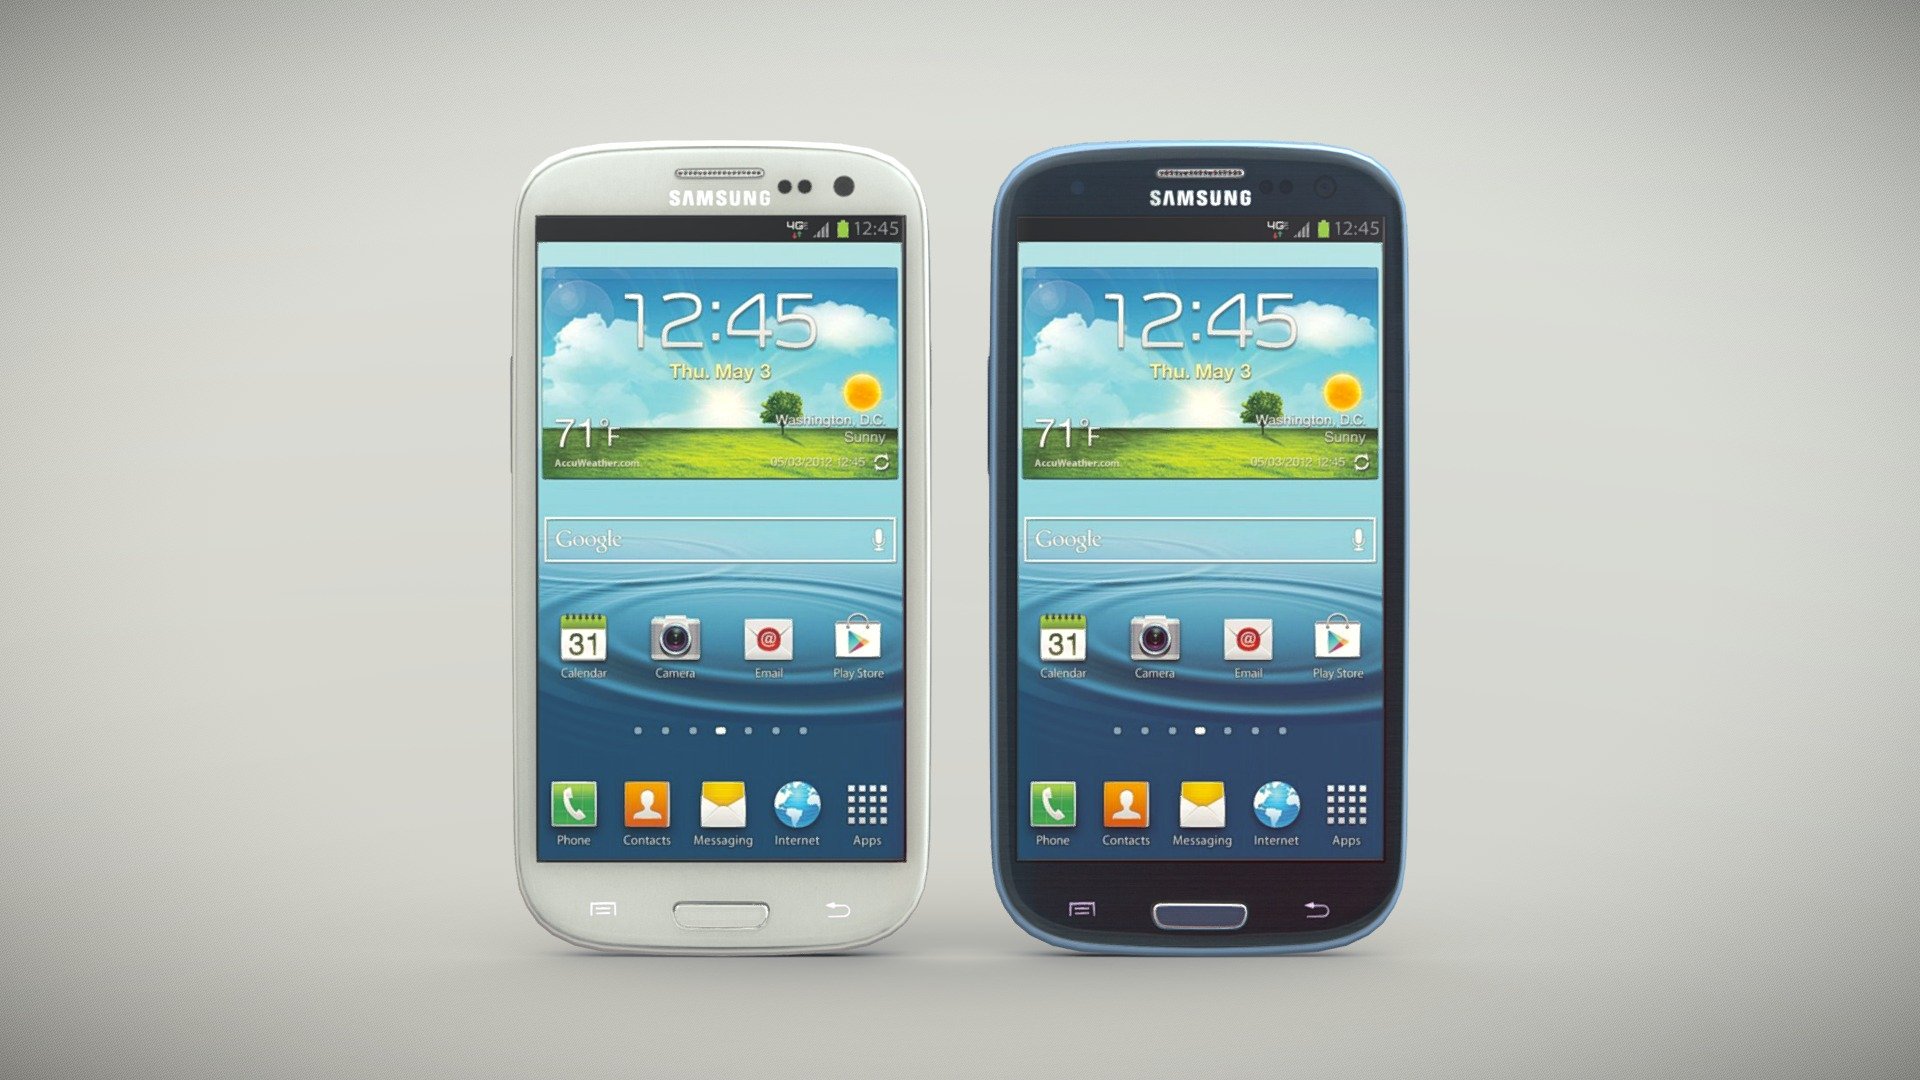
Welcome to this guide on how to move photos to the SD card on your Samsung Galaxy S3. If you are running out of storage space on your device and want to free up some memory, moving your photos to the SD card can be a great solution.
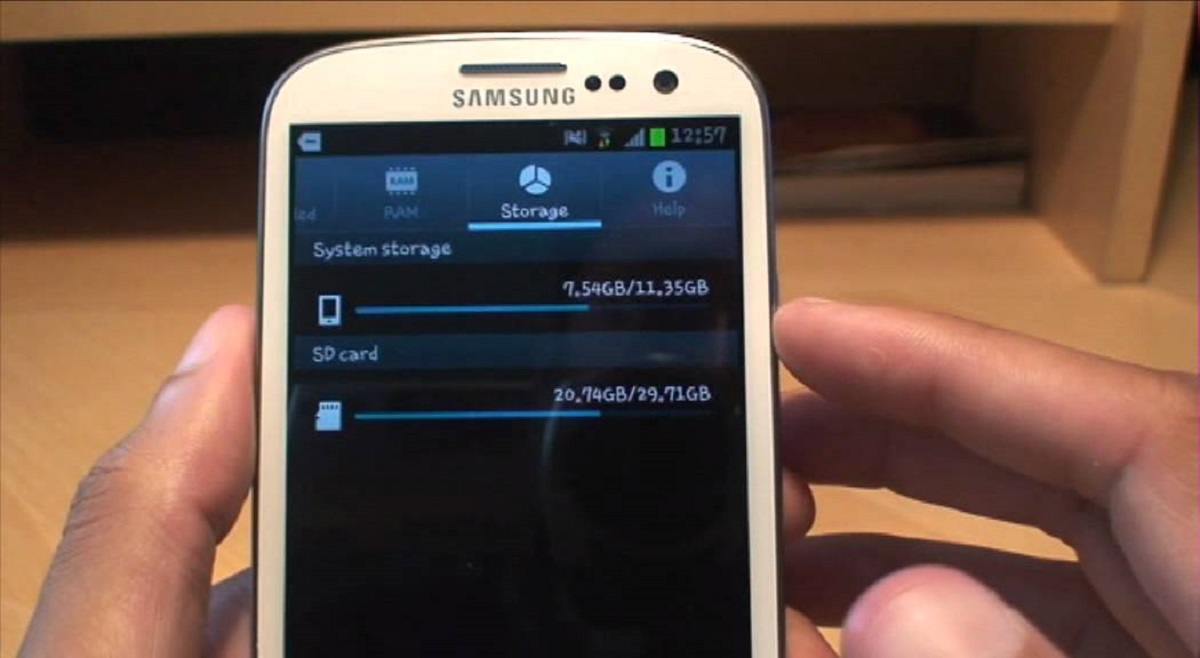
The Samsung Galaxy S3 comes with a built-in SD card slot that allows you to expand the storage capacity of your device. This means that you can easily transfer your photos from the internal storage to the SD card, giving you more room for other files and applications.
In this guide, we will walk you through the steps to move your photos to the SD card on your Galaxy S3. It is a simple process that can be done within the Gallery app, without the need for any additional apps or tools. Whether you want to move a few photos or your entire photo library, this guide will show you how.
Before we begin, please ensure that you have an SD card inserted into your Galaxy S3. If you do not have one, you can easily get one from a local electronics store or online retailer.
Now, let’s dive into the step-by-step process of moving your photos to the SD card on your Samsung Galaxy S3.
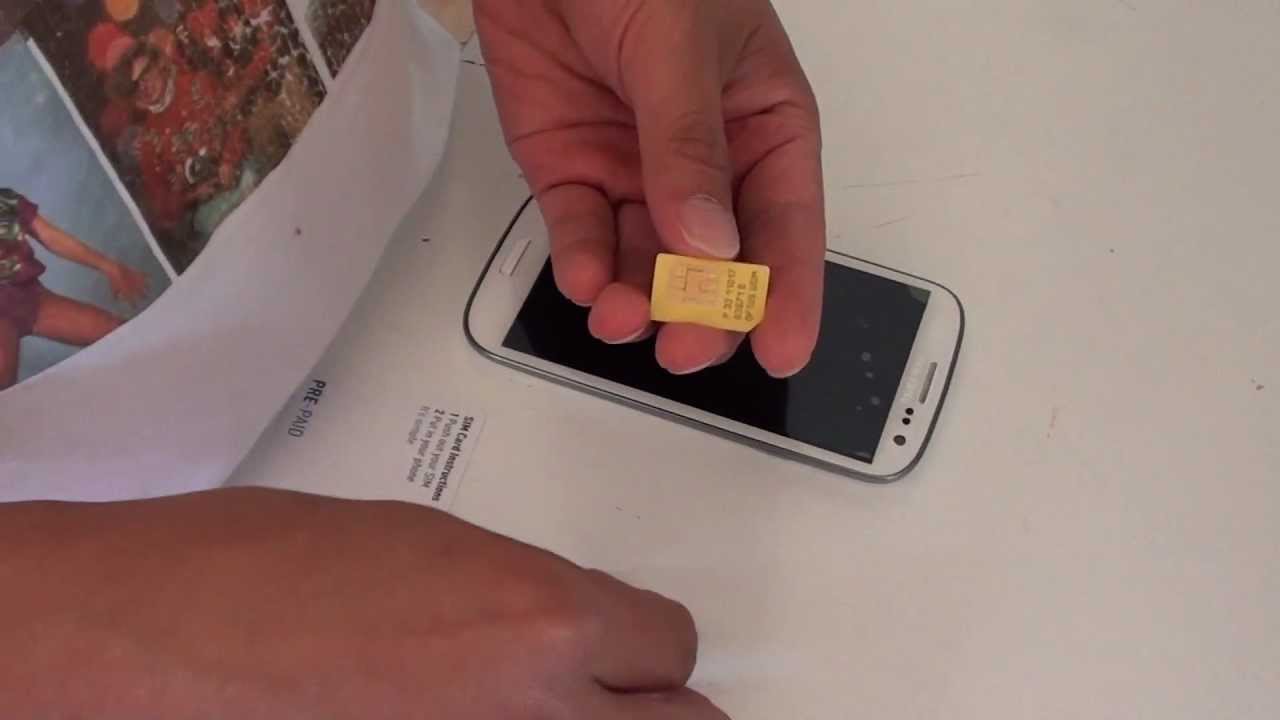
Step 1: Insert the SD Card into your Galaxy S3
The first step in moving your photos to the SD card on your Galaxy S3 is to insert the SD card into the device. The SD card slot is located on the side of the phone, under the back panel.
To insert the SD card, follow these steps:
- Turn off your Galaxy S3 by pressing and holding the power button.
- Remove the back cover of your phone by gently prying it off from the edge. You may need to use a fingernail or a small tool.
- Locate the SD card slot, which is usually located near the battery compartment.
- Insert the SD card into the slot, making sure it is properly aligned. The metal contacts on the card should face down.
- Push the SD card gently until it clicks into place.
- Replace the back cover of your Galaxy S3 by lining it up with the edges of the phone and pressing it down until it clicks.
- Turn on your phone by pressing the power button.
Once you have successfully inserted the SD card into your Galaxy S3, you are ready to proceed to the next step.
Step 2: Access the Gallery App
Now that you have inserted the SD card into your Galaxy S3, the next step is to access the Gallery app. This is where you can find and manage all the photos stored on your device.
To access the Gallery app, follow these simple steps:
- Unlock your Galaxy S3 by pressing the power button or using the fingerprint recognition feature.
- From the home screen, locate and tap on the “Gallery” app icon. It is usually represented by a square with a paintbrush or mountain icon.
- Once you tap on the Gallery app icon, the app will open, and you will be taken to the main screen, where you can view all your photos and albums.
Alternatively, if you have placed a shortcut for the Gallery app on your home screen or in the app drawer, you can access it directly by tapping on the shortcut icon.
It’s worth noting that the exact appearance and layout of the Gallery app may vary slightly depending on the version of the Android operating system and the customizations made by the device manufacturer. However, the basic functionality and navigation remain the same.
Now that you have successfully accessed the Gallery app on your Galaxy S3, you are ready to proceed to the next step and select the photos you want to move to the SD card.
Step 3: Select the Photos you want to move
Once you have opened the Gallery app on your Galaxy S3, it’s time to select the photos that you want to move to the SD card. You can choose individual photos or select multiple photos at once.
To select the photos, follow these steps:
- Open the album or folder where your photos are located. You can do this by tapping on the album name or navigating through the folder hierarchy.
- Once inside the album or folder, you will see a grid view of thumbnail images representing each photo.
- Tap on the first photo you want to move to select it. You will notice that the selected photo will have a border or checkmark indicating that it is selected.
- If you want to select multiple photos at once, simply tap on each additional photo. As you select multiple photos, you will see the border or checkmark appearing on each selected photo.
- If you want to select all the photos in the album or folder, look for the option to “Select All” or an icon that resembles a checkbox.
Once you have selected the photos you want to move, you are ready to proceed to the next step and access the menu options.
Step 4: Tap on the Menu button
Now that you have selected the photos that you want to move to the SD card on your Galaxy S3, it’s time to access the menu options that will allow you to initiate the move process.
To tap on the Menu button and bring up the necessary options, follow these steps:
- Make sure you are still within the Gallery app, viewing the selected photos.
- Look for the Menu button, which is typically represented by three dots or lines stacked vertically. It is usually located in the top right or bottom right corner of the screen.
- Once you have located the Menu button, tap on it to open the menu options.
By tapping on the Menu button, you will see a list of options and settings related to the selected photos. These options may include editing tools, sharing options, and various other functions.
In the next step, we will explore the specific menu option that is relevant to moving the photos to the SD card.
Step 5: Choose “Move” or “Move to SD Card”
After tapping on the Menu button in the Gallery app on your Galaxy S3, a list of options will appear. Now, you need to select the option that allows you to initiate the move process for the selected photos.
The specific wording and placement of the option may vary depending on the version of the Gallery app and the device’s software. However, you will typically find an option that is labeled either “Move” or “Move to SD Card”.
To choose the appropriate option and proceed with the move process, follow these steps:
- Look through the list of menu options that appear after tapping on the Menu button.
- Scan the options for any mention of “Move” or “Move to SD Card”.
- Once you have located the relevant option, tap on it to select it.
By selecting the “Move” or “Move to SD Card” option, you are indicating to the Gallery app that you want to transfer the selected photos from the internal storage of your Galaxy S3 to the inserted SD card.
Now, let’s move on to the next step and choose the storage location on the SD card for the photos.
Step 6: Select the SD Card storage location
After selecting the “Move” or “Move to SD Card” option in the Gallery app on your Galaxy S3, you will need to choose the specific storage location on the SD card where you want to transfer the selected photos.
To select the SD Card storage location, follow these steps:
- A new window or prompt will appear, displaying the available storage locations on your Galaxy S3. Look for an option that represents the SD card storage.
- Tap on the option that represents the SD card storage. The label might be something like “SD Card”, “External Storage”, or the name of your SD card if it has been customized.
- If you have multiple options for SD card storage, such as different folders or directories, choose the desired location where you want to transfer the photos.
By selecting the SD Card storage location, you are specifying the destination where the Gallery app will move the selected photos. This ensures that the photos are transferred from the internal storage of your Galaxy S3 to the SD card, freeing up space on your device.
In the next step, we will confirm the move and initiate the transfer process.
Step 7: Confirm the move
After selecting the SD Card storage location for the photos you want to move in the Gallery app on your Galaxy S3, it is important to confirm the move to proceed with the transfer process.
To confirm the move and initiate the transfer process, follow these steps:
- Look for a confirmation prompt or dialog box that appears after selecting the SD Card storage location.
- Review the details of the move, including the number of photos being transferred and the destination storage location.
- If everything appears correct, tap on the “Confirm” or “Move” button to start the transfer process.
By confirming the move, you are giving the Gallery app permission to transfer the selected photos from the internal storage of your Galaxy S3 to the specified storage location on the SD card.
It is important to note that the time required for the transfer process to complete may vary depending on the number and size of the photos being moved. Larger files may take longer to transfer compared to smaller ones.
Now that you have confirmed the move, let’s proceed to the next step and wait for the transfer to complete.
Step 8: Wait for the transfer to complete
After confirming the move of the selected photos to the SD card storage location in the Gallery app on your Galaxy S3, it is time to be patient and wait for the transfer to complete. The duration of the transfer process will depend on factors such as the number and size of the photos being moved.
Here’s what you need to do while waiting for the transfer process to complete:
- Keep your Galaxy S3 powered on and avoid interruptions or disruptions during the transfer process.
- Do not exit or close the Gallery app while the transfer is in progress.
- A progress bar or indicator may appear, indicating the status of the transfer. You can monitor the progress if it is available.
- It is normal for the transfer process to take some time, especially if you are moving a large number of photos or large file sizes. Exercise patience and wait for the process to finish.
During the transfer, it is important not to disconnect the SD card or turn off your Galaxy S3, as this may interrupt and potentially corrupt the transfer of the photos. Wait until the transfer process is completed before proceeding to the next step.
Once the transfer process is finished, you can move on to the next step to verify that the photos are now successfully stored on the SD card.
Step 9: Verify that the photos are now on the SD Card
After waiting for the transfer process to complete in the Gallery app on your Galaxy S3, it is important to verify that the photos have been successfully moved to the SD card. This step ensures that your precious memories are safely stored in the desired location.
To verify that the photos are now on the SD card, follow these steps:
- Open the Gallery app on your Galaxy S3.
- Navigate to the album or folder where the photos were originally located.
- Check whether the selected photos are still visible in the original location. If they have been successfully moved to the SD card, they should no longer be present in the internal storage location.
- Next, navigate to the SD card storage location you selected earlier.
- Look for the transferred photos within the chosen SD card storage location.
- If you can see the transferred photos in the SD card storage location, congratulations! They have been successfully moved to the SD card.
- You can also try opening one of the transferred photos to ensure that it opens and displays as expected.
It is essential to double-check the SD card storage location to ensure that the photos are present and accessible. This confirms that the move process was successful and that the photos are now stored on the SD card.
By verifying that the photos have been transferred to the SD card, you can have peace of mind knowing that your precious memories are safely stored and that you have freed up valuable space on your Galaxy S3’s internal storage.
Conclusion
Congratulations! You have successfully learned how to move photos to the SD card on your Samsung Galaxy S3. By following the step-by-step guide outlined in this article, you can now free up valuable space on your device’s internal storage and ensure that your photos are securely stored on the SD card.
Remember, moving photos to the SD card is a great way to create more room for other files and applications on your Galaxy S3. It is a simple and effective solution to manage your device’s storage and keep your memories organized.
Throughout this guide, you’ve learned various steps, including how to insert the SD card into your Galaxy S3, access the Gallery app, select and move photos, choose the SD card storage location, confirm the move, and verify that the photos are successfully stored on the SD card.
Now that you are equipped with this knowledge, you can easily transfer your photos to the SD card whenever you need to free up space on your Galaxy S3. Just remember to regularly check the storage on your device and consider moving photos and other files to the SD card to maintain optimal performance.
We hope this guide has been helpful to you, and that you can now enjoy a more spacious and organized device. If you have any further questions or need additional assistance, be sure to consult the user manual or reach out to the Samsung support team.
Thank you for reading, and happy photo transferring!