Introduction
The Samsung Galaxy S3 is a popular Android smartphone that was released in 2012. It originally came with Android 4.0 Ice Cream Sandwich and received several software updates over the years. However, the device reached its software update limit with Android 4.3 Jelly Bean, leaving many users longing for newer Android versions with their improved features and performance enhancements.
Fortunately, with the help of custom ROMs, users can still update their Galaxy S3 to the latest Android version, which is currently Android 4.4 KitKat. This update brings a multitude of benefits, including improved system stability, better battery performance, and enhanced security features. It also introduces a revamped user interface, making your Galaxy S3 look and feel more modern.
In this guide, we will walk you through the step-by-step process of updating your Samsung Galaxy S3 to Android 4.4 KitKat. Before we begin, it’s important to note that updating your device’s software carries certain risks, and it may void your warranty. Therefore, it is recommended to proceed with caution and ensure that you understand the risks involved before proceeding with the update.
Additionally, it’s essential to back up all your important data and files before starting the update process. While updating the software generally does not erase your data, unforeseen issues can sometimes occur. Having a backup will ensure that you don’t lose any valuable information during the update process.
Now that we’ve covered the basics, let’s move on to the first step: preparing your device for the update.
Step 1: Prepare your device
Before you begin the update process, it’s crucial to ensure that your Samsung Galaxy S3 is ready for the new software. Here are a few essential steps to follow:
- Check your device’s storage: Make sure your device has enough free storage space to accommodate the software update. As the update files can be quite large, it’s recommended to have at least 1 GB of free space available on your device. You can check your available storage by going to Settings > Storage on your Galaxy S3.
- Backup your data: As mentioned earlier, it’s crucial to backup all your important data, including contacts, photos, videos, and documents. You can use various methods to back up your data, such as syncing with a cloud service like Google Drive or using Samsung’s Smart Switch app to create a complete backup of your device.
- Charge your device: To prevent any issues during the update process, ensure that your Galaxy S3 has a sufficient battery charge. Ideally, your device should have at least 50% battery life or be connected to a power source throughout the update process.
- Connect to a stable Wi-Fi network: Downloading and installing the software update requires a stable internet connection. It’s recommended to connect your device to a reliable Wi-Fi network to ensure a smooth and uninterrupted update process. Avoid using mobile data as it may incur additional charges or have unstable connectivity.
By following these steps, you can ensure that your Samsung Galaxy S3 is prepared and ready for the software update. Once you have completed these preparations, you can move on to the next step, which involves checking for available updates.
Step 2: Check for updates
Once you have prepared your Samsung Galaxy S3 for the software update, the next step is to check for any available updates. Follow these simple steps:
- From the home screen of your Galaxy S3, navigate to the “Settings” app. You can find the app icon either on your home screen or in the app drawer.
- Scroll down and select the “About device” option.
- Tap on the “Software update” or “System updates” option. This will check for any available updates for your device.
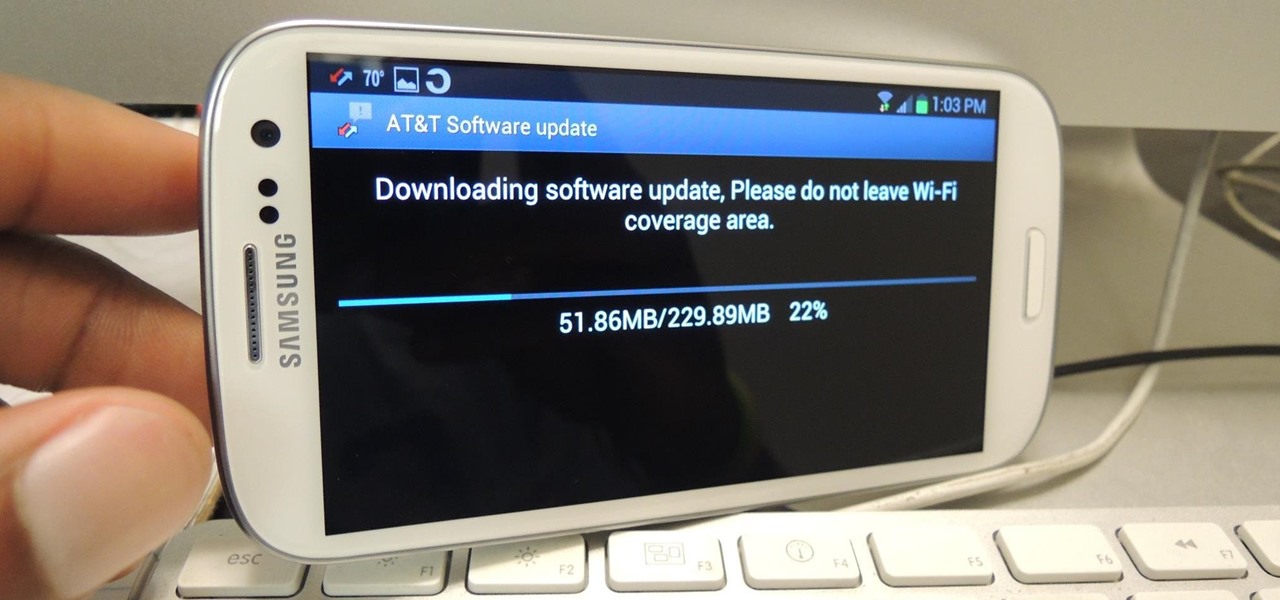
- If an update is available, you will be prompted to download and install it. Make sure you have a stable internet connection and sufficient battery life or have your device connected to a power source before proceeding with the update.
- Follow the on-screen instructions to download and install the update. The process may take some time, so be patient and avoid interrupting it.
During the update process, your Galaxy S3 may restart several times. This is normal and part of the installation process. Do not panic if you see your device restarting or displaying different screens during the update. It’s essential to let the update process complete without any interruptions to ensure a successful installation.
If your device does not find any updates after checking, it means that there are no official updates available for your specific device model. However, if you still wish to update your Samsung Galaxy S3 to a newer Android version, you can consider using custom ROMs. Custom ROMs are aftermarket firmware that can be installed on your device to bring newer Android versions and additional features. But keep in mind that installing custom ROMs may void your warranty and carries certain risks, so proceed with caution.
Once you have checked for updates and either installed one or decided to explore custom ROM options, you can move on to the next step, which involves downloading the update files or custom ROM.
Step 3: Download the update
After checking for updates and finding that there are none available for your Samsung Galaxy S3, or if you have decided to explore custom ROM options, the next step is to download the update files or the custom ROM. Here’s how you can do it:
- Research and identify a reliable source to download the update files or custom ROM for your device. Make sure to choose a trusted website or community forum that offers verified and compatible files.
- Access the website or forum on your Galaxy S3’s web browser or on a computer. Look for the specific update or custom ROM that matches your device model and Android version.
- Download the update or custom ROM file to your device or computer. If you download it on your computer, transfer the file to your Galaxy S3 using a USB cable or a file transferring tool.
- Once the file is downloaded or transferred to your device, locate it in the file manager. It is usually stored in the “Downloads” folder or a custom folder you specified during the transfer.
- If you have downloaded a custom ROM, make sure to follow the specific installation instructions provided by the developer or the community. The installation process may involve additional steps, such as wiping the device’s data or flashing a custom recovery.
- If you have downloaded an official update file, check the file’s format. If it is a “.zip” file, do not extract it. Instead, proceed to the next step and install it directly using the device’s recovery mode. If it is an “.apk” file, simply tap on it to start the installation process.
Make sure to follow the instructions provided by the developer or the community carefully to ensure a successful installation. It’s important to note that flashing custom ROMs or installing unofficial updates may void your warranty and carry certain risks. It’s crucial to understand the risks involved and proceed with caution.
Once you have successfully downloaded the update files or the custom ROM, you can proceed to the next step, which involves installing the update or custom ROM on your Samsung Galaxy S3.
Step 4: Install the update
Now that you have downloaded the update files or the custom ROM for your Samsung Galaxy S3, it’s time to install them onto your device. Follow these steps to install the update or custom ROM:
- Make sure your Galaxy S3 is powered off. If it is on, press and hold the power button to turn it off.
- Boot your device into recovery mode by pressing and holding the volume up button, the home button, and the power button simultaneously.
- Once you see the recovery mode screen, use the volume buttons to navigate and the power button to select options.
- Depending on the custom recovery you have installed, look for options such as “Install zip from SD card” or “Apply update from SD card”. If you are installing an official update file, choose the appropriate option.
- Navigate to the location where you saved the update file or the custom ROM and select it.
- Confirm the installation by following the on-screen prompts. This may involve swiping to confirm or pressing the power button to start the installation process.
- Once the installation is complete, go back to the main recovery menu and select the option to reboot your device.
Note that the installation process may take some time, so be patient and avoid interrupting it. Your Galaxy S3 may reboot several times during the installation process. This is normal and part of the update or custom ROM installation.
After the device has booted up, you should see the newly installed update or custom ROM on your Samsung Galaxy S3. Take a few minutes to explore the new features and improvements that come with the update. If you have installed a custom ROM, you might also want to customize your device further by installing compatible apps or themes.
Congratulations! You have successfully installed the update or custom ROM on your Samsung Galaxy S3. Enjoy the new features and enhancements that come with the software update or custom ROM. If you encounter any issues or have any questions, don’t hesitate to reach out to the developer or community that provided the update or custom ROM.
In the next and final step, we will guide you through setting up your device with the new update or custom ROM.
Step 5: Set up your device with the new update
Now that you have successfully installed the update or custom ROM on your Samsung Galaxy S3, it’s time to set up your device with the new software. Follow these steps to get started:
- Power on your Galaxy S3 if it’s not already on after the installation process.
- Follow the on-screen prompts to select your preferred language, region, and other initial settings.
- Sign in to your Google account or create a new one to sync your contacts, calendar, and other Google services.
- Restore your important data and files from the backup you created earlier. This can include contacts, photos, videos, and documents. If you used Samsung’s Smart Switch app for the backup, you can easily restore your data using the app.
- Customize your device to your liking. Explore the settings options and personalize your Galaxy S3 with wallpapers, ringtones, and other customization features.
- Install your favorite apps from the Google Play Store or any other app store of your choice. Make sure to update them to their latest versions for optimal compatibility with the new software.
- Take some time to familiarize yourself with the new features, improvements, and enhancements that come with the update or custom ROM. Explore the updated user interface and try out the new functionalities that may be available.
It’s recommended to periodically check for any future software updates for your Galaxy S3 to ensure that your device stays up to date with the latest features, bug fixes, and security patches. You can do this by going to Settings > About device > Software update and following the on-screen instructions.
By following these steps, you can fully set up your Samsung Galaxy S3 with the new update or custom ROM. Enjoy the enhanced performance, new features, and improved user experience that come with the updated software.
If you encounter any issues or have any questions, refer to the developer or community forum where you obtained the update or custom ROM. They may provide further guidance or assistance to help you resolve any concerns.
Conclusion
Updating your Samsung Galaxy S3 to the latest software version can breathe new life into your device, providing you with improved features, enhanced performance, and a modern user interface. Whether you opt for an official update or a custom ROM, the steps provided in this guide can help you navigate through the process with ease.
Remember to prepare your device by ensuring sufficient storage space, backing up your data, charging your device, and connecting to a stable Wi-Fi network. Checking for updates is the next step, followed by downloading and installing the update files or custom ROM. Once the installation is complete, you can set up your device with the new software and enjoy the benefits it brings.
Keep in mind that updating your device’s software, especially with custom ROMs, may void your warranty and carry certain risks. It’s important to understand the risks involved and proceed with caution, following the instructions provided by trusted sources or the developer community.
By staying up to date with the latest software, you can ensure that your Samsung Galaxy S3 remains secure, performs optimally, and delivers an enjoyable user experience. Don’t forget to check for future software updates regularly to take advantage of any new features and improvements that may become available.
We hope this guide has been helpful in assisting you with updating your Samsung Galaxy S3. If you have any further questions or encounter any issues, do not hesitate to seek guidance and support from the developer community or dedicated forums. Enjoy your updated device and make the most out of its capabilities!