Introduction
Welcome to the world of faster boot times, improved performance, and snappier response with the help of an SSD (Solid State Drive) for your operating system. Whether you’re a tech enthusiast, a gamer, or simply looking to enhance your computer’s performance, transitioning your OS to an SSD is a smart choice that can make a noticeable difference in your computing experience.
In this guide, we will walk you through the process of installing your operating system on an SSD. We will cover everything you need to know, from the benefits of using an SSD for your OS to the step-by-step instructions on how to make the transition seamlessly.
Gone are the days of waiting impatiently for your computer to boot up or applications to load. By installing your OS on an SSD, you can significantly reduce the system’s startup time, as SSDs are faster and more efficient than traditional hard disk drives (HDDs). The random access speeds offered by SSDs ensures that your system will be ready to go in a matter of seconds, allowing you to start working or gaming without any delays.
Furthermore, using an SSD for your operating system can greatly enhance overall system performance. You’ll experience improved responsiveness when opening programs, browsing the web, and multitasking. Tasks such as file transfers and data access will be much faster, saving you valuable time in your day-to-day computing activities.
Not only does an SSD provide a performance boost, but it also offers a more reliable storage solution. Unlike HDDs, which rely on spinning disks and moving parts, SSDs use flash memory, making them more resistant to physical damage, such as drops or shocks. As a result, the risk of data loss due to mechanical failure is greatly reduced, giving you peace of mind knowing that your valuable files and documents are safe.
Installing your operating system on an SSD may seem like a challenging task, but with the right guidance, it can be a straightforward process. In the following sections, we will provide you with all the necessary steps and prerequisites to successfully install your OS on an SSD, ensuring a smooth and efficient transition.
Benefits of Using an SSD for Your Operating System
Upgrading your operating system to an SSD brings a myriad of benefits that will greatly enhance your computing experience. Let’s explore some of the key advantages:
1. Improved Performance: The most noticeable benefit of using an SSD for your operating system is the significant boost in performance. SSDs provide faster boot times, quicker application launches, and smoother multitasking capabilities. With an SSD, you can spend less time waiting and more time being productive or enjoying your favorite activities.
2. Faster Data Access: SSDs offer faster data access speeds compared to traditional hard drives. This means that reading and writing data will be much quicker, resulting in shorter load times for files, programs, and games. Copying files and transferring data between drives also becomes noticeably faster, making day-to-day tasks more efficient.
3. Enhanced System Responsiveness: SSDs deliver a highly responsive computing experience. Applications and system operations respond quickly to your commands, providing a seamless user experience. Whether you’re launching applications, searching for files, or accessing system settings, the responsiveness of an SSD ensures a smooth and snappy system performance.
4. Reliable Storage Solution: Unlike traditional hard drives, SSDs have no moving parts, which means they are less prone to physical damage. This makes them a more reliable storage solution, decreasing the risk of data loss due to mechanical failure. With an SSD, you can have peace of mind knowing that your important files and documents are stored securely.
5. Energy Efficiency: SSDs are more energy-efficient compared to traditional hard drives. They consume less power during operation, resulting in lower electricity costs and extended battery life for laptops. This not only benefits the environment but also allows you to use your device for longer periods without the need for frequent charging.
6. Silent Operation: SSDs produce little to no noise because they don’t have any moving parts. This is in contrast to traditional hard drives that generate noise from the spinning platters and moving heads. The absence of noise ensures a quieter and more peaceful working environment.
7. Longevity: SSDs have a longer lifespan compared to traditional hard drives. They are built to withstand extensive usage and can handle a greater number of read and write operations. With an SSD, you can expect extended durability and reliable performance over the long term.
By upgrading your operating system to an SSD, you unlock a whole new level of performance, reliability, and efficiency. Now that you’re aware of the benefits, let’s move on to the next section, where we will discuss the prerequisites for installing your OS on an SSD.
Prerequisites for Installing OS on an SSD
Before diving into the installation process, it’s important to ensure you have everything in place. Here are the prerequisites for installing your operating system on an SSD:
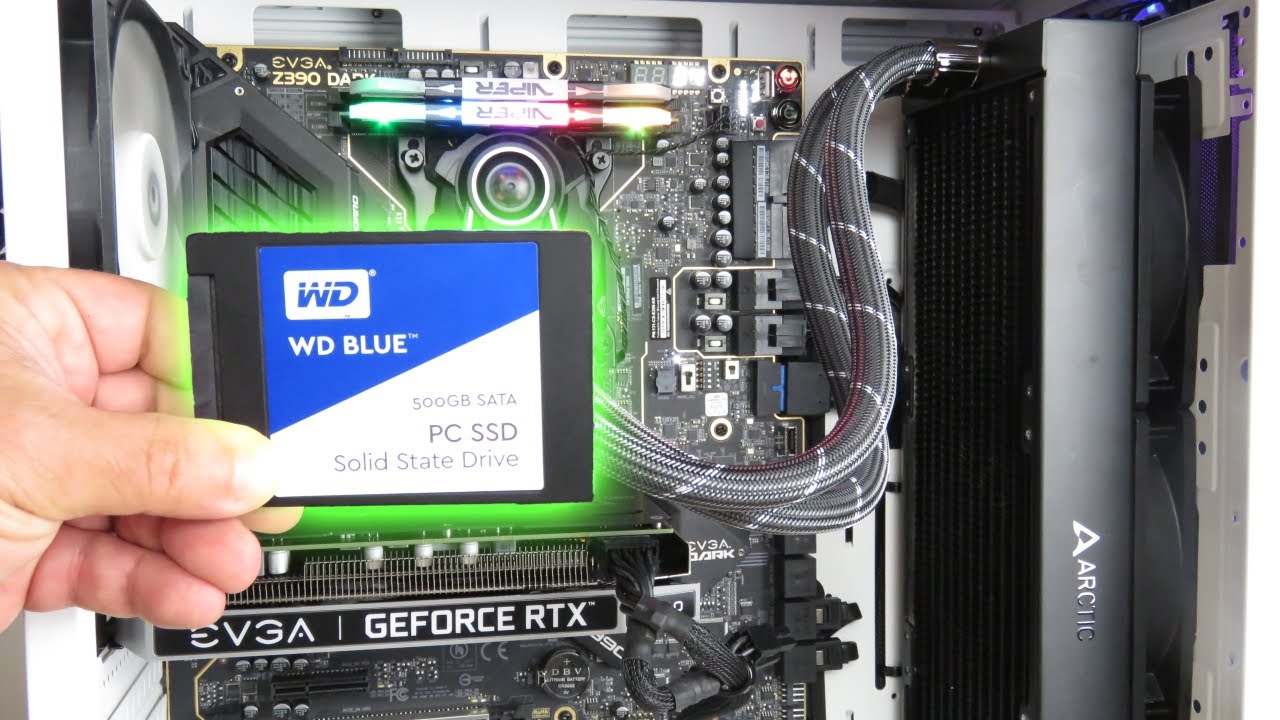
1. Compatible Hardware: Make sure your computer hardware is compatible with an SSD. Check the specifications of your motherboard to confirm if it supports SATA or NVMe connections, as these are the most common interfaces used for SSDs.
2. Sufficient Storage Space: Ensure that the SSD you plan to use for your operating system has enough storage capacity to accommodate the OS and any additional programs you wish to install. It’s recommended to have at least 120GB or more for a smooth user experience.
3. Backup Your Data: Before proceeding with the installation, it’s crucial to back up all your important data. This includes documents, photos, videos, and any other files you want to keep safe. Although the installation process shouldn’t affect your existing data, it’s always better to be safe than sorry.
4. OS Installation Media: Ensure you have your OS installation media ready. This can be a USB flash drive or a DVD containing the operating system installation files. You will use this to install the OS on your SSD.
5. External Storage: If you have limited internal storage space, it’s advisable to have an external storage device, such as an external hard drive or cloud storage, to temporarily store your data during the installation process. This will allow you to easily transfer your files back to the SSD after the installation is complete.
6. Proper Tools: To physically install the SSD, you may need a screwdriver or other tools depending on your computer’s design. Ensure you have the necessary tools readily available before starting the installation process.
7. Updated Drivers: It’s recommended to have the latest drivers for your motherboard and other hardware components. Check the manufacturer’s website for any driver updates specific to your hardware, as this can optimize performance and compatibility.
By ensuring you have these prerequisites fulfilled, you will be well-prepared for a successful installation process. In the following section, we will provide you with a step-by-step guide on how to install your operating system on an SSD.
Step-by-Step Guide on How to Install Your OS on an SSD
Installing your operating system on an SSD may sound daunting, but with our step-by-step guide, you’ll be able to navigate through the process smoothly. Here’s how:
- Backup Your Data: Before starting the installation process, it’s crucial to back up all your important data. This ensures that no data is lost during the installation process.
- Check Compatibility: Ensure that your computer’s hardware is compatible with an SSD. Check the specifications of your motherboard to confirm if it supports SATA or NVMe connections, as these are the most common interfaces used for SSDs.
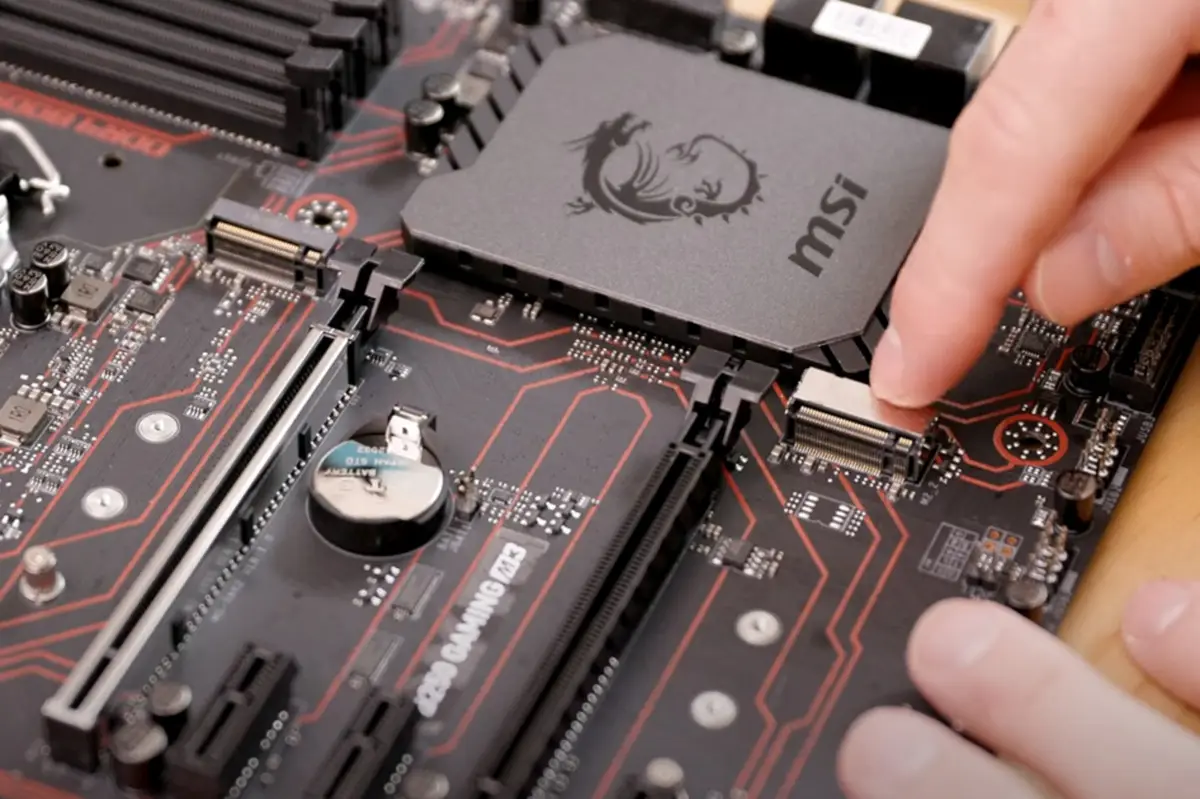
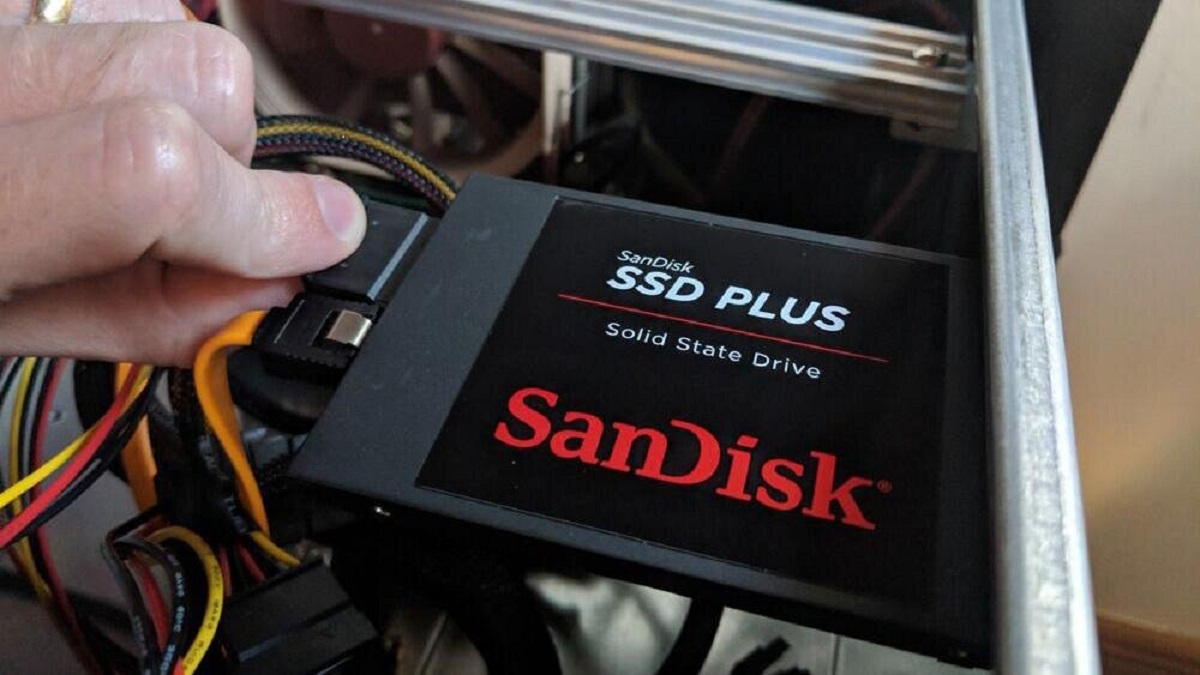
- Prepare the SSD: If you’re using a brand-new SSD, you need to prepare it for installation. Connect it to your computer using the appropriate SATA or NVMe cable, and secure it in the appropriate slot inside your computer case.
- Create a Bootable USB Drive: Download the operating system installation files from the official manufacturer’s website and create a bootable USB drive using software like Rufus or Windows Media Creation Tool.
- Enter BIOS Settings: Restart your computer and enter the BIOS settings by pressing the designated key (usually F2 or Delete) during the boot process. Once in the BIOS, change the boot order to prioritize booting from the USB drive.
- Install the Operating System: Save the changes made in the BIOS settings and restart your computer. The OS installation process will begin. Follow the on-screen instructions to select the SSD as the destination drive and proceed with the installation.
- Configure OS Settings: After the installation is complete, your computer will reboot. Follow the setup wizard to configure your language, time zone, user accounts, and other preferences.
Once you’ve completed these steps, your operating system will be successfully installed on the SSD. Take some time to ensure that all the necessary drivers and updates are installed to optimize the performance of your system.
Now that you’re familiar with the step-by-step process, you can confidently proceed with installing your operating system on an SSD. In the next section, we will summarize the key points covered in this guide.
Backup Your Data
Before you embark on the process of installing your operating system on an SSD, it is crucial to back up all your important data. This step ensures that your files and documents are safe and secure, even in the event of unforeseen issues during the installation process.
Backing up your data provides a safety net by creating a copy of your files that can be easily restored after the installation. It protects against potential data loss and gives you peace of mind throughout the installation process.
Here are a few important points to consider when backing up your data:
1. Determine what data to back up: Take stock of all the files, documents, photos, videos, and any other valuable data that you want to keep safe. This can include personal files, work-related documents, and any other data that holds importance to you.
2. Choose a backup method: Select a backup method that suits your needs. This can range from using external storage devices like external hard drives or USB flash drives to cloud storage solutions. Assess your requirements, the amount of data you need to back up, and available resources to determine the most appropriate backup method.
3. Use reputable backup software: To simplify the process and ensure the integrity of your backups, consider using reputable backup software. There are numerous options available that offer user-friendly interfaces and a range of features to meet your specific backup needs.
4. Verify your backups: After performing the backup, take the time to verify the integrity of the backed-up files. This entails checking that the files are complete, accessible, and free from corruption. This step adds an extra layer of assurance that your data is securely stored.
5. Store backups separately: It is recommended to store your backups in a separate location from your computer. This provides added protection in case of physical damage or theft. If possible, consider utilizing offsite backups or cloud-based solutions to store your data securely.
6. Test the restore process: In addition to verifying the backups, it’s also essential to test the restoration process. Make sure you are confident in your ability to restore the data from the backup before proceeding with the OS installation. This ensures that you can successfully recover your files if needed.
By backing up your data, you safeguard your important files and can proceed with the installation of your operating system on an SSD with peace of mind. Remember, it’s better to be safe than sorry when it comes to protecting your valuable data.
Check Compatibility
Before proceeding with the installation of your operating system on an SSD, it is essential to check the compatibility of your computer hardware. This step ensures that your system supports the necessary connections and requirements for installing an SSD.
Here are some important factors to consider when checking the compatibility:
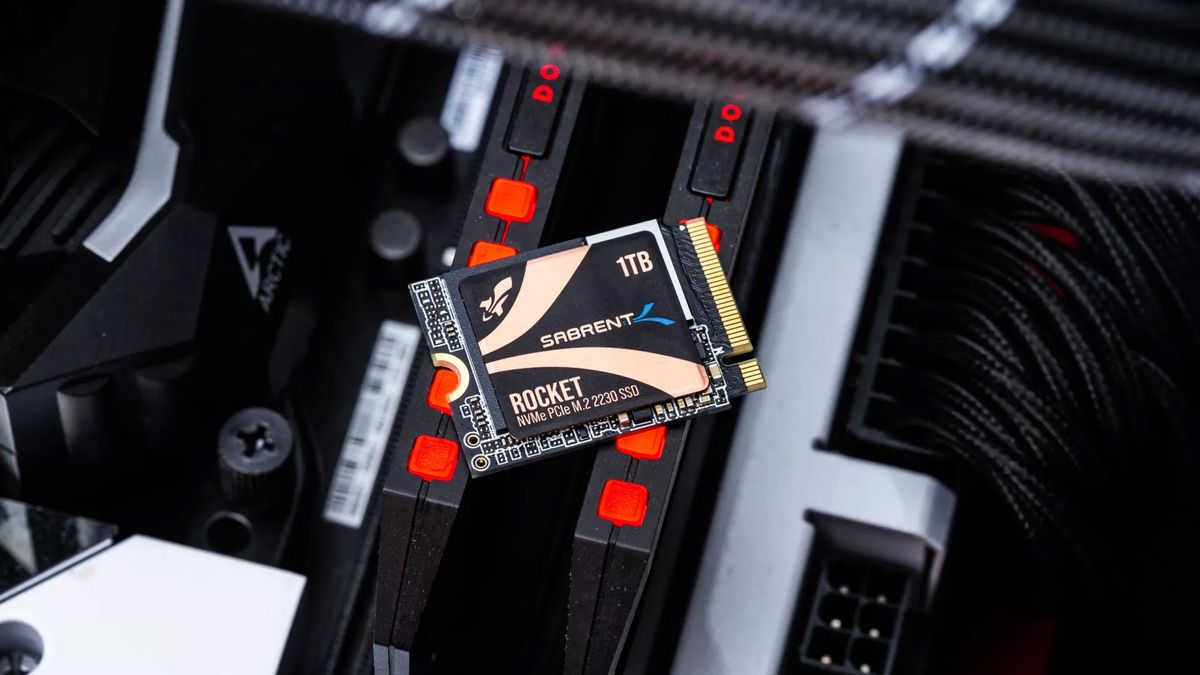
1. Motherboard Compatibility: The first step is to verify if your motherboard supports SATA or NVMe connections. Most modern motherboards have SATA ports for SSD connectivity, but some may also offer M.2 slots for NVMe SSDs. Consult your motherboard’s documentation or check the manufacturer’s website to confirm the supported interfaces.
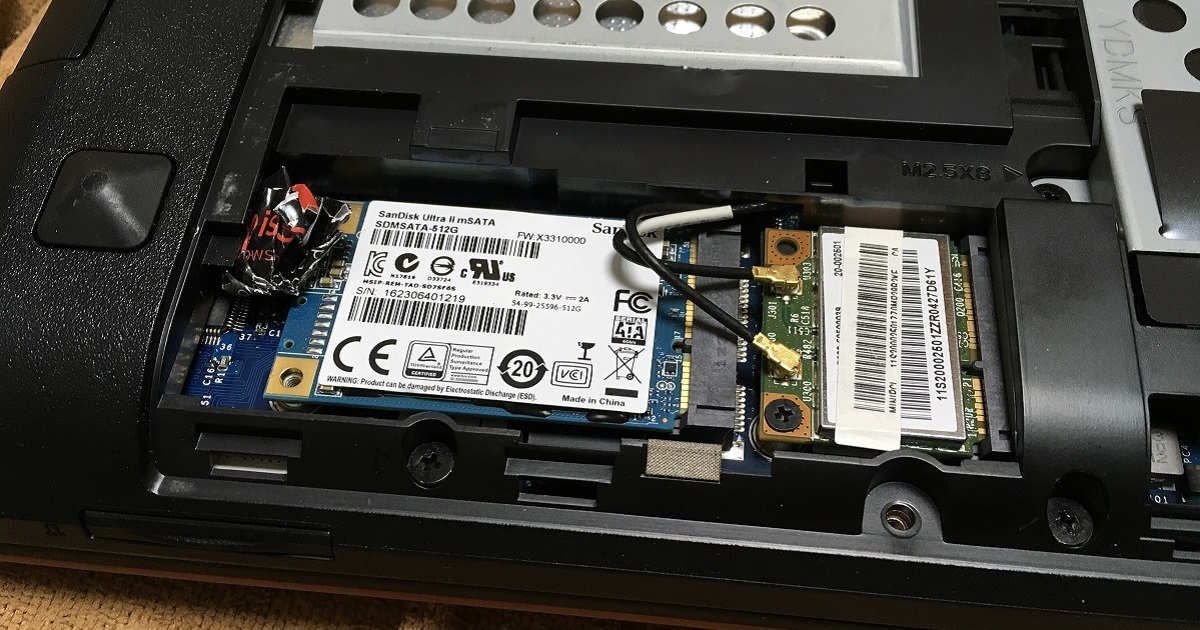
2. Drive Form Factor: Determine the appropriate drive form factor for your SSD. Common form factors include 2.5-inch, 3.5-inch, and M.2 drives. Check the physical dimensions of your SSD and ensure that your computer has the necessary drive bays or slots to accommodate it.
3. Interface Speed: Confirm the maximum interface speed supported by your motherboard for the chosen SSD. SATA III offers a maximum speed of 6 Gbps, while NVMe SSDs provide even faster speeds through PCIe lanes. Ensure that your system can utilize the full potential of the SSD’s speed by checking the supported interface speed.
4. Power Supply: Verify that your power supply unit (PSU) has sufficient power connectors to accommodate the SSD. Most SSDs draw power directly from the motherboard via SATA or PCIe connections. Check the specifications of your power supply to ensure it can provide enough power for all the components, including the SSD.
5. BIOS Support: Ensure that your system’s BIOS is updated to the latest version. BIOS updates often include improvements and added support for new hardware, including SSDs. Check the manufacturer’s website for the latest BIOS updates and instructions on how to install them properly.
6. Software Compatibility: Confirm that your operating system supports the SSD you plan to install. Most modern operating systems have built-in support for SSDs, but it’s important to ensure compatibility. Check the operating system’s documentation or the manufacturer’s website for any specific requirements or recommendations.
By checking the compatibility of your hardware components, you can avoid any potential issues or incompatibilities during the installation process. It ensures a smooth and hassle-free installation of your operating system on an SSD and helps you make the most of its performance benefits.
Prepare the SSD
Before installing your operating system on an SSD, it’s important to properly prepare the SSD to ensure a smooth and successful installation process. Here are the steps to prepare the SSD:
1. Connect the SSD: Begin by physically connecting the SSD to your computer. Depending on your system, this may involve using a SATA cable to connect the SSD to a SATA port on your motherboard, or inserting an M.2 SSD into the appropriate slot on your motherboard. Ensure that the connection is secure to prevent any connectivity issues.
2. Verify Drive Detection: Once the SSD is connected, boot up your computer and access the BIOS settings. Navigate to the storage or drive configuration section and verify that the SSD is detected by the system. If it’s not detected, recheck the connections or consult the manufacturer’s documentation for troubleshooting steps.
3. Format the SSD: If the SSD is brand new or has been used in a different system, it may require formatting before it can be used as the destination for your operating system. In your operating system, go to Disk Management (Windows) or Disk Utility (macOS) and locate the SSD. Initialize the SSD and format it using the file system of your choice, such as NTFS (Windows) or APFS (macOS).
4. Assign a Drive Letter (Windows): In Windows, after formatting the SSD, assign a drive letter to the SSD. Right-click on the SSD partition in Disk Management, select “Change Drive Letter and Paths,” and choose a letter for the drive. This will make it easier to identify and access the SSD in the operating system.
5. Enable TRIM (Windows): For optimal performance and longevity of your SSD, ensure that TRIM is enabled. TRIM is a command that allows the operating system to inform the SSD which data blocks are no longer in use, improving the overall performance and lifespan of the drive. In Windows, open the Command Prompt as an administrator and type the command “fsutil behavior set DisableDeleteNotify 0” to enable TRIM.
6. Update Firmware (if applicable): Check the SSD manufacturer’s website for any available firmware updates. Firmware updates can provide bug fixes, performance improvements, and compatibility enhancements. Follow the manufacturer’s instructions to update the firmware of your SSD, if necessary.
By preparing the SSD properly, you ensure that it is ready to receive your operating system installation. This ensures a smoother installation process and helps optimize the performance of the SSD. Now that the SSD is prepared, you can proceed to create a bootable USB drive to install your operating system on the SSD.
Create a Bootable USB Drive
Creating a bootable USB drive is a crucial step in installing your operating system on an SSD. It allows you to boot your computer from the USB drive and initiate the installation process. Here’s how to create a bootable USB drive:
1. Obtain the OS Installation Files: Download the official installation files for your operating system from the manufacturer’s website. Make sure to select the correct version and edition that matches your license or requirements.
2. Select a USB Drive: Choose a USB drive with sufficient capacity (ideally 8GB or more) that you are willing to format, as the process will erase all existing data on the drive. Ensure that the USB drive is inserted into your computer.
3. Use Official Tools or Third-Party Software: There are multiple tools available, both official and third-party, that allow you to create a bootable USB drive. For example, the Windows Media Creation Tool for Windows OS or the Disk Utility tool for macOS. Follow the instructions provided by the tools or software to create the bootable USB drive.
4. Select the USB Drive: In the tool or software, select the USB drive you want to use as the destination for the bootable files. Ensure that you have chosen the correct drive, as formatting will irreversibly erase all data on the selected drive.
5. Begin the Process: Initiate the creation process and allow the tool or software to copy the necessary installation files onto the USB drive. The time required for this process may vary depending on the size of the files and the speed of your computer.
6. Test the Bootable USB Drive: Once the creation process is complete, restart your computer and access the BIOS settings. Change the boot order to prioritize booting from the USB drive. Save the changes and exit the BIOS. If successful, your computer should boot from the USB drive and display the installation screen for your operating system.
7. Adjust Boot Sequence (if necessary): If your computer doesn’t automatically boot from the USB drive, you may need to adjust the boot sequence in the BIOS settings. Consult your computer or motherboard’s documentation for specific instructions on how to change the boot sequence.
Creating a bootable USB drive is a critical step in the installation process, as it allows you to initiate the installation of your operating system on the SSD. Once you have the bootable USB drive, you’re ready to proceed with the installation in the next steps.
Enter BIOS Settings
Accessing the BIOS settings is an essential step in installing your operating system on an SSD. The BIOS (Basic Input/Output System) is a firmware interface that allows you to configure hardware settings and boot options on your computer. Here’s how to enter the BIOS settings:
1. Restart your Computer: Begin by restarting your computer. You can either click on the “Restart” option in the Start menu or press the appropriate hardware key combination (e.g., Ctrl + Alt + Delete) to restart your computer.
2. Identify the BIOS Key: During the restart process, pay attention to the screen for any messages or prompts indicating the key to access the BIOS settings. The key may vary depending on the manufacturer and model of your computer, but common keys include F2, Delete, Esc, or F10. Note down the key for reference.
3. Press the BIOS Key: As soon as your computer restarts, press the designated BIOS key repeatedly until the BIOS settings screen appears. Timing can be critical, so it’s recommended to continuously press the key as soon as the computer restarts to ensure successful entry into the BIOS settings.
4. Navigate the BIOS Interface: Once inside the BIOS settings, navigate through the menus using the provided instructions. The BIOS interface may vary depending on your computer’s manufacturer, but common sections to look for include “Boot,” “Advanced,” or “Configuration.” Use the arrow keys on your keyboard to move between options and the Enter key to select them.
5. Change Boot Order: Locate the boot order settings. In the boot options menu, make sure that the USB drive containing the bootable operating system is prioritized over other storage devices. This ensures that your computer will boot from the USB drive and initiate the installation process.
6. Save and Exit: After making changes to the boot order or any other settings, save your changes and exit the BIOS settings. Depending on the BIOS interface, you may need to use the designated key (often F10) to save and exit. Alternatively, follow the on-screen instructions to save and exit the BIOS settings.
By entering the BIOS settings and configuring the boot order, you ensure that your computer will boot from the bootable USB drive and initiate the installation process. This step prepares your system to install the operating system on the SSD in the next steps.
Install the Operating System
With the BIOS settings configured and the bootable USB drive ready, you’re now ready to proceed to install the operating system on your SSD. Follow these steps to successfully install the OS:
1. Boot from the USB Drive: Restart your computer and ensure the bootable USB drive is connected. Your computer should now boot from the USB drive. If it doesn’t, revisit the BIOS settings to confirm the boot order is correctly configured to prioritize the USB drive.
2. Select Language and Installation Preferences: Once the computer boots from the USB drive, you’ll be prompted to select the language and other installation preferences. Choose the appropriate options and click “Next” to proceed.
3. Accept the License Terms: Read and accept the license terms and conditions for your operating system. This is typically a mandatory step to continue with the installation.
4. Choose Custom Installation (Advanced): Select the “Custom” or “Advanced” installation option. This allows you to choose the location and partition to install the operating system on. Ensure you select the SSD as the destination drive.
5. Format and Partition the SSD: In the partitioning window, you’ll see your SSD listed. Select the SSD and choose the option to format the drive. This will erase any existing data and prepare the SSD for the installation of the operating system.
6. Select the SSD as the Installation Destination: After formatting the SSD, select the SSD as the installation destination. If you have multiple partitions on the SSD, choose the one where you want the operating system to be installed. Click “Next” to proceed.
7. Follow the Installation Wizard: Follow the on-screen instructions provided by the installation wizard. This includes selecting additional components or features, entering the product key if prompted, configuring user accounts, and setting up other preferences. The exact steps may vary depending on the operating system you are installing.
8. Wait for the Installation to Complete: Once you’ve made all the necessary choices and configurations, sit back and allow the installation process to complete. This can take anywhere from a few minutes to an hour or more, depending on your system’s speed and the size of the operating system files.
9. Restart your Computer: After the installation is completed, your computer will automatically restart. If necessary, remove the USB drive from the computer to avoid accidentally booting from it again.
Congratulations! You have successfully installed the operating system on your SSD. Your computer should now boot from the SSD, offering improved performance and faster start-up times. Take some time to install any necessary drivers, updates, and software to complete the setup of your new operating system.
Configure OS Settings
Once the operating system is installed on your SSD, the next step is to configure the settings according to your preferences. This will ensure that your operating system is customized to suit your needs and optimize your overall computing experience. Here’s how to configure the OS settings:
1. Language and Region: Begin by selecting the desired language and region settings. This will determine the default language, date format, and regional preferences for your operating system.
2. User Accounts: Create a user account or log in with an existing one. Choose a strong password to secure your account. If applicable, set up additional user accounts for other users of the computer.
3. Updates and Security: To ensure your operating system is up-to-date and secure, enable automatic updates. This will allow your computer to download and install the latest patches, bug fixes, and security updates.
4. Privacy Settings: Consider reviewing and adjusting your privacy settings according to your preferences. This includes specifying how your computer collects data and how you want your privacy to be protected.
5. Display and Screen Resolution: Adjust the display settings, including screen resolution, brightness, and color calibration, to achieve the ideal visual experience.
6. Install Necessary Drivers and Software: Install any required drivers for your specific hardware components to ensure proper functionality. Additionally, install essential software such as antivirus or productivity tools to enhance your computing experience.
7. Network and Internet Settings: Configure network and internet settings such as Wi-Fi connections, Ethernet connections, and proxy settings for seamless online connectivity.
8. Customize Desktop and Start Menu: Personalize your desktop by setting your preferred wallpaper, desktop icons, and taskbar settings. Arrange shortcuts and customize the Start Menu layout to suit your workflow.
9. Install Additional Software and Customization: Install any additional software or applications you require for your specific needs. Customize the operating system further by selecting themes, fonts, and other personalization options.
10. Test System Functionality: After configuring the settings, take some time to test the functionality of your system. Ensure that all hardware devices, such as printers or scanners, are working correctly and that required software is functioning as expected.
By configuring the OS settings to your preferences, you can optimize your computing environment and ensure that your operating system meets your specific needs. Take the time to explore and familiarize yourself with the available settings to make the most of your new operating system on the SSD.
Conclusion
Congratulations! You have successfully learned how to install your operating system on an SSD, unlocking a world of faster boot times, improved performance, and enhanced overall system responsiveness. By following the step-by-step guide provided, you now have the knowledge and tools to make a smooth transition to an SSD for your operating system.
Throughout this guide, we have explored the benefits of using an SSD, the prerequisites for installation, and the necessary steps to prepare, create, and install your operating system on the SSD. We covered crucial aspects such as backing up your data, checking compatibility, configuring BIOS settings, and customizing the OS to suit your preferences.
By installing your operating system on an SSD, you can experience significantly faster boot times, quicker application launches, and improved system performance. You’ll enjoy faster data access, enhanced system responsiveness, and a more reliable storage solution. SSDs are energy-efficient, produce minimal noise, and offer better longevity compared to traditional hard drives.
Remember, before proceeding with any installation, preparation is key. Ensure your hardware is compatible, back up your data, create a bootable USB drive, and verify the BIOS settings to ensure a smooth installation process. Take your time to configure the OS settings according to your needs, install necessary drivers and software, and customize the operating system to optimize your computing experience.
Now, armed with this knowledge, you can confidently embark on the journey of installing your operating system on an SSD. Enjoy the benefits of faster performance, improved reliability, and a more efficient computer system.
Thank you for following this guide, and we hope you have found it informative and helpful. Best of luck with your new SSD-powered operating system!