Introduction
Installing a high-performance solid-state drive (SSD) in your computer can significantly improve its speed and overall performance. One popular type of SSD is the mini-SATA or mSATA SSD. With its compact form factor and high data transfer speeds, the mSATA SSD is a great choice for upgrading laptops or desktop computers.
In this article, we will guide you through the process of installing an mSATA SSD. We will cover the necessary steps and considerations to ensure a successful installation, as well as provide some troubleshooting tips along the way.
Before we begin, it’s important to note that while the installation process may vary slightly depending on your specific computer model, the general steps outlined here should apply to most systems. Always refer to your computer’s user manual or manufacturer’s website for any model-specific instructions or precautions.
Now, let’s dive into the world of mSATA SSDs and explore the steps to install one in your computer.
Overview of mSATA SSDs
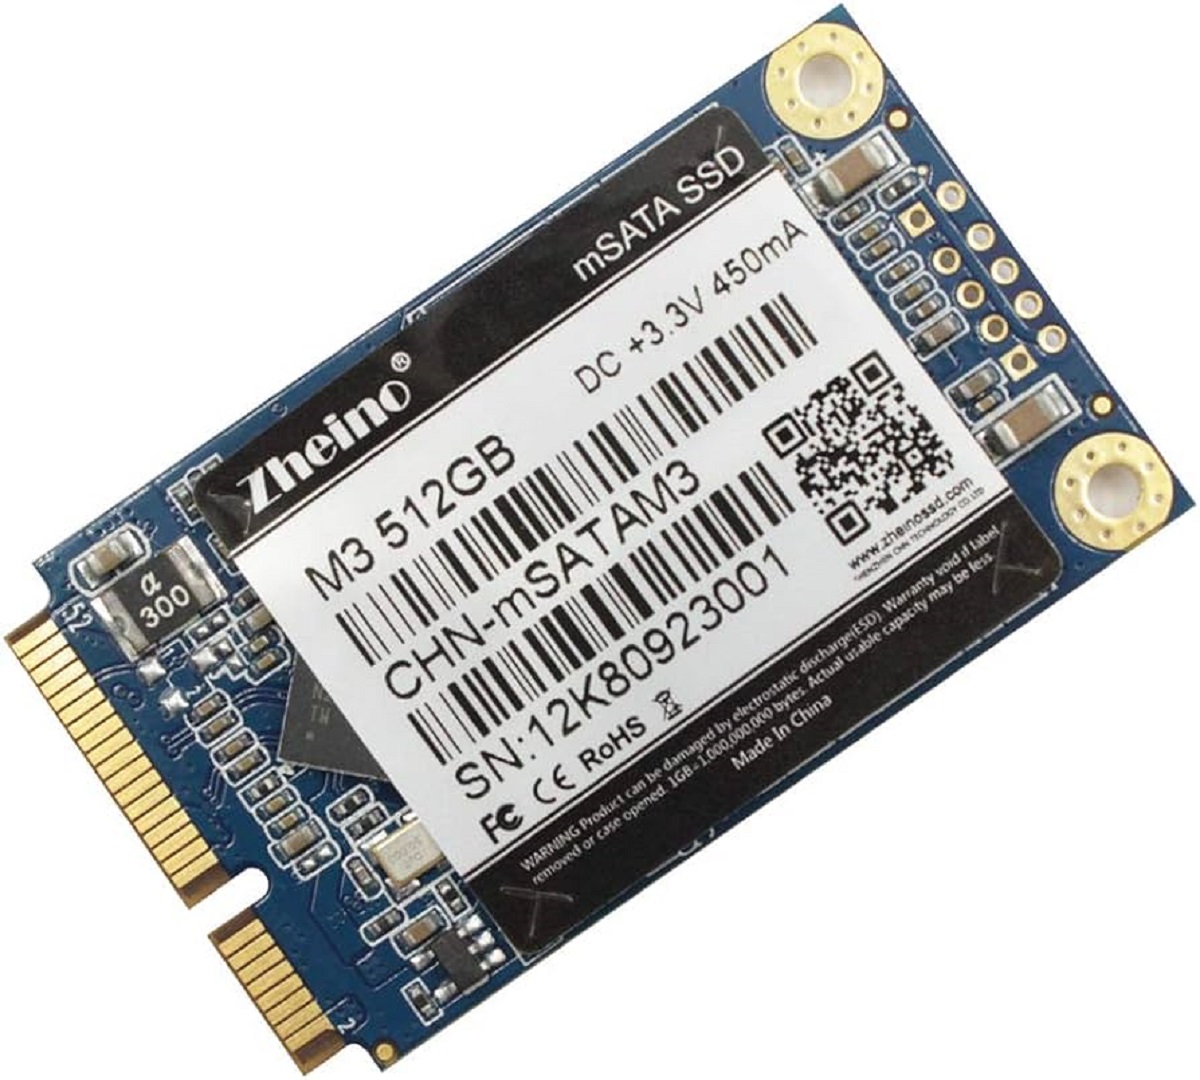
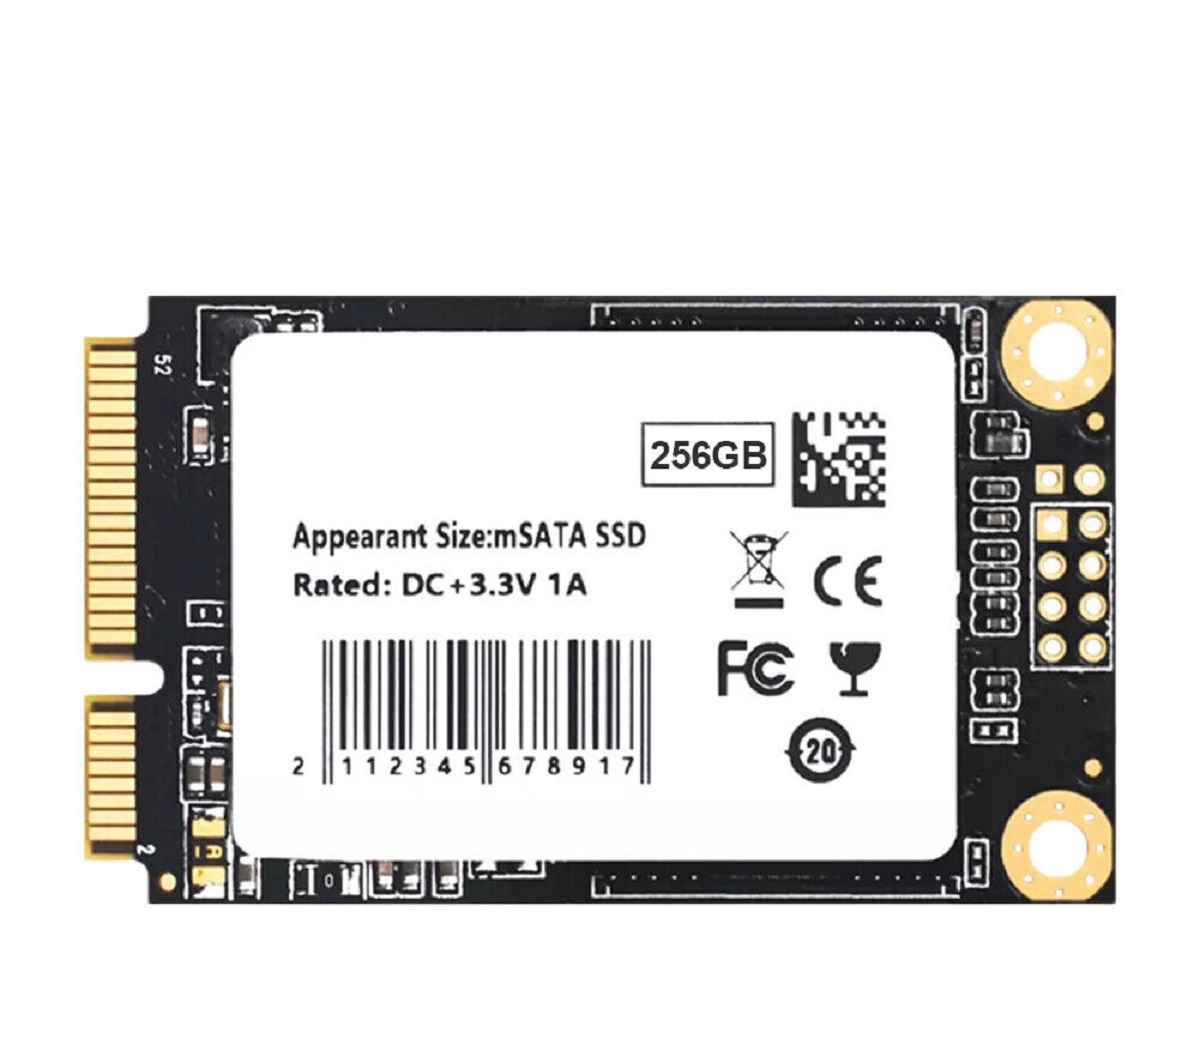
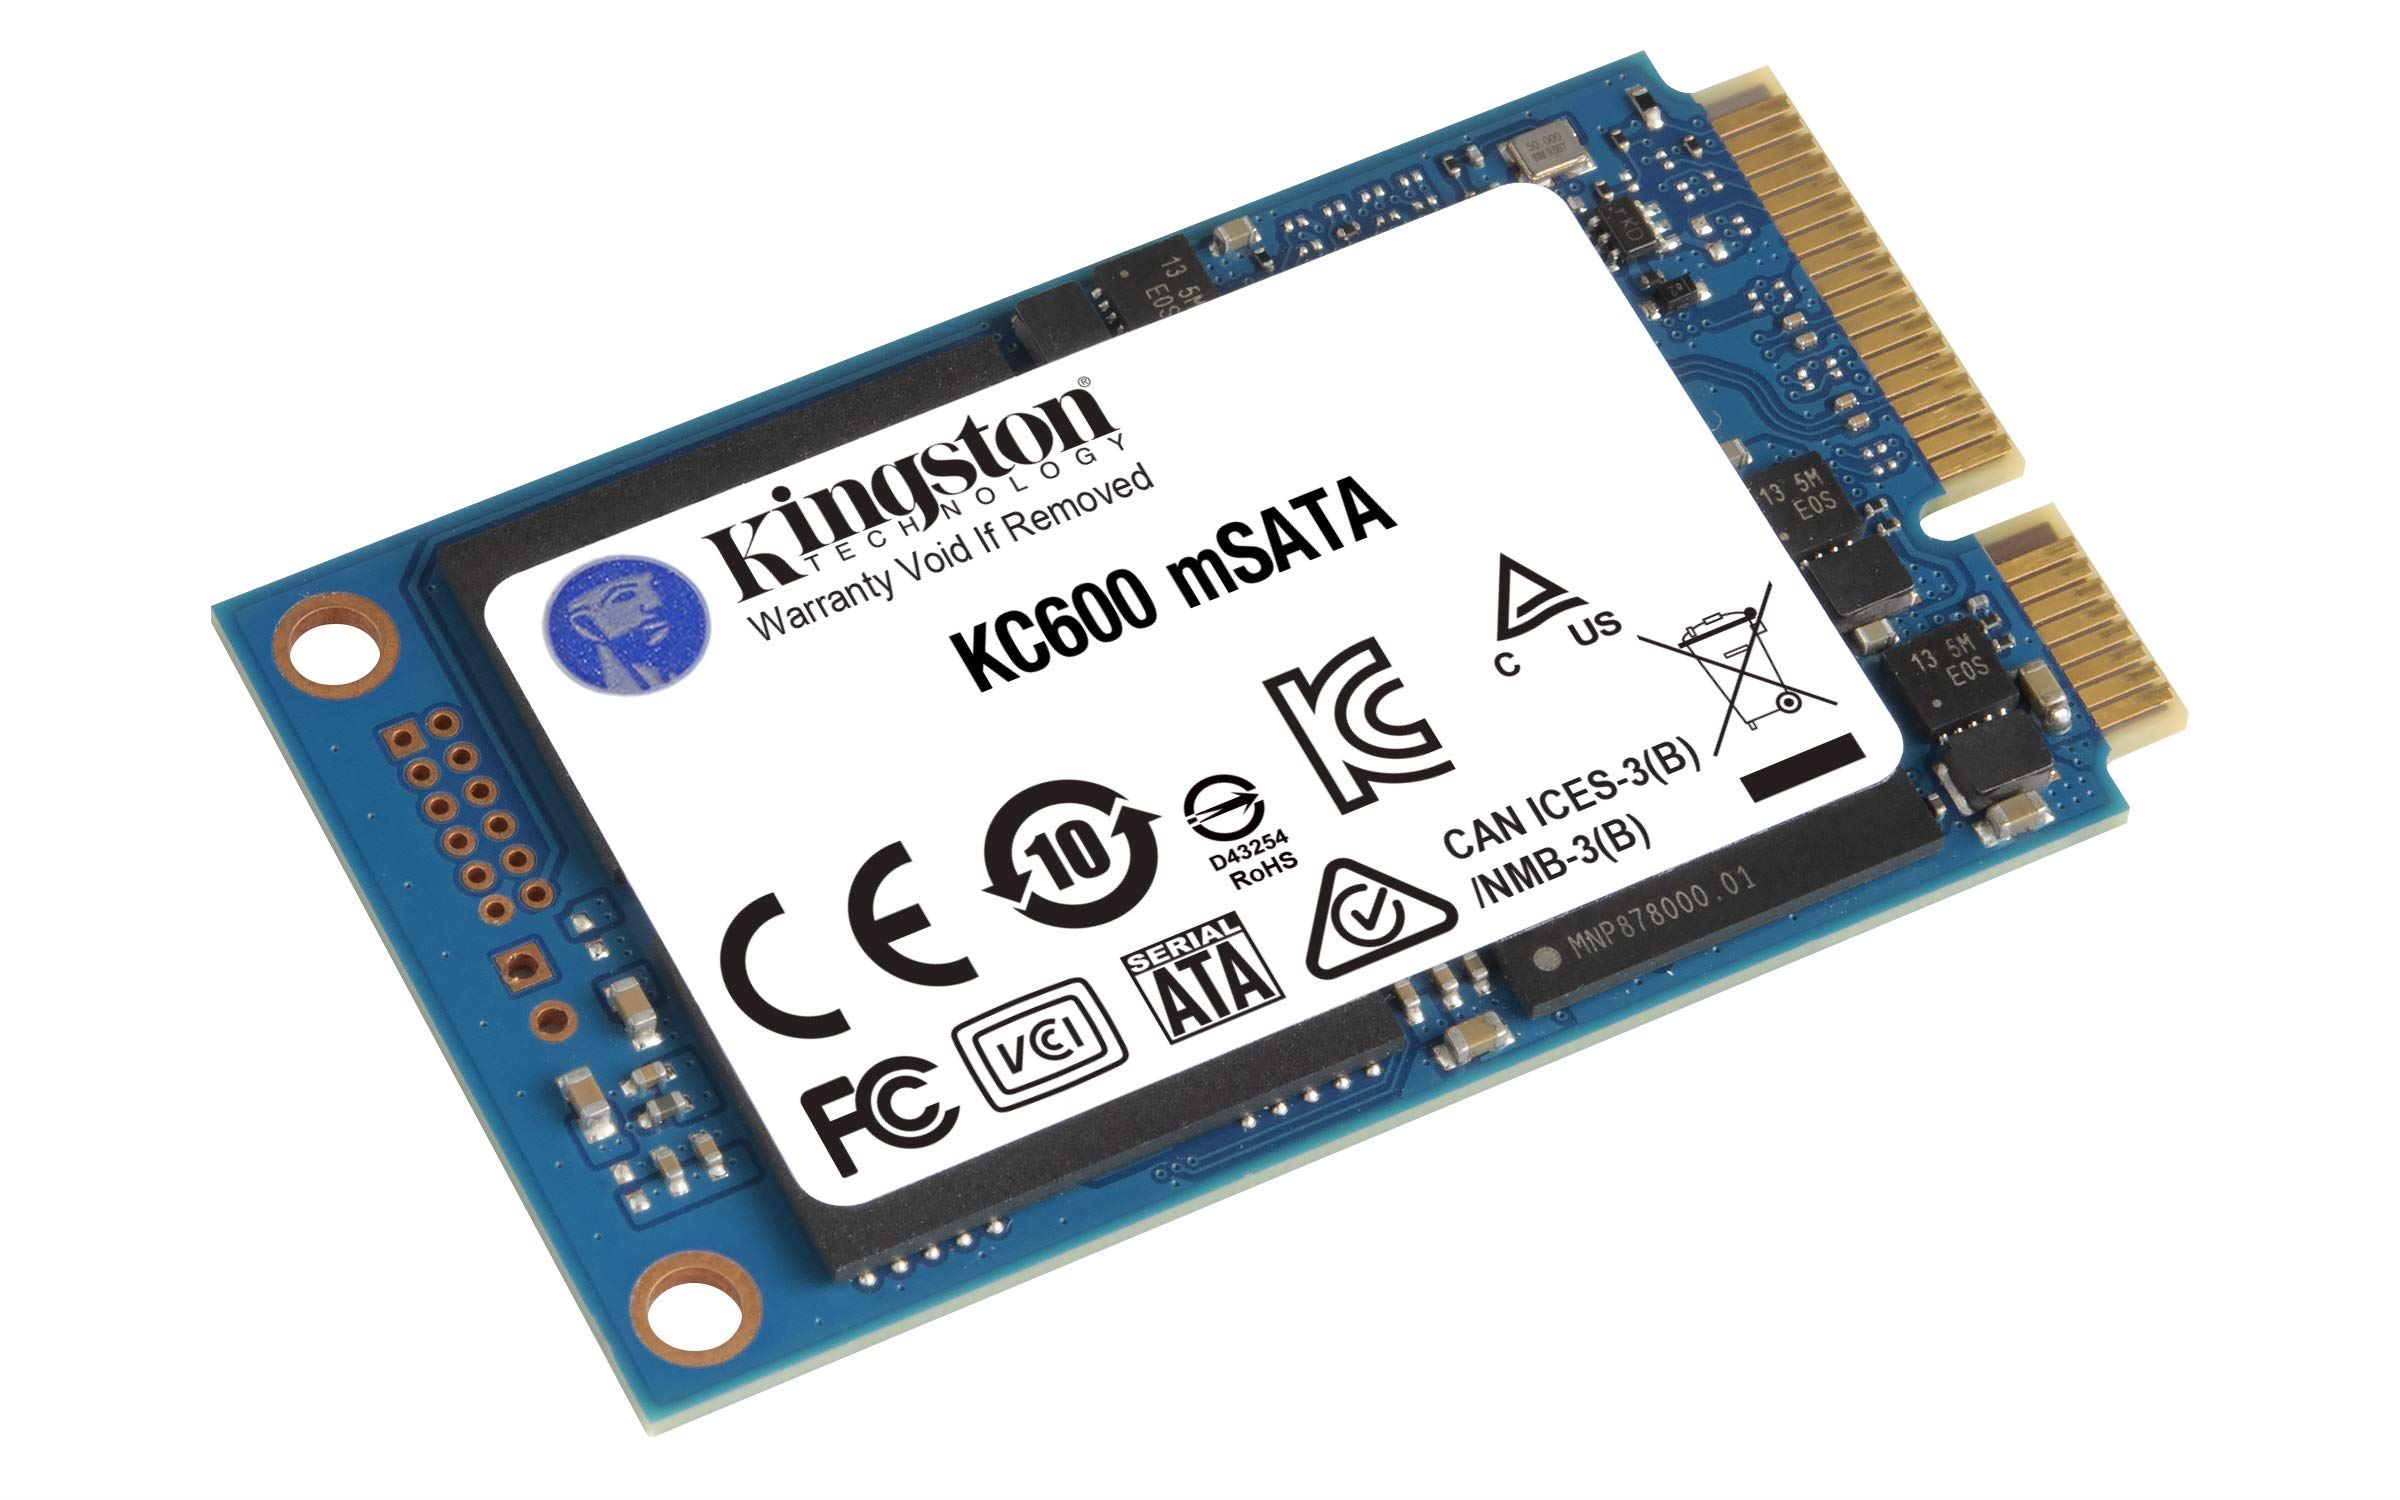
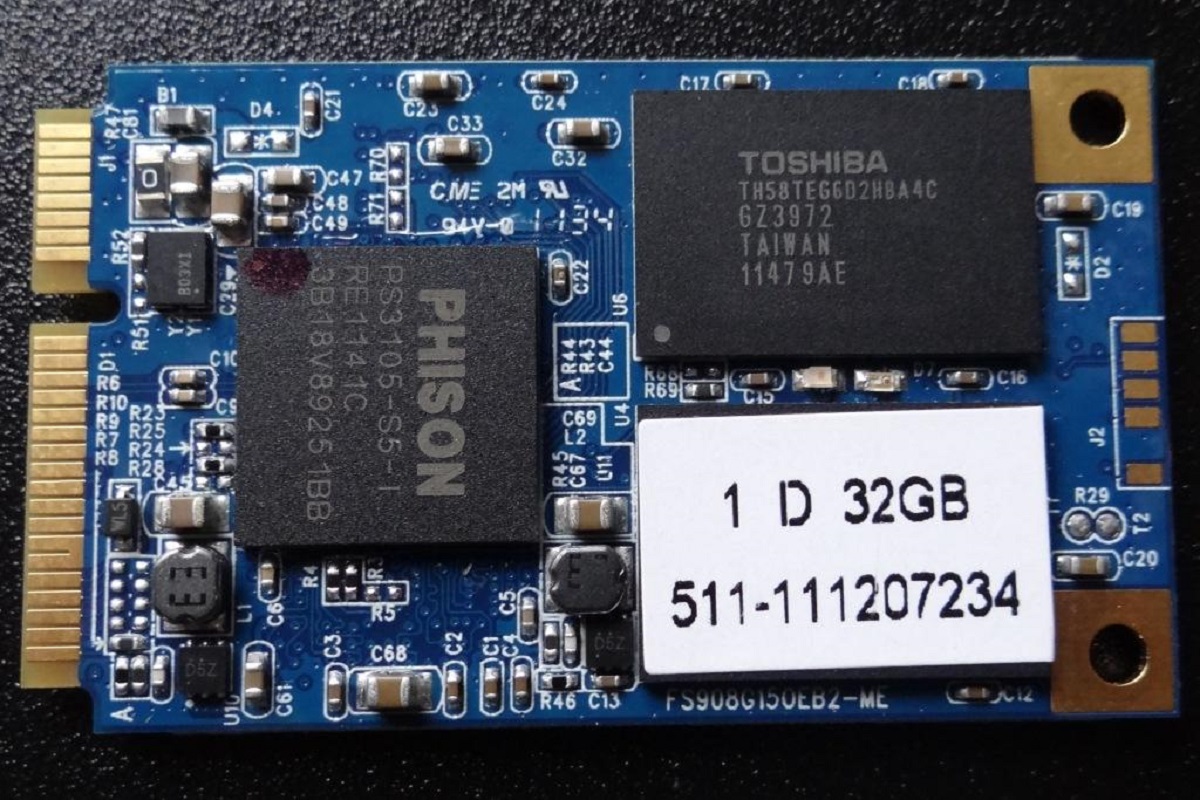
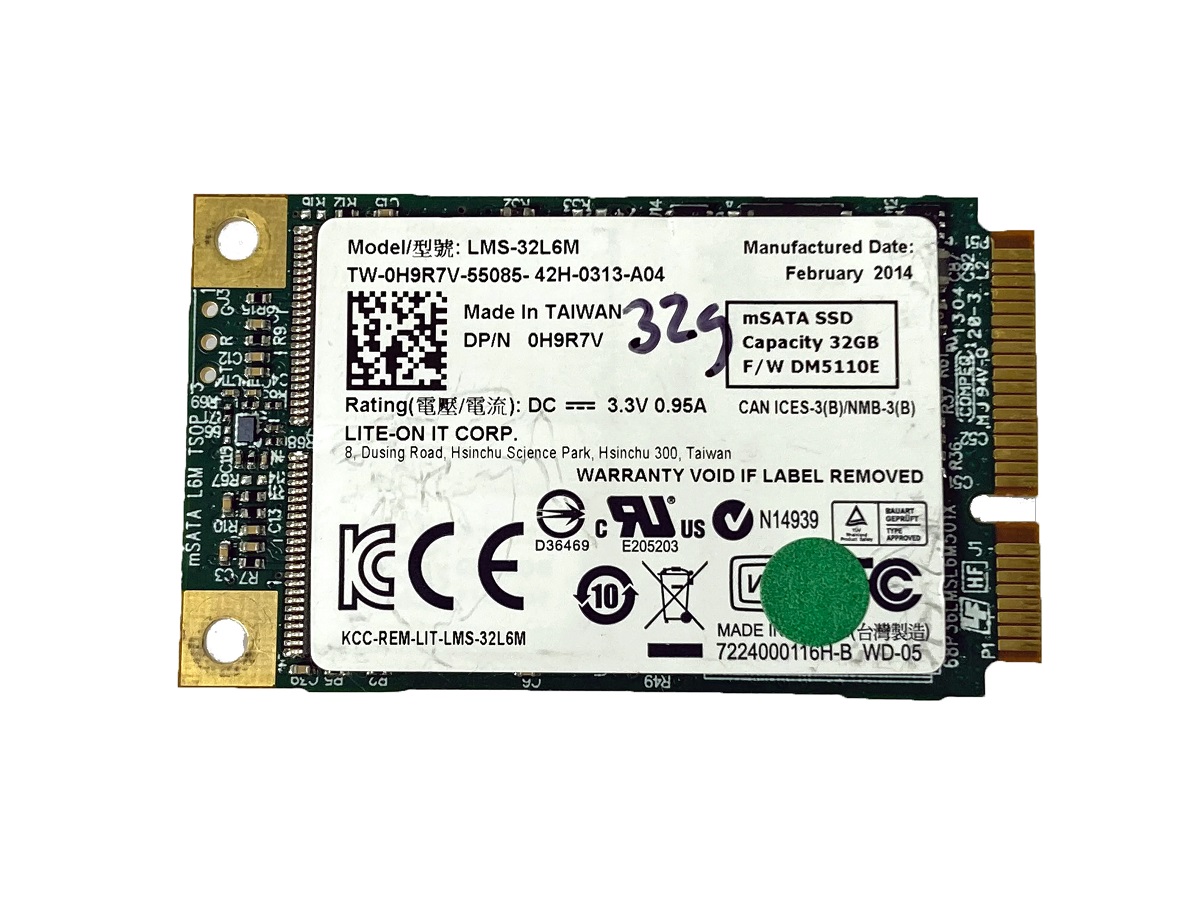
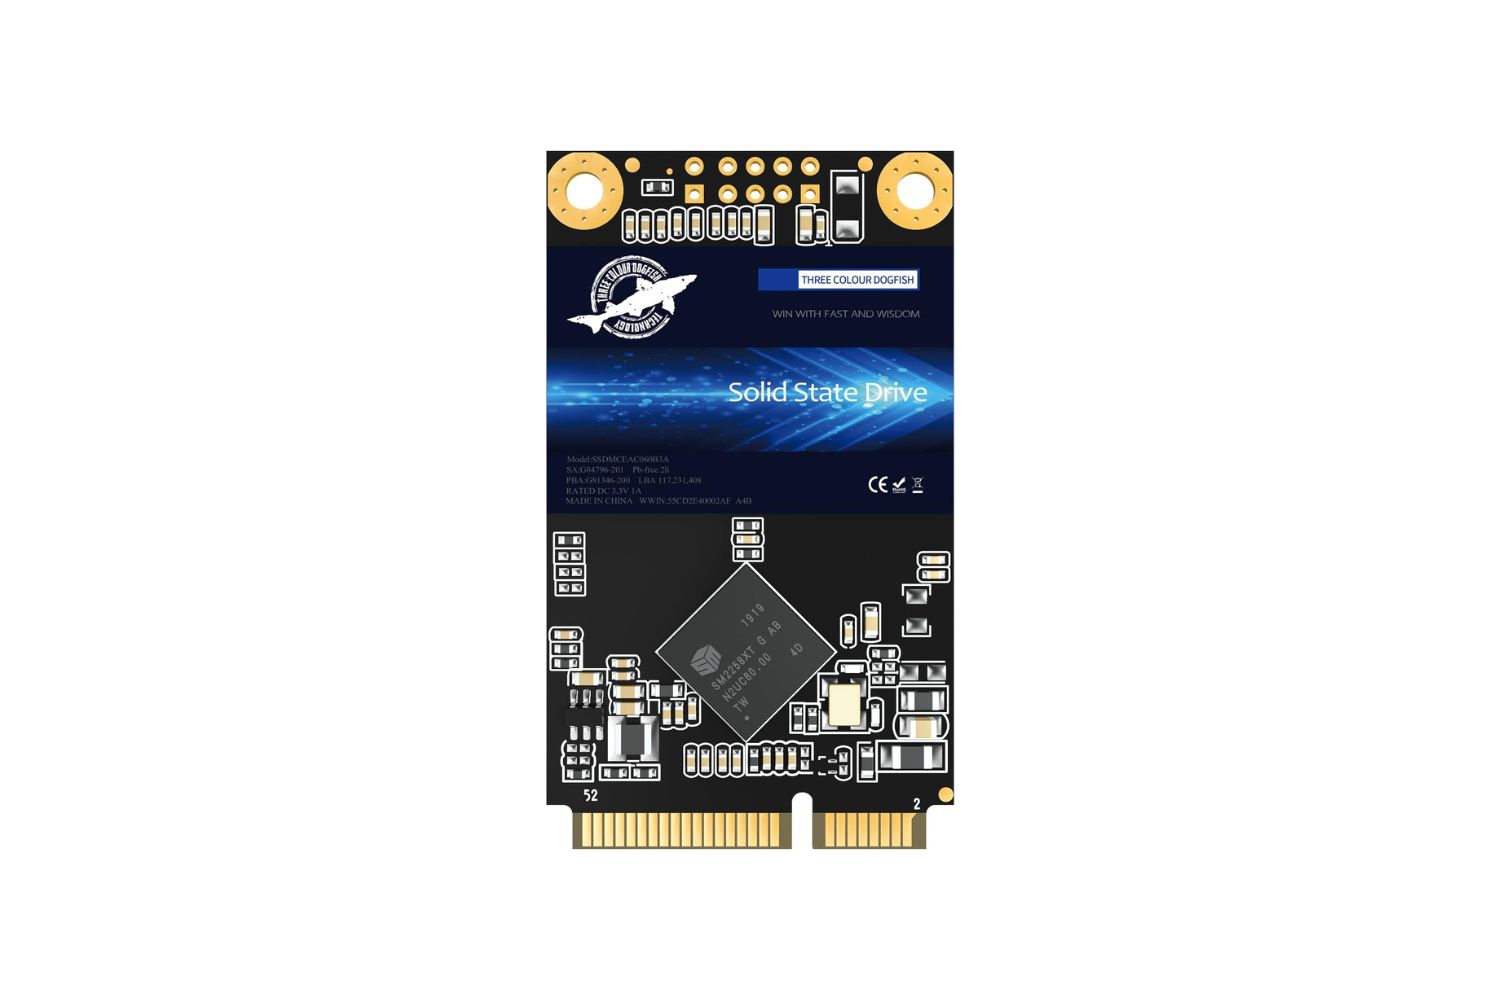
mSATA SSDs are small, solid-state drives that provide fast and reliable storage for computers. They are designed to fit the standard mini-SATA (mSATA) connector found on many laptops, ultrabooks, and small form factor desktop PCs. mSATA SSDs are known for their compact size and high performance, making them an ideal choice for users looking to upgrade their system’s storage.
One of the key advantages of mSATA SSDs is their small form factor. Their compact size allows them to easily fit into systems with limited space, such as ultrabooks. This makes them an excellent option for users who require high-performance storage but don’t have room for a full-sized SSD.
mSATA SSDs also offer impressive read and write speeds. They utilize flash memory technology, which enables faster data access and transfer rates compared to traditional mechanical hard drives. This means that you can expect significantly faster boot times, quicker application launches, and overall improved system responsiveness.
Another benefit of mSATA SSDs is their low power consumption. These drives consume less power than traditional hard drives, which is crucial for laptops and ultrabooks that prioritize battery life. With an mSATA SSD, you can enjoy the benefits of fast storage without sacrificing battery endurance.
Furthermore, mSATA SSDs can be used in conjunction with traditional hard drives or as standalone drives. This allows users to create a hybrid storage solution, taking advantage of the speed of the SSD for frequently accessed files and the larger capacity of a traditional hard drive for mass storage.
In summary, mSATA SSDs are compact, high-performance storage devices that can significantly enhance the speed and responsiveness of your computer. From their small form factor to their impressive read and write speeds, these drives provide a reliable and efficient storage solution for both laptops and desktop PCs.
Things to Consider Before Installation
Before jumping into the installation process of an mSATA SSD, there are a few important factors to consider. Taking these into account will help ensure a smooth installation and optimal performance of your new SSD.
1. Compatibility: Ensure that your computer is compatible with an mSATA SSD. Check the specifications of your computer or consult the manufacturer’s website to confirm whether your system supports an mSATA interface and if there are any limitations or compatibility issues to be aware of.
2. Available space: Verify if your computer has an available mSATA slot. Some systems may have a dedicated mSATA slot, while others might require you to remove the existing Wi-Fi card or another component to free up an mSATA slot. Make sure you have an open slot before proceeding.
3. SSD capacity: Determine the storage capacity you require for your needs. mSATA SSDs come in various capacities, ranging from 120GB to 1TB or more. Consider your storage requirements and choose a capacity that will accommodate your operating system, applications, and files without running out of space.
4. Data migration: If you are replacing an existing drive with the mSATA SSD, you’ll need to transfer the data from the old drive to the new one. Plan for data migration in advance and make appropriate backups to ensure a seamless transition without any loss of important files or data.
5. Operating system support: Check if your operating system supports mSATA SSDs. Most modern operating systems, such as Windows, macOS, and Linux, have built-in support for mSATA SSDs. However, it’s always a good idea to double-check compatibility to avoid any potential issues.
6. Firmware updates: Check the manufacturer’s website for any firmware updates for your mSATA SSD. Keeping the firmware up to date can improve performance and address any known issues or bugs. Download and install the latest firmware before proceeding with the installation.
7. Anti-static precautions: Before handling the mSATA SSD or any computer components, ensure you take proper anti-static precautions. Static electricity can damage sensitive electronics, so it’s crucial to ground yourself by using an anti-static wristband or touching a grounded object before touching any computer parts.
By considering these factors before installation, you can ensure a smooth and successful process and enjoy the benefits of an mSATA SSD in your computer.
Step-by-Step Guide to Installing mSATA SSD
Now that you’ve considered the important factors, it’s time to dive into the step-by-step process of installing an mSATA SSD in your computer. Follow these instructions carefully to ensure a successful installation:
Step 1: Gather the necessary tools: Before you begin, gather the tools you’ll need for the installation. This may include a screwdriver, your computer’s user manual, and the mSATA SSD itself.
Step 2: Power down your computer: Shut down your computer and disconnect all power sources. This ensures your safety and prevents any accidental damage to your computer or the components during the installation process.
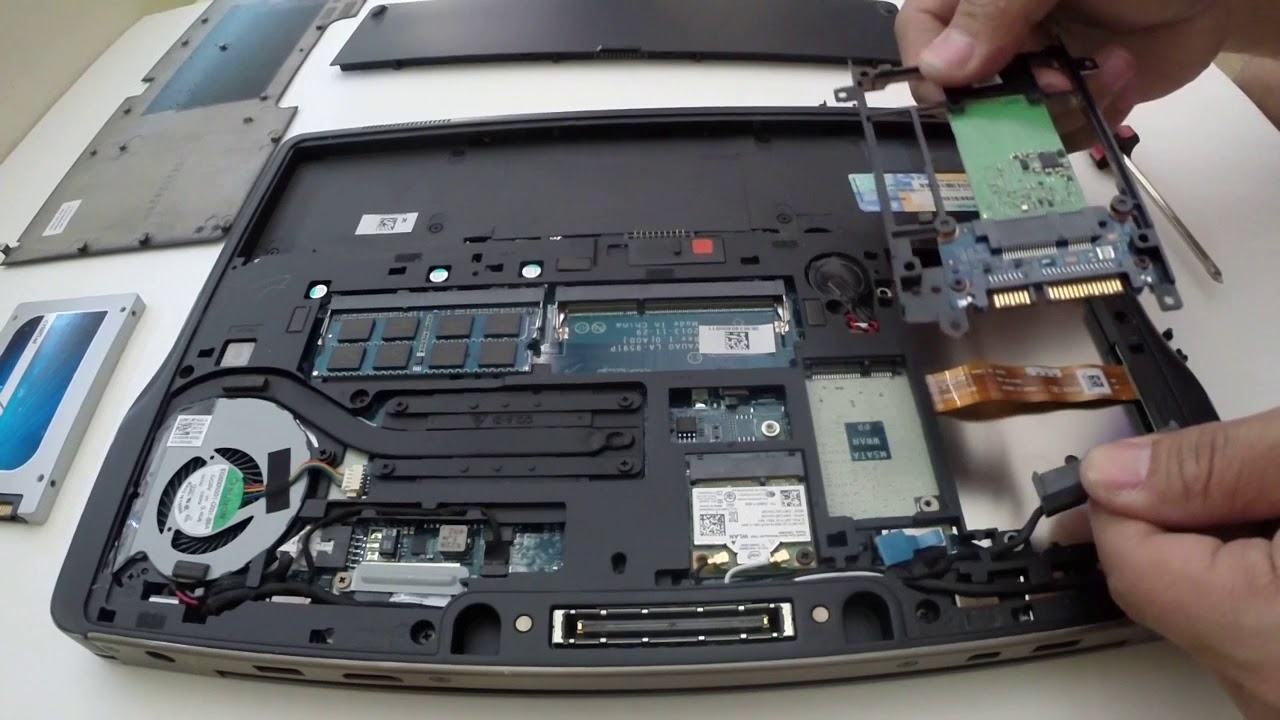
Step 3: Open your computer case: Depending on your computer model, you may need to remove a side panel or an access panel to gain access to the internal components. Refer to your computer’s user manual or manufacturer’s website for instructions specific to your model.
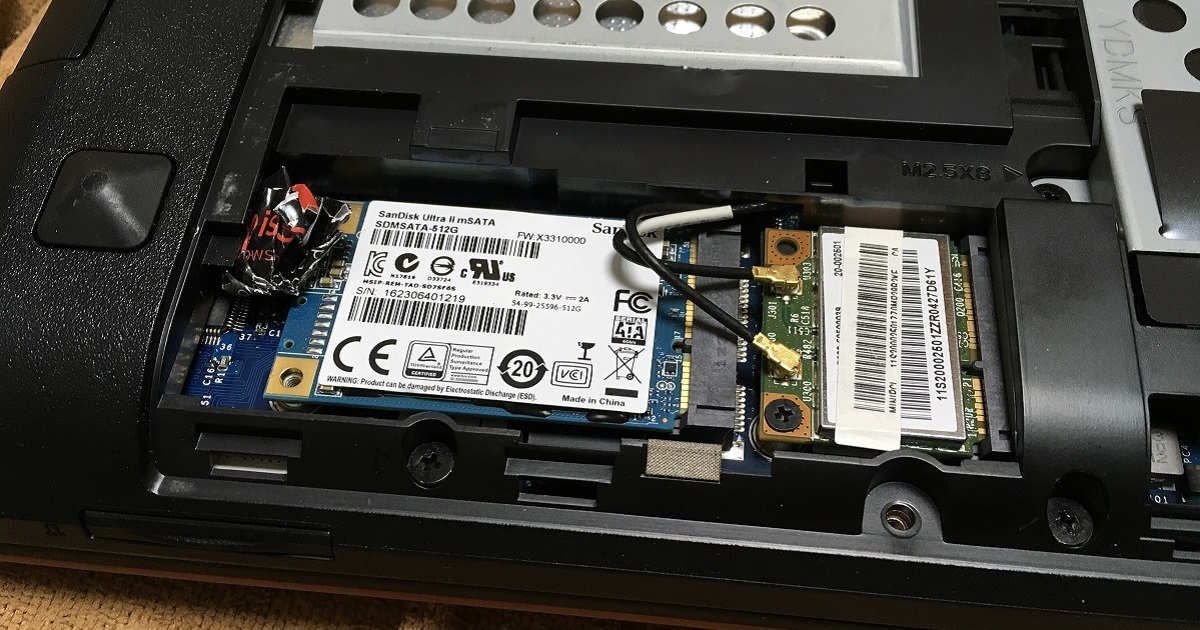
Step 4: Locate the mSATA slot: Identify the mSATA slot on your motherboard. It is typically a small, rectangular slot labeled “mSATA” or “SSD” and may be located near the Wi-Fi card or other slots. Refer to your computer’s user manual for the exact location.
Step 5: Insert the mSATA SSD: Gently insert the mSATA SSD into the slot at a slight angle. Make sure the connectors align properly and the SSD is fully seated in the slot. Be cautious not to force it in, as it should fit snugly without excessive pressure.
Step 6: Secure the SSD: Once the mSATA SSD is inserted correctly, use the screws provided or any securing mechanism to secure it to the motherboard, if required. This ensures that the SSD remains firmly in place during operation.
Step 7: Close the computer case: Carefully put the side panel or access panel back on your computer case and secure it properly. Make sure all screws are tightened but not overly tightened to avoid damaging the case or components.
Step 8: Reconnect the power sources: Plug in the power cable and any other cables you disconnected earlier, including the data cables for any other hard drives or SSDs. Double-check that all connections are secure before proceeding.
Step 9: Power on your computer: Press the power button to turn on your computer. It should now recognize the newly installed mSATA SSD as a storage device.
Step 10: Verify the installation: To ensure that the mSATA SSD is recognized by your computer, you can access the BIOS settings or check your operating system’s disk management tool. It should be listed as a separate storage device.
Congratulations! You have successfully installed an mSATA SSD in your computer. You can now enjoy the increased speed and performance that the SSD provides.
Connecting the mSATA SSD to the Motherboard
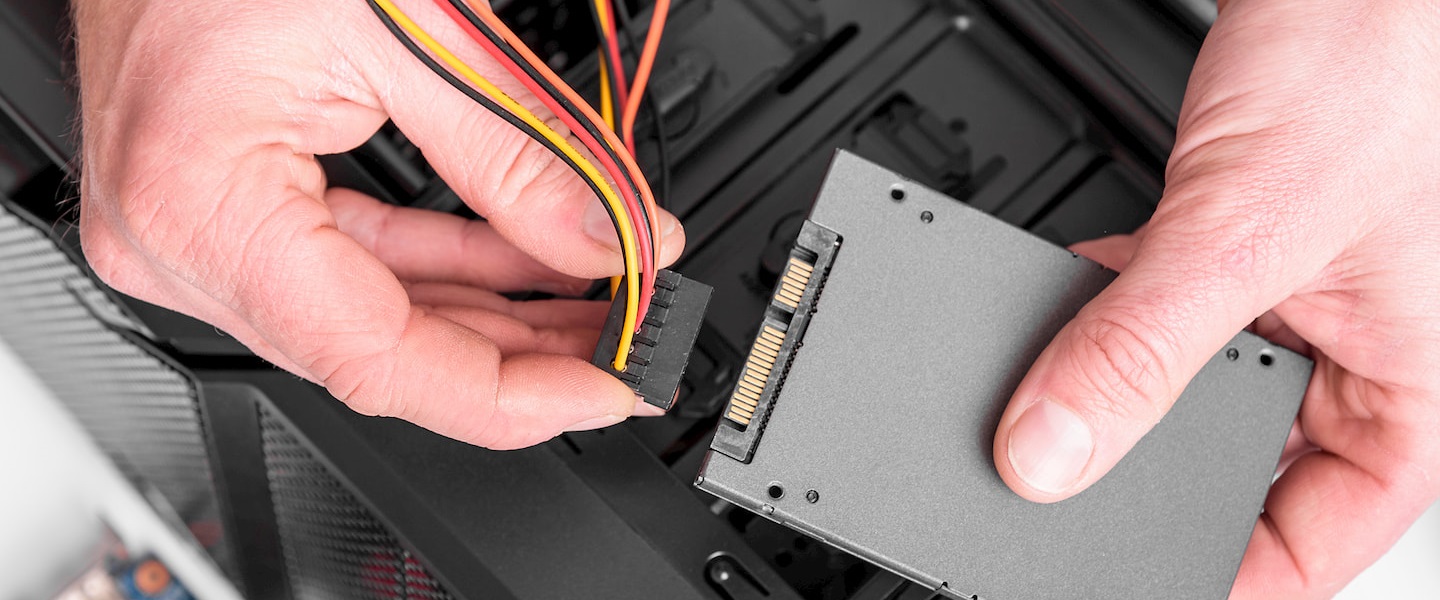
Once you have inserted the mSATA SSD into the appropriate slot on your motherboard, the next step is to connect it properly. This involves ensuring that the SSD is properly connected to both power and data cables. Follow these steps to connect the mSATA SSD to the motherboard:
Step 1: Locate the power and data connections: Identify the power and data connections on your motherboard. The power connection is typically a small, rectangular connector labeled “SATA Power” or something similar. The data connection is usually a thin cable labeled “SATA” or “Data.”
Step 2: Connect the power cable: Take the power cable that came with your mSATA SSD or use a compatible cable from your power supply unit. Connect one end of the cable to the power connector on the motherboard and the other end to the power port on the mSATA SSD. Ensure a secure connection on both ends.
Step 3: Connect the data cable: Take the data cable that came with your motherboard or use a compatible SATA cable. Connect one end of the cable to the SATA data port on the motherboard and the other end to the SATA data port on the mSATA SSD. Again, ensure a secure connection on both ends.
Step 4: Secure the cables: Make sure that the power and data cables are neatly routed and secured to avoid any interference with other components or moving parts in the computer case. Use cable ties or clips to secure the cables in place, if necessary.
Step 5: Double-check the connections: Once the cables are connected, visually inspect them to ensure that they are properly seated and firmly connected. Give them a gentle tug to ensure they are secure, but avoid applying excessive force.
Step 6: Close the computer case: Once the connections are verified and secure, put the side panel or access panel back on your computer case. Secure it properly with screws or other fastening mechanisms.
Step 7: Power on your computer: Press the power button to turn on your computer and allow it to boot up. The mSATA SSD should now be recognized and ready for configuration.
These steps ensure that the mSATA SSD is properly connected to both power and data cables, allowing it to function correctly and be recognized by your computer. With the connection complete, you can proceed to configure the BIOS settings and install the operating system on your mSATA SSD.
Configuring the BIOS Settings
After connecting the mSATA SSD to your motherboard, it’s important to configure the BIOS settings to ensure that your computer recognizes and utilizes the new SSD. The BIOS (Basic Input/Output System) is a software program embedded in your computer’s motherboard that controls the hardware initialization process.
Here’s how you can configure the BIOS settings to optimize the performance of your mSATA SSD:
Step 1: Access the BIOS: Restart your computer and during the boot-up process, look for a key or key combination (such as Del, F2, or F10) displayed on the screen. This key will allow you to access the BIOS settings. Consult your computer’s user manual or the manufacturer’s website for the exact key or key combination.
Step 2: Enter the BIOS: Press the designated key or key combination when prompted to enter the BIOS. This will take you to the BIOS settings interface.
Step 3: Navigate to the storage settings: Use the arrow keys on your keyboard to navigate through the BIOS settings menu. Look for a section related to storage or SATA configuration. The exact location and wording may vary depending on your motherboard manufacturer.
Step 4: Enable the mSATA SSD: In the storage settings, locate the mSATA SSD and ensure that it is enabled. If it is listed as a recognized device, you may need to change the boot order to prioritize the mSATA SSD as the primary boot device.
Step 5: Save and exit: Once you have made the necessary changes, navigate to the exit menu within the BIOS settings. Choose the option to save your changes and exit the BIOS. Your computer will now reboot.
Step 6: Verify the changes: After your computer restarts, observe if it recognizes and boots from the mSATA SSD. You can do this by checking the boot time or accessing the system information in your operating system to confirm that the mSATA SSD is recognized as the primary storage device.
Configuring the BIOS settings ensures that your computer recognizes the mSATA SSD and optimizes its performance. By enabling the mSATA SSD and setting it as the primary boot device, you can take full advantage of the speedy storage and enhance your overall computing experience.
Installing the Operating System on the mSATA SSD
After connecting and configuring the mSATA SSD, the next step is to install the operating system onto the SSD. This will allow you to take full advantage of the improved speed and performance offered by the SSD. Follow these steps to install the operating system on the mSATA SSD:
Step 1: Prepare the installation media: Obtain the installation media for your operating system, such as a USB drive or DVD. Ensure that it is bootable and contains the necessary files to install the OS.
Step 2: Boot from the installation media: Restart your computer and boot from the installation media. To do this, enter the BIOS settings and change the boot order to prioritize the USB drive or DVD drive where the installation media is located.
Step 3: Follow the installation prompts: Once the computer boots from the installation media, follow the on-screen prompts to initiate the OS installation process. Select the mSATA SSD as the destination drive for the installation.
Step 4: Format and partition the mSATA SSD: During the installation process, you’ll be prompted to format and partition the mSATA SSD. It’s recommended to choose the default options, which usually include a single partition for the operating system. This will ensure optimal performance and organization of your files.
Step 5: Complete the installation: Continue following the installation wizard, providing any necessary information such as language preferences, product keys, and network settings. Wait for the installation to complete.
Step 6: Update drivers and software: After the operating system installation is complete, it’s crucial to update the drivers and software to ensure compatibility and optimal performance with the mSATA SSD. Download the latest drivers from the manufacturer’s website and install any necessary updates for your operating system.
Step 7: Transfer files and settings: If you previously backed up your data, you can now transfer your files and settings from the previous storage device to the mSATA SSD. This can be done using the built-in migration tools in your operating system or by manually copying files from the backup.
Step 8: Test the system: Restart your computer and ensure that it boots up from the mSATA SSD. Verify that the operating system recognizes the mSATA SSD as the primary storage device. Test the performance of your system and enjoy the faster speed and responsiveness provided by the mSATA SSD.
By following these steps, you can successfully install the operating system on the mSATA SSD and fully utilize its capabilities. Enjoy the improved performance and faster boot times that the SSD brings to your computer.
Troubleshooting Tips
While installing an mSATA SSD is generally a straightforward process, there may be instances where you encounter issues or complications. Here are some troubleshooting tips to help you overcome common problems:
1. Ensure proper connections: Double-check all connections to ensure that the mSATA SSD is properly inserted into the slot and securely connected to the power and data cables. A loose connection can prevent the SSD from being recognized by the system.
2. Update firmware and drivers: Check for firmware updates for your mSATA SSD and install any available updates. Similarly, ensure that you have the latest drivers for your motherboard and other components installed. Outdated firmware or drivers can cause compatibility issues.
3. Check BIOS settings: Review the BIOS settings and verify that the mSATA SSD is enabled and set as the primary boot device. Adjust any relevant settings, such as SATA mode or boot priority, if necessary. Saving changes and restarting the computer can resolve compatibility or configuration issues.
4. Verify power and data cables: Inspect the power and data cables to ensure that they are not damaged or loose. Replace any faulty cables and ensure a secure connection to avoid data transfer or power supply issues.
5. Update the operating system: Make sure that your operating system is up to date with the latest patches and updates. Some operating systems may require specific updates or drivers for mSATA SSD support. Updating the OS can resolve compatibility issues and improve performance.
6. Check for drive recognition: Use the disk management tool in your operating system to check if the mSATA SSD is recognized as a storage device. If it is not listed, try reconnecting the SSD or attempting the installation process again.
7. Perform a clean installation: If you encounter persistent issues, consider performing a clean installation of the operating system. This can help eliminate any software conflicts or errors that may be affecting the mSATA SSD’s performance.
8. Seek professional assistance: If you have followed all troubleshooting steps and still cannot resolve the issue, it may be best to seek professional assistance from a computer technician or your computer manufacturer’s support team. They can provide further guidance and diagnose any hardware or software-related problems.
Remember, troubleshooting steps may vary depending on your specific system configuration and the issue you are facing. It’s important to approach troubleshooting with patience and consult relevant resources, such as user manuals or online forums, for additional guidance specific to your situation.
Conclusion
Installing an mSATA SSD can be a game-changer for your computer, providing a significant boost in speed and performance. By following the step-by-step guide, you can successfully install an mSATA SSD, configure the necessary settings, and install the operating system. With faster boot times, smoother application launches, and improved overall responsiveness, you’ll experience a noticeable difference in your computing experience.
However, it’s essential to consider the compatibility of your computer, the available space for the SSD, and your storage requirements before proceeding with the installation. Taking these factors into account will ensure that you choose the right mSATA SSD and have a seamless installation process.
If you encounter any challenges along the way, refer to the troubleshooting tips provided to resolve common issues. From verifying connections to updating firmware, these troubleshooting steps can help you overcome any obstacles and ensure the successful installation of your mSATA SSD.
Remember to always refer to your computer’s user manual or the manufacturer’s website for any specific instructions or precautions related to your system. Each computer model may have slight variations in the installation process, so it’s important to have the proper documentation on hand.
By following the recommendations outlined in this guide, you’ll be on the path to optimizing your computer’s performance with the installation of an mSATA SSD. Enjoy the benefits of faster storage and an enhanced computing experience!