Introduction
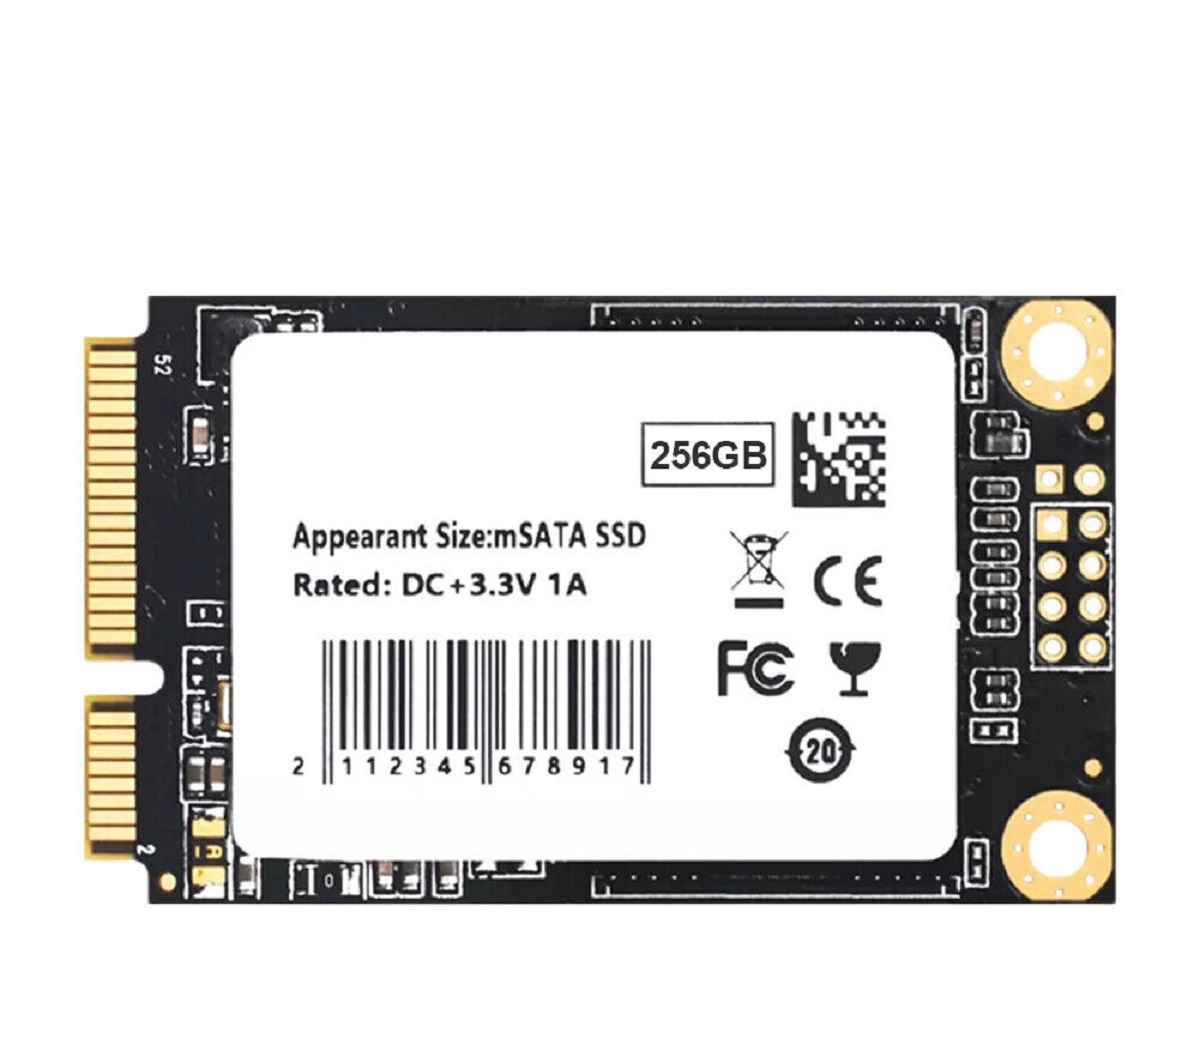
Are you looking to boost the performance of your desktop computer? Installing an mSATA SSD could be the perfect solution. The mSATA (mini-SATA) SSD is a compact storage device that can significantly improve the speed and responsiveness of your desktop. Whether you want to enhance your gaming experience, speed up file transfers, or reduce loading times, upgrading to an mSATA SSD can make a noticeable difference.
This guide will take you through the step-by-step process of installing an mSATA SSD on your desktop. We will cover everything you need to know, from checking the compatibility of your motherboard to securing the SSD in its slot. By the end of this guide, you will be equipped with the knowledge and skills to confidently install an mSATA SSD and enjoy the benefits of faster storage.
Before we dive into the installation process, it’s important to note that working with computer components requires caution and precision. Make sure to follow the instructions carefully and consult your desktop’s user manual if needed. Additionally, it’s always a good idea to back up your important files before making any hardware changes.
Now, let’s get started on transforming your desktop into a high-performance machine by installing an mSATA SSD!
Step 1: Determine Compatibility
Before you begin the installation process, you need to ensure that your desktop is compatible with an mSATA SSD. Here are a few steps to help you determine compatibility:
- Check your motherboard: Start by checking your motherboard’s specifications to see if it supports mSATA. Look for the mSATA slot on the motherboard or refer to the documentation that came with your desktop. If you are unsure, you can also visit the manufacturer’s website and search for your model to find the necessary information.
- Consider the operating system: Confirm whether your operating system supports mSATA. Most modern operating systems, such as Windows 10, macOS, and Linux, are compatible with mSATA SSDs. However, it’s always a good idea to double-check the system requirements of your specific operating system version.
- Review the available storage options: Take a look at your current storage configuration. If your desktop already has an SSD or hard drive installed, check if there are additional mSATA slots available. If all the slots are occupied, you may need to remove an existing drive or consider other storage upgrade options.
- Consider the size limitations: Ensure that your desktop has enough physical space to accommodate the mSATA SSD. Measure the available space inside your computer case and compare it to the dimensions of the mSATA SSD you plan to install. Remember that mSATA SSDs are smaller than traditional 2.5-inch SSDs, making them ideal for compact desktops.
By going through these compatibility checks, you can determine if your desktop is ready for an mSATA SSD upgrade. Once you have confirmed compatibility, you can move on to the next step and gather the necessary tools and materials for the installation process.
Step 2: Gather Tools and Materials
Now that you’ve determined the compatibility of your desktop with an mSATA SSD, it’s time to gather the necessary tools and materials for a smooth installation process. Here’s a list of items you’ll need:
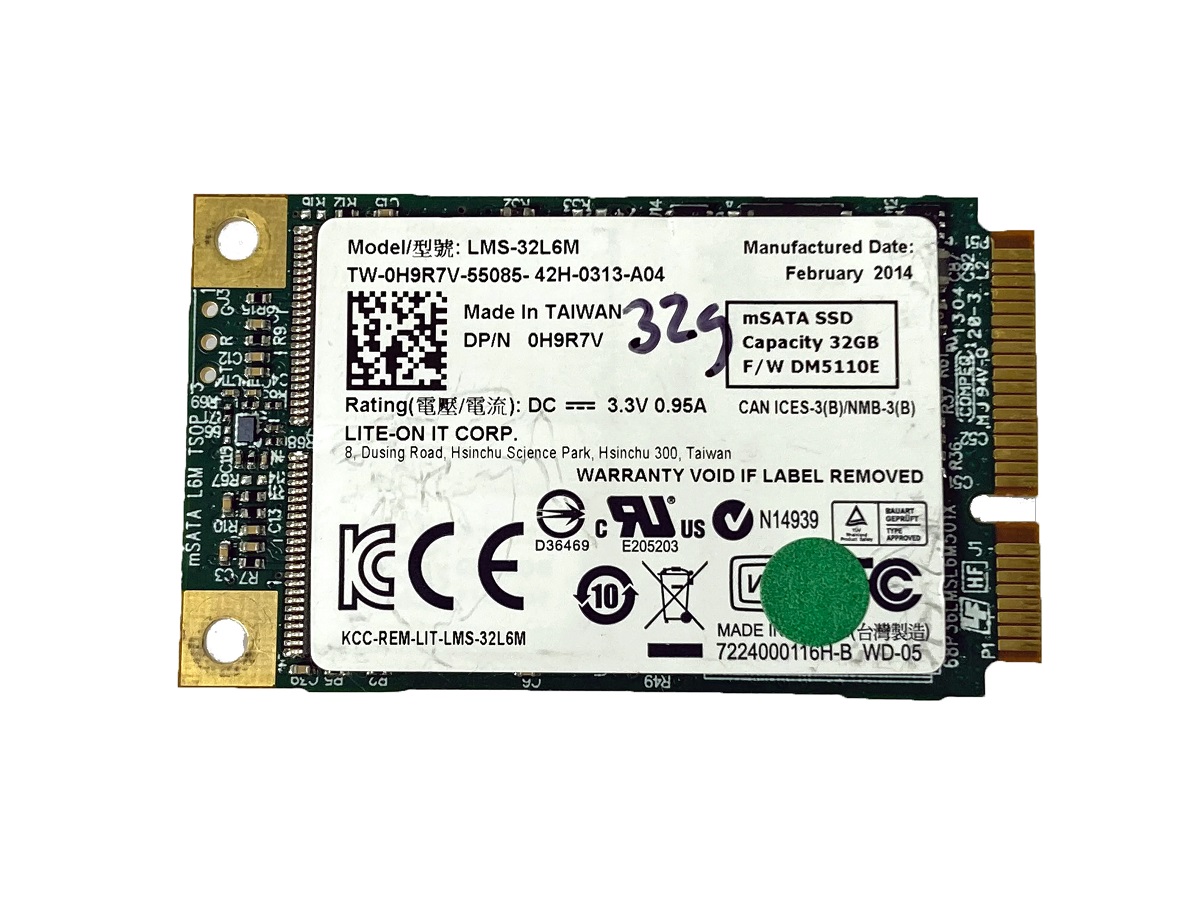
- mSATA SSD: Purchase a high-quality mSATA SSD that suits your storage needs. Consider factors such as storage capacity, read/write speeds, and price.
- Screwdriver: Depending on your desktop model, you may need a Phillips or flathead screwdriver to open the case.
- Anti-static wrist strap: It’s a good idea to wear an anti-static wrist strap to prevent damage to delicate computer components from electrostatic discharge.
- Clean microfiber cloth: Keep a clean microfiber cloth handy to wipe away any dust or debris from the installation area.
- Optional: SATA-to-USB adapter or enclosure: If you want to transfer files from your existing storage drive to the new mSATA SSD, you can use a SATA-to-USB adapter or enclosure to connect the old drive externally to your computer.
Make sure you have all the required tools and materials readily available before you proceed with the installation. This will save you time and ensure a hassle-free experience.
Now that you’re equipped with the necessary tools and materials, it’s time to move on to the next step: shutting down your desktop and opening the case.
Step 3: Shut Down and Open the Desktop
Before you can install the mSATA SSD, you need to shut down your desktop and open its case. Follow these steps:
- Save your work and close all running applications. Shut down your desktop properly by selecting the “Shut Down” option from the Start menu or pressing the power button for a few seconds.
- Ensure that your desktop is completely powered off and disconnect it from any power source.
- Locate the screws or latches that secure the desktop case. Depending on your desktop model, you may find screws on the back panel or latches on the sides of the case.
- Use the appropriate tools (e.g., a screwdriver) to remove the screws or unlatch the case. Set aside the screws in a safe place so you don’t misplace them.
- Gently remove the desktop case, exposing the internal components. Be cautious and avoid touching any sensitive parts to prevent static discharge or damage.
- Take a moment to familiarize yourself with the internal layout of your desktop. Look for the existing storage drives, the motherboard, and other relevant components.
With your desktop now open, you’re ready to proceed to the next step: locating the mSATA slot. It’s important to handle your desktop with care during this step to avoid any accidental damage.
Step 4: Locate the mSATA Slot
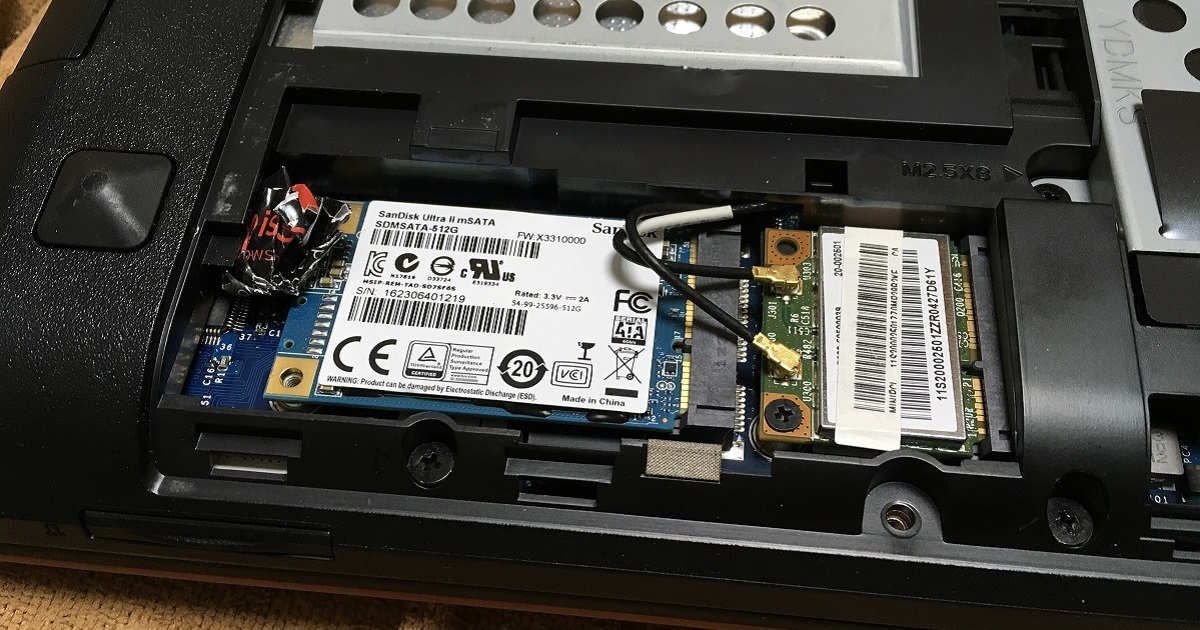
Now that you have opened the desktop case, it’s time to locate the mSATA slot where you will install the mSATA SSD. Follow these steps:
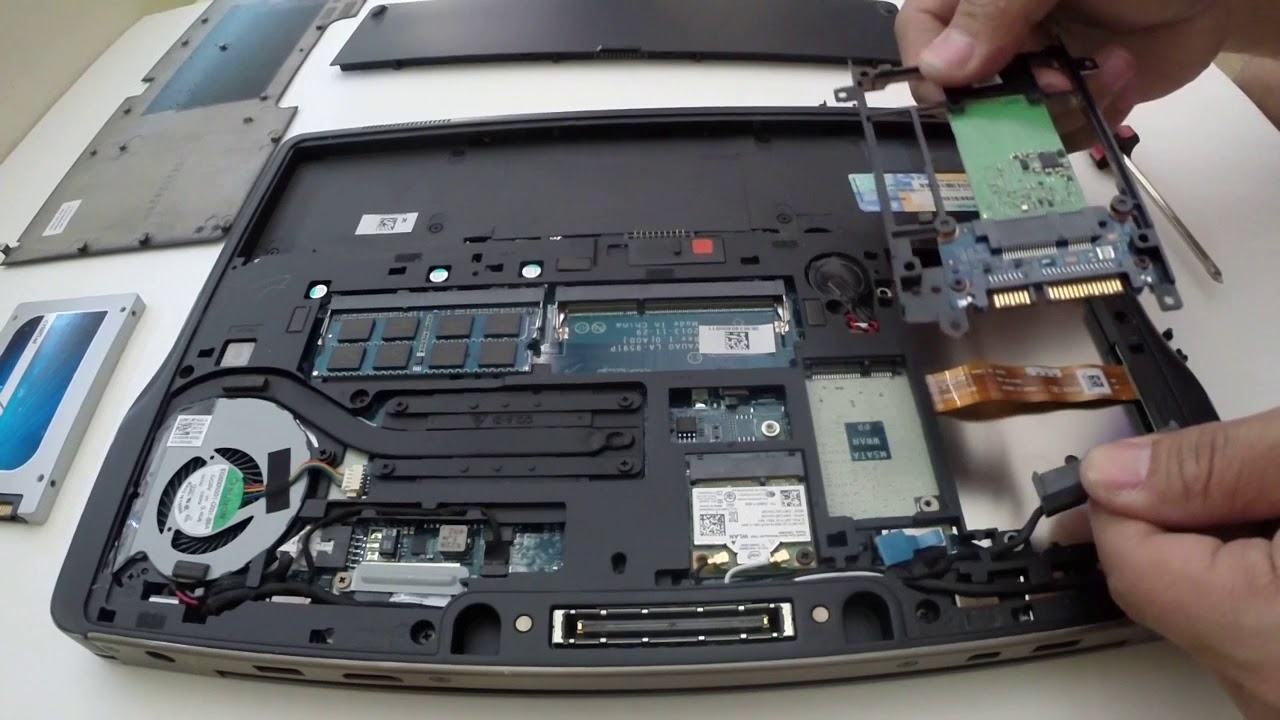
- Refer to your desktop’s user manual or look for motherboard documentation to find the location of the mSATA slot. It is typically located near the other storage connectors, such as SATA ports.
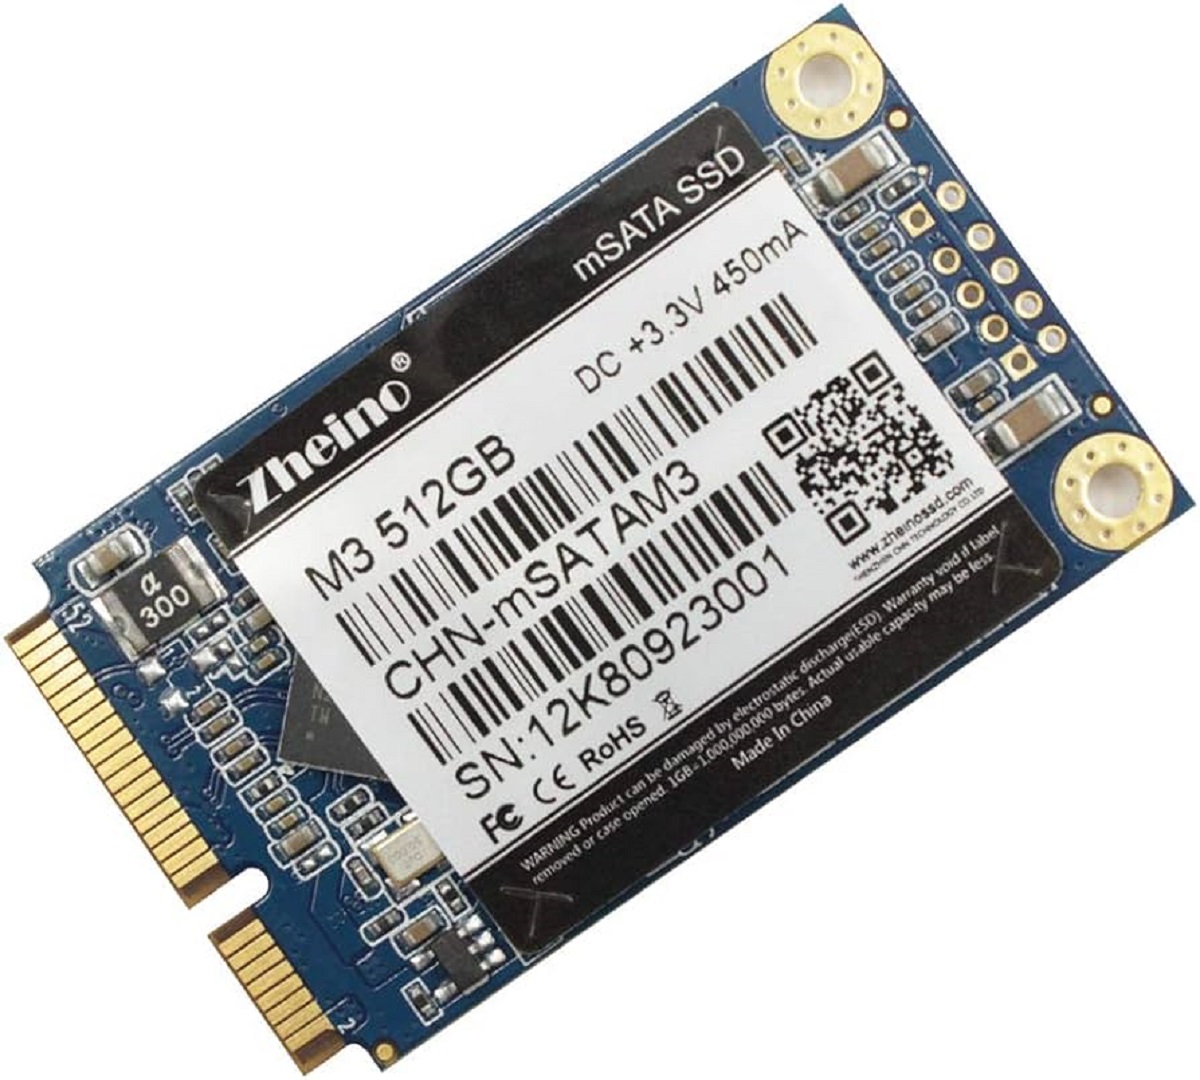
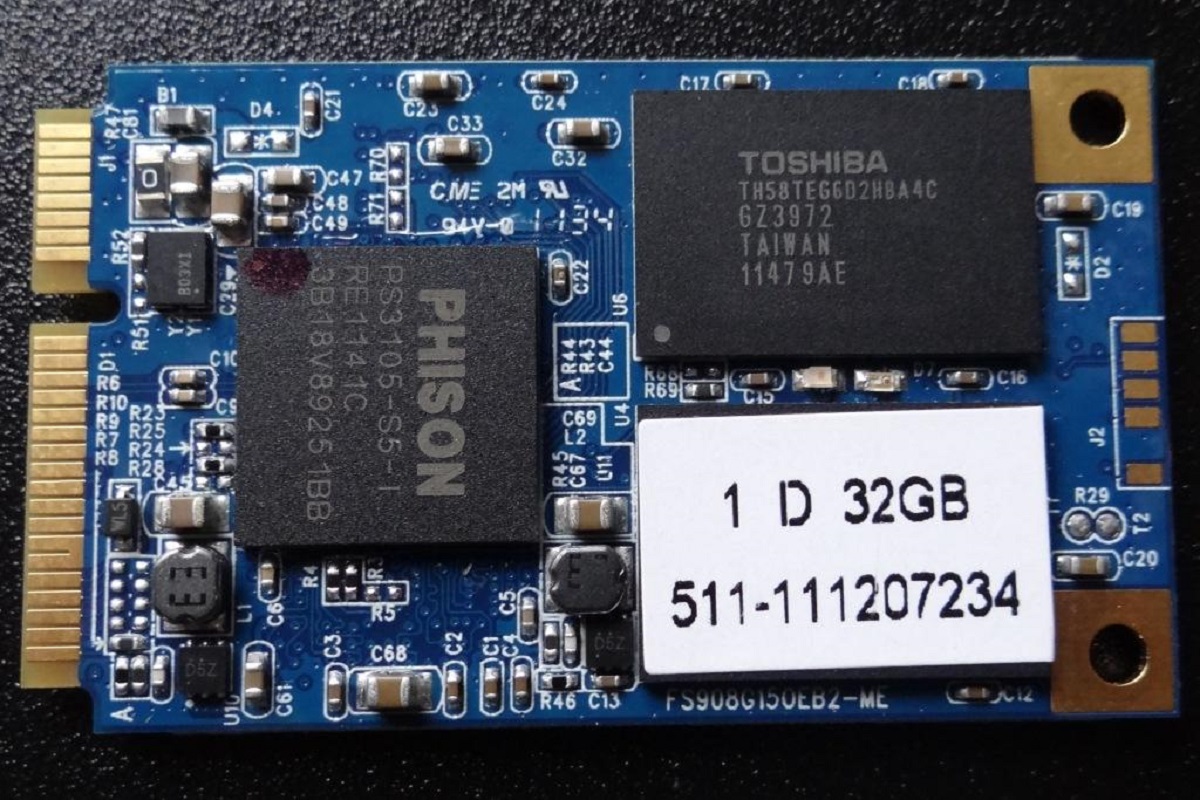
- Identify the mSATA slot on the motherboard. It is a small, rectangular-shaped slot that is significantly smaller than the traditional SATA ports.
- Take note of the orientation of the mSATA slot. Typically, the metal connectors on the mSATA SSD should face downward when inserted into the slot.
If you are having trouble locating the mSATA slot, you can refer to online resources or forums specific to your desktop model or motherboard. Remember to handle the motherboard and other internal components with care to avoid any static discharge.
Once you have identified the mSATA slot, you can move on to the next step: inserting the mSATA SSD into the slot.
Step 5: Insert the mSATA SSD
With the mSATA slot located, it’s time to insert the mSATA SSD into the slot. Follow these steps carefully:
- Hold the mSATA SSD by its sides and align the metal connectors on the underside of the SSD with the corresponding connectors in the mSATA slot.
- Gently slide the mSATA SSD into the slot, making sure it is inserted straight and fully seated.
- Apply slight pressure to the SSD to ensure that it is securely connected to the slot. You may hear a click indicating a successful connection.
It’s important to be careful when handling the mSATA SSD to avoid any static discharge or damage to the connectors. Do not force the SSD into the slot if it does not fit easily, as this could indicate that it is not properly aligned or incompatible.
Once the mSATA SSD is properly inserted, you can proceed to the next step: securing the mSATA SSD in place.
Step 6: Secure the mSATA SSD
After inserting the mSATA SSD into the slot, it’s important to secure it in place to ensure a stable connection. Follow these steps to securely fasten the mSATA SSD:
- Check if your desktop case has a dedicated screw or latch mechanism to secure the mSATA SSD. The location of this mechanism can vary depending on your desktop model.
- If your case has a dedicated screw, use a screwdriver to carefully tighten it onto the designated spot on the mSATA SSD. Make sure not to overtighten the screw to avoid damaging the SSD.
- If your case uses a latch mechanism, carefully position the latch over the mSATA SSD and secure it according to the case’s instructions. Ensure that the latch is firmly in place, providing proper support to the mSATA SSD.
By securing the mSATA SSD, you prevent any accidental disconnections or movements that can occur during regular use or while transporting your desktop.
Double-check that the mSATA SSD is firmly in place and properly secured. This will ensure a reliable connection and optimal performance.
With the mSATA SSD securely fastened, you’re ready to move on to the next step: closing the desktop case.
Step 7: Close the Desktop
Now that the mSATA SSD is securely installed and fastened in place, it’s time to close the desktop case. Follow these steps to properly close the case:
- Ensure that all cables, such as power and data cables, are neatly arranged and not obstructing the closing of the case.
- Align the edges of the case carefully, ensuring that all sides are properly aligned with the screw holes or latches.
- Slowly slide the case back into its original position, applying gentle pressure until it smoothly closes.
- If your case is secured by screws, use the appropriate tool (e.g., a screwdriver) to tighten the screws back into their designated spots.
- Double-check that all the screws are properly tightened, but be mindful not to overtighten them, as it could cause damage to the case or the components inside.
Once the case is closed, give it a gentle shake to ensure that it is firmly in place and there are no loose components. If everything feels secure, you’re ready to move on to the final step: connecting and booting up your desktop.
It is worth noting that closing the desktop case properly is crucial for the overall functionality and longevity of your desktop. A securely closed case helps maintain proper airflow and protects the internal components from dust and other potential threats.
Step 8: Connect and Boot Up
Now that the mSATA SSD is installed, securely fastened, and the desktop case is closed, it’s time to connect the necessary cables and boot up your computer. Follow these final steps:
- Locate the power and data cables that were originally connected to the existing storage drive(s) in your desktop.
- Disconnect the power cable and data cable from the existing storage drive(s).
- Connect the power cable and data cable to the mSATA SSD, ensuring they are securely plugged into their respective ports.
- Once all cables are properly connected, double-check that there are no loose connections or cables obstructing other components inside the desktop.
- Reconnect the power cable to your desktop and ensure it is securely plugged into a power source.
- Power on your desktop by pressing the power button. Watch for any startup messages or prompts on your monitor.
- If your desktop doesn’t boot up, check the BIOS settings to ensure it recognizes the newly installed mSATA SSD. You may need to adjust the boot sequence or enable the mSATA SSD as a bootable device.
- Once your desktop successfully boots up, it should recognize the mSATA SSD as an additional storage device. You can now enjoy the enhanced speed and performance that the mSATA SSD brings.
Congratulations! You have successfully installed and connected the mSATA SSD to your desktop. It’s time to take advantage of its improved storage capabilities and enjoy the faster performance it offers.
Remember to transfer any necessary files or data from your old storage drive(s) to the newly installed mSATA SSD. You can do this by connecting the old drive(s) externally using a SATA-to-USB adapter or enclosure.
By following these steps, you have completed the installation process and can now reap the benefits of your upgraded desktop with an mSATA SSD.
Conclusion
Congratulations on successfully installing an mSATA SSD on your desktop! By following the step-by-step guide outlined in this article, you have significantly improved the performance and storage capabilities of your computer.
Installing an mSATA SSD allows for faster boot times, quicker application loading, and improved file transfer speeds. Whether you’re a gamer looking for reduced lag, a professional needing faster data access, or a casual user seeking better overall performance, the mSATA SSD upgrade is well worth it.
Throughout the installation process, you learned how to determine the compatibility of your desktop, gather the necessary tools and materials, shut down and open the case, locate the mSATA slot, insert and secure the mSATA SSD, close the desktop case, and connect and boot up the computer.
Remember to properly handle computer components, be cautious of static discharge, and follow safety precautions when working on your desktop. Always consult your desktop’s user manual for specific instructions and refer to online resources or forums for any additional guidance.
Now that your mSATA SSD is installed, take some time to explore the increased speed and performance it offers. Enjoy faster application launches, speedier file transfers, and an overall enhanced computing experience.
Thank you for choosing to upgrade your desktop with an mSATA SSD. With this improved storage solution, you can now maximize your productivity and enjoyment while using your computer.