Introduction
Welcome to our guide on what Trim is and how it functions on an SSD. If you’re a tech enthusiast or someone interested in optimizing your computer’s performance, understanding Trim is essential. This article will explain what Trim is, how it works, and the benefits of enabling it on your SSD.
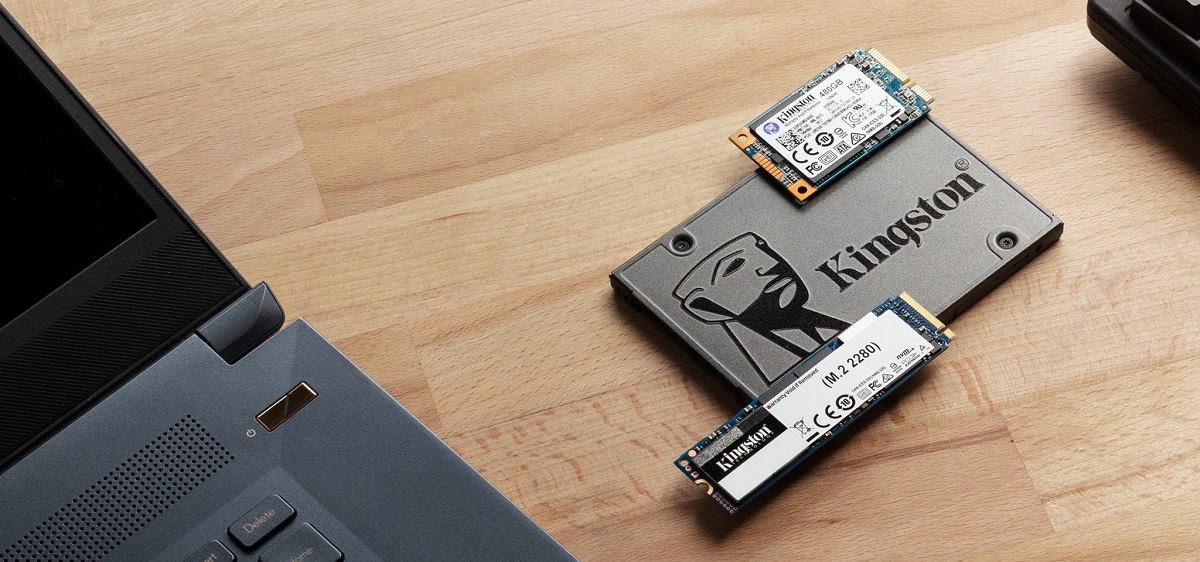
SSDs, or solid-state drives, have become increasingly popular in recent years due to their faster speeds and superior reliability compared to traditional hard disk drives (HDDs). However, to ensure optimal performance and longevity, it’s crucial to implement certain maintenance techniques. One such technique is enabling Trim.
Trim is a command that communicates with the SSD controller to optimize the storage performance of the drive. It plays a vital role in maintaining the drive’s efficiency and preventing performance degradation over time.
In this article, we will delve into the inner workings of Trim and how it interacts with the SSD to enhance its performance. We will also provide step-by-step instructions on how to check if Trim is enabled on your SSD and how to enable it on different operating systems such as Windows, Mac, and Linux.
By the end of this guide, you will have a clear understanding of what Trim is and how to leverage its benefits to ensure the optimal performance of your SSD.
What Is Trim?
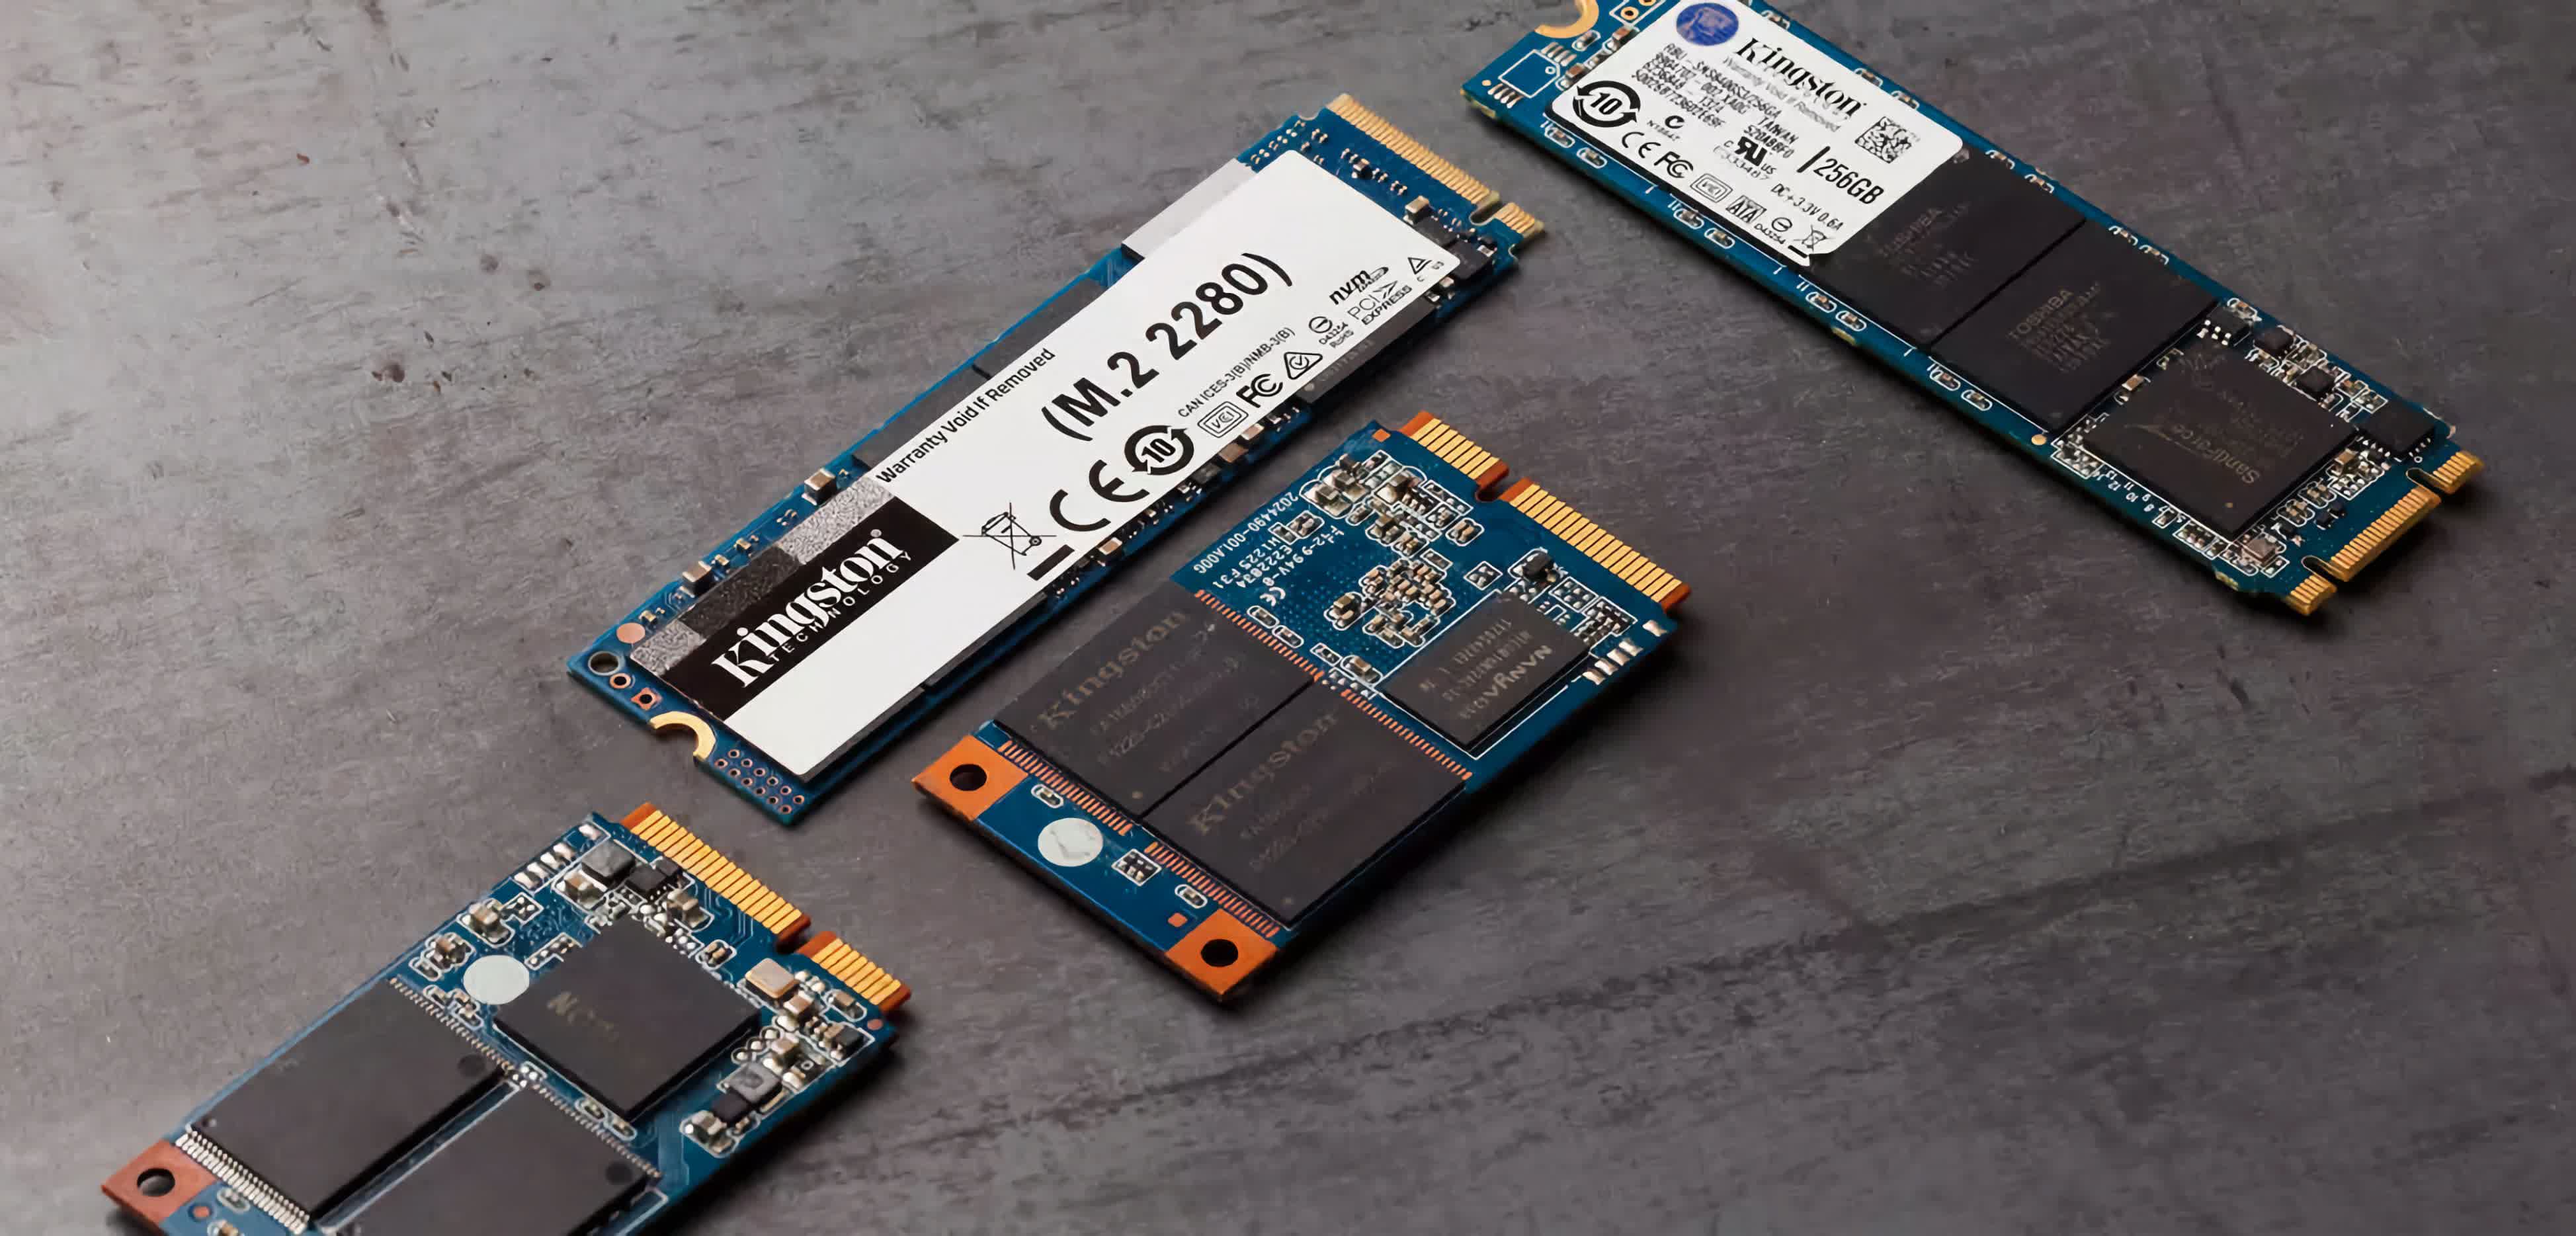
Trim is a command that is specifically designed for solid-state drives (SSDs). It helps to optimize the performance and lifespan of an SSD over time. Traditional hard disk drives (HDDs) and SSDs manage data differently, and unlike HDDs, SSDs require periodic maintenance to maintain their performance. This is where Trim comes into play.
When you delete a file from an SSD, the operating system marks the corresponding space as available for future data storage. However, the SSD still retains the deleted data internally until it is overwritten. This is done to ensure that data recovery is possible until the space is needed for new data.
Without Trim, the SSD controller must perform a time-consuming process called “garbage collection” to reclaim these marked but still-retained spaces. Garbage collection involves moving data around the SSD to consolidate free space and ensure efficient storage management. This process can significantly slow down the SSD’s performance and impact overall system responsiveness.
Trim, on the other hand, allows the operating system to inform the SSD which blocks of data are no longer in use. The SSD can then release or “trim” these blocks, instantly marking them as available for new data storage. By trimming unused blocks in real-time, Trim helps the SSD maintain optimal performance levels and prevents performance degradation over time.
It’s important to note that Trim only works on the SSD’s native controller, and it requires both the operating system and the SSD to support it. Trim commands are typically sent by the operating system during the deletion process, and the SSD controller responds by marking the corresponding blocks as available for immediate reuse.
In the next section, we will explore how Trim works in more detail and understand its benefits for SSD performance.
How Does Trim Work?
To understand how Trim works, let’s take a closer look at the process and mechanisms behind it.
When a file is deleted from an SSD, the operating system sends a Trim command to the SSD controller. The Trim command contains information about the specific blocks or pages of data that are no longer in use. The SSD controller then marks these blocks as available for immediate reuse, essentially “trimming” away the unnecessary data.
When new data needs to be written to the SSD, the system can now use the trimmed blocks instead of performing the time-consuming process of garbage collection to free up space.
Unlike traditional hard disk drives (HDDs), which overwrite data in a random manner, SSDs work on a page-level basis. Each page consists of multiple cells where data is stored. When Trim is enabled, the SSD controller maintains a record of the trimmed pages, allowing it to quickly identify and skip these pages during the write process.
By skipping the erased pages, the SSD can perform faster and more efficient write operations, resulting in improved overall performance and increased lifespan of the drive.
Trim works hand-in-hand with the wear-leveling algorithm implemented in SSDs. Wear-leveling ensures that data is distributed evenly across the drive, preventing certain blocks from being used more frequently than others. This helps to mitigate the impact of unavoidable cell wear and extends the lifespan of the SSD.
In summary, Trim operates by informing the SSD controller about the blocks of data that are no longer in use. By marking these blocks as available for reuse, Trim improves the efficiency and performance of the SSD by reducing the need for time-consuming garbage collection operations.
In the next section, we will explore the benefits of enabling Trim on your SSD.
Benefits of Enabling Trim
Enabling Trim on your SSD brings several significant benefits that enhance both the performance and lifespan of the drive. Let’s explore the advantages of enabling Trim:
- Improved Performance: When Trim is enabled, the SSD can efficiently reclaim and reuse blocks of data that are no longer in use. This results in faster write operations and overall improved performance. By eliminating the need for time-consuming garbage collection processes, the SSD can quickly allocate free space for new data, leading to smoother and more responsive system performance.
- Longer Lifespan: SSDs have a limited number of program/erase cycles for each memory cell. When Trim is enabled, the SSD controller can avoid unnecessary write operations on blocks of data that are marked as available for reuse. This reduces wear and tear on the NAND flash memory cells, effectively extending the lifespan of the SSD.
- Prevention of Performance Degradation: Without Trim, SSDs may experience performance degradation over time. As data is continuously written, deleted, and rewritten, unused blocks in the SSD can become fragmented and scattered. The Trim command helps to maintain the SSD’s performance by quickly freeing up these unused blocks, preventing fragmentation and ensuring consistent read and write speeds.
- Efficient Storage Management: Trim improves the storage efficiency of an SSD by instantly marking deleted blocks as available for reuse. This allows the drive to better manage its storage space and allocate free blocks more effectively. As a result, the SSD can maintain optimal performance levels and minimize any potential slowdown caused by limited free space.
- Enhanced SSD Endurance: SSDs have a finite amount of write endurance, meaning they can only handle a certain number of write cycles before performance starts to degrade. By enabling Trim, you reduce the likelihood of unnecessary write operations, thus preserving the SSD’s write endurance and extending its overall longevity.
Overall, enabling Trim on your SSD not only improves performance but also helps to maintain the drive’s longevity. It allows for efficient storage management, prevents performance degradation, and enhances the overall user experience.
In the next section, we will provide step-by-step instructions on how to check if Trim is enabled on your SSD, as well as how to enable Trim on different operating systems.
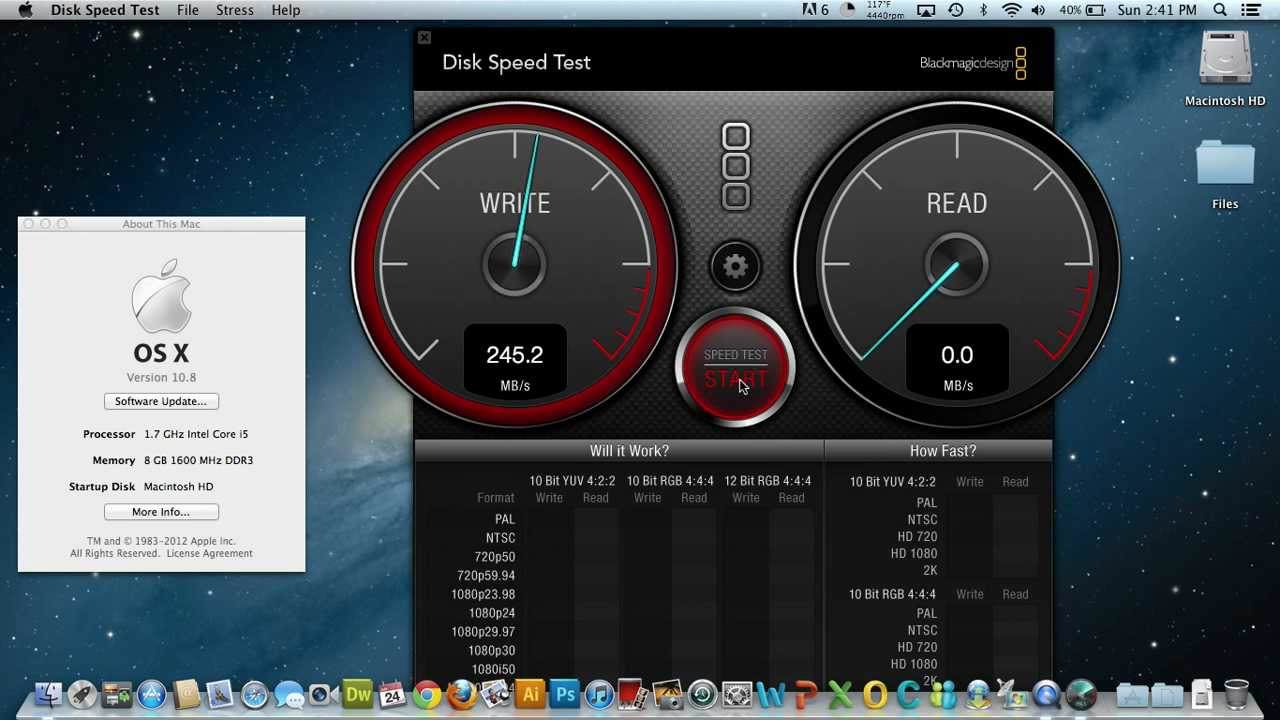
How to Check if Trim is Enabled on Your SSD
It’s important to confirm whether Trim is enabled on your SSD to ensure that you are getting the maximum performance and longevity from your drive. Here are the steps to check if Trim is enabled on your SSD:
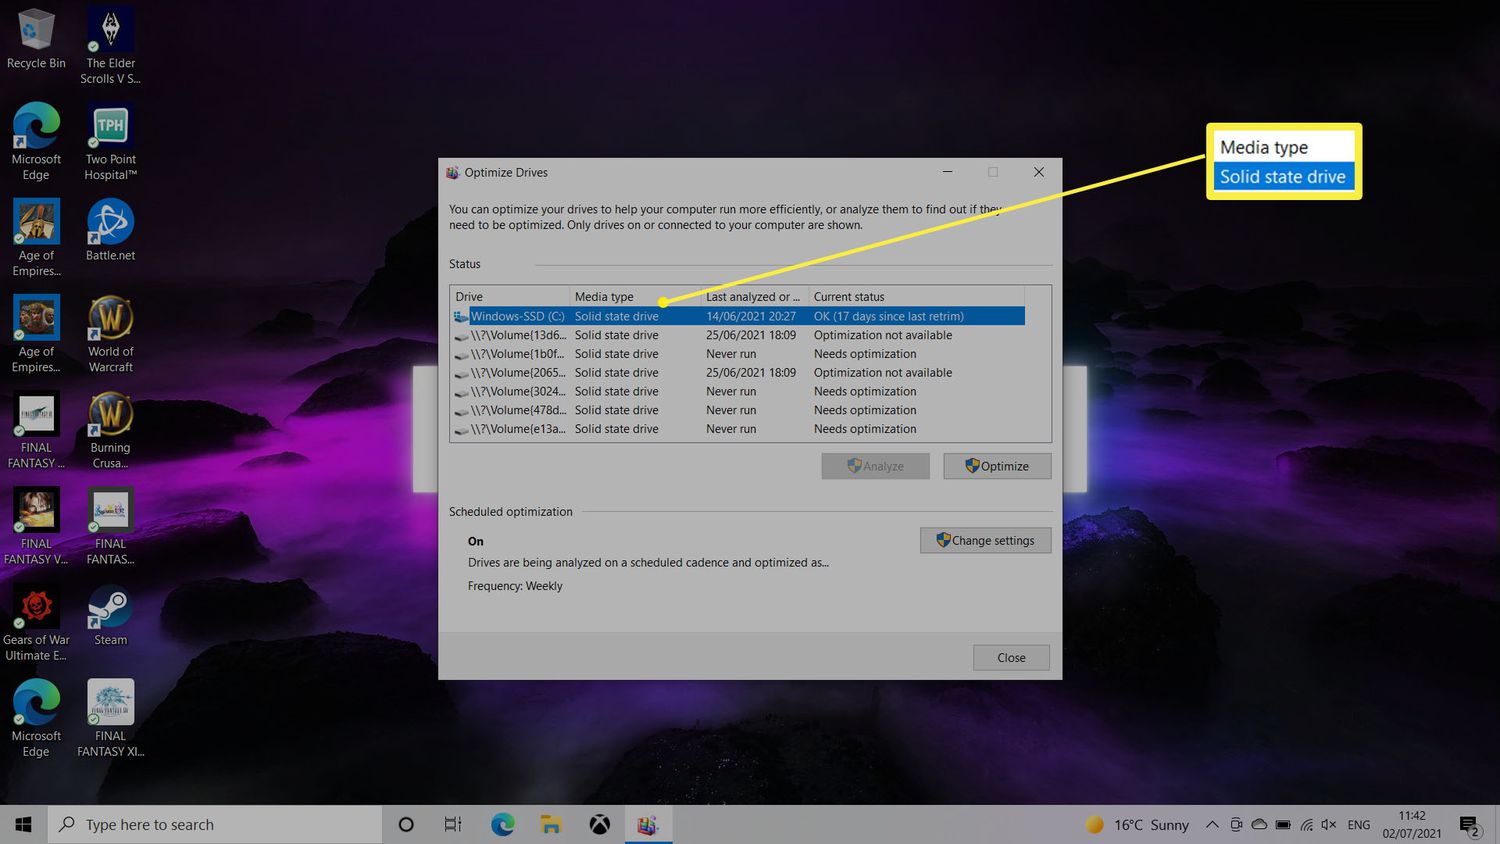
- Windows: Open the Command Prompt by pressing the Windows key + R, typing “cmd” in the Run dialog box, and pressing Enter. In the Command Prompt window, type the following command:
fsutil behavior query DisableDeleteNotify. If the result is “DisableDeleteNotify = 0,” it means Trim is enabled. If the result is “DisableDeleteNotify = 1,” it means Trim is disabled. - Mac: Open Terminal by clicking on the magnifying glass icon in the top right corner of your screen, typing “Terminal,” and pressing Enter. In the Terminal window, type the following command:
sudo trimforce enable. You will be prompted to enter your administrator password. Once the password is entered, follow the on-screen instructions to enable Trim on your SSD. - Linux: Open the Terminal by pressing Ctrl + Alt + T. In the Terminal window, type the following command:
lsblk --discard. Look for your SSD device in the output. If there is a “DISC-” information next to your SSD device, it means Trim is supported and enabled on your SSD.
These methods allow you to check if Trim is enabled on your SSD. If Trim is not enabled, don’t worry – we will provide instructions on enabling Trim on different operating systems in the upcoming sections.
Before proceeding with enabling Trim, it’s important to consider a few points, which we will discuss in the next section.
Enabling Trim on Windows
Enabling Trim on Windows is a straightforward process. Follow these steps to enable Trim on your Windows system:
- Step 1: Press the Windows key + R on your keyboard to open the Run dialog box. Type “cmd” and press Enter to open the Command Prompt.
- Step 2: In the Command Prompt window, type the following command:
fsutil behavior set DisableDeleteNotify 0. This command enables Trim on your system. - Step 3: Restart your computer for the changes to take effect.
Once your computer has restarted, Trim will be enabled on your Windows system. You can now enjoy the benefits of Trim on your SSD, including improved performance and extended lifespan.
If you ever want to disable Trim on Windows, you can follow the same steps mentioned above and use the following command in the Command Prompt: fsutil behavior set DisableDeleteNotify 1. Restart your computer to apply the changes.
Next, we will provide instructions on how to enable Trim on Mac.
Enabling Trim on Mac
Enabling Trim on a Mac involves using the built-in Terminal application. Follow these steps to enable Trim on your Mac:
- Step 1: Click on the magnifying glass icon in the top right corner of your screen to open Spotlight Search. Type “Terminal” and press Enter to open the Terminal application.
- Step 2: In the Terminal window, type the following command:
sudo trimforce enable. Press Enter. - Step 3: You will be prompted to enter your administrator password. Type your password (you won’t see it as you type) and press Enter.
- Step 4: Read the warning message carefully. It explains the potential risks of enabling Trim. If you understand and agree to the terms, type “y” (without quotes) and press Enter.
- Step 5: Follow the on-screen instructions to proceed. Your Mac may restart during this process.
After your Mac restarts, Trim will be enabled on your system, ensuring improved performance and longevity of your SSD.
If you ever want to disable Trim on your Mac, you can use the following command in the Terminal: sudo trimforce disable. You will need to enter your administrator password and follow the instructions on the screen.
Now that Trim is enabled on your Mac, we’ll move on to the process of enabling Trim on Linux in the next section.
Enabling Trim on Linux
Enabling Trim on Linux involves using the Terminal and a specific command. Follow these steps to enable Trim on your Linux system:
- Step 1: Open the Terminal on your Linux system. You can do this by pressing Ctrl + Alt + T on your keyboard.
- Step 2: In the Terminal window, type the following command:
lsblk --discard. Press Enter. - Step 3: Look for your SSD device in the output of the command. If you see a “DISC-” information next to your SSD device, it means Trim is supported and already enabled on your Linux system.
- Step 4: If Trim is not already enabled, you can proceed to enable it manually. Open the Terminal and type the following command:
sudo fstrim -v /. Press Enter. - Step 5: Enter your administrator password when prompted. Please note that you won’t see anything as you type your password.
- Step 6: The command will run, and you will see progress information in the Terminal window. Once it is complete, Trim will be enabled on your Linux system.
With Trim enabled on your Linux system, you can enjoy the benefits of improved SSD performance and prolonged lifespan. It’s important to note that Trim is supported by most modern Linux distributions, but it’s always a good idea to double-check the specific Trim support for your distribution.
In the next section, we will discuss some considerations to keep in mind while enabling Trim on your SSD.
Considerations While Enabling Trim
While enabling Trim on your SSD can bring several benefits, there are a few considerations to keep in mind:
- Operating System Support: Trim support varies depending on the operating system and version. Before enabling Trim, ensure that your operating system supports it. Some older or less common operating systems may not have native Trim support.
- SSD Firmware: Trim requires both the operating system and the SSD to support it. Ensure that your SSD’s firmware is up to date. SSD manufacturers often release firmware updates that can improve Trim functionality and overall compatibility with the latest operating systems.
- Data Recovery: When Trim is enabled, the trimmed blocks are immediately marked as available for reuse. This means that the deleted data becomes harder to recover using traditional methods. If you rely on data recovery tools, weigh the benefits of Trim against the potential challenges of data recovery in case of accidental file deletion.
- Backup Strategy: Enabling Trim should not be a substitute for regular data backups. Accidental file deletion or drive failure can still result in data loss. Make sure you have a reliable backup strategy in place to protect your important files and data.
- Hardware Compatibility: While Trim is widely supported by most modern SSDs, it’s always a good idea to check for compatibility with your specific SSD model. Visit the manufacturer’s website or consult the SSD’s documentation for information on Trim compatibility.
- Performance Monitoring: After enabling Trim, monitor the performance of your SSD to ensure that it is functioning optimally. Observe any changes in read and write speeds, as well as overall system responsiveness. If you notice any unusual behavior or significant performance degradation, consider investigating further or seeking professional assistance.
By considering these factors, you can make an informed decision about enabling Trim on your SSD and take the necessary precautions to ensure a smooth and reliable operation.
In the next section, we will summarize the key points discussed in this guide about Trim on SSDs.
Conclusion
In conclusion, Trim plays a crucial role in optimizing the performance and lifespan of solid-state drives (SSDs). By enabling Trim, you can experience improved performance, longer endurance, and more efficient storage management on your SSD.
We explored what Trim is and how it works, understanding its ability to inform the SSD controller about blocks of data that are no longer in use. By instantly marking these blocks as available for reuse, Trim eliminates the need for time-consuming garbage collection processes and maintains optimal performance over time.
We also discussed the benefits of enabling Trim, including faster write operations, prevention of performance degradation, and efficient storage utilization. Additionally, Trim helps to extend the overall lifespan of the SSD by reducing unnecessary write operations on the NAND flash memory cells.
We provided step-by-step instructions on how to check if Trim is enabled on your SSD and how to enable Trim on different operating systems such as Windows, Mac, and Linux. We emphasized the importance of considering factors such as operating system support, SSD firmware updates, data recovery considerations, backup strategies, and hardware compatibility while enabling Trim on your SSD.
Remember, enabling Trim is not a replacement for regular data backups. It’s always essential to have a reliable backup strategy in place to protect your important files and data.
By following the guidance in this article and taking these considerations into account, you can ensure that Trim is enabled on your SSD and enjoy the benefits of improved performance and extended lifespan.