Introduction
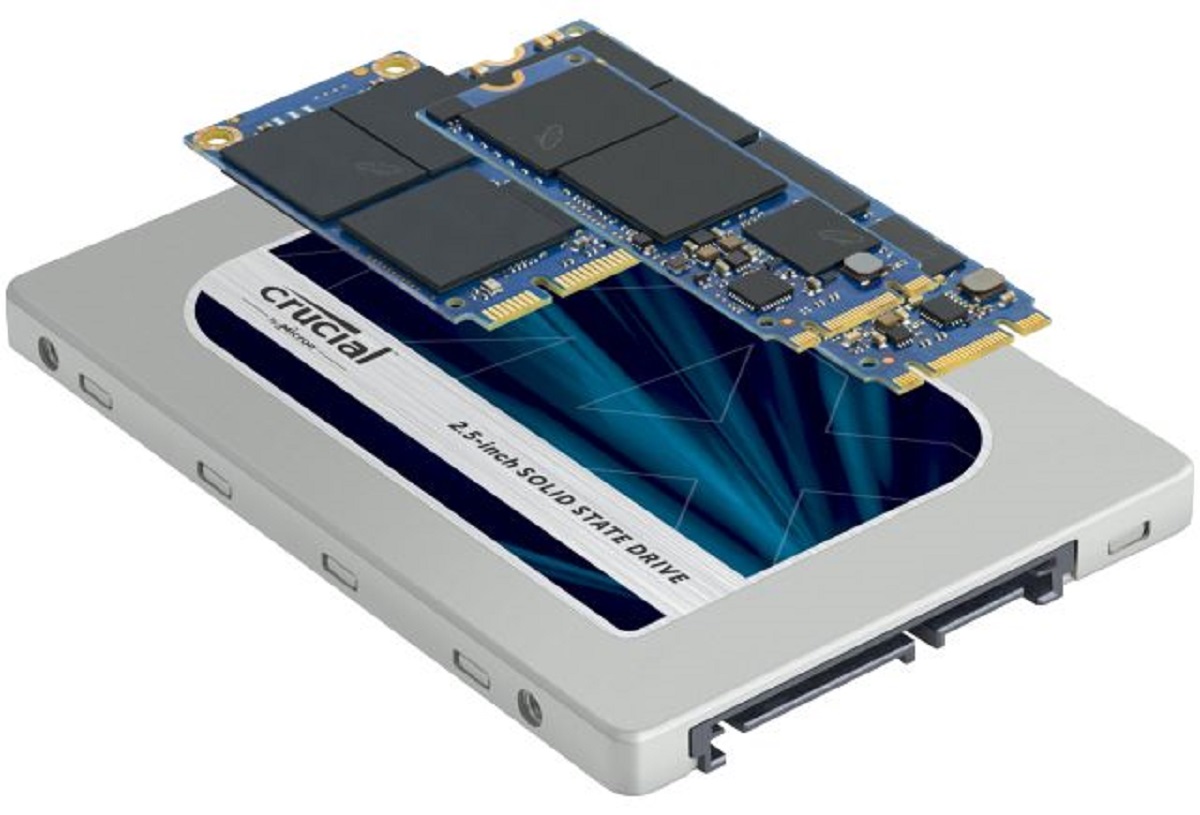
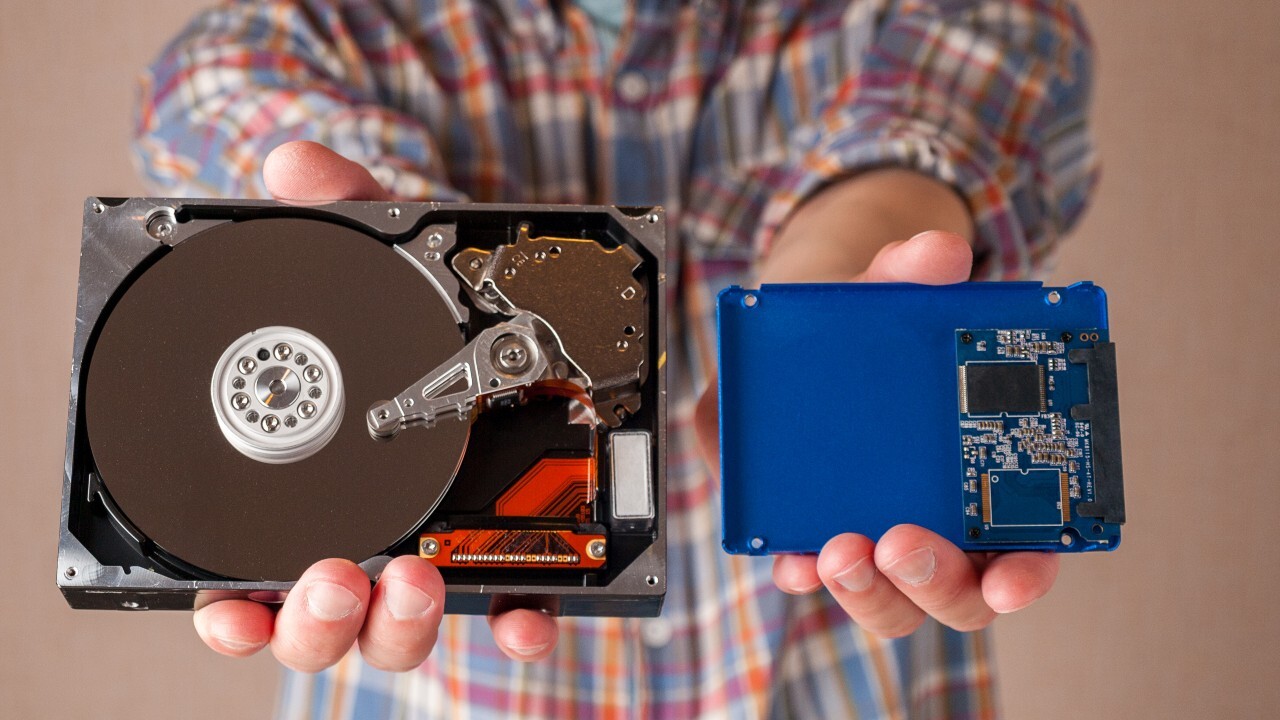
Welcome to the wonderful world of solid-state drives (SSDs)! As technology progresses, SSDs have become increasingly popular due to their faster performance, lower power consumption, and enhanced reliability compared to traditional hard disk drives. However, SSDs also come with their own set of specialized features to optimize their performance and lifespan.
One such feature is TRIM, which plays a crucial role in maintaining the long-term performance and efficiency of SSDs. TRIM, short for “Trimming,” is an essential command that helps SSDs know which blocks of data are no longer in use and can be erased. By freeing up these unused blocks, TRIM enables SSDs to write new data more efficiently and avoid performance degradation over time.
In this article, we’ll explore the concept of TRIM in solid-state drives, understand why it is important for their performance, and learn how it works. Additionally, we’ll discuss the benefits of enabling TRIM on your SSD and provide step-by-step instructions on how to enable TRIM on Windows, macOS, and Linux. By the end of this article, you’ll have a solid understanding of TRIM and be equipped to optimize your SSD’s performance.
What Is TRIM?
TRIM is a command supported by modern operating systems and SSDs that helps improve the performance and lifespan of solid-state drives. When you delete a file or perform any modifications on an SSD, the operating system sends a TRIM command to the SSD controller, notifying it that the data in a specific block is no longer in use.
This proactive communication allows the SSD to mark the blocks as available for immediate erasure, rather than waiting until the next write operation. As a result, when new data needs to be written, the SSD can bypass the step of unnecessary erasure, saving time and improving overall performance.
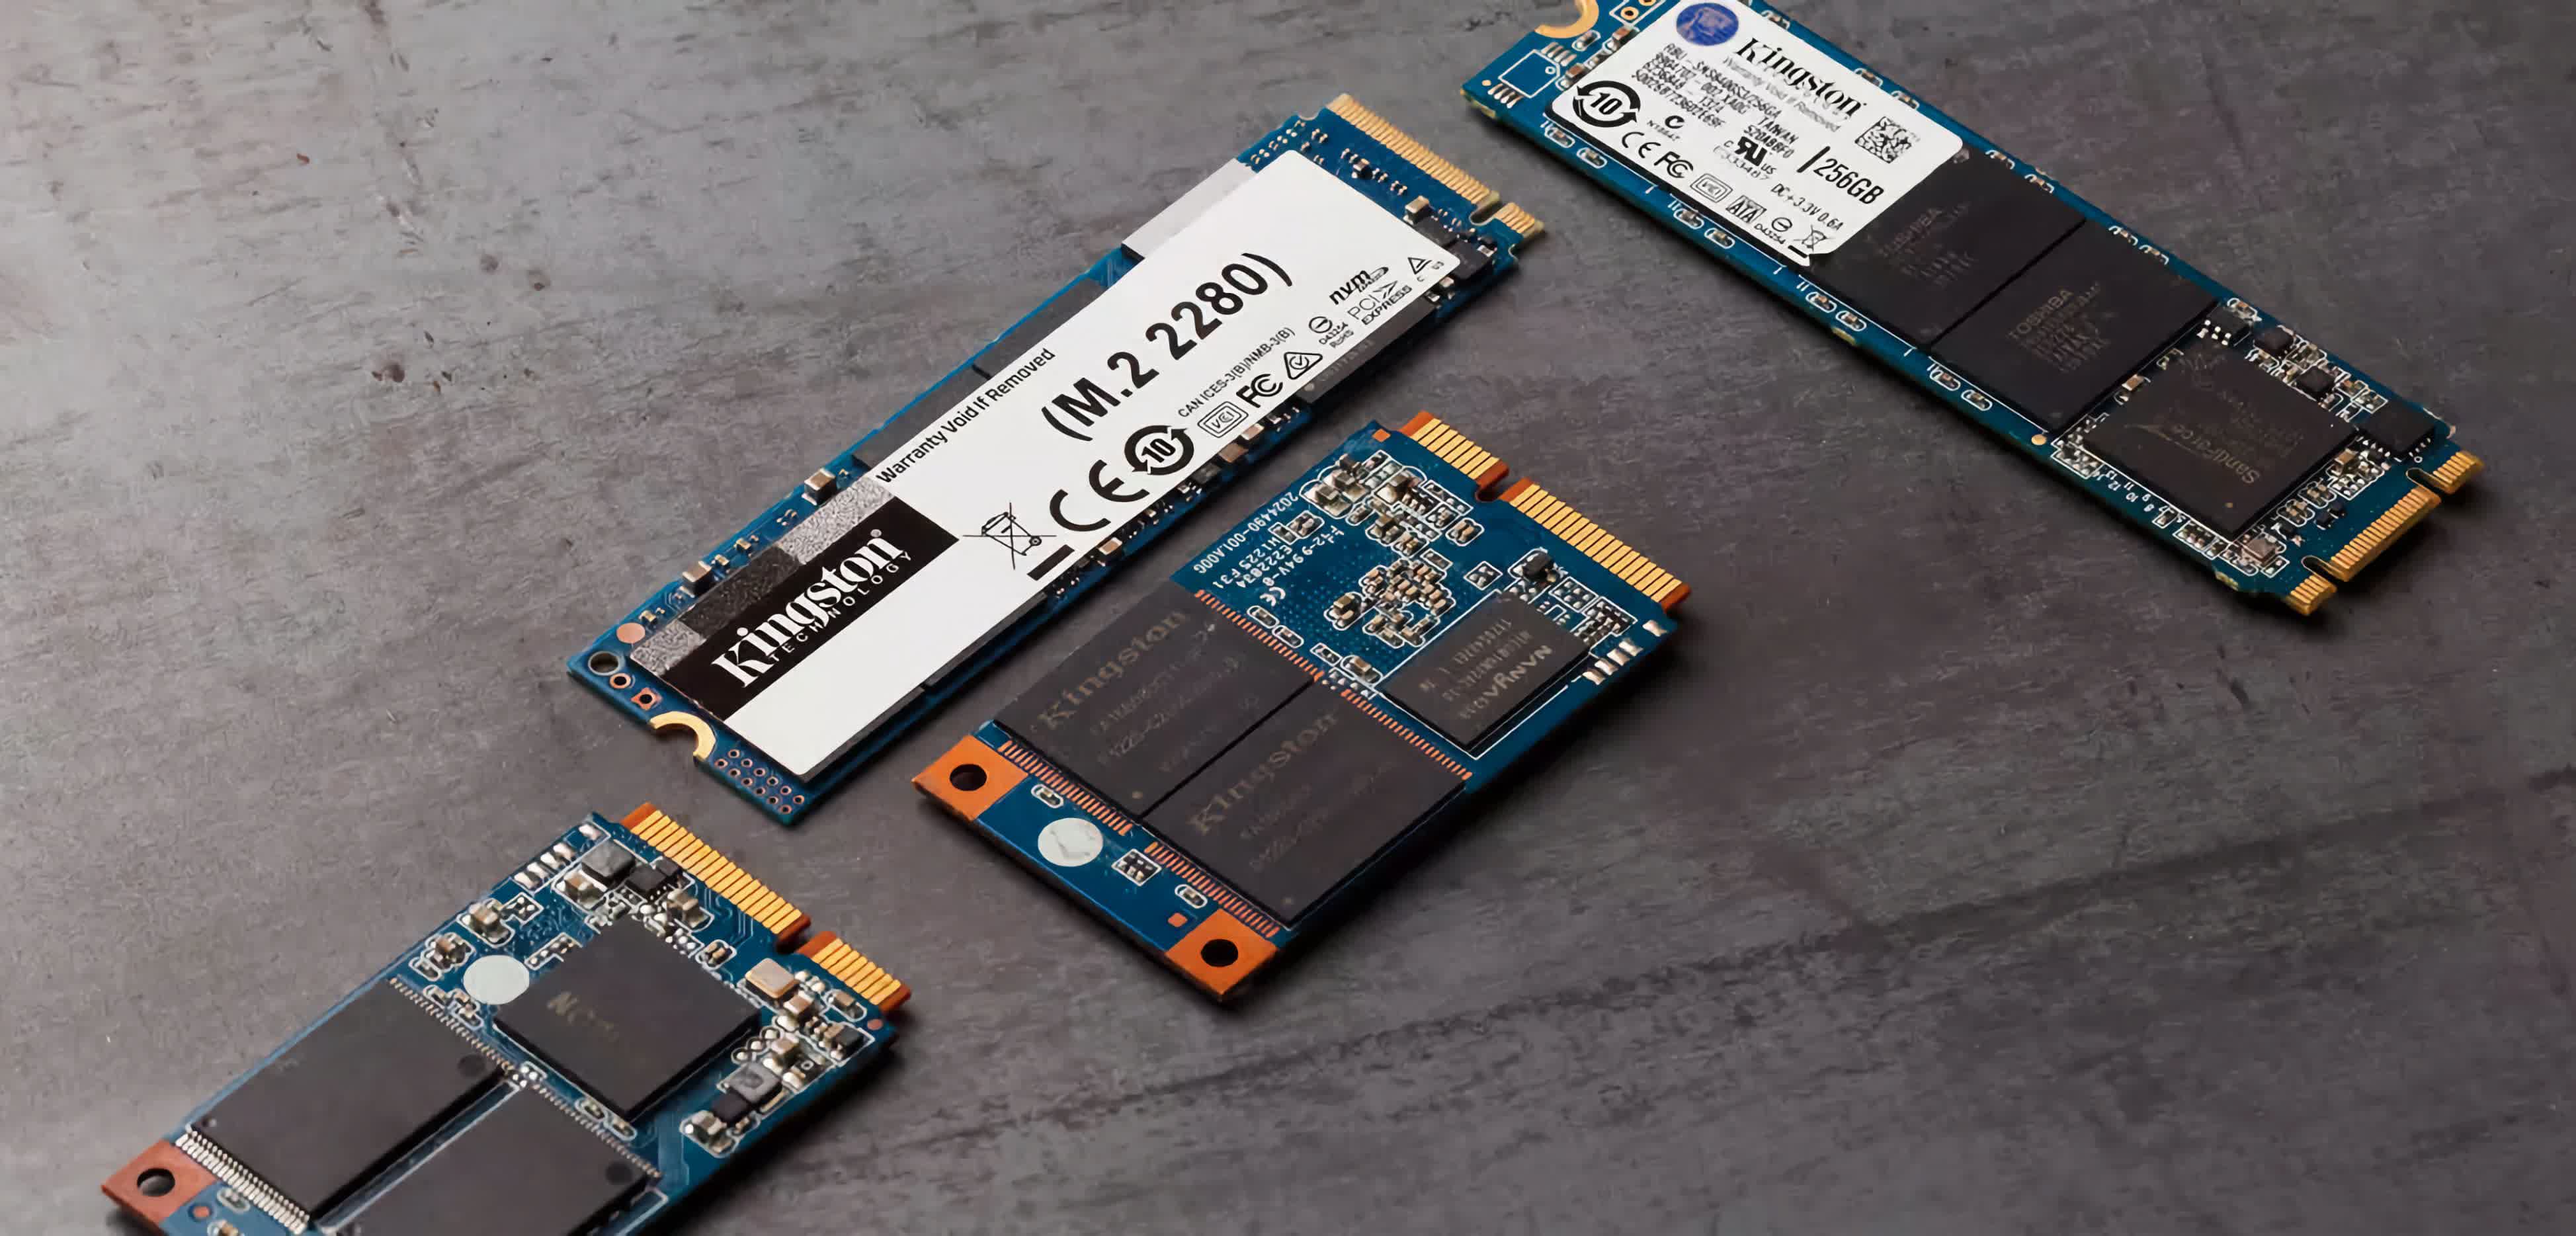
Traditional hard disk drives do not require such a command because they write data in large sequential blocks, without the need for erasure. However, SSDs use a different technology called NAND flash memory, which organizes data into small, discrete blocks. The lack of TRIM support can lead to reduced performance and a phenomenon known as “write amplification,” where the SSD must perform additional operations to rewrite data that should have been trimmed.
By utilizing TRIM functionality, SSDs can ensure that only relevant data is stored, reducing write amplification and preventing unnecessary wear on the NAND flash memory. This ultimately extends the lifespan of the SSD, as excessive rewriting can degrade the storage cells over time.
It’s important to note that TRIM requires both the SSD and the operating system to support the command. Most modern SSDs and operating systems, including Windows, macOS, and Linux, have built-in TRIM support. However, it’s still essential to verify that TRIM is enabled to take full advantage of its benefits.
Why Is TRIM Important for Solid State Drives?
TRIM plays a crucial role in maintaining the long-term performance and efficiency of solid-state drives (SSDs). Below are several reasons why TRIM is important for SSDs:
- Preventing performance degradation: Without TRIM, an SSD may experience decreased performance over time. As data is constantly written, modified, and deleted on an SSD, it becomes fragmented, leading to slower write speeds. TRIM helps mitigate this issue by informing the SSD which blocks of data are no longer in use and can be wiped, allowing for faster write operations and minimizing performance degradation.
- Reducing write amplification: Write amplification is a phenomenon that occurs when an SSD needs to perform additional operations to rewrite data that should have been trimmed. This unnecessary rewriting increases the wear on the NAND flash memory and reduces the lifespan of the SSD. TRIM helps alleviate write amplification by immediately marking deleted or modified data as free for erasure, decreasing the amount of unnecessary rewriting and extending the lifespan of the SSD.
- Improving garbage collection: Garbage collection is a process where the SSD collects and consolidates blocks of deleted or modified data to free up space for new data. By utilizing TRIM, the SSD can effectively identify and manage these blocks, making the garbage collection process more efficient. This results in improved overall performance and longevity of the SSD.
- Enhancing wear leveling: Wear leveling is a technique used by SSDs to distribute write operations evenly across memory cells, preventing certain cells from wearing out faster than others. TRIM aids in wear leveling by allowing the SSD to manage available blocks more effectively. By ensuring that data is only written to relevant blocks, TRIM helps maintain balanced wear on the NAND flash memory, extending the lifespan of the SSD.
Overall, TRIM is essential for maintaining the optimal performance, reliability, and longevity of solid-state drives. By enabling TRIM functionality, you can maximize your SSD’s potential and ensure that it operates at its best, even after prolonged usage.
How Does TRIM Work?
Understanding how TRIM works requires knowledge of the internal workings of an SSD. When a file is deleted or modified on an SSD, the operating system sends a TRIM command to the SSD controller, specifying the blocks of data that are no longer in use. Here’s a step-by-step breakdown of how TRIM works:
- Operating System TRIM Command: When a file is deleted or modified, the operating system sends a TRIM command to the SSD controller. This command includes information about the specific blocks of data that are no longer in use.
- SSD Controller Acknowledgment: Upon receiving the TRIM command, the SSD controller acknowledges it and marks the specified blocks as available for immediate erasure. The SSD then updates the internal mapping table to reflect the changes.
- Garbage Collection: During idle periods or when the SSD has spare resources, it performs the garbage collection process. This process involves consolidating blocks of deleted or modified data and marking them as available for new data storage.
- Prioritizing Erasure: The SSD prioritizes erasing the blocks marked by the TRIM command during the garbage collection process. By prioritizing these blocks, the SSD ensures that they are immediately available for new data storage, resulting in faster write operations.
- Write Optimization: When new data needs to be written, the SSD can now use the erased blocks without having to perform unnecessary erasure beforehand. This optimization leads to improved performance and reduced write amplification.
It’s important to note that TRIM works in the background, transparent to the user. The operating system sends TRIM commands automatically when needed, ensuring that the SSD remains optimized for performance and longevity.
It’s worth mentioning that TRIM may not work optimally in certain scenarios, such as when using older operating systems or when using SSDs in RAID configurations. In such cases, it’s essential to research and ensure TRIM compatibility for a smooth operating experience.
Benefits of TRIM for SSD Performance
Enabling TRIM on your solid-state drive (SSD) can bring several significant benefits to its performance. Here are some of the key advantages of utilizing TRIM:
- Improved Write Speed: By immediately marking deleted or modified data as free for erasure, TRIM allows the SSD to bypass the step of unnecessary erasure before writing new data. This optimization results in faster write speeds and a more responsive SSD.
- Reduced Performance Degradation: Without TRIM, an SSD can experience performance degradation over time, as data becomes fragmented and write operations take longer to complete. TRIM helps mitigate this issue by keeping the SSD’s blocks properly organized and ensuring that only relevant data is stored, maintaining consistent performance levels.
- Minimized Write Amplification: Write amplification occurs when an SSD needs to perform additional operations to rewrite data that should have been trimmed. TRIM reduces write amplification by immediately freeing up blocks that are no longer in use, decreasing unnecessary rewriting and prolonging the lifespan of the SSD.
- Enhanced Garbage Collection: TRIM improves the efficiency of the SSD’s garbage collection process by accurately identifying and managing blocks of deleted or modified data. This ensures that the SSD always has sufficient space available for new data, preventing performance slowdowns due to insufficient free blocks.
- Extended Lifespan: By reducing write amplification and optimizing garbage collection, TRIM helps extend the overall lifespan of an SSD. It minimizes unnecessary wear on the NAND flash memory cells, which can degrade over time with excessive rewriting, helping ensure the longevity of your SSD.
It’s important to note that the benefits of TRIM can vary depending on the specific SSD model, operating system, and usage patterns. Nonetheless, overall, enabling TRIM provides significant performance improvements, prolongs the lifespan of your SSD, and ensures optimal efficiency.
How to Enable TRIM on Windows
Enabling TRIM on Windows is a straightforward process that involves a few simple steps. Here’s a step-by-step guide to help you enable TRIM on Windows:
- Verify SSD and Windows Compatibility: Firstly, ensure that both your SSD and Windows operating system support TRIM. Most modern SSDs and Windows versions, including Windows 7, 8, and 10, support TRIM by default. However, it’s always a good idea to double-check the specifications and compatibility of your specific SSD model and Windows version.
- Open Command Prompt with Administrative Privileges: To enable TRIM, you’ll need to open the Command Prompt with administrative privileges. To do this, right-click on the Start button, and select “Command Prompt (Admin)” from the drop-down menu.
- Type the TRIM Command: In the Command Prompt window, type the following command:
fsutil behavior set DisableDeleteNotify 0. Press Enter to execute the command. - Verify TRIM Status: To verify if TRIM is enabled on your SSD, type the following command:
fsutil behavior query DisableDeleteNotify. Press Enter to execute the command. If the output shows “DisableDeleteNotify = 0,” then TRIM is successfully enabled on your Windows system. - Restart Your Computer: After enabling TRIM, it’s recommended to restart your computer to ensure that the changes take effect.
- Check TRIM Functionality: To confirm that TRIM is working correctly, you can use third-party software or utilities provided by your SSD manufacturer to check the TRIM status and monitor the SSD’s health and performance.
Following these steps should enable TRIM on your Windows system, optimizing the performance and lifespan of your SSD. Keep in mind that some SSDs may have their own specific management software that provides additional features for enabling and monitoring TRIM functionality.
How to Enable TRIM on macOS
Enabling TRIM on macOS is a relatively simple process that involves a few steps. Here’s a step-by-step guide to help you enable TRIM on your Mac:
- Check SSD Compatibility: Firstly, ensure that your SSD is compatible with TRIM. Most modern SSDs support TRIM. However, it’s recommended to check with your SSD manufacturer or refer to the documentation to verify TRIM compatibility.
- Open Terminal: To enable TRIM, you’ll need to use Terminal, a command-line interface on macOS. Go to Applications > Utilities > Terminal to launch it.
- Type the TRIM Command: In the Terminal window, type the following command:
sudo trimforce enableand press Enter. You will be prompted to enter your administrator password. - Read and Confirm the Warning: Terminal will display a warning message about the potential risks of enabling TRIM. Read the warning carefully, and if you agree, type “y” and press Enter to confirm.
- Restart Your Mac: After confirming, your Mac will restart to complete the TRIM activation process.
- Confirm TRIM Status: To verify that TRIM is successfully enabled on your Mac, you can use third-party utilities or terminal commands such as
trimforce statusto check the current TRIM status.
It’s important to note that enabling TRIM using the trimforce command may vary based on the macOS version. Always make sure to follow the specific instructions for your macOS version.
Enabling TRIM on macOS helps maintain the performance and longevity of your SSD by allowing the efficient erasure of unused blocks. Regularly checking the TRIM status and monitoring the health and performance of your SSD are good practices to ensure optimal functionality.
How to Enable TRIM on Linux
Enabling TRIM on Linux is a straightforward process that involves a few steps. Here’s a step-by-step guide to help you enable TRIM on your Linux system:
- Verify SSD and Linux Compatibility: Firstly, ensure that both your SSD and Linux distribution support TRIM. Most modern SSDs and Linux distributions have built-in TRIM support. However, it’s always a good idea to double-check the specifications and compatibility of your specific SSD model and Linux distribution.
- Open Terminal: To enable TRIM, you’ll need to use the terminal or command-line interface in your Linux distribution. Open the terminal by navigating to Applications or by using the keyboard shortcut Ctrl + Alt + T.
- Type the TRIM Command: In the terminal window, type the following command with administrative privileges:
sudo fstrim -v /. Press Enter to execute the command. - Enter Administrator Password: You will be prompted to enter your administrator/superuser password. Enter the password associated with your Linux system and press Enter to proceed.
- Wait for TRIM to Complete: The fstrim command will initiate the TRIM operation, which may take some time depending on the size and usage of your SSD. Wait for the command to complete; it will display a summary of the TRIM operation once finished.
- Confirm TRIM Status: To verify that TRIM is enabled and working correctly, you can use various commands, such as
sudo fstrim -v --allorsudo systemctl status fstrim.timer, to check the TRIM status, view the last executed TRIM operation, or monitor the TRIM service’s status.
Enabling TRIM on Linux ensures that your SSD maintains optimal performance, longevity, and efficiency by freeing up unused blocks. It’s recommended to periodically run the TRIM command or configure automated TRIM using systemd timers to regularly trim your SSD, maintaining its performance over time.
Note that the exact steps and commands may depend on your Linux distribution. Always refer to the official documentation or community resources for specific instructions tailored to your Linux distribution.
Conclusion
TRIM is a critical feature for optimizing the performance, reliability, and longevity of solid-state drives (SSDs). By enabling TRIM, you can ensure that your SSD operates at its best, avoiding performance degradation and unnecessary wear.
We’ve explored the concept of TRIM, understanding how it works and why it is important for SSDs. TRIM allows the SSD controller to identify and erase blocks of data that are no longer in use, resulting in improved write speeds, reduced write amplification, and enhanced garbage collection.
Enabling TRIM on different operating systems is a straightforward process. Whether you’re using Windows, macOS, or Linux, following specific instructions and using the appropriate commands can help you enable TRIM and optimize your SSD’s performance.
It’s important to note that not all SSDs and operating systems support TRIM. Before enabling TRIM, ensure that your SSD and operating system are compatible and have the necessary support. Additionally, regularly monitoring the TRIM status and the health of your SSD through provided tools or third-party utilities is crucial to maintaining optimal performance.
By utilizing TRIM, you can unlock the full potential of your SSD, experiencing faster write speeds, minimized performance degradation, and extended lifespan. Investing a little time in enabling TRIM can go a long way in maximizing the benefits of your solid-state drive.