Introduction
Chromebooks have gained immense popularity in recent years due to their simplicity, speed, and affordability. While they are primarily web-based devices, Chromebooks now also support the use of Android apps through the Google Play Store.
This seamless integration of Android apps opens up a world of possibilities, allowing you to expand the functionality of your Chromebook. One of the most convenient features is the ability to put apps on the desktop, giving you quick and easy access to your favorite applications.
In this guide, we will walk you through the steps to put apps on the desktop of your Chromebook. Whether you want to create shortcuts for productivity apps or have your go-to entertainment apps readily available, this tutorial will help you organize your desktop and make your Chromebook experience even more efficient.
Whether you are a student, professional, or simply a tech enthusiast, knowing how to put apps on the desktop can greatly enhance your productivity and convenience. Let’s dive into the steps to get started!
Step 1: Enable Google Play Store on your Chromebook
Before you can start putting apps on your Chromebook’s desktop, you need to ensure that the Google Play Store is enabled on your device. Here’s how to do it:
- Click on the time located in the bottom-right corner of the screen to open the system tray.
- Select the Gear icon to access the Settings menu.
- In the Settings menu, click on the “Apps” option.
- Next, click on “Google Play Store.”
- Ensure that the “Install apps and games from Google Play on your Chromebook” option is turned on.
- If it’s not already enabled, click on the toggle switch to enable it.
- Your Chromebook will then prompt you to agree to the Terms of Service. Click on “Accept” to proceed.
- The Google Play Store should now be enabled on your Chromebook.
Enabling the Google Play Store gives you access to a wide range of Android apps that can be installed on your Chromebook. This step is essential for the subsequent steps of putting apps on your desktop.
Once you have successfully enabled the Google Play Store on your Chromebook, you can move on to the next step: installing your desired apps from the Play Store.
Step 2: Install the app from the Google Play Store
Now that you have enabled the Google Play Store on your Chromebook, you can easily install your desired apps. Here’s how:
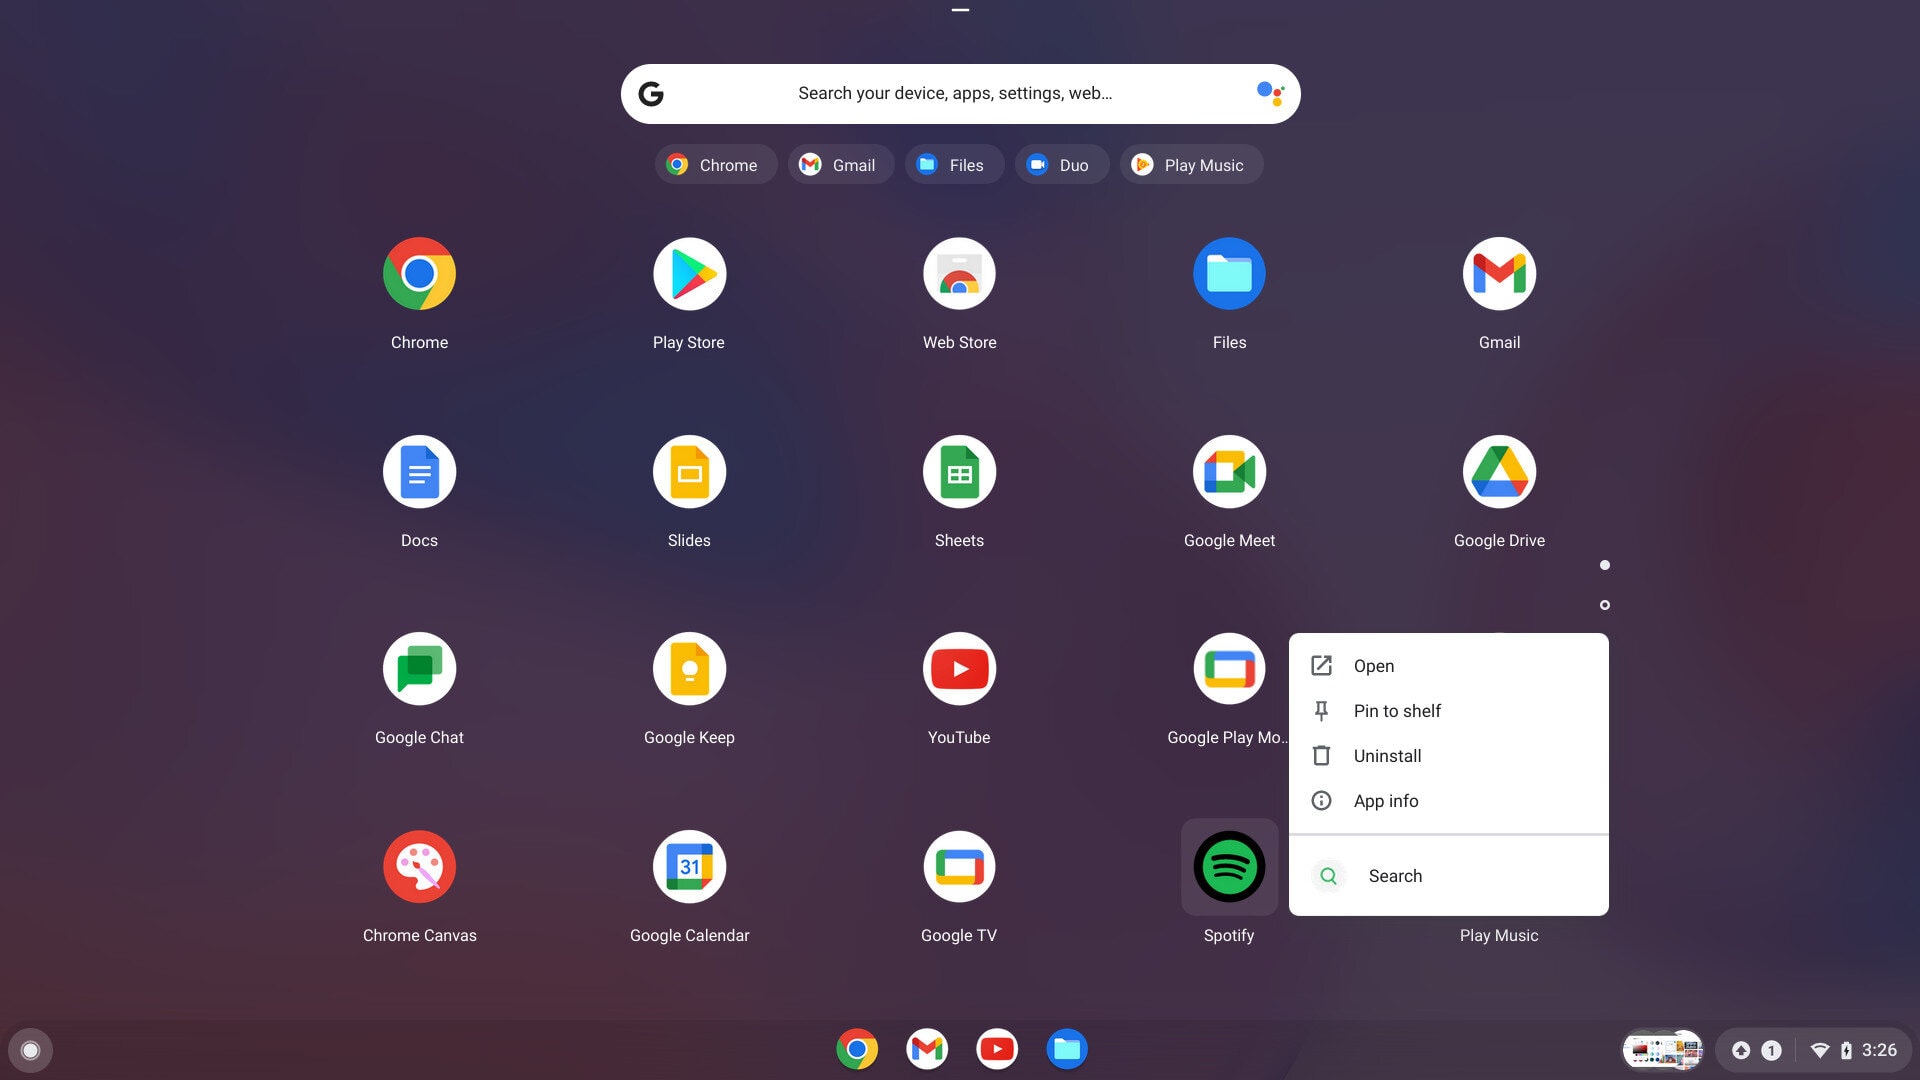
- Open the App Launcher by clicking on the circle icon located in the bottom-left corner of the screen.
- In the App Launcher, click on the “Play Store” icon.
- In the Play Store, you have multiple options to explore and find the app you want:
- Use the search bar at the top to directly search for the app by name.
- Browse through the categories on the left-hand side to discover popular apps or specific app genres.
- Check out the “Top Charts” section to see the trending apps.
- Once you have found the app you want to install, click on its listing to open the app page.
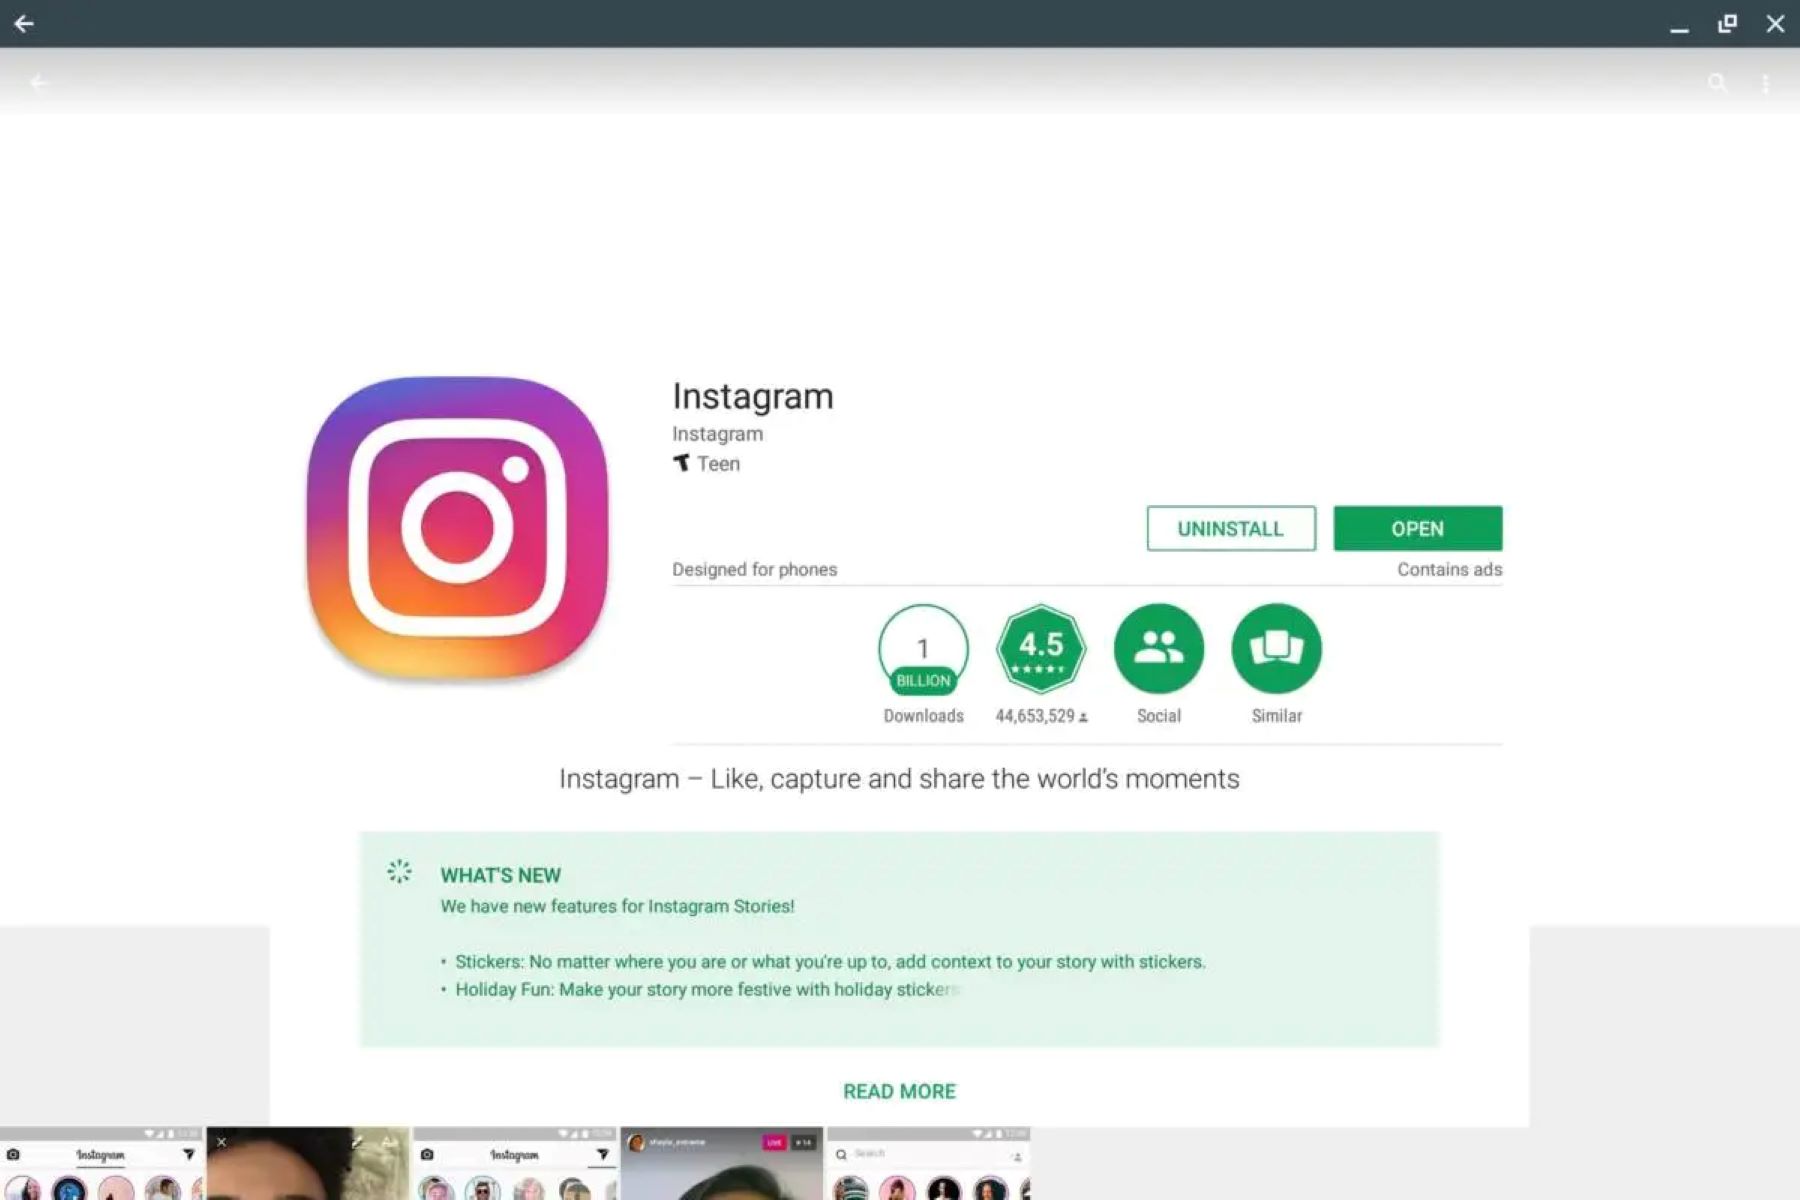
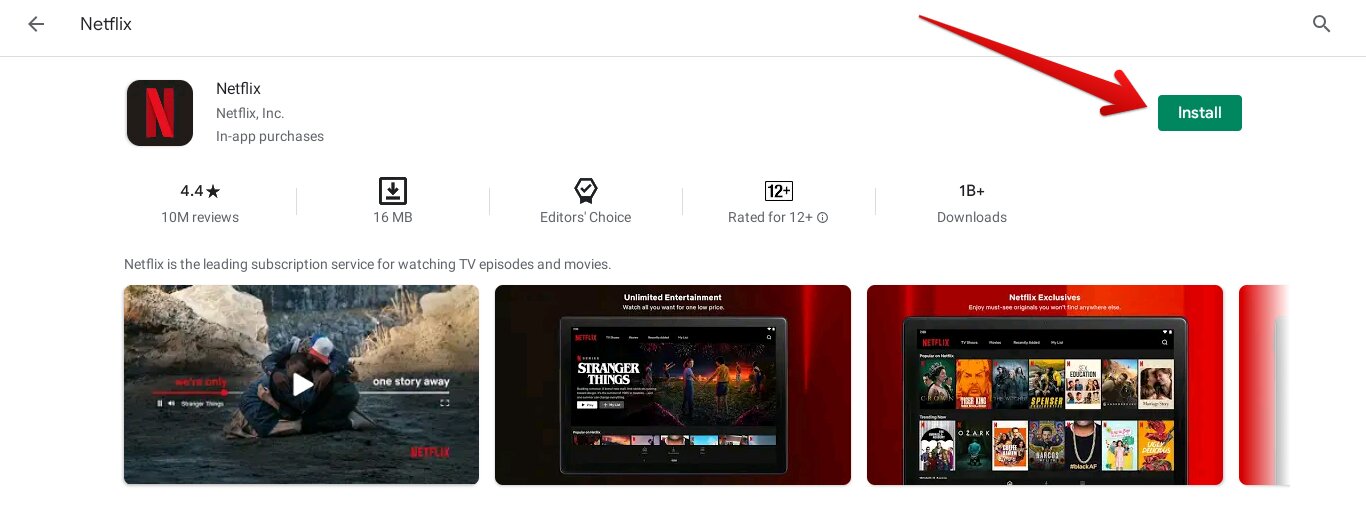
- On the app page, click on the “Install” button to start the installation process.
- Wait for the app to download and install on your Chromebook.
- Once the installation is complete, you will see an “Open” button. Click on it to launch the app.
It’s important to note that not all apps available in the Google Play Store are optimized for Chromebooks. However, many popular and widely used apps have been adapted for Chromebook compatibility, ensuring a seamless user experience.
Whether you’re looking for productivity apps, games, social media, or multimedia apps, the Google Play Store offers a vast selection for you to choose from. Take some time to explore the store and find the apps that suit your needs.
With your desired app successfully installed from the Google Play Store, you’re now ready to proceed to the next step: pinning the app to the shelf for quick access.
Step 3: Pin the app to the shelf for quick access
Now that you have installed the app from the Google Play Store, you can pin it to the shelf for quick and convenient access. The shelf is located at the bottom of your Chromebook’s screen and acts as a taskbar. Here’s how to pin the app to the shelf:
- Open the App Launcher by clicking on the circle icon located in the bottom-left corner of the screen.
- Locate the app you want to pin on the App Launcher grid.
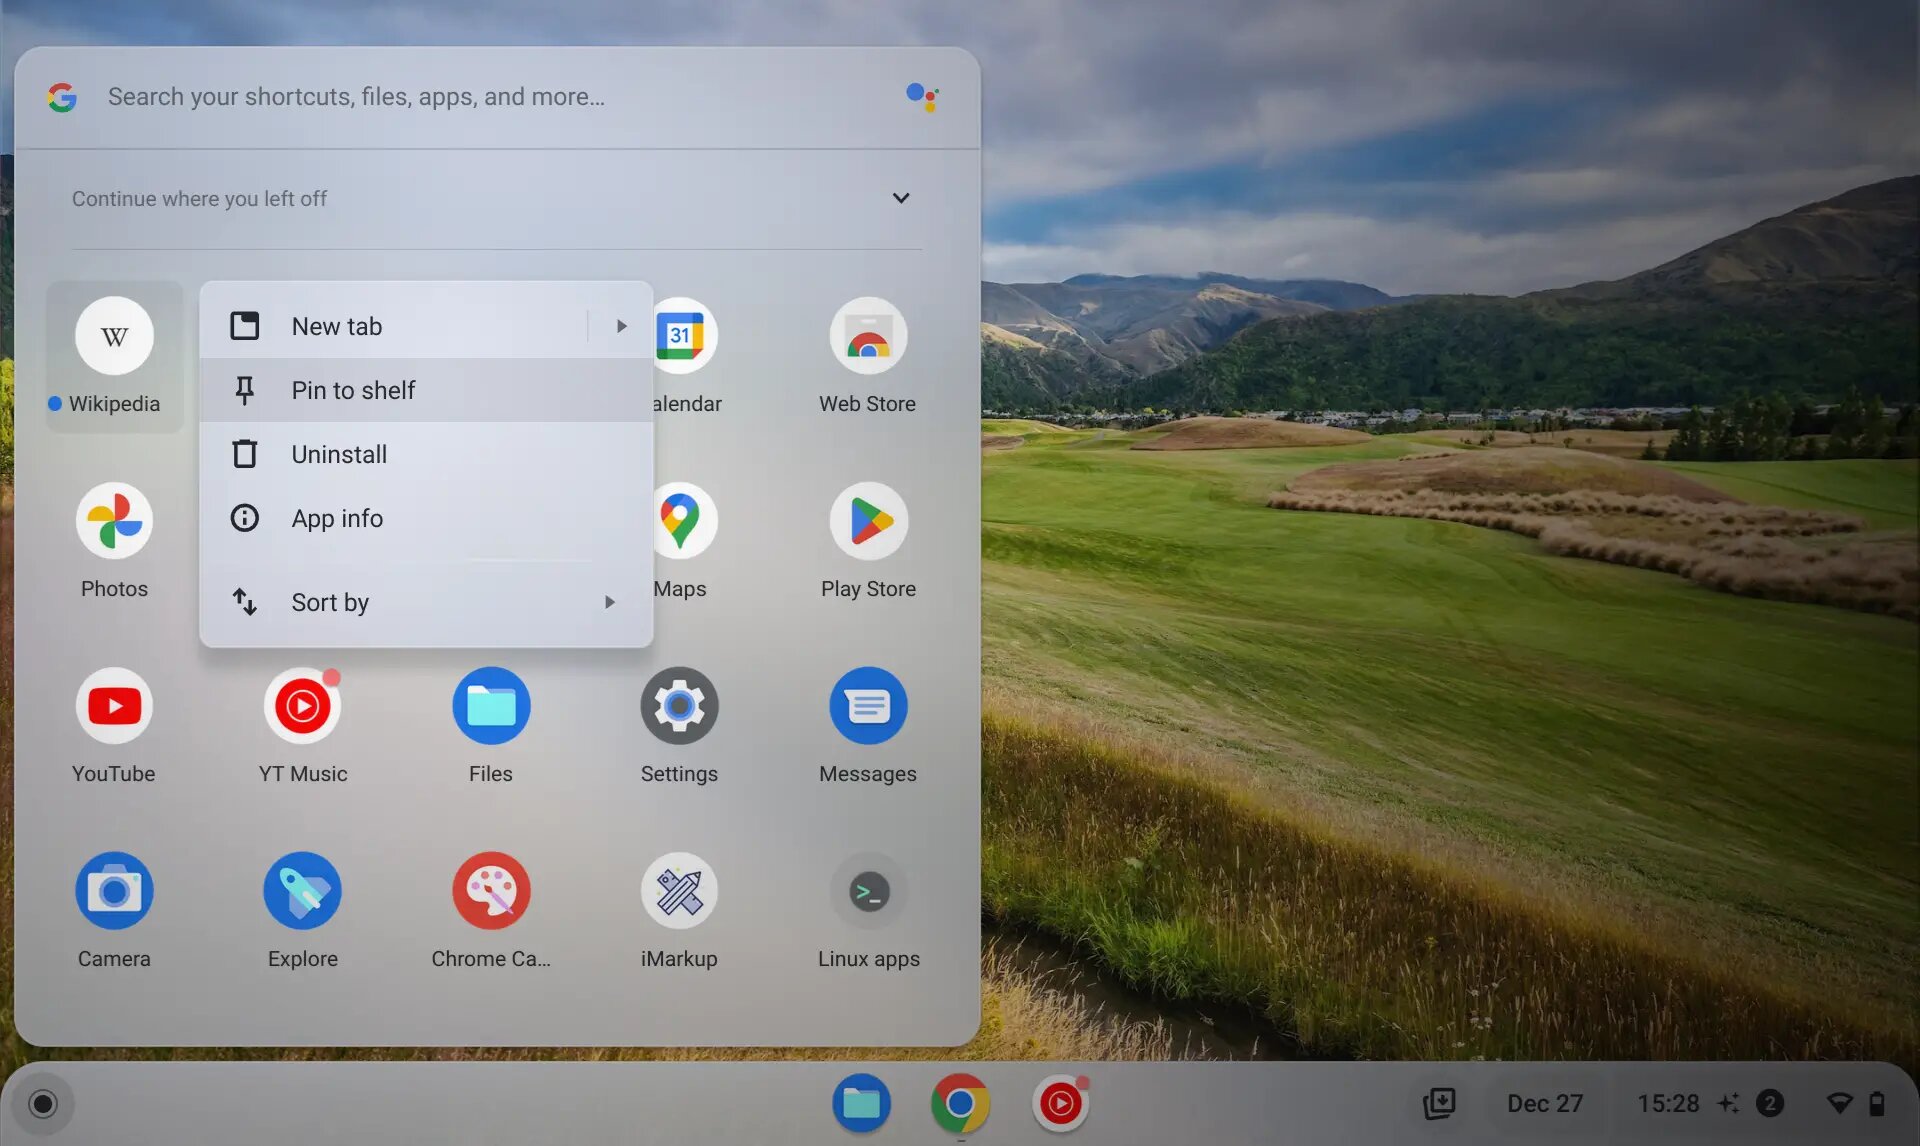
- Right-click on the app icon.
- In the context menu that appears, select the “Pin to shelf” option.
Alternatively, you can also drag and drop the app icon from the App Launcher grid to the shelf.
Once pinned, the app icon will now appear on the shelf, allowing you to quickly launch it with a single click. This makes it easier to access your frequently used apps without having to go through the App Launcher each time.
You can pin multiple apps to the shelf for quick access. Simply repeat the above steps for each app you want to pin. The pinned apps will remain on the shelf even after you restart your Chromebook.
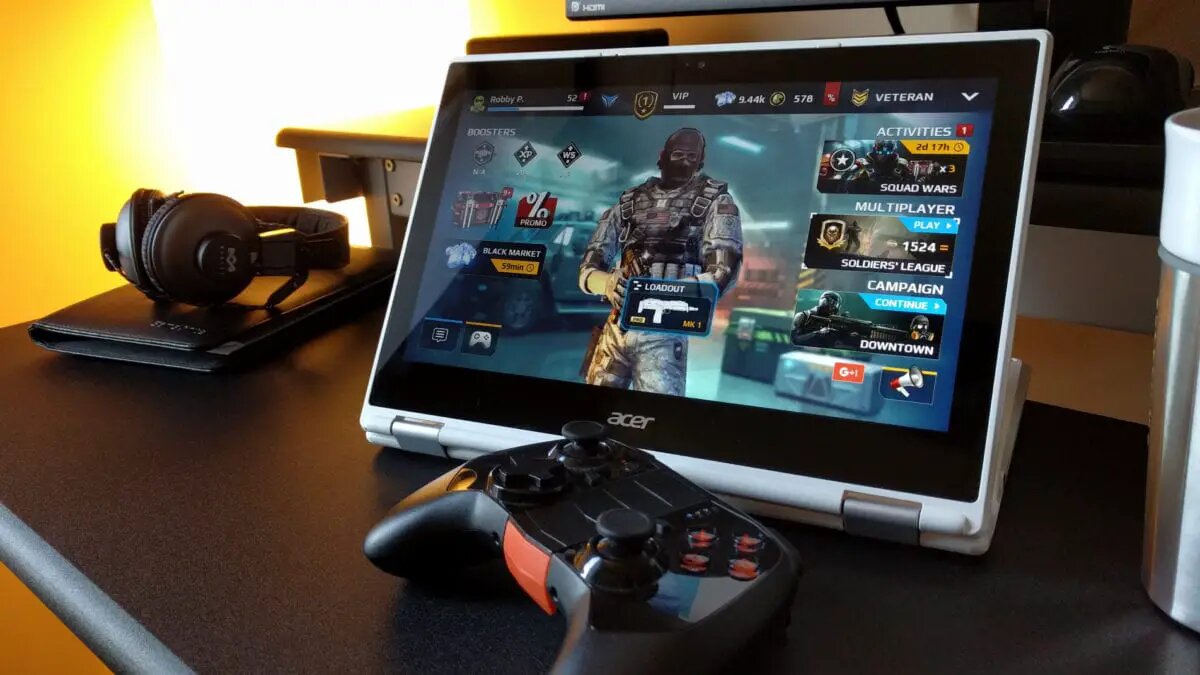
Pinning apps to the shelf is particularly useful for productivity apps, such as document editors, email clients, or project management tools. However, you can pin any app, including games or entertainment apps, to personalize your Chromebook’s desktop and make it more tailored to your preferences.
Now that you have successfully pinned the app to the shelf, you can proceed to the next step: creating shortcuts for apps on the desktop.
Step 4: Create shortcuts for apps on the desktop
In addition to pinning apps to the shelf, you can also create shortcuts for your favorite apps directly on the desktop. This provides another quick and convenient way to access your frequently used applications. Here’s how to create shortcuts for apps on the desktop:
- Open the App Launcher by clicking on the circle icon located in the bottom-left corner of the screen.
- Locate the app you want to create a shortcut for on the App Launcher grid.
- Once you find the app, simply click and hold the app icon.
- Drag the app icon from the App Launcher onto the desktop.
The app icon will now appear as a shortcut on the desktop, ready for you to click and launch. You can create shortcuts for multiple apps by repeating the above steps for each app you want to add to the desktop.
Creating shortcuts for apps on the desktop is a great way to personalize your Chromebook and have quick access to your most-used applications. It is particularly useful for apps that you frequently use but may not need on the shelf at all times. For example, you may want to create shortcuts for specific games or specialized tools that you only need to access occasionally.
By customizing your desktop with app shortcuts, you can streamline your workflow and save valuable time switching between apps. Instead of navigating through the App Launcher or the shelf, you can simply click on the desktop shortcut to open the desired app.
With app shortcuts on your desktop, you have even more flexibility and control over how you organize and access your apps on your Chromebook.
Now that you have created shortcuts for your preferred apps on the desktop, let’s move on to the final step: organizing your apps on the desktop.
Step 5: Organize your apps on the desktop
Now that you have pinned apps to the shelf and created shortcuts on the desktop, it’s time to organize them in a way that suits your workflow and preferences. Organizing your apps on the desktop allows for easy access and helps keep your workspace tidy. Here are some tips to help you organize your apps on the desktop:
- Group Similar Apps: Consider categorizing your apps into groups based on their functionality. For example, you can create folders for productivity apps, entertainment apps, or communication apps. This way, you can quickly locate the app you need without cluttering the desktop.
- Arrange by Priority: Place the apps you use most frequently at the forefront of your desktop. This ensures that the apps you rely on daily are easily accessible and within reach. Rearrange the app icons on the desktop based on your usage patterns.
- Delete Unnecessary Apps: Periodically review and remove apps that you no longer use or need. This helps declutter your desktop and frees up storage space on your Chromebook.
- Customize the Wallpaper: Changing the background wallpaper can visually separate different app groups or give a personal touch to your desktop. Experiment with different wallpapers to find one that suits your style and enhances your productivity.
As you become more familiar with your app usage and preferences, you may find new ways to organize your apps on the desktop that work best for you. Remember that the goal is to create a clean and efficient workspace that helps you navigate your apps effortlessly.
By organizing your apps on the desktop, you can optimize your Chromebook experience and make it even more personalized. With just a glance at your desktop, you can find and launch the app you need without any hassle or wasted time.
Whether you prefer a minimalist approach with only a few essential apps or a more comprehensive setup with multiple app groups, the choice is yours. Take the time to arrange your apps in a way that suits your workflow and makes navigating your Chromebook a breeze.
Congratulations! You have successfully learned how to put apps on the desktop of your Chromebook and organize them to enhance your productivity. With your apps readily available, you can now enjoy a seamless and efficient computing experience.
Conclusion
Putting apps on the desktop of your Chromebook is a simple but powerful way to personalize your computing experience and enhance your productivity. By enabling the Google Play Store, installing your desired apps, pinning them to the shelf, creating shortcuts on the desktop, and organizing them in a way that suits your workflow, you can have quick and easy access to your favorite applications.
Having your frequently used apps readily available on the desktop eliminates the need to navigate through menus or search for them in the App Launcher. With just a click or a tap, you can launch your preferred apps and seamlessly switch between tasks, making your Chromebook experience more efficient.
Whether you’re a student, a professional, or a casual user, the ability to put apps on the desktop allows you to tailor your Chromebook to your needs. You can prioritize productivity apps, entertainment apps, or any other apps that are essential to your daily routine.
Remember to periodically review and declutter your desktop by removing apps that you no longer use. Keeping your desktop organized and visually appealing can positively impact your workflow and help you stay focused on the tasks at hand.
Now that you have mastered the art of putting apps on the desktop of your Chromebook, you can unlock the full potential of your device. Enjoy the convenience and efficiency that comes with having your favorite apps just a click away.
Start customizing your desktop today, and harness the power of your Chromebook to its fullest extent!


