Introduction
Chromebooks have become increasingly popular due to their affordability, simplicity, and fast performance. These lightweight laptops run on Chrome OS, a web-based operating system developed by Google. While Chrome OS is designed to provide a streamlined and efficient browsing experience, users may sometimes find it inconvenient to access their favorite websites or web apps. Luckily, Chromebooks offer a handy solution: the ability to add shortcuts directly on the desktop.
Adding shortcuts on a Chromebook is an efficient way to access frequently visited websites with just a click. Whether it’s your favorite news site, online shopping platform, or social media hub, having shortcuts readily available on the desktop can save you time and effort. Instead of typing in the URL or navigating through bookmarks, you’ll have quick access to your preferred web destinations right on the home screen.
In this article, we will guide you through the process of adding shortcuts on your Chromebook. With just a few simple steps, you’ll be able to create custom shortcuts for your most visited websites, making your browsing experience even more convenient and efficient.
Before we delve into the steps, it’s important to note that adding a shortcut to a website on Chromebook is different from bookmarking. While bookmarks are saved within the Chrome browser and require a few clicks to access, shortcuts are directly placed on the desktop for instant access. This makes them ideal for websites or web apps that you frequently visit and want to have at your fingertips.
Why Adding Shortcuts on Chromebook is Useful
Adding shortcuts on your Chromebook offers a range of benefits that can greatly enhance your browsing experience. Here are a few reasons why you should take advantage of this feature:
- Quick and Convenient Access: By placing shortcuts on your desktop, you can access your favorite websites with just a single click. This eliminates the need to type in the URL or go through your bookmarks, saving you time and effort.
- Streamline Workflow: If you frequently visit different websites for work, having shortcuts readily available allows you to access them more efficiently. With a clutter-free desktop, you can easily switch between different web apps and online tools, increasing your productivity.
- Personalization: Adding shortcuts gives you the freedom to customize your Chromebook’s desktop according to your preferences. Whether it’s your go-to news website, social media platform, or online shopping site, you can have your most frequently visited sites right at your fingertips.
- Easy Navigation: Shortcuts provide a visually appealing and intuitive way to navigate the web. Instead of relying solely on bookmarks or search engines, you can quickly access specific websites directly from your desktop, simplifying your browsing experience.
- Offline Accessibility: Chrome OS allows certain web apps to work offline, and by adding shortcuts, you can easily access these offline-enabled websites even when you’re not connected to the internet. This can be especially useful for tasks like reading articles or accessing saved documents.
- Reduced Clutter: Unlike bookmarks that are stored within the browser, shortcuts are placed directly on the desktop. This enables you to keep your browser window clean and clutter-free, removing the need for excessive bookmarks or open tabs.
With these advantages in mind, it’s clear that adding shortcuts on your Chromebook can greatly simplify your browsing experience while boosting productivity and personalization. Now that we understand the benefits, let’s dive into the step-by-step process of adding shortcuts to your Chromebook’s desktop.
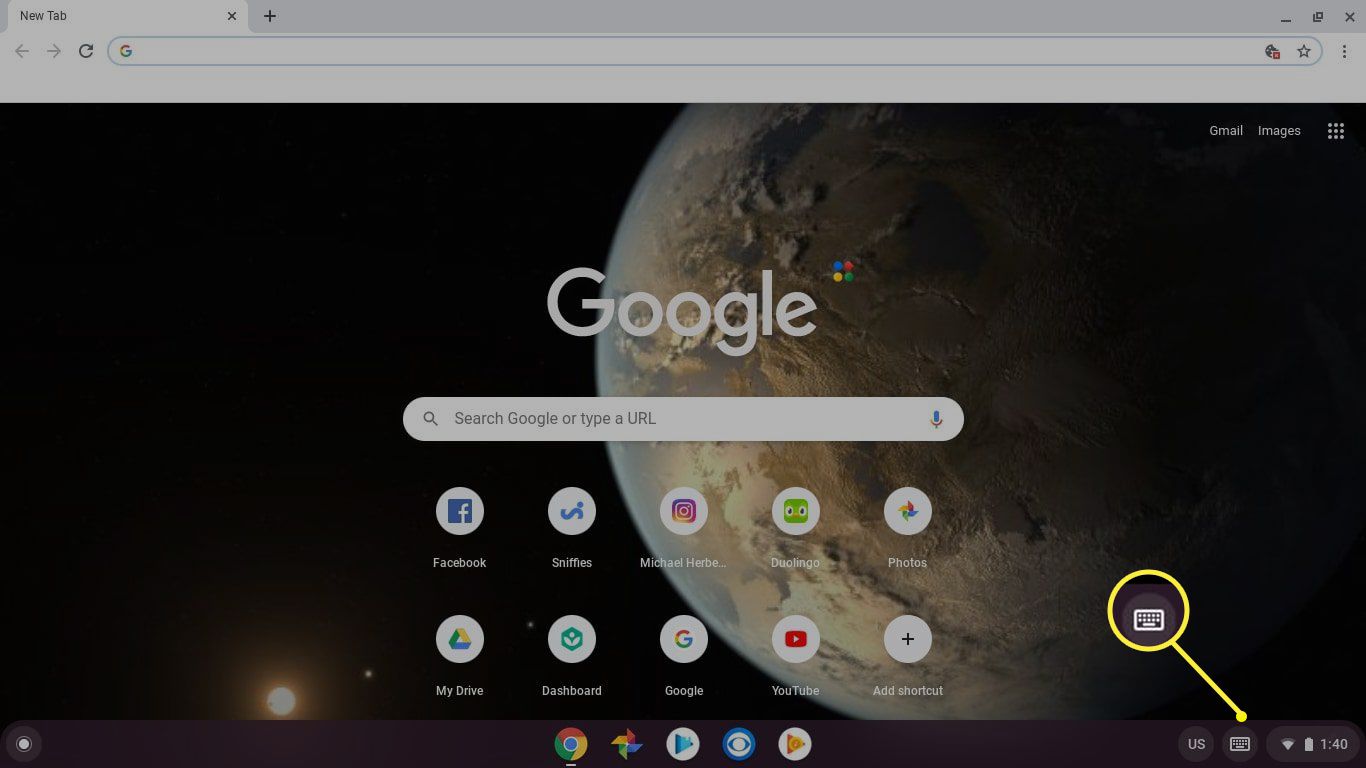
Step 1: Open the Chrome Browser
The first step to adding a shortcut on your Chromebook is to open the Chrome browser. The Chrome browser is the default web browser on Chromebooks and provides a seamless and secure browsing experience.
To open the Chrome browser, simply locate the Chrome icon on your Chromebook’s desktop or app launcher. It typically has a circular shape with a red, green, yellow, and blue color scheme. Click on the icon to launch the browser.
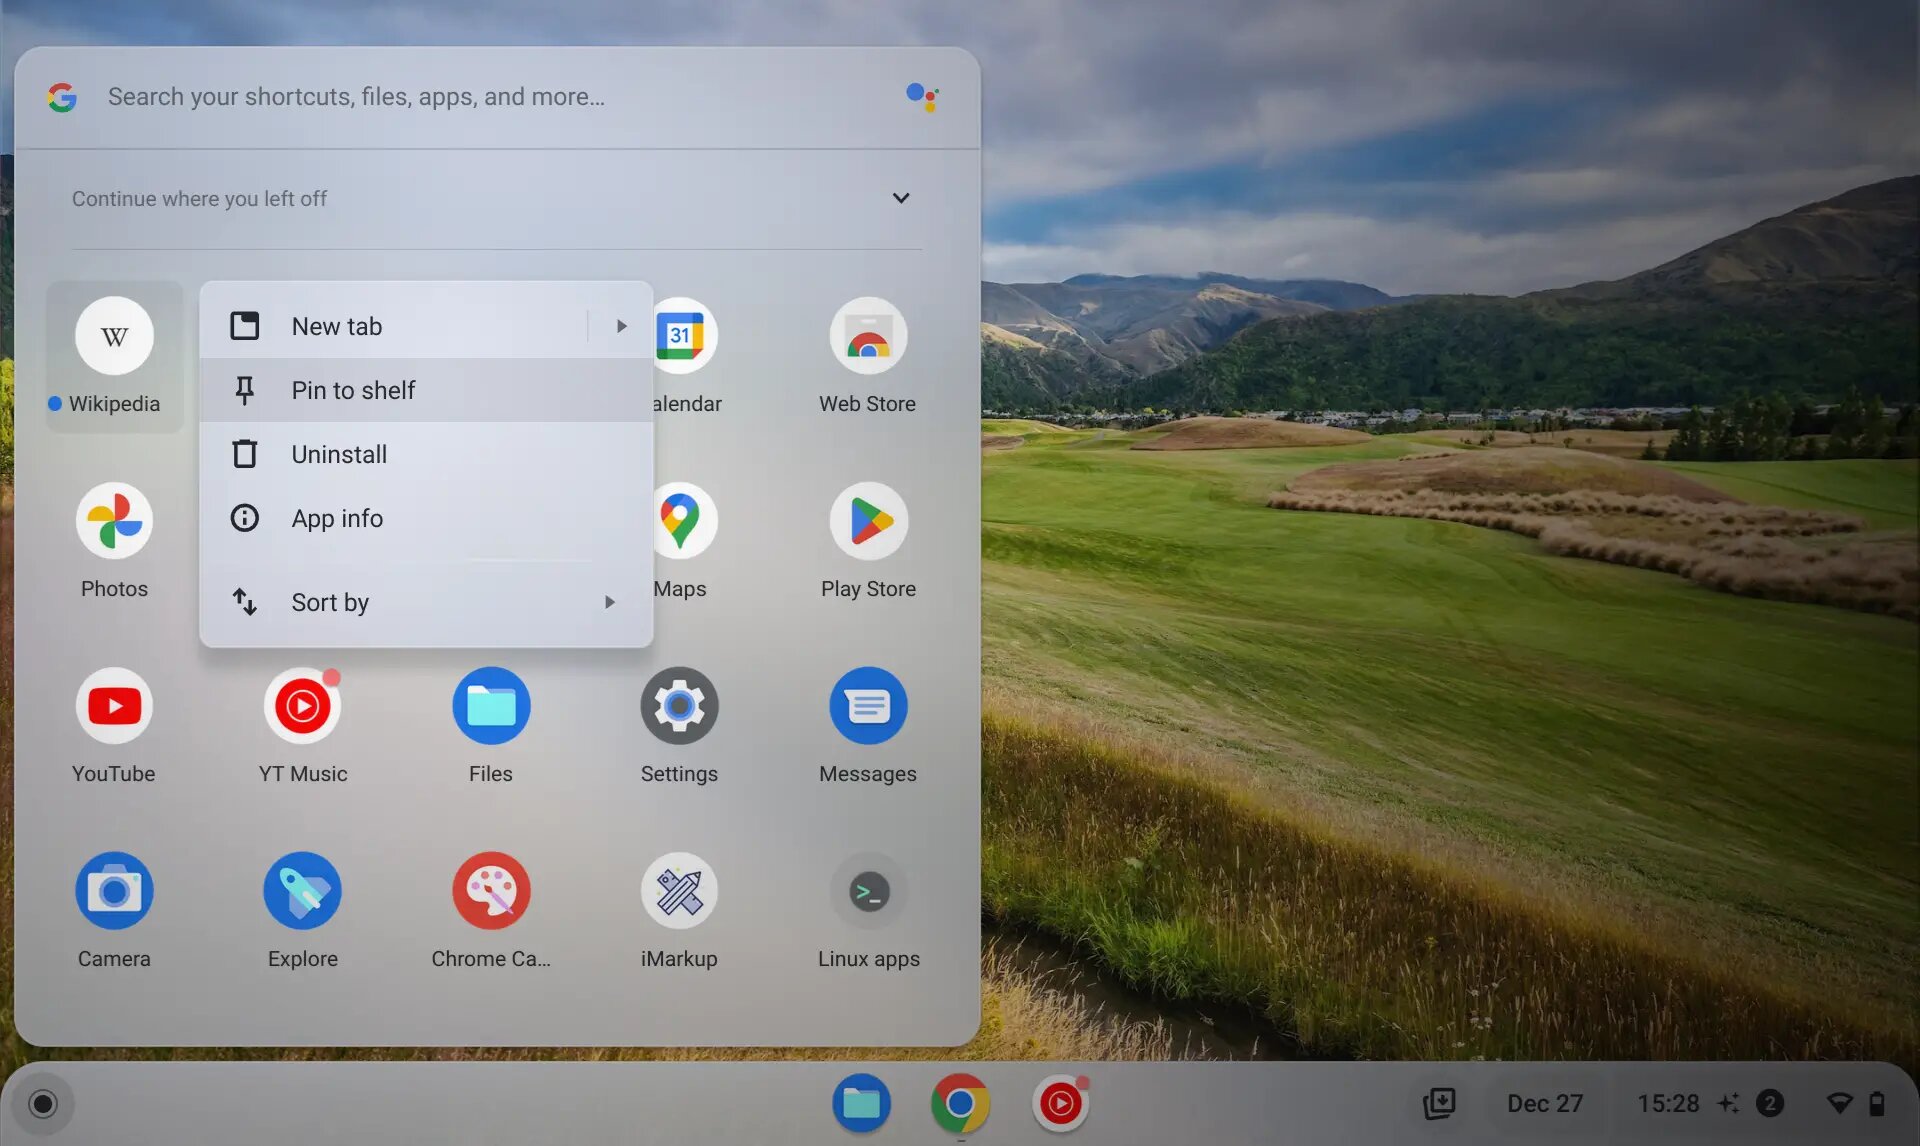
If you don’t have the Chrome icon on your desktop, you can access it from the app launcher. To do this, click on the circle icon located at the bottom left corner of your screen. The app launcher will open, and you can then click on the Chrome icon to launch the browser.
Once the Chrome browser is open, you will see the omnibox at the top of the window. The omnibox is where you can enter website URLs, search terms, or add shortcuts. It is also where you can access various browser settings and functions.
Before moving on to the next step, ensure that you have an internet connection. Adding shortcuts requires an active internet connection to navigate to the desired website and create the shortcut on your Chromebook’s desktop.
Now that you have successfully opened the Chrome browser, let’s move on to the next step to add a shortcut on your Chromebook.
Step 2: Navigate to the Desired Website
Once you have the Chrome browser open on your Chromebook, the next step is to navigate to the website for which you want to create a shortcut. This can be any website that you frequently visit and want quick access to from your desktop.
To navigate to a website, simply type the URL of the website directly into the omnibox at the top of the Chrome browser window. For example, if you want to create a shortcut for a news website, enter the URL of that specific news website.
If you don’t remember the exact URL, you can also perform a search using keywords related to the website or its topic. Simply enter the keywords into the omnibox, and Chrome will display a list of search results. Click on the relevant search result to navigate to the desired website.
Alternatively, you can also access frequently visited websites through your bookmarks. To do this, click on the star icon located at the right side of the omnibox. This will open the bookmarks menu, where you can select the desired website from your bookmarked list.
Once you are on the desired website, ensure that it is fully loaded before proceeding to the next step. This is important to ensure that the shortcut accurately represents the website and functions properly.
Now that you have successfully navigated to the desired website, let’s move on to the next step to create the shortcut on your Chromebook’s desktop.
Step 3: Click on the Three-Dot Menu
After navigating to the desired website on your Chromebook, the next step is to access the three-dot menu in the Chrome browser. The three-dot menu contains a variety of options and settings that allow you to customize your browsing experience.
To access the three-dot menu, look towards the top-right corner of the Chrome browser window. You will see three vertically stacked dots. This is the menu button that provides access to additional features and functions.
Click on the three-dot menu to open a dropdown menu with various options. This menu is where you can find the option to create a shortcut for the website you are currently on.
Alternatively, you can also use the keyboard shortcut “Alt + E” on your Chromebook to open the three-dot menu quickly.
Upon clicking the three-dot menu, a dropdown menu will appear with a list of options. This menu is your gateway to customizing your Chromebook’s settings and accessing various features. The option we will focus on in this step is specifically related to creating a shortcut.
Now that you have successfully located and opened the three-dot menu, let’s move on to the next step to create the shortcut for the website on your Chromebook’s desktop.
Step 4: Select “More tools” and then “Create shortcut”
Once you have opened the three-dot menu in the Chrome browser on your Chromebook, the next step is to select the “More tools” option. This will open a submenu with additional browser tools and features.
Click on the “More tools” option to reveal the submenu. Within this submenu, scroll down until you see the “Create shortcut” option.
The “Create shortcut” option allows you to generate a shortcut for the website you are currently on, directly on your Chromebook’s desktop. This shortcut will instantly navigate you to the desired website with a single click.
Once you have located the “Create shortcut” option within the “More tools” submenu, click on it to proceed with the shortcut creation process.
It is important to note that some websites may not allow the creation of shortcuts due to their specific settings or configurations. If the “Create shortcut” option is grayed out or unavailable, it means that the website does not support the creation of shortcuts.
Now that you have successfully selected the “More tools” and “Create shortcut” options, let’s move on to the next step to customize the shortcut’s name and appearance.
Step 5: Customize the Shortcut Name and Choose Whether to Open in a New Window or Tab
After selecting the “Create shortcut” option in the previous step, a small dialog box will appear on your Chromebook screen. This dialog box allows you to customize the name of the shortcut and choose whether you want it to open in a new window or tab.
In the dialog box, you will see a text field where you can enter the desired name for your shortcut. By default, the name of the shortcut will be pre-filled based on the website’s title or URL. However, you can modify it to something more descriptive or memorable.
Take a moment to think about the purpose of the shortcut and choose a name that will help you easily identify it. For example, if the shortcut is for a recipe website, you could name it “Favorite Recipes” or something similar.
Next, you will see a checkbox option that allows you to choose whether you want the shortcut to open in a new window or a new tab. Consider your personal preference and the way you browse the web. If you prefer to have the website open in a separate window, tick the checkbox. If you prefer to have it open in a new tab within the existing Chrome browser window, leave the checkbox unticked.
Additionally, if you have multiple windows or tabs open in Chrome, you can select the window or tab where you want the shortcut to open from the drop-down menu provided.
Once you have entered the desired name for your shortcut and chosen whether it should open in a new window or tab, click the “Create” button to finalize the customization.
Now that you have successfully customized the name and settings for your shortcut, let’s move on to the next step to add the shortcut to your Chromebook’s desktop.
Step 6: Click “Create” to Add the Shortcut to the Chromebook Desktop
After customizing the name and settings for your shortcut in the previous step, the next step is to click the “Create” button. This action will add the shortcut to your Chromebook’s desktop, making it readily accessible for future use.
Once you click the “Create” button, you may notice a small notification or confirmation message on the screen indicating that the shortcut has been successfully created and added to the desktop. This confirms that the process is complete and that the shortcut is now available for use.
It is important to note that the appearance of the shortcut on your desktop may vary depending on your Chromebook’s settings and the version of Chrome OS. Generally, the shortcut will appear as an icon representing the website, along with the customized name you provided.
If you have multiple shortcuts on your desktop, you can arrange them according to your preference by simply clicking and dragging them to the desired location.
Adding the shortcut to your Chromebook’s desktop provides the convenience of quick and easy access to your favorite websites. Gone are the days of typing in long URLs or navigating through bookmarks to reach your frequently visited sites.
Now that you have successfully clicked the “Create” button to add the shortcut to your Chromebook desktop, let’s move on to the final step to learn how to access the shortcut.
Step 7: Accessing the Shortcut on the Chromebook Desktop
Now that you have successfully created and added the shortcut to your Chromebook’s desktop, it’s time to learn how to access it and enjoy the convenience of quick website navigation.
To access the shortcut, simply locate it on your Chromebook’s desktop. Look for the icon that represents the website and the customized name you provided during the previous steps.
Once you have located the shortcut, you can access the website with just a single click. Simply click on the shortcut icon, and the Chrome browser will open automatically, taking you directly to the website associated with the shortcut.
If you chose to have the shortcut open in a new window, a new Chrome browser window will open, displaying the website. If you chose to have the shortcut open in a new tab within the existing Chrome browser window, a new tab will open with the website loaded.
By having the shortcut on your desktop, you can conveniently access your favorite websites without having to type in the URL or go through bookmarks. It offers a hassle-free way to navigate the web and retrieve information or perform tasks quickly.
If, at any point, you no longer need a particular shortcut on your desktop, you can simply right-click on the shortcut icon and select the “Remove” or “Delete” option from the context menu. This will remove the shortcut from your desktop, but it will not delete the actual website or affect your browsing history or bookmarks.
With the ability to access shortcuts directly from your Chromebook’s desktop, you can streamline your browsing experience and enjoy quick and effortless navigation to your favorite websites.
Congratulations! You have now successfully learned how to access the shortcut on your Chromebook desktop. Feel free to add more shortcuts for other frequently visited websites to further enhance your browsing convenience and productivity.
Conclusion
Adding shortcuts to your Chromebook’s desktop is a simple yet powerful way to enhance your browsing experience. With just a few steps, you can easily create custom shortcuts for your favorite websites, enabling quick and convenient access.
Throughout this guide, we have walked through the process of adding shortcuts on your Chromebook. From opening the Chrome browser and navigating to the desired website to customizing the shortcut name and choosing its behavior, we have covered each step in detail.
By adding shortcuts, you can streamline your workflow, personalize your Chromebook’s desktop, and access frequently visited websites with just a click. Whether you use it for staying updated on the latest news, communicating with friends on social media, or accessing online tools for work, shortcuts offer a convenient way to navigate the web efficiently.
Remember, shortcuts are not the same as bookmarks. While bookmarks are saved within the browser, shortcuts are placed directly on your desktop for instant access. This makes them ideal for websites or web apps that you frequently visit and want quick access to, without the need to navigate through multiple clicks or tabs.
So, go ahead and start creating shortcuts for your most visited websites on your Chromebook’s desktop. Enjoy the convenience and efficiency that these shortcuts bring to your browsing experience. Experiment with different arrangements and personalize your desktop to suit your preferences.
With shortcuts, the web is just a click away, making your Chromebook experience even more enjoyable, productive, and efficient.