Introduction
Welcome to the world of faster boot times and improved system performance with a solid-state drive (SSD). If you’re tired of waiting for your operating system (OS) to load and want to experience lightning-fast speeds, then it’s time to move your OS to an SSD. In this guide, we will walk you through the step-by-step process of transferring your OS to an SSD and getting your computer up and running in no time.
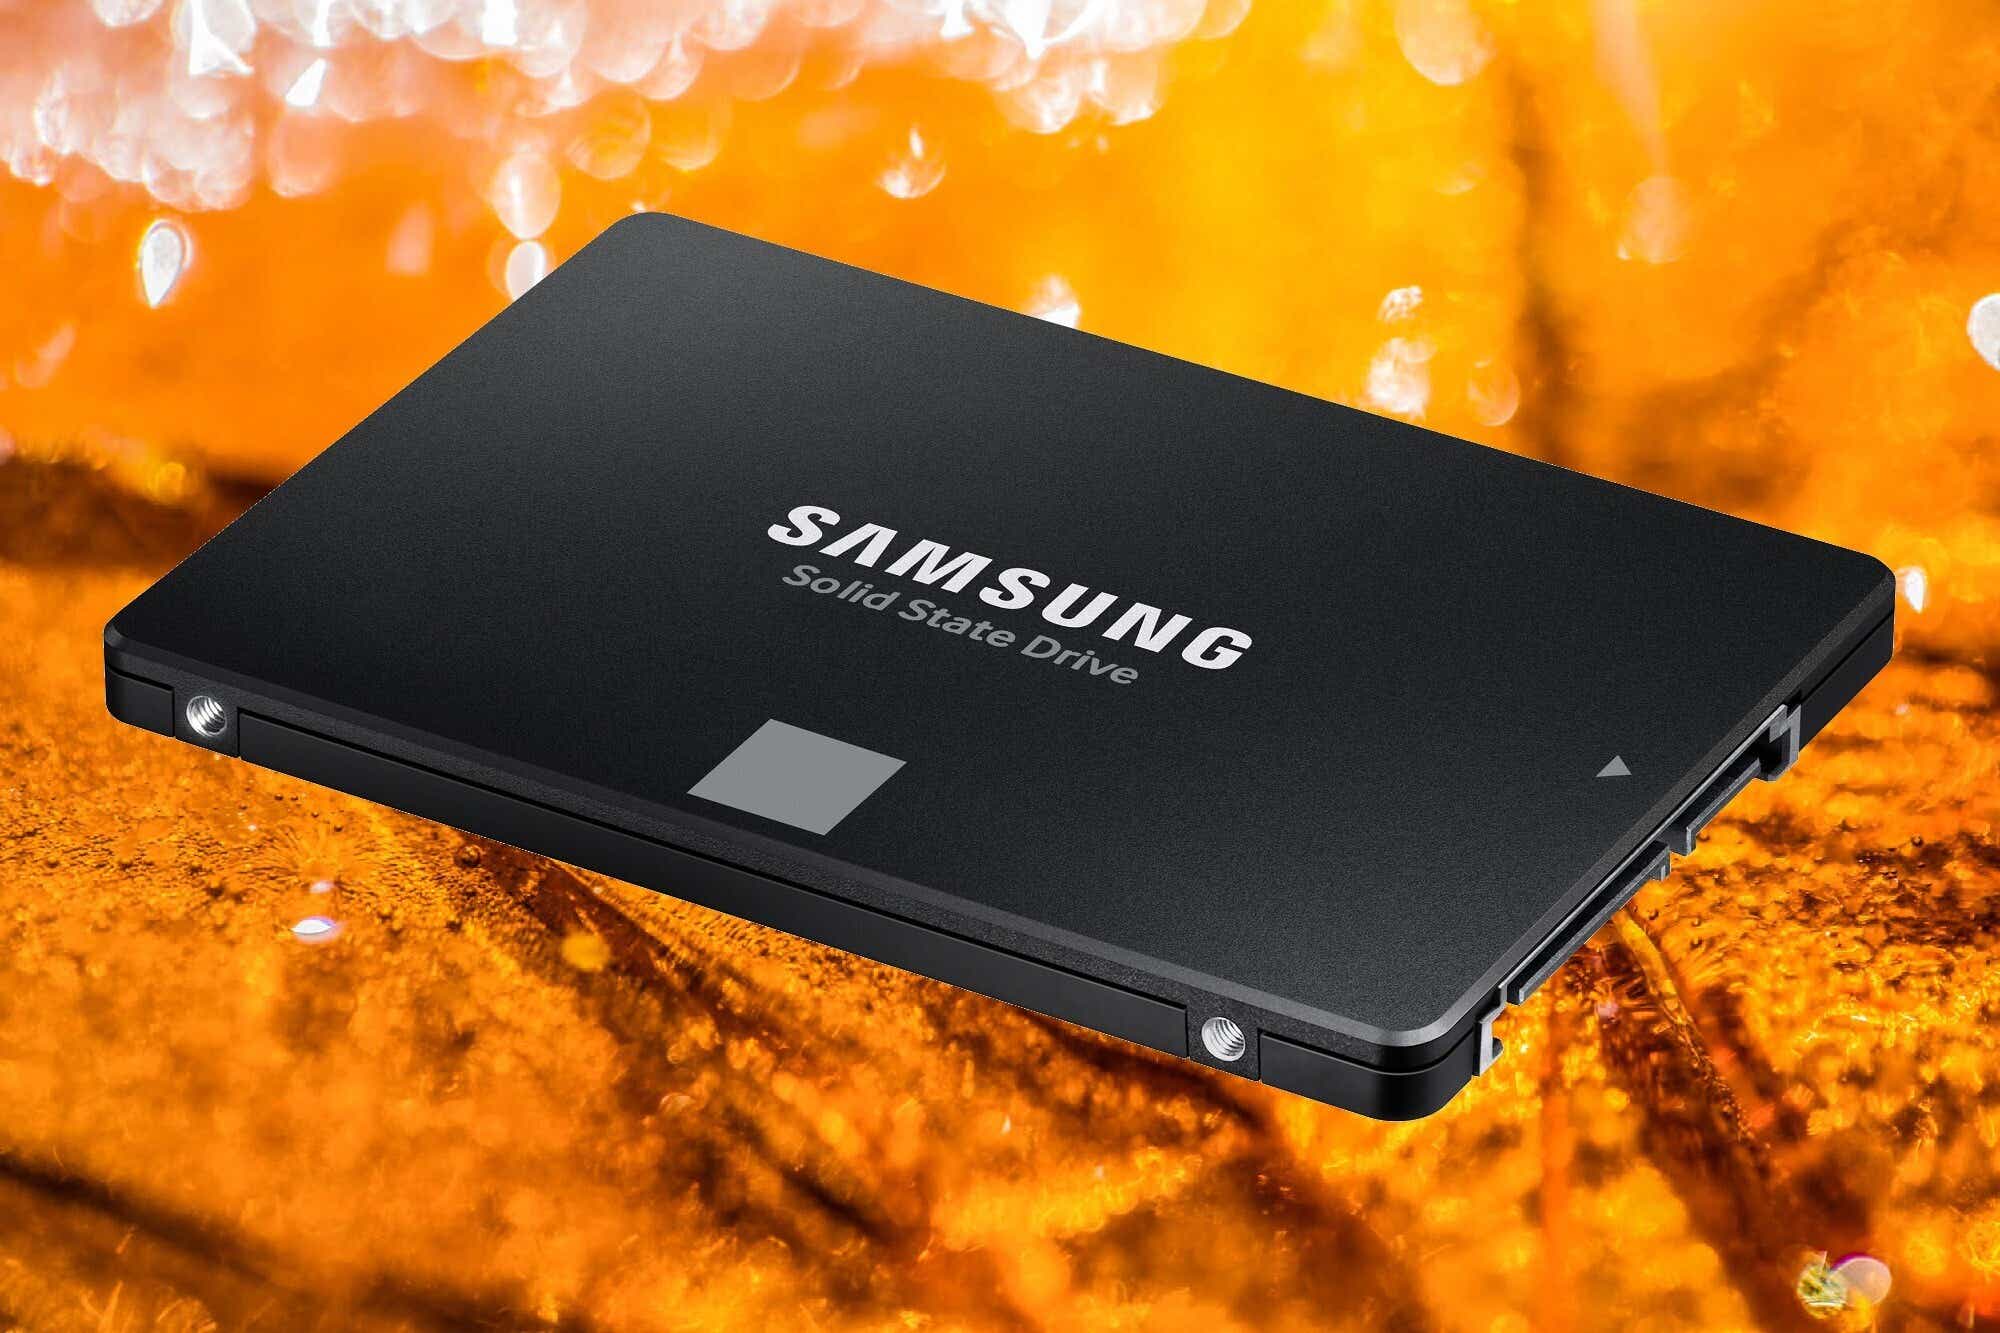
An SSD is a type of storage device that uses flash memory to store data, which results in significantly faster read and write speeds compared to traditional hard disk drives (HDD). By migrating your OS to an SSD, you can enjoy faster boot times, reduced application loading times, and smoother overall system performance.
To successfully move your OS to an SSD, you will need a few essential tools and follow a series of steps. It’s important to note that the exact process may vary slightly depending on your specific hardware and software configuration, but the core principles remain the same.
In the following sections, we’ll outline the necessary tools, provide step-by-step instructions, and offer optional recommendations for advanced users. By following this guide, you can confidently transfer your OS to an SSD and reap the benefits of improved performance and responsiveness.
So, if you’re ready to make the leap to SSD and unlock the full potential of your computer, let’s dive into the process of moving your OS and upgrading your system!
What You Will Need
Before you embark on the journey of moving your OS to an SSD, it’s crucial to gather the necessary tools and equipment. Here is a list of items you will need to ensure a smooth and successful migration:
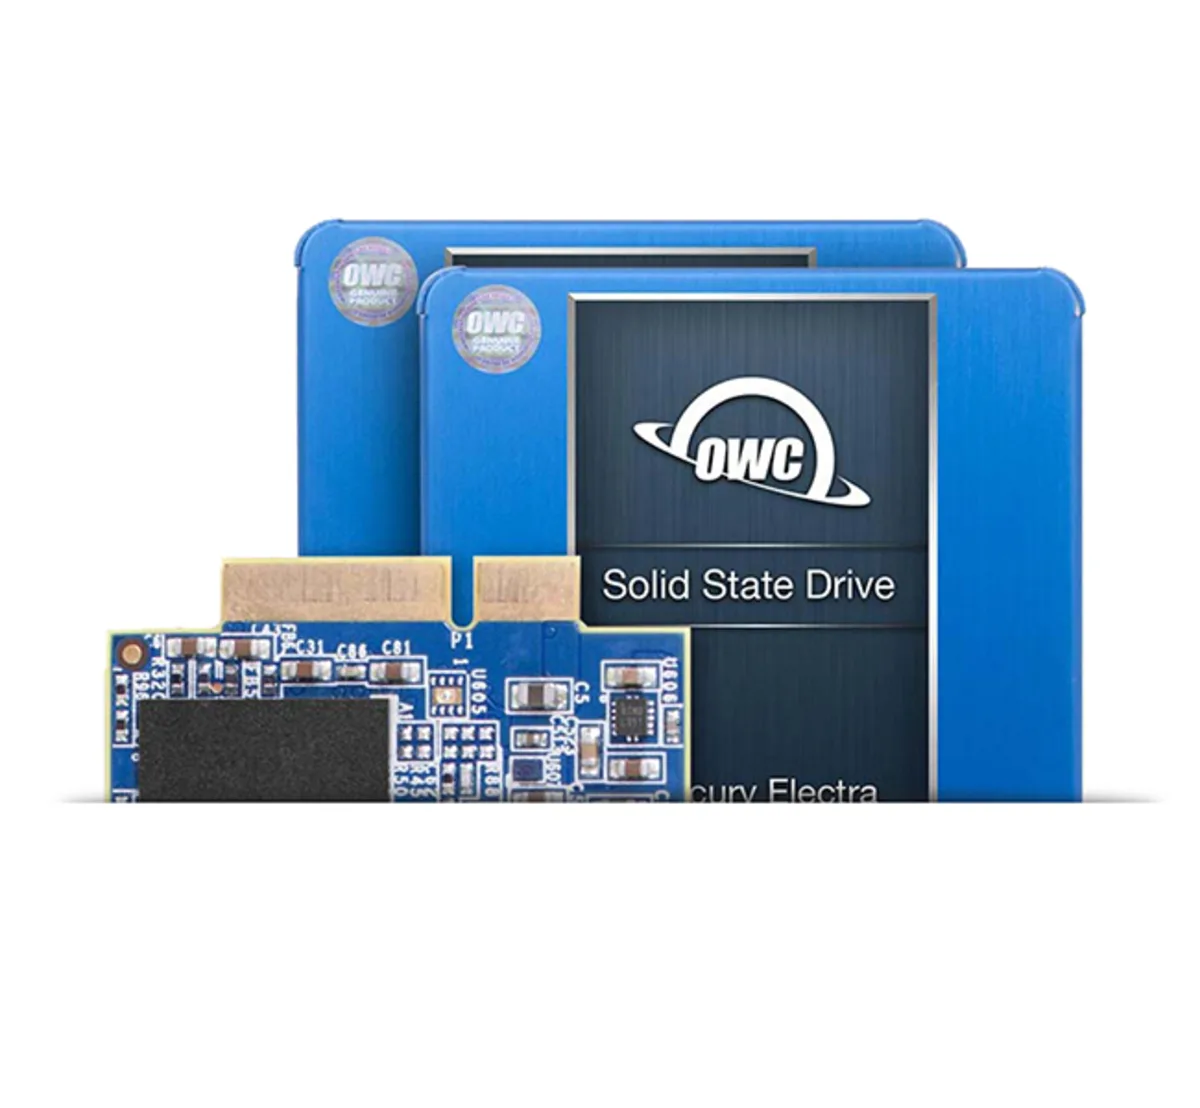
- An SSD: First and foremost, you’ll need a compatible solid-state drive. Make sure to choose an SSD that matches the form factor of your computer. Common form factors include 2.5-inch, M.2, and NVMe drives.
- SATA or NVMe Cable (if applicable): Depending on the type of SSD you have, you may need a data cable to connect it to your computer. SATA cables are used for 2.5-inch SSDs, while NVMe drives typically require an M.2 or PCIe slot.
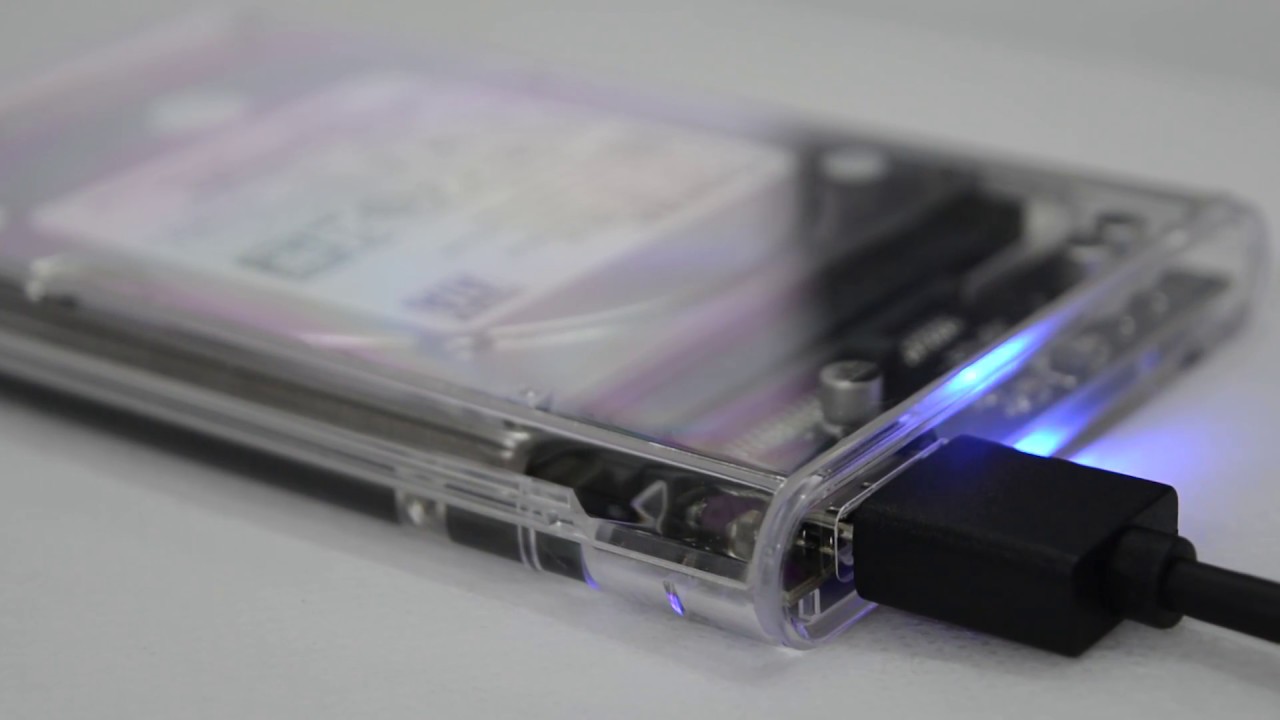
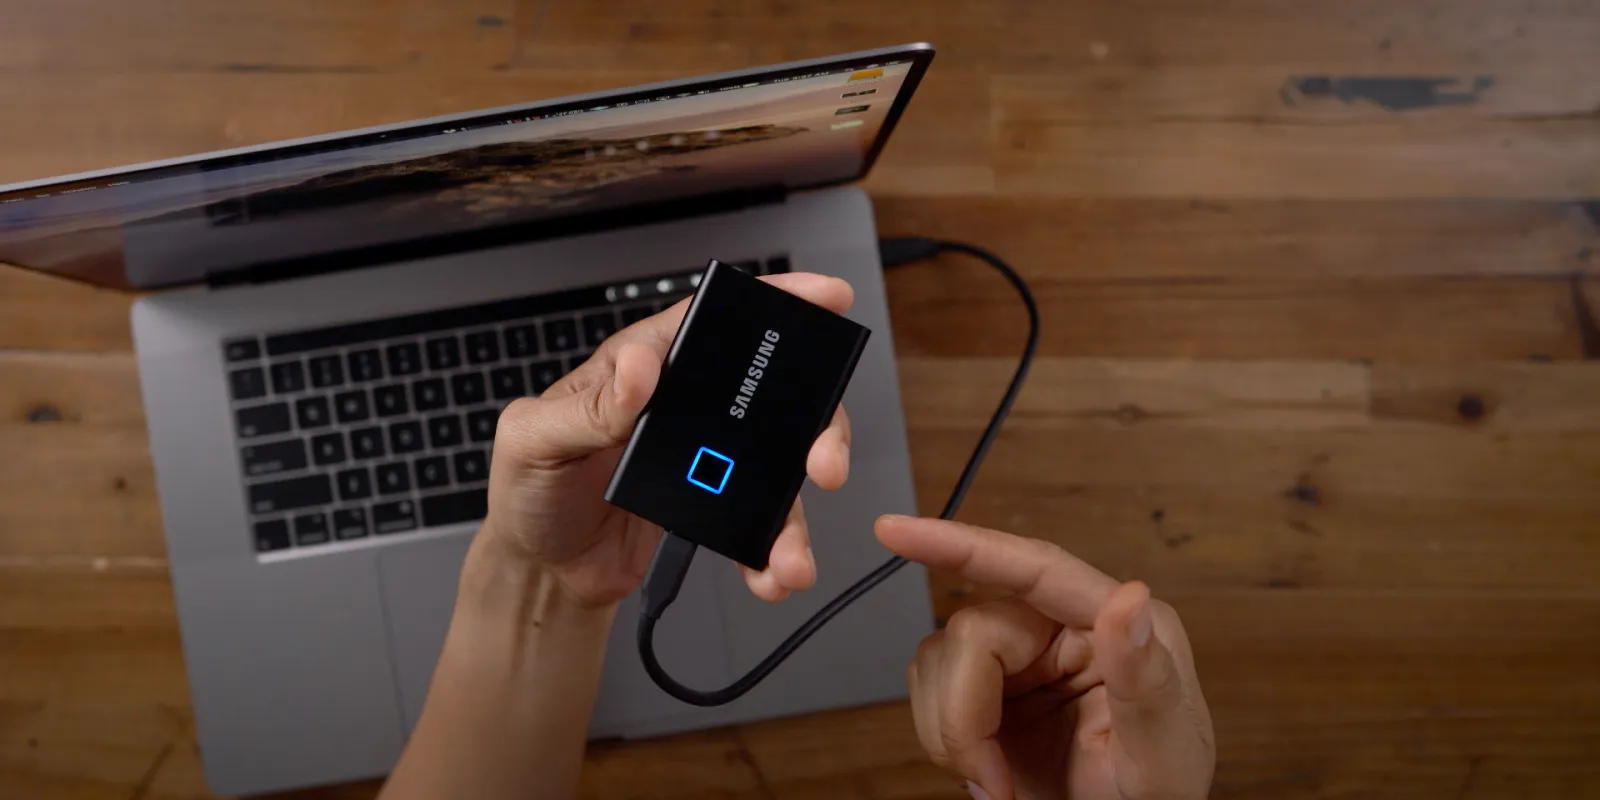
- USB-to-SATA Adapter (optional): If you don’t have an extra SATA port available on your motherboard, you can use a USB-to-SATA adapter to connect your SSD externally. This can be helpful if you want to clone your OS before installing the new drive internally.
- Backup Storage Device: It’s essential to have a reliable backup storage device, such as an external hard drive or cloud storage service. This will allow you to create a backup of your important data before proceeding with the OS migration process.
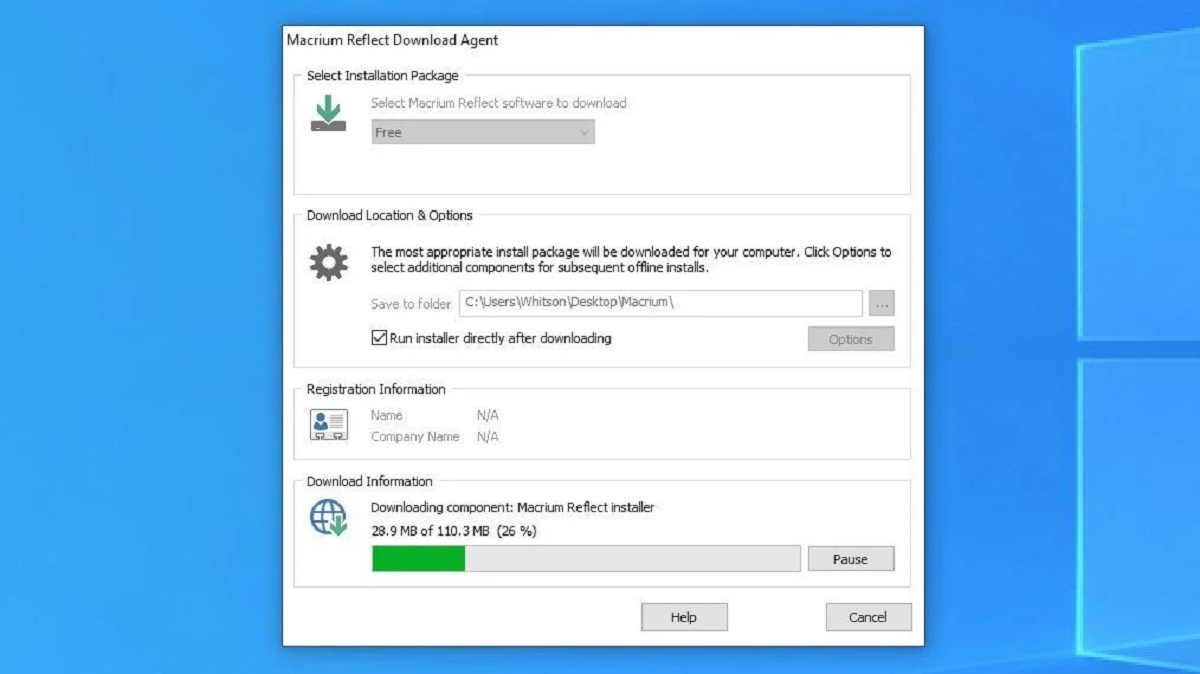
- Cloning Software: To transfer your OS to the SSD, you’ll need cloning software. Some popular options include Clonezilla, Macrium Reflect, and Acronis True Image. Ensure that the software you choose supports OS migration and is compatible with your system.
- Screwdriver (if applicable): If you’re installing the SSD internally, you may need a screwdriver to secure it in place. Check your computer’s manual to determine the size and type of screws required.
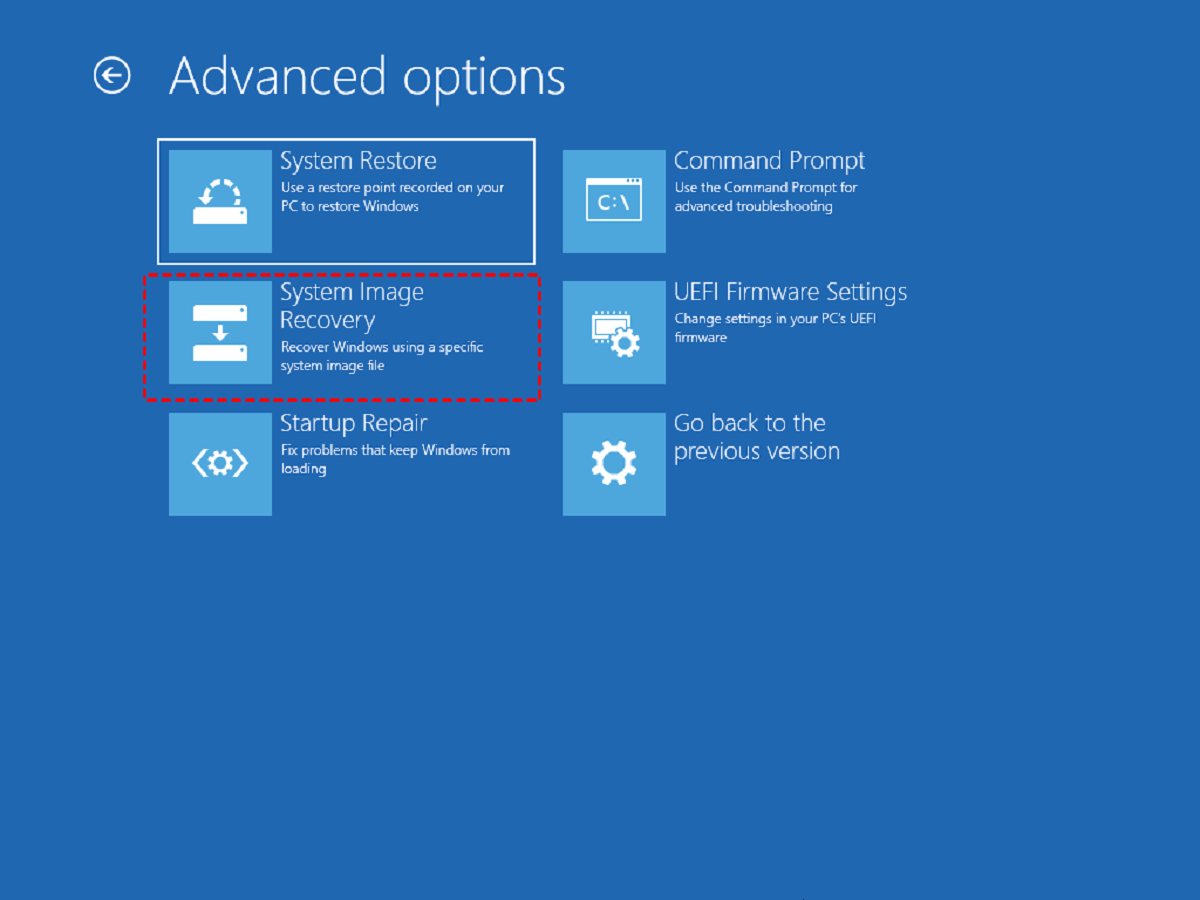
- BIOS Access: Familiarize yourself with accessing the BIOS or UEFI settings on your computer. This will allow you to change the boot order and ensure that your system recognizes the new SSD as the primary boot drive.
By assembling these essential tools and equipment, you’ll be well-prepared to tackle the task of moving your OS to an SSD. Remember to review the documentation for your specific hardware and software to ensure a smooth migration process.
Step 1: Backup Your Data
Before you begin the process of transferring your OS to an SSD, it’s crucial to create a backup of all your important data. This ensures that even if something goes wrong during the migration, your files and documents will remain safe and accessible. Here’s how to backup your data:
- Identify Important Files: Take some time to identify the files and folders that you want to backup. This might include documents, photos, videos, music, and any other data that you cannot afford to lose.
- Choose a Backup Method: Decide on the best backup method for your needs. You can use an external hard drive, cloud storage, or a combination of both. External hard drives offer offline storage and are ideal for large amounts of data, while cloud storage provides remote accessibility and redundancy.
- Transfer Data to External Drive: If you’re using an external hard drive, connect it to your computer and transfer your important files onto it. You can do this manually by copying and pasting the files or by using backup software, such as Windows File History or Mac Time Machine.
- Upload Data to Cloud Storage (optional): If you’re utilizing cloud storage, sign in to your preferred service and upload your important files. Popular options include Google Drive, Dropbox, and Microsoft OneDrive. Remember to consider storage limitations and choose a plan that accommodates your needs.
- Verify Backup: Once the backup process is complete, take a moment to verify that all your important files have been successfully backed up. Check that the files are intact and accessible on your external drive or cloud storage platform.
By following these steps, you can ensure that your valuable data is securely backed up before proceeding with the OS migration process. This provides peace of mind and safeguards against data loss during the transfer. Remember to keep your backup drive or cloud storage account in a safe place until the migration is complete and you have confirmed the successful transfer of your OS to the SSD.
Step 2: Clone Your OS to the SSD
Once you have backed up your data, it’s time to clone your operating system (OS) to the SSD. This step involves creating an exact copy of your OS, including all system files, settings, and applications. Follow these steps to clone your OS:
- Connect the SSD: If your SSD is not already connected, do so using the appropriate method (internally or via a USB-to-SATA adapter). Ensure that the SSD is recognized by your computer’s operating system.
- Launch the Cloning Software: Open your chosen cloning software. Follow the software’s instructions to create a disk image of your existing OS and select the SSD as the target destination.
- Select Source and Destination Drives: In the cloning software, choose your current OS drive as the source drive and the SSD as the destination drive. Double-check these selections to avoid accidentally overwriting your original drive.
- Adjust Clone Settings: Before starting the cloning process, you may have the option to adjust certain settings. This can include choosing to clone only specific partitions or resizing partitions on the destination drive. Review the available options and modify them according to your preferences or specific requirements.
- Start the Cloning Process: Once you have reviewed and confirmed the settings, initiate the cloning process. This may take some time, depending on the size of your OS and the speed of your computer and SSD. Be patient and avoid interrupting the process.
- Verify Cloning Completion: After the cloning process is finished, verify that the SSD now contains an exact copy of your OS. Check for any error messages or prompts from the cloning software. Additionally, confirm that the SSD’s capacity matches the size of your original OS drive.
By following these steps, you can successfully clone your OS to the SSD. This ensures that your operating system, along with all your settings and applications, is transferred to the faster and more efficient storage medium. Once the cloning process is complete, you can proceed with the next steps to finalize the migration and optimize your system for SSD usage.
Step 3: Disconnect Old Drive (Optional)
In this step, you have the option to disconnect your old drive from your computer. By disconnecting the old drive, you ensure that the system boots exclusively from the newly cloned SSD. This step is optional but recommended to avoid any confusion or conflicts between the old and new drives. Follow these guidelines to disconnect your old drive:
- Power Down Your Computer: Shut down your computer completely and unplug it from the power source to avoid any electrical mishaps.
- Open Your Computer Case: If your old drive is installed internally, open your computer case following the manufacturer’s instructions. Use caution and follow proper safety procedures to prevent damage to your hardware.
- Locate the Old Drive: Identify the old drive that you want to disconnect. It is usually connected to the motherboard via a SATA cable or an additional drive bay, depending on your computer’s configuration.
- Disconnect Power and Data Cables: Carefully unplug both the power and data cables connected to the old drive. The power cable is a wide, flat connector, while the data cable is a thin cable with a smaller connector.
- Secure the Disconnected Drive: If you plan to reuse the old drive or need to store it for future use, place it in an anti-static bag and store it in a safe and dry location. Alternatively, if you no longer need the drive, consider proper disposal methods.
- Close Your Computer Case: Once the old drive is disconnected and secured, close your computer case by following the manufacturer’s instructions. Ensure that all screws are properly tightened to avoid any potential issues.
By following these steps, you can disconnect your old drive from your computer, leaving only the newly cloned SSD as the primary boot drive. This can help avoid any confusion during the boot process and ensure a seamless transition to the faster and more efficient SSD. However, if you choose to keep your old drive connected, make sure to adjust the boot order in the BIOS settings to prioritize the SSD as the primary boot device.
Step 4: Connect the SSD
Now that you have cloned your OS to the SSD, it’s time to connect the SSD to your computer. By physically installing the SSD, you can ensure that it is properly recognized by your system and ready for use. Follow these steps to connect the SSD:
- Power Down Your Computer: Shut down your computer and unplug it from the power source to ensure your safety and avoid any electrical mishaps.
- Open Your Computer Case: If necessary, open your computer case according to the manufacturer’s instructions. Take care to ground yourself and follow proper safety precautions to prevent any damage to your hardware.
- Locate an Available Slot: Identify an available slot where you can connect the SSD. Common locations include the SATA ports on your motherboard or an M.2 slot for M.2 SSDs. Consult your motherboard or computer manual for specific information on available slots and their compatibility.
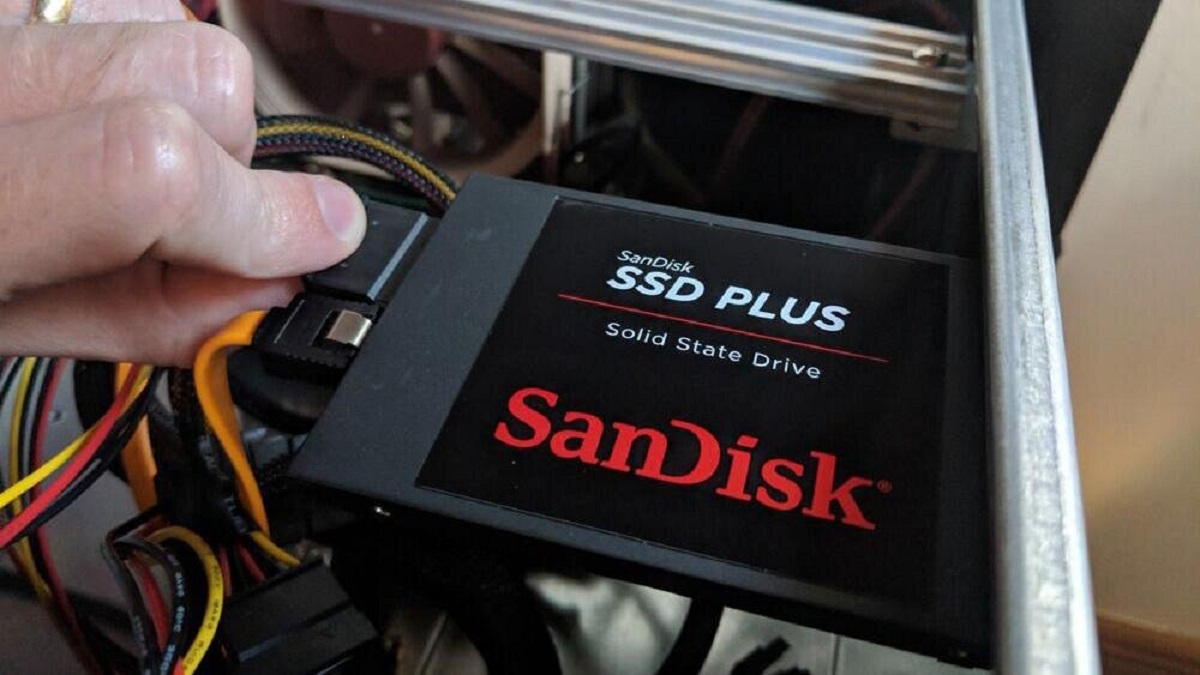
- Connect the SSD: If you’re using a 2.5-inch SSD, connect it using a SATA data cable and a power cable from your power supply. Make sure to connect the SATA data cable to an available SATA port on your motherboard and the power cable to a free power connector.
- Screw in the SSD (If Applicable): If you’re installing a 2.5-inch SSD internally, use the appropriate screws to secure it in place. Consult your computer or SSD’s manual for the correct screw size and placement. Make sure the SSD is firmly attached to avoid any loose connections or movement.
- Close Your Computer Case: Once the SSD is properly connected, close your computer case following the manufacturer’s instructions. Double-check that all screws are securely tightened and that everything is back in place.
- Reconnect Power and Start Your Computer: Plug your computer back into the power source and start it up. The system should recognize the newly installed SSD and initialize it automatically.
By following these steps, you can successfully connect the SSD to your computer. This ensures that the SSD is properly installed and ready to be used as the primary storage device. Make sure to verify the SSD’s presence in the system BIOS or UEFI settings, and double-check that it is listed as a recognized storage device.
Step 5: Change Boot Order in BIOS
After connecting the SSD to your computer, you need to change the boot order in the BIOS (Basic Input/Output System) or UEFI (Unified Extensible Firmware Interface) settings. This step ensures that your system prioritizes booting from the newly installed SSD. Follow these steps to change the boot order:
- Restart Your Computer: If your computer is powered on, restart it to access the BIOS or UEFI settings. You may need to press a specific key during startup, such as Delete, F2, or F12, depending on your computer’s manufacturer.
- Access the BIOS or UEFI Settings: Once you’re in the BIOS or UEFI settings, navigate to the “Boot” or “Boot Order” section. The location of this section may vary depending on your system’s firmware.
- Select the SSD as the First Boot Device: Look for the option to change the boot order sequence and prioritize the SSD as the first boot device. You may need to use the arrow keys to move the SSD to the top of the list.
- Save and Exit: After changing the boot order, save the changes and exit the BIOS or UEFI settings. This is typically done by selecting the “Save and Exit” option, but refer to the instructions shown on the screen for your specific firmware.
- Restart Your Computer: Once you’ve saved the changes and exited the BIOS or UEFI settings, your computer will restart. It will now boot from the SSD as the primary storage device.
By following these steps, you can successfully change the boot order in the BIOS or UEFI settings to prioritize booting from the newly installed SSD. This ensures that your system efficiently utilizes the SSD and benefits from faster boot times and improved performance. After the restart, your computer should seamlessly boot into the operating system installed on the SSD.
Step 6: Test the SSD Boot
After changing the boot order in the BIOS or UEFI settings, it’s important to test the SSD boot to ensure that your computer starts up properly from the new drive. This step allows you to verify that the OS migration was successful and that your system is now utilizing the SSD as the primary boot device. Follow these steps to test the SSD boot:
- Restart Your Computer: Restart your computer to initiate the boot process.
- Monitor the Startup Process: Pay attention to the startup process. You should notice that the boot time is significantly faster compared to when your OS was running on the old drive.
- Check for Successful Boot: Once your computer finishes booting, check for any error messages or issues. Ensure that your desktop or login screen appears without any problems.
- Test System Performance: Open a few applications or perform tasks that typically require system resources. Pay attention to the speed and responsiveness of your system. You should notice a noticeable improvement in overall performance and loading times compared to before the OS migration.
- Verify Drive Recognition: Open the Disk Management utility (Windows) or the Disk Utility (Mac) to confirm that the SSD is recognized as the primary system drive. Verify that the drive is listed and labeled correctly.
By following these steps, you can ensure that the SSD is functioning correctly as the primary boot device. If you encounter any issues during the test, double-check the settings in the BIOS or UEFI, and ensure that the SSD is properly connected and recognized. If necessary, consult your system or SSD manufacturer’s documentation for troubleshooting guidance.
Congratulations! You have successfully migrated your OS to the SSD and tested the boot process. Your computer should now benefit from faster startup times, improved system performance, and an overall smoother user experience.
Step 7: Format the Old Drive (Optional)
Once you have successfully migrated your OS to the SSD and verified its performance, you have the option to format the old drive if you no longer need it or want to repurpose it. Formatting the old drive ensures that all data is erased, and the drive is ready for future use or disposal. Follow these steps to format the old drive:
- Backup Important Data (If Needed): Before formatting the old drive, ensure that you have backed up any important data or files that you may still need. Once the drive is formatted, all data on it will be permanently deleted.
- Open the Disk Management Utility (Windows) or Disk Utility (Mac): Access the built-in disk management utility on your operating system. In Windows, you can open the Disk Management utility by searching for it in the Start menu. On a Mac, open the Disk Utility from the Applications > Utilities folder.
- Locate the Old Drive: In the disk management utility, locate the old drive that you want to format. Exercise caution to choose the correct drive to avoid formatting the wrong one.
- Initiate the Format Process: Right-click (Windows) or control-click (Mac) on the old drive and select the option to format or erase. Choose the desired formatting options, such as file system type (NTFS, exFAT, or FAT32) and volume label.
- Confirm the Formatting: Before proceeding with the format, carefully review the information and make sure that you have selected the correct drive. Once you’re certain, click the format or erase button to initiate the process.
- Wait for the Format to Complete: The formatting process may take some time depending on the size and speed of the old drive. Do not interrupt the process and allow it to complete before proceeding.
- Verify Successful Formatting: After the formatting process finishes, verify that the old drive is now listed as a formatted volume. It should be empty and ready for future use or disposal.
By following these steps, you can format the old drive to ensure that all data is securely erased and the drive is ready for reassignment or disposal. Remember, formatting permanently deletes all data on the drive, so exercise caution and double-check that you have backed up any necessary files before proceeding.
With the old drive formatted, you have fully completed the process of migrating your OS to an SSD. Enjoy the benefits of improved performance and efficiency with your newly upgraded system!
Conclusion
Congratulations! You have successfully completed the process of moving your operating system (OS) to an SSD. By following the steps outlined in this guide, you have unlocked the potential for faster boot times, improved system performance, and an overall smoother user experience.
Throughout this process, you learned how to gather the necessary tools, backup your data, clone your OS to the SSD, connect the SSD to your computer, change the boot order in the BIOS or UEFI settings, test the SSD boot, and optionally format the old drive. Each step played a significant role in ensuring a successful OS migration and a seamless transition to the SSD.
By migrating your OS to an SSD, you have taken advantage of the faster read and write speeds offered by solid-state drives. Your computer will now boot up faster, applications will load quicker, and overall system responsiveness will noticeably improve. This upgrade can greatly enhance your productivity and enjoyment while using your computer.
Remember to maintain regular backups of your important data and keep your SSD firmware up to date to ensure optimal performance and reliability. Additionally, it’s a good practice to periodically clean up unnecessary files and perform maintenance tasks to keep your system running smoothly.
Thank you for following this guide. We hope it has been helpful in successfully moving your OS to an SSD. Enjoy the enhanced performance and improved user experience with your newly upgraded system!


