Introduction
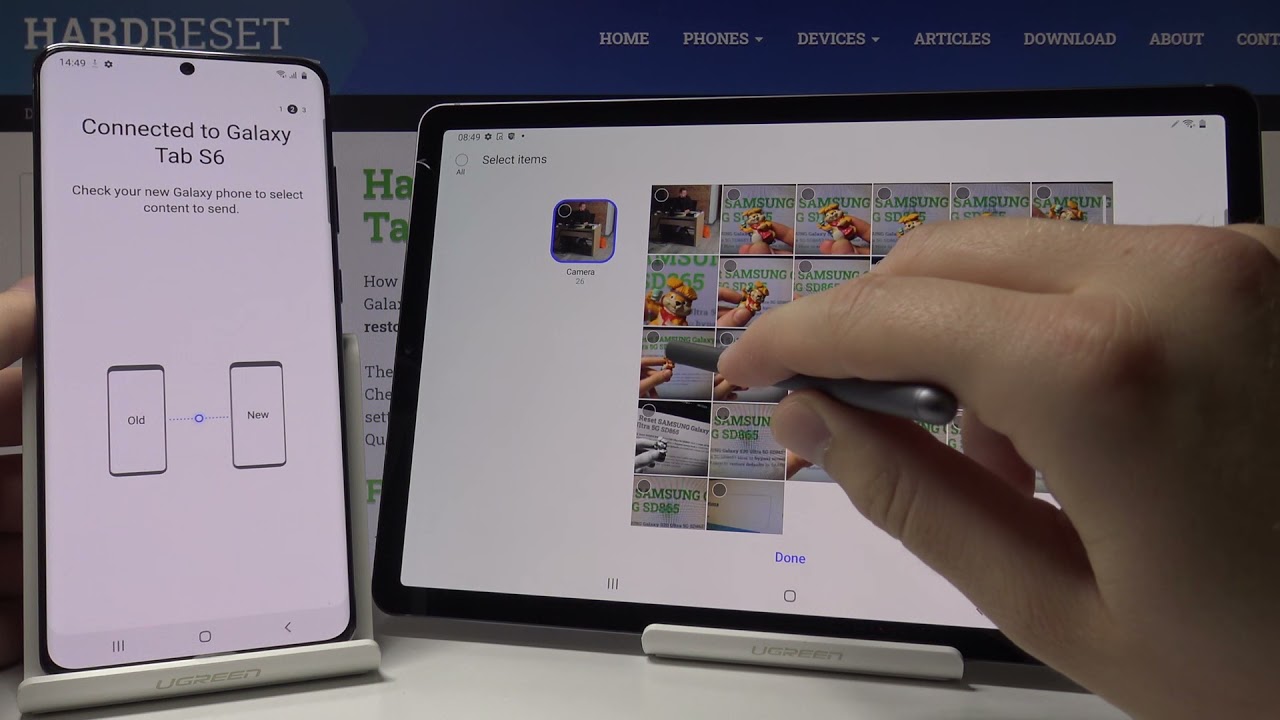
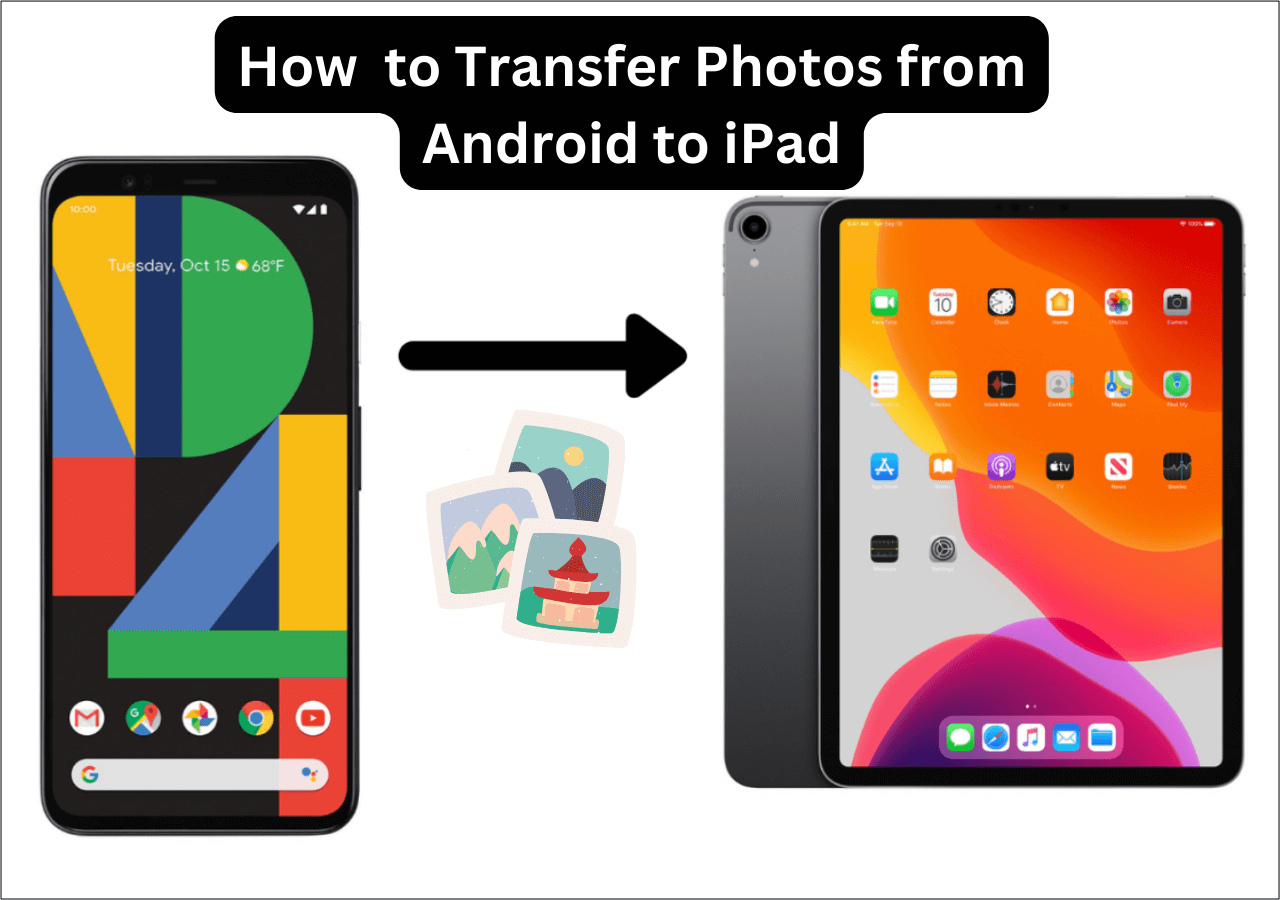
Welcome to the digital age, where our smartphones and tablets have become our go-to devices for capturing life’s precious moments. Whether it’s a breathtaking sunset, a hilarious selfie, or a beautiful landscape, we’ve all amassed a collection of photos on our phones that we want to transfer to our tablets for easier viewing and sharing.
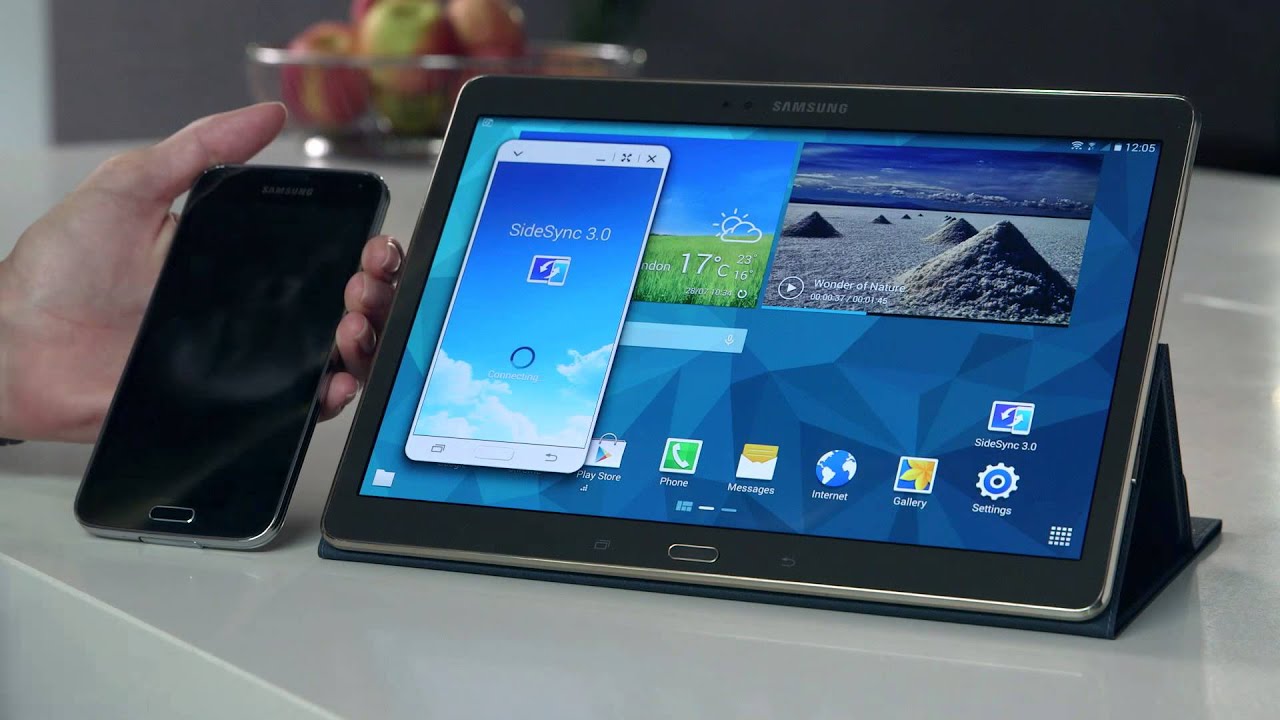
Fortunately, there are several methods available to move photos from your phone to your tablet, so you can relive those memories on a larger screen and make them easily accessible. In this article, we will explore four convenient methods that will help you seamlessly transfer your photos.
From using a USB cable to transferring through cloud storage, using Bluetooth, or utilizing a memory card, we’ll guide you through each step and provide handy tips along the way. No matter which method you choose, you’ll be able to enjoy your photos on your tablet in no time.
So, grab your phone and tablet, and let’s explore the different ways to effortlessly move your photos and create a cohesive digital album that can be easily accessed on your tablet.
Method 1: Using a USB Cable
One of the simplest and most direct ways to transfer photos from your phone to your tablet is by using a USB cable. This method allows for a direct connection between the two devices, ensuring a quick and secure transfer of your photo files.
Here’s how to do it:
- Begin by connecting your phone to your tablet using a compatible USB cable. Most Android devices use USB-C or Micro USB, while Apple devices use Lightning cables.
- Once connected, your phone might prompt you to grant access to your files. Tap “Allow” to proceed.
- On your tablet, a notification may appear indicating that a device is connected. Tap on it to open the file transfer options.
- Select the option that allows you to browse the files on your phone.
- Navigate to the folder where your photos are stored on your phone.
- Select the desired photos and copy or move them to a folder on your tablet.
- After the transfer is complete, disconnect your phone from the tablet.
This method is great for those who prefer a direct and secure transfer. It also works well for transferring larger files or a large number of photos at once.
Keep in mind that the exact steps may vary depending on your specific phone and tablet models. However, the basic concept of connecting the devices using a USB cable and using file transfer options should be similar across different devices.
Now that you know how to use a USB cable to transfer your photos, let’s explore another method that utilizes cloud storage for seamless transfers.
Method 2: Using Cloud Storage
Cloud storage has become increasingly popular for storing and accessing files from anywhere, on any device. It also provides a convenient way to transfer photos from your phone to your tablet without the need for a physical connection.
Follow these steps to transfer your photos using cloud storage:
- Ensure that both your phone and tablet are connected to a stable internet connection.
- On your phone, open the cloud storage app of your choice. Popular options include Google Drive, Dropbox, and iCloud.
- Upload the photos you want to transfer to the cloud storage app. This process may slightly vary depending on the app you are using, but it usually involves selecting the photos and tapping the upload button.
- Once the upload is complete, open the cloud storage app on your tablet.
- Navigate to the folder where you uploaded the photos.
- Select the photos and download them to your tablet.
Using cloud storage offers the advantage of accessing your photos from any device with an internet connection. It also provides a backup of your files, ensuring they are securely stored in case of any device malfunction.
Make sure to check the available storage space in your cloud storage account, as some services may have limitations. If necessary, consider upgrading to a higher storage plan for seamless photo transfers.
Now that you know how to use cloud storage to transfer your photos, let’s explore another method involving Bluetooth connectivity.
Method 3: Using Bluetooth
If you prefer a wireless method to transfer your photos from your phone to your tablet, using Bluetooth is a convenient option. Bluetooth allows for a direct connection between devices without the need for an internet connection or additional cables.
Here’s how you can transfer photos using Bluetooth:
- Ensure that both your phone and tablet have Bluetooth enabled and are visible to each other.
- On your phone, go to the settings and find the Bluetooth menu. Enable Bluetooth if it’s not already turned on.
- On your tablet, follow the same steps to enable Bluetooth. Make sure your tablet is discoverable.
- On your phone, go to the gallery or photos app and select the photos you want to transfer.
- Tap on the share button and select the option to share via Bluetooth.
- A list of available Bluetooth devices will appear. Choose your tablet from the list.
- On your tablet, accept the Bluetooth pairing request from your phone.
- The selected photos will now be transferred from your phone to your tablet via Bluetooth.
Note that the transfer speed using Bluetooth may be slower compared to other methods, especially when transferring multiple or large files. However, it is still a reliable option for smaller photo transfers.
Once the transfer is complete, make sure to disable Bluetooth on both devices to conserve battery life.
Now that you know how to transfer photos using Bluetooth, let’s explore one more method that involves using a memory card.
Method 4: Using a Memory Card
If your phone and tablet support expandable storage through a memory card, using this method will allow you to easily transfer photos between the two devices.
Here’s how to transfer photos using a memory card:
- Insert the memory card into your phone, if it’s not already inserted.
- On your phone, go to the gallery or photos app and select the photos you want to transfer.
- Tap on the share button and select the option to save to the SD card or the memory card.
- Remove the memory card from your phone and insert it into the memory card slot on your tablet.
- On your tablet, open the gallery or photos app and navigate to the location where you want to save the transferred photos.
- Copy or move the photos from the memory card to your tablet’s storage.
- Once the transfer is complete, remove the memory card from your tablet and re-insert it into your phone, if desired.
Using a memory card allows for a straightforward transfer of photos, especially if you have a significant number of photos to transfer or if the files are too large for other transfer methods.
It’s essential to ensure compatibility between the memory card and your phone’s and tablet’s memory card slots. Different devices may support specific memory card formats, such as microSD or SDHC.
When handling the memory card, be sure to follow proper procedures to avoid damage or loss of data. Always turn off the devices before removing or inserting the memory card.
Now that you know how to transfer photos using a memory card, you’re ready to conveniently move your photo collection between your phone and tablet.
Conclusion
Transferring photos from your phone to your tablet is a simple and effective way to ensure that you can easily access and enjoy your photos on a larger screen. In this article, we explored four different methods for transferring photos: using a USB cable, cloud storage, Bluetooth, and a memory card.
Using a USB cable provides a direct and secure connection between your devices, allowing for quick and reliable transfers. This method is especially useful for transferring larger files or a large number of photos at once.
Cloud storage offers the advantage of accessing your photos from any device with an internet connection. It also provides a backup of your files, ensuring they are securely stored in case of any device malfunction.
If you prefer a wireless option, using Bluetooth allows for a direct connection between devices without the need for internet or cables. While Bluetooth transfers may be slower for larger files, it remains a convenient option for smaller photo transfers.
For devices that support expandable storage, using a memory card is a straightforward option for transferring photos. This method is ideal when dealing with a significant number of photos or larger file sizes.
Remember to choose the method that best suits your needs and preferences. Additionally, always ensure that your devices are compatible with the chosen transfer method.
Now that you have learned these four methods for transferring photos, you can easily move your valuable memories from your phone to your tablet and enjoy them on a larger screen.


