Introduction
Transferring pictures from your Samsung phone to your Samsung tablet can be a convenient way to view and access your favorite photos on a larger screen. Whether you want to showcase your vacation pictures or simply want to have your photo library handy on your tablet, the process is relatively simple.
In this guide, we will walk you through the step-by-step process of transferring pictures from your Samsung phone to your Samsung tablet. By following these instructions, you can easily transfer your images without any hassle.
Before we dive into the steps, it’s important to note that this guide assumes you are using the Samsung Smart Switch app for the transfer process. This app is designed to help you seamlessly transfer data between Samsung devices and offers a user-friendly interface. If you haven’t already installed the app on both your phone and tablet, make sure to do so before proceeding.
Now, let’s get started with the transfer process and learn how to move your pictures from your Samsung phone to your Samsung tablet.
Step 1: Connect your Samsung phone and tablet
The first step in transferring pictures from your Samsung phone to your Samsung tablet is to establish a connection between the two devices. This can be done in several ways, depending on the capabilities of your devices and your personal preferences.
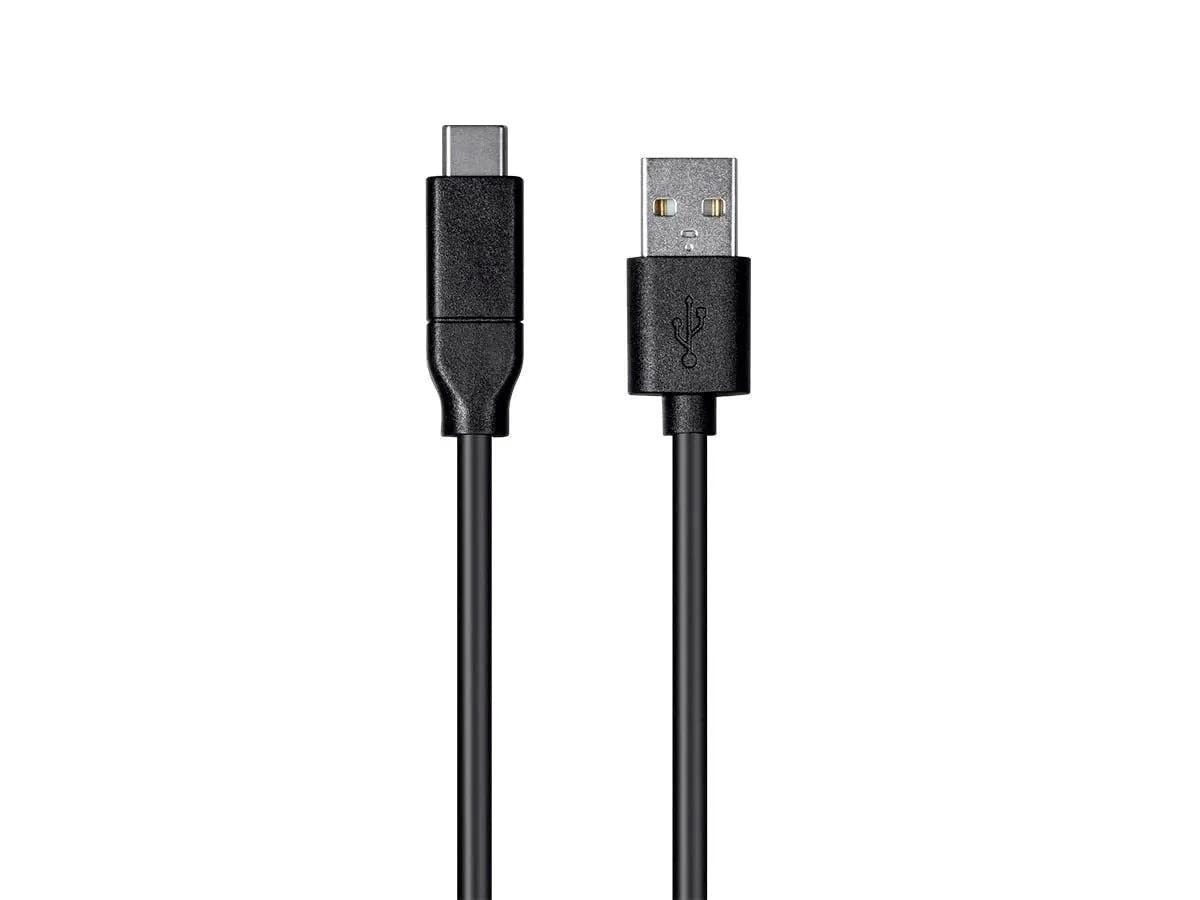
One option is to use a USB cable to physically connect your phone and tablet. Most Samsung devices come with a USB cable that can be used for data transfer. Simply plug one end of the USB cable into your phone and the other end into your tablet.
If your devices support it, you can also connect them wirelessly through Bluetooth or Wi-Fi Direct. To do this, ensure that both your phone and tablet have their Bluetooth or Wi-Fi Direct settings enabled. Then, follow the on-screen instructions to pair the devices and establish a connection.
Once your phone and tablet are connected, they should recognize each other and allow for data transfer. It’s important to note that some older Samsung devices may require you to download and install additional software or drivers to establish a stable connection. Make sure to check for any necessary updates or installations before proceeding to the next step.
With your Samsung phone and tablet connected, you are now ready to move on to the next step: enabling USB debugging on your phone. This is an important step that allows your devices to communicate and transfer data smoothly. Let’s delve into this in the next step.
Step 2: Enable USB debugging on your Samsung phone
In order to transfer pictures from your Samsung phone to your Samsung tablet, it is necessary to enable USB debugging on your phone. USB debugging is a developer option that allows your device to communicate with your computer or tablet via a USB connection.
To enable USB debugging on your Samsung phone, follow these steps:
- Open the Settings app on your phone. You can usually find the Settings app in your app drawer or by swiping down from the top of your screen and tapping the gear icon.
- Scroll down and tap on “About phone” or “About device”, depending on your device model.
- Look for the “Build number” or “Build version” option and tap on it seven times. This will activate the developer mode on your phone.
- Go back to the main Settings menu and scroll down to find the new “Developer options” menu. Tap on it.
- In the Developer options menu, look for the “USB debugging” option and toggle it on.
Once you have successfully enabled USB debugging on your Samsung phone, you can proceed to the next step, which involves installing the Samsung Smart Switch app on both your phone and tablet. This app will serve as the bridge for transferring your pictures. Let’s explore this in the next step.
Step 3: Install Samsung Smart Switch on both devices
In order to facilitate the seamless transfer of pictures from your Samsung phone to your Samsung tablet, it is essential to have the Samsung Smart Switch app installed on both devices. This app is specifically designed to help you transfer data, including photos, between Samsung devices.
To install Samsung Smart Switch on your Samsung phone and tablet, follow these steps:
- Open the Google Play Store on your Samsung phone and search for “Samsung Smart Switch”.
- Select the official Samsung Smart Switch app from the search results.
- Tap on “Install” to begin the installation process. Depending on your internet connection speed, this may take a few moments.
- Repeat the above steps on your Samsung tablet to install Samsung Smart Switch.
Once the installation is complete, you will have Samsung Smart Switch available on both your phone and tablet. This sets the stage for easy and seamless data transfer between the two devices.
Before moving on to the next step, it is recommended to ensure that you have updated the Samsung Smart Switch app to the latest version on both your phone and tablet. This will ensure compatibility and optimal performance during the transfer process. Now, let’s proceed to the next step and open Samsung Smart Switch on your tablet.
Step 4: Open Samsung Smart Switch on your tablet
Now that you have installed Samsung Smart Switch on both your Samsung phone and tablet, it’s time to open the app on your tablet and prepare it for the picture transfer.
Follow these steps to open Samsung Smart Switch on your tablet:
- Locate the Samsung Smart Switch app on your tablet. You can do this by either searching for it in your app drawer or by swiping down from the top of your screen and typing “Smart Switch” in the search bar.
- Tap on the Samsung Smart Switch icon to open the app.
Once you have successfully opened Samsung Smart Switch on your tablet, you will be greeted with its user-friendly interface. The app provides various options for transferring different types of data, including pictures, contacts, calendar events, and more.
In the next steps, we will focus on specifically transferring pictures from your Samsung phone to your Samsung tablet. So, keep Samsung Smart Switch open on your tablet as we proceed to the next step of connecting your phone to your tablet using a USB cable.
Step 5: Connect your Samsung phone to your tablet using a USB cable
With Samsung Smart Switch open on your tablet, the next step is to establish a physical connection between your Samsung phone and your tablet using a USB cable.
Follow these steps to connect your Samsung phone to your tablet:
- Take the USB cable that came with your Samsung phone and plug one end into the USB port of your phone.
- Take the other end of the USB cable and insert it into the USB port of your tablet.
- Ensure that both ends of the USB cable are securely plugged in.
Once the USB cable is connected, your Samsung phone and tablet should recognize each other, and Samsung Smart Switch will detect the connection. You may see a notification on both devices confirming the successful connection.
If you are prompted on your Samsung phone to allow USB access or enable data transfer, simply follow the on-screen instructions and grant the necessary permissions.
It’s important to note that depending on your phone’s settings, you may need to change the connection mode to “File Transfer” or “Media Transfer” instead of “Charging” mode. You can typically find this option in the notification shade or the settings menu of your phone.
Now that your Samsung phone is connected to your tablet via the USB cable, we can proceed to the next step and select the pictures you want to transfer. Let’s get started!
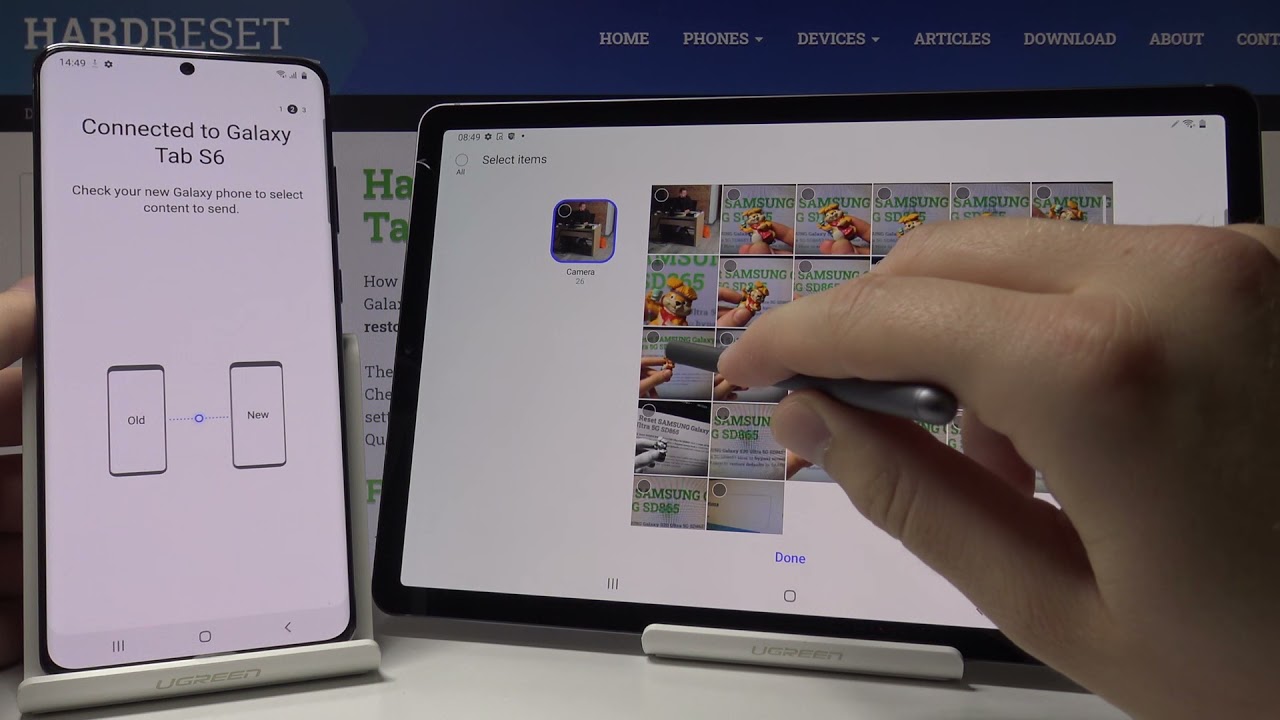
Step 6: Select the pictures you want to transfer
With your Samsung phone connected to your tablet and Samsung Smart Switch open on both devices, it’s time to select the pictures you want to transfer from your phone to your tablet.
Follow these steps to select the pictures:
- On your tablet, navigate to Samsung Smart Switch and ensure that the “Pictures” option is selected.
- Tap on the “Select” or “Choose” button to browse through the pictures on your Samsung phone.
- Navigate through the folders or albums on your phone to find the specific pictures you want to transfer.
- Tap on each picture to select it. Selected pictures are usually indicated with a checkmark or highlight.
- You can select multiple pictures by tapping on each one individually or use the option to select all pictures if you want to transfer your entire photo library.
Take your time to go through your pictures and choose the ones you wish to transfer. You can select a few or transfer your entire collection, depending on your preferences and available storage on your tablet.
It’s important to note that you can also choose to select other types of data (such as contacts, messages, or music) using Samsung Smart Switch if you need to transfer more than just pictures.
Once you have finished selecting the pictures you want to transfer, we can proceed to the next step and initiate the picture transfer process. Stay with us as we move forward!
Step 7: Initiate the picture transfer
Now that you have selected the pictures you want to transfer from your Samsung phone to your tablet, it’s time to initiate the picture transfer process using Samsung Smart Switch.
Follow these steps to initiate the transfer:
- On your tablet, within Samsung Smart Switch, ensure that the selected pictures are visible in the transfer queue or selection area.
- Look for the “Transfer” or “Start” button within the app and tap on it.
- Samsung Smart Switch will begin copying the selected pictures from your phone to your tablet. The transfer progress will be displayed on the screen, and you may see a notification on both devices confirming the ongoing transfer.
The time it takes to complete the transfer will depend on the number and size of the selected pictures. Larger files or a large number of pictures may take more time to transfer. It’s important to ensure that both devices remain connected throughout the process.
During the transfer, it’s advisable not to interrupt the connection or close the Samsung Smart Switch app on either device. Doing so may disrupt the transfer process and potentially lead to incomplete or corrupted files.
Once the transfer is complete, we can proceed to the next step and wait for the transfer to finish. Stay tuned!
Step 8: Wait for the transfer to complete
After initiating the picture transfer using Samsung Smart Switch, it’s time to patiently wait for the transfer process to complete. The time it takes to transfer the pictures will depend on the size and number of files being transferred.
During this step, it’s important to keep both your Samsung phone and tablet connected and ensure that they remain undisturbed. Avoid closing the Samsung Smart Switch app or disconnecting the USB cable until the transfer is finished.
While the transfer is in progress, you may see a progress bar or notification on both your phone and tablet indicating the status of the transfer. It’s advisable to avoid using other resource-intensive apps or performing tasks on your devices that may slow down or interrupt the transfer process.
It’s important to note that the transfer speed may vary depending on factors like the processing power of your devices and the speed of the USB connection. However, Samsung Smart Switch is designed to facilitate efficient and reliable transfers, ensuring that your pictures are safely moved to your tablet.
If you encounter any errors or interruptions during the transfer process, it’s recommended to check the USB connection, cable integrity, and the storage availability on both your phone and tablet. If necessary, you can retry the transfer or troubleshoot any issues that may arise.
Once the transfer is complete, we can proceed to the final step and disconnect your devices, giving you access to the transferred pictures on your tablet. Stay tuned!
Step 9: Disconnect your devices and access the transferred pictures on your tablet
Congratulations! You’ve reached the final step in transferring pictures from your Samsung phone to your tablet. Now, it’s time to disconnect your devices and access the transferred pictures on your tablet.
Follow these steps to complete the process:
- On your tablet, locate the notification or message indicating that the transfer process is complete.
- Ensure that all the pictures you selected have been successfully transferred and are accessible on your tablet.
- Once you have confirmed that the transferred pictures are available, safely disconnect your devices by unplugging the USB cable from both your Samsung phone and tablet.
With your devices disconnected, you can now freely explore and enjoy the transferred pictures on your tablet. Open the Gallery app or any other media viewer on your tablet to view the pictures.
It’s worth mentioning that the transferred pictures will be stored in the default picture storage location on your tablet, which is typically the “Pictures” or “Gallery” folder. You can organize them into albums, create new folders, or customize the display settings according to your preferences.
Remember to regularly backup your pictures and other important files to ensure their safety and availability. Keeping your files backed up in multiple locations adds an extra layer of protection against data loss.
That’s it! You have successfully transferred your pictures from your Samsung phone to your Samsung tablet. Now you can enjoy your favorite memories and conveniently access your photo library on the larger screen of your tablet.
Thank you for following this step-by-step guide. We hope it has been helpful in guiding you through the picture transfer process. If you have any further questions or need assistance, feel free to consult the Samsung Smart Switch app’s help section or seek support from the Samsung customer service team.
Conclusion
Transferring pictures from your Samsung phone to your Samsung tablet can be a convenient way to enjoy and access your favorite photos on a larger screen. With the help of the Samsung Smart Switch app and a USB connection, you can easily transfer your pictures in just a few simple steps.
In this guide, we walked through the step-by-step process of transferring pictures from your Samsung phone to your Samsung tablet. We started by connecting the devices and enabling USB debugging on your phone. Then, we installed Samsung Smart Switch on both devices and opened the app on your tablet.
Next, we connected your phone to your tablet using a USB cable and selected the pictures you wanted to transfer. After initiating the picture transfer, we patiently waited for the process to complete. Finally, we disconnected the devices and accessed the transferred pictures on your tablet.
Remember, it is crucial to ensure a stable connection and keep both devices undisturbed during the transfer process. If any issues arise, double-check the USB connection and troubleshoot if necessary.
We hope this guide has been helpful in assisting you with transferring pictures from your Samsung phone to your Samsung tablet. Now, you can enjoy your favorite memories and conveniently access your photo library on the larger screen of your tablet.
Thank you for following along. If you have any further questions or need assistance, don’t hesitate to consult the Samsung Smart Switch app’s help section or reach out to the Samsung customer service team for further support.