Introduction
Welcome to the world of gaming, where excitement and adventure await at every turn. As a passionate gamer, you know the struggle of managing limited storage space on your computer. With games getting larger in size and updates becoming more frequent, it’s easy to run out of room to install your favorite titles. But fear not, there is a solution – moving games to an external hard drive.
By utilizing an external hard drive, you can not only free up valuable space on your computer but also ensure that your gaming library remains easily accessible. Whether you have a vast collection of games or just a few favorites, transferring them to an external hard drive offers convenience, flexibility, and the ability to take your games with you wherever you go.
In this article, we will explore the reasons for moving games to an external hard drive, guide you in choosing the right external hard drive for gaming, provide step-by-step instructions on transferring games, and offer tips for optimizing game performance on an external hard drive.
Buckle up and get ready to embark on a journey of seamless gaming experiences without the worry of limited storage space. Let’s dive in!
Reasons for Moving Games to an External Hard Drive
As a dedicated gamer, you understand the importance of having enough storage space to accommodate your growing collection of games. Unfortunately, many computers have limited storage capacity, which can quickly fill up with the installation of just a few games. This is where an external hard drive comes in handy. Here are several compelling reasons why you should consider moving your games to an external hard drive:
- Increased storage capacity: External hard drives offer vast amounts of storage space that far exceed the limitations of most computers. This means you’ll no longer have to compromise on which games to keep installed on your computer, and you can have your entire gaming library readily available on the external hard drive.
- Portability: With an external hard drive, you can carry your games with you wherever you go. Whether you’re traveling or visiting a friend’s house, you can simply connect your external hard drive to any compatible device and enjoy your favorite games without the need for extensive installation processes.
- Easy organization: By storing your games on an external hard drive, you can keep your computer’s internal storage clutter-free. This allows for better organization of files and makes it easier to find and manage your games.
- Quick transfers: Moving games to an external hard drive is often faster and more convenient than deleting and reinstalling them. This is particularly useful when you want to switch between games or if you need to make room for new releases.
- Data protection: Games can be precious, especially when you’ve invested countless hours advancing through levels and achieving milestones. Storing your games on an external hard drive provides an additional layer of protection, ensuring that your game data remains safe in case of computer malfunctions or hardware failures.
With these advantages in mind, it’s clear that moving your games to an external hard drive is a smart decision. Not only does it provide additional storage capacity, but it also offers portability, organization, convenience, and data protection. Now, let’s move on to the next step of choosing the right external hard drive for gaming.
Choosing the Right External Hard Drive for Gaming
When it comes to selecting the perfect external hard drive for gaming, there are a few key factors to consider. Taking the time to assess your needs and preferences will ensure that you make an informed decision. Here are some important things to keep in mind:
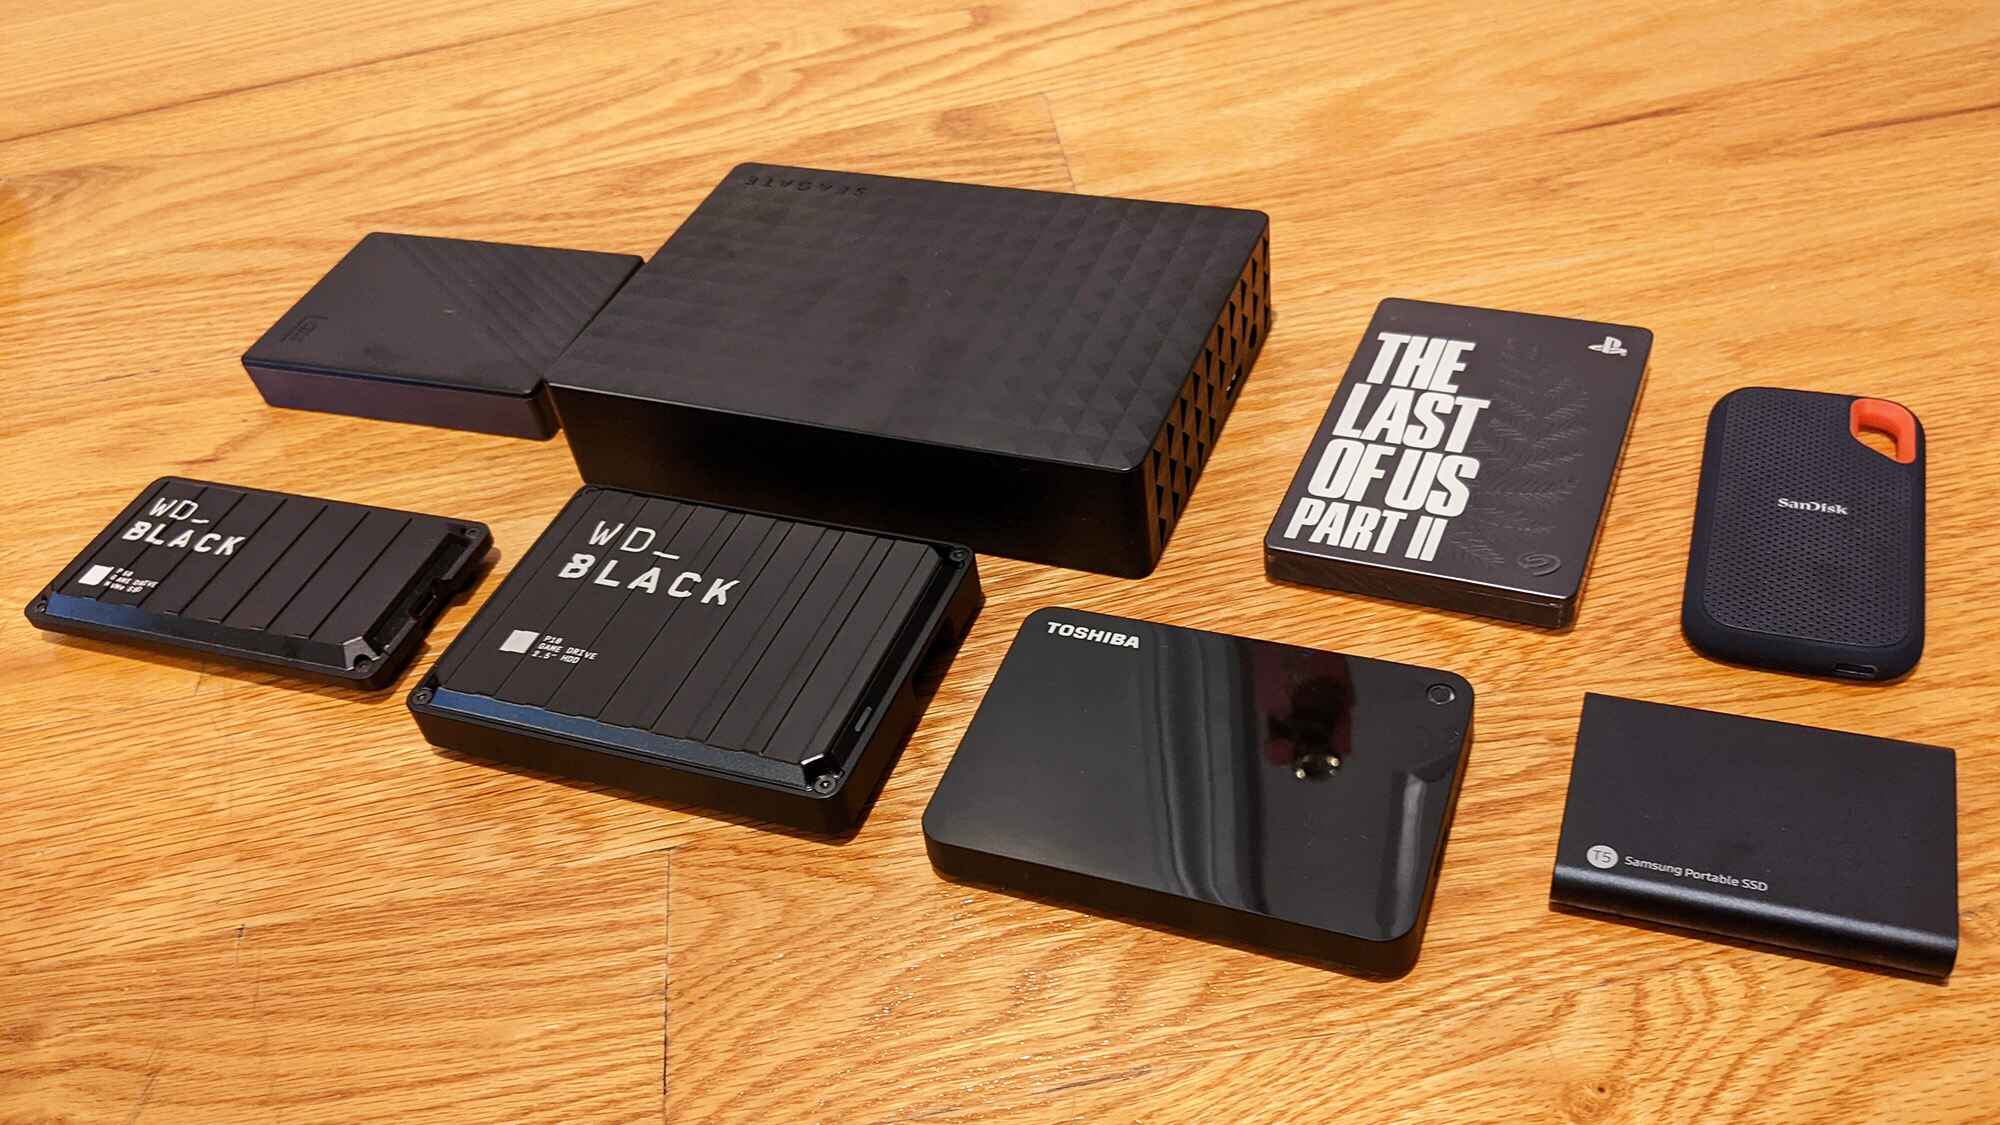
- Storage capacity: The first thing to consider is the storage capacity of the external hard drive. Take into account the size of your game library and any future expansion plans. Games can range from a few gigabytes to several terabytes in size, so choose a hard drive that can comfortably accommodate your current and future gaming needs.
- Speed and performance: Gaming requires fast read and write speeds to ensure smooth gameplay and quick loading times. Look for external hard drives with solid-state drives (SSDs) or high-speed hard disk drives (HDDs) that offer fast data transfer rates. This will result in minimal lag and enhanced gaming experiences.
- Compatibility: Ensure that the external hard drive is compatible with your gaming setup. Check if it supports your operating system (Windows, MacOS, etc.) and the connectivity options available on your computer (USB 3.0, Thunderbolt, etc.). This will guarantee seamless integration and optimal performance.
- Reliability and durability: Gaming can put strain on hardware, so it’s crucial to invest in a reliable and durable external hard drive. Look for drives that offer shock resistance and protective features to safeguard your data during transport. Additionally, read reviews and choose reputable brands known for their quality and longevity.
- Price: Budget is an important consideration when purchasing an external hard drive. Set a price range based on your budget and compare different options within that range. Remember to balance price with the desired features and quality to ensure a cost-effective choice.
By considering these factors, you can narrow down your options and find an external hard drive that perfectly fits your gaming needs. Take the time to research and read reviews to make an informed decision. Once you have chosen the right external hard drive, you are ready to move on to the next step of preparing it for game transfers.
Preparing Your External Hard Drive for Game Transfers
Before you can start transferring your games to the external hard drive, it’s essential to properly prepare the drive to ensure a smooth and successful transfer process. Follow these steps to get your external hard drive ready:
- Format the drive: Most external hard drives come pre-formatted, but it’s always a good idea to double-check. Connect the drive to your computer and open the disk management utility (Windows) or Disk Utility (MacOS). Select the external hard drive and format it using the recommended file system, such as NTFS (Windows) or APFS/HFS+ (MacOS).
- Create a new folder: To keep your games organized, create a new folder on the external hard drive specifically for game storage. Name it something like “Games” or “Gaming Library.” This folder will serve as the destination for all your transferred games.
- Allocate space: Decide how much space you want to allocate for your game installations on the external hard drive. Consider the size of your game library and allocate enough space to comfortably fit your current games and future installations.
- Optimize for performance: Some external hard drives offer software or firmware updates that optimize performance for gaming. Check the manufacturer’s website or the drive’s user manual to see if there are any updates available to maximize the gaming experience.
- Backup your data: Before transferring games to the external hard drive, it’s always a good idea to back up any important data on the drive. This will prevent any accidental data loss during the transfer process.
Once you have completed these steps, your external hard drive will be well-prepared to receive your game transfers. You can now move on to the next section, where we will guide you through the process of transferring games from your computer to the external hard drive.
Transferring Games from Your Computer to the External Hard Drive
Now that your external hard drive is prepared, it’s time to transfer your games from your computer to the external hard drive. Follow these steps to ensure a successful transfer:
- Locate your game files: Find the game files on your computer. These are typically located in the default installation folder or a folder of your choosing. Note the path to the game files as this will be needed for the transfer process.
- Copy the game files: Select the game files or the entire game folder, then right-click and choose “Copy.” Alternatively, you can use the Ctrl+C keyboard shortcut.
- Navigate to the external hard drive: Open the file explorer or finder on your computer and locate the external hard drive. Open the folder you created specifically for game storage.
- Paste the game files: Right-click inside the folder and choose “Paste.” Alternatively, you can use the Ctrl+V keyboard shortcut. This will begin copying the game files from your computer to the external hard drive.
- Wait for the transfer to complete: Depending on the size of the game and the speed of your computer and external hard drive, the transfer process may take some time. Be patient and wait for the transfer to finish. Avoid interrupting the process as it can lead to data corruption.
- Verify the transfer: Once the transfer is complete, double-check that all game files have been successfully copied to the external hard drive. Ensure that the file sizes and folder structure match the original game files on your computer.
Repeat these steps for each game you want to transfer to the external hard drive. Once all games have been transferred, you can proceed to the next section, which involves configuring your game launcher to recognize the new game location.
Configuring Your Game Launcher for the New Game Location
After transferring your games to the external hard drive, it’s important to configure your game launcher to recognize the new game location. This will ensure that your games can be accessed and played without any issues. Follow these steps to configure your game launcher:
- Open your game launcher: Launch the game launcher for the game you want to configure. This could be Steam, Epic Games Store, GOG Galaxy, or any other platform you use to manage your games.
- Access the settings: Look for the settings or preferences section within the game launcher. This is usually accessible through a menu or an icon that resembles a gear or a cog.
- Locate the game library settings: Within the settings, find the option to change or manage your game library. This may be labeled as “Library Settings,” “Game Installation Directory,” or something similar.
- Select the new game location: In the game library settings, browse for the external hard drive and select the folder where you transferred your games. This will update the game launcher’s file path to the new location.
- Verify the game installation: Once you have selected the new game location, verify the game installation within the game launcher. This will prompt the launcher to check the game files and ensure they are detected and playable.
- Repeat for other game launchers: If you use multiple game launchers, such as Steam and Epic Games Store, repeat these steps for each launcher to configure the game locations properly.
By configuring your game launcher to recognize the new game location on the external hard drive, you can easily access and play your transferred games. Make sure to repeat these steps for each game launcher you use to manage your games. With your game launchers configured, you’re now ready to experience the joy of running games directly from your external hard drive.
Running Games from an External Hard Drive
Now that you have successfully transferred your games to the external hard drive and configured your game launchers, you can start running games directly from the external hard drive. Follow these steps to enjoy your gaming experience:
- Connect the external hard drive: Ensure that your external hard drive is connected to your computer. Depending on the type of connection (e.g., USB), make sure it is securely plugged in.
- Launch the game launcher: Open the game launcher for the game you want to play. This could be Steam, Epic Games Store, or any other platform you use to access your games.
- Navigate to the game library: In the game launcher, navigate to your game library or collection. This is where all your installed games are displayed.
- Select and launch the game: Choose the game you want to play from the library and click on the “Play” or “Launch” button. The game launcher will initiate the game start-up process.
- Enjoy your game: Once the game has loaded, you can start playing and enjoying your game directly from the external hard drive. The game will run as smoothly as if it were installed on your computer’s internal storage.
Remember to keep the external hard drive connected while playing the game. If you experience any issues or errors while running games from the external hard drive, ensure that the drive is properly connected and try restarting your computer.
Running games from an external hard drive not only provides easy access to your gaming library but also allows for a seamless gaming experience without consuming valuable space on your computer’s internal storage. It offers the flexibility to take your games with you and play them on any compatible computer. Now that you’re equipped with the knowledge of running games from an external hard drive, let the gaming adventures begin!
Tips for Optimizing Game Performance on an External Hard Drive
While running games from an external hard drive can be convenient, it’s important to optimize the performance to ensure smooth gameplay. Follow these tips to enhance your gaming experience:
- Choose an SSD: If possible, opt for an external hard drive with a solid-state drive (SSD) rather than a traditional hard disk drive (HDD). SSDs offer faster read and write speeds, resulting in quicker loading times and improved game performance.
- Use a USB 3.0 connection: If your external hard drive supports it, connect the drive to a USB 3.0 port on your computer. USB 3.0 offers faster data transfer rates compared to USB 2.0, improving the overall performance of your games.
- Keep your external hard drive optimized: Regularly run disk maintenance tools, such as disk cleanup and defragmentation, on your external hard drive. This helps keep the drive organized and prevents any potential performance issues caused by fragmented data or unnecessary files.
- Avoid using the external hard drive as a system disk: While it’s possible to use an external hard drive as a bootable system disk, it’s generally not recommended for optimal game performance. Keep your operating system and essential programs on your computer’s internal storage to avoid any potential slowdowns.
- Close unnecessary background applications: Before launching your game from the external hard drive, close any unnecessary background applications and processes on your computer. This frees up system resources and ensures that the game has the necessary power to run smoothly.
- Manage available storage space: Monitor the available storage space on your external hard drive and avoid filling it to capacity. Leaving some free space allows for efficient data transfer and prevents performance degradation.
- Regularly update game and external hard drive firmware: Keep your games and external hard drive firmware up to date. Developers often release updates that address performance issues and optimize compatibility with external storage devices.
- Consider transferring frequently played games: If you have games that you play more frequently, consider transferring them to your computer’s internal storage. This can help reduce load times and enhance overall performance, especially for games that require faster data access.
By following these tips, you can optimize the performance of games stored on your external hard drive and ensure a seamless gaming experience. Experiment with different settings and configurations to find what works best for you. Now, get ready to immerse yourself in thrilling gameplay without compromising on performance!
Conclusion
Transferring games to an external hard drive is a game-changer for avid gamers who struggle with limited storage space. It offers the convenience of expanded storage capacity, portability, and easy organization of your gaming library. With the right external hard drive and proper configuration, you can enjoy seamless gameplay directly from the external drive without compromising performance.
In this article, we explored the reasons why moving games to an external hard drive is beneficial, including increased storage capacity, portability, and data protection. We also discussed the essential factors to consider when choosing an external hard drive, such as storage capacity, speed, compatibility, reliability, and price.
We provided step-by-step instructions on preparing your external hard drive for game transfers, including formatting the drive, creating a game storage folder, and allocating space. Additionally, we guided you through the process of transferring games from your computer to the external hard drive, configuring your game launcher to recognize the new game location.
To optimize game performance on an external hard drive, we shared valuable tips, such as using an SSD, utilizing USB 3.0 connections, maintaining the drive’s organization, and managing available storage space. We also emphasized the importance of closing unnecessary background applications and keeping your games and drive firmware up to date.
By following these guidelines and optimizing your gaming setup, you can overcome storage limitations, enjoy uninterrupted gaming sessions, and take your gaming library with you wherever you go. So, free up space on your computer’s internal storage, transfer your games to an external hard drive, and embark on a journey of limitless gaming possibilities.
Remember, the world of gaming is at your fingertips, and with an external hard drive as your ally, there are no limits to the adventures you can embark on. Happy gaming!


