Backup Your Data
Before embarking on the journey of migrating to a larger SSD, it is crucial to backup all of your important data. This ensures that in the event of any unforeseen data loss or complications during the migration process, you have a safe copy of your files.
There are several ways to back up your data, depending on your preferences and available resources. One option is to use an external hard drive or a network-attached storage (NAS) device to create a complete backup of your data. Simply connect the external drive or NAS to your computer and copy all the necessary files and folders.
Another option is to utilize cloud storage services such as Google Drive, Dropbox, or OneDrive. These platforms allow you to securely store your files online, accessible from any device with an internet connection. Simply upload the files to the cloud storage service of your choice and ensure that the backup is complete.
Whichever method you choose, it is essential to verify that the backup process is successful. Take the time to double-check that all your important files, including documents, photos, videos, and music, are safely stored.
Additionally, it’s a good idea to update any external software licenses or authorization files if applicable, as you may need to reactivate them after the migration process. This will ensure that you can smoothly transition to your new SSD without any hiccups when it comes to using your licensed software.
By taking the necessary steps to backup your data, you can have peace of mind knowing that your valuable files are secure and ready to be migrated to your larger SSD.
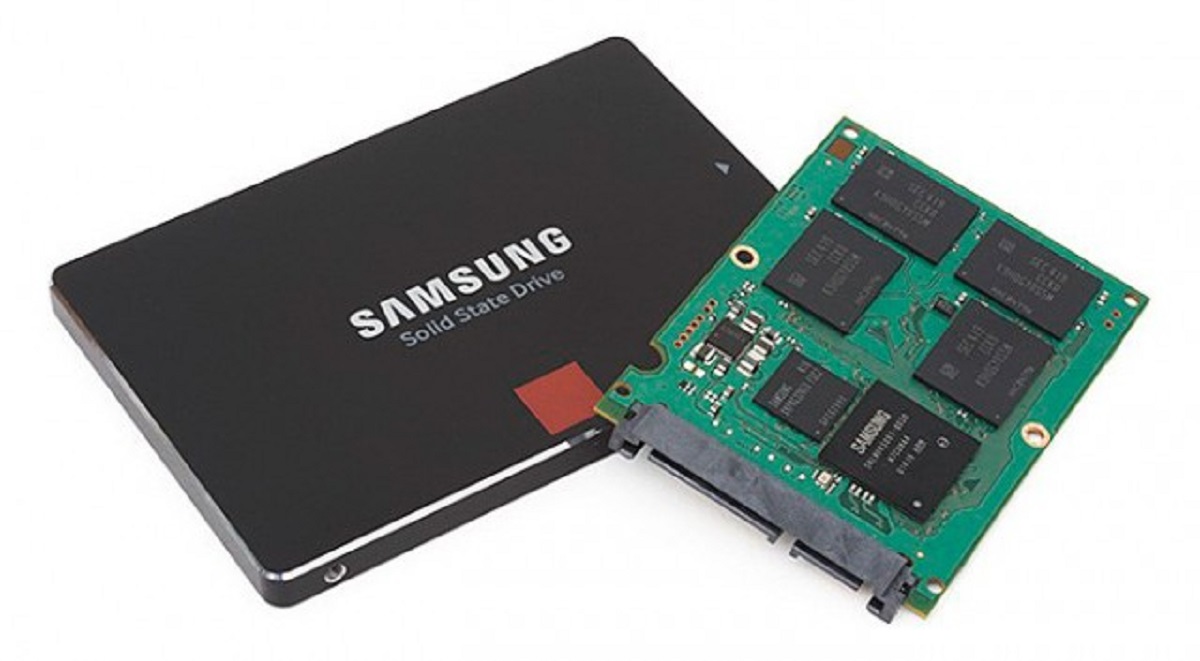
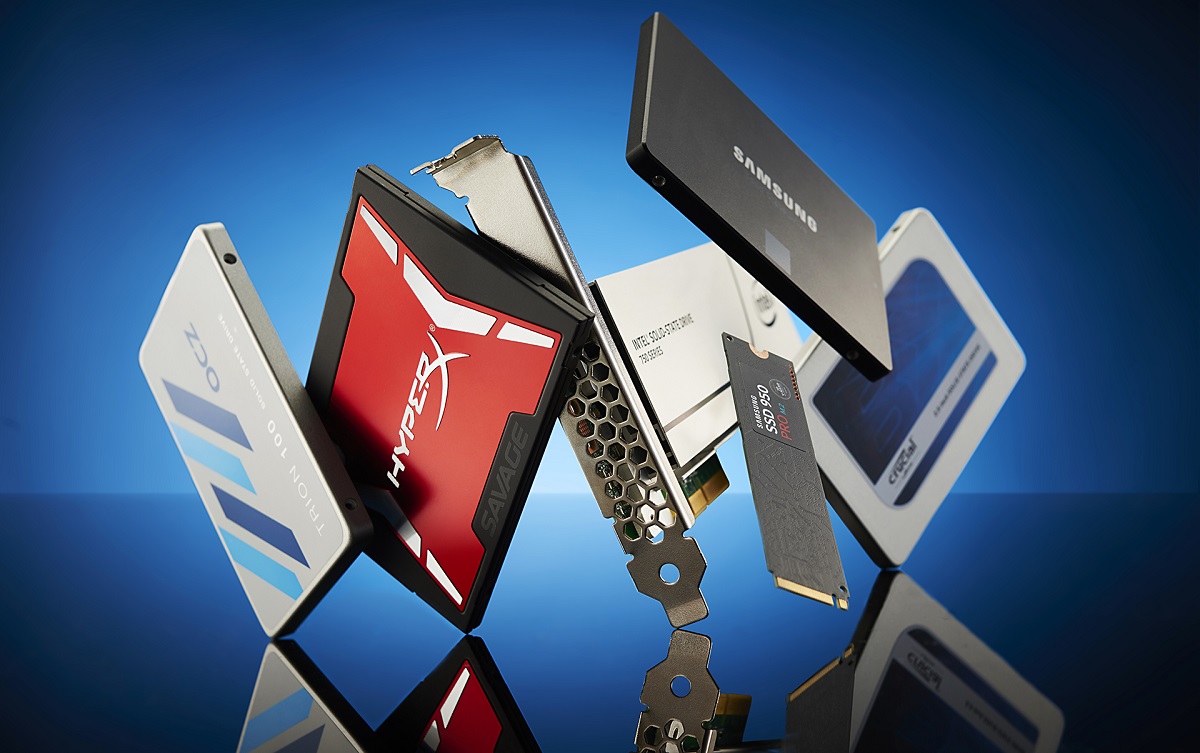
Choose the Right SSD
When it comes to migrating to a larger SSD, choosing the right SSD for your needs is of utmost importance. Not all SSDs are created equal, and selecting the right one can significantly impact the performance and longevity of your system.
There are a few factors to consider when choosing an SSD. The first is the storage capacity. Determine how much space you require based on your current usage and estimated future needs. It’s always a good idea to opt for a slightly larger capacity than what you currently have to accommodate any future expansion or increased data storage needs.
Next, consider the interface of the SSD. Most modern computer systems use the SATA III interface, but if your system supports it, you may want to consider upgrading to the faster NVMe interface. NVMe SSDs offer significantly faster read and write speeds, allowing for improved overall system performance.
Another important factor to consider is the endurance or lifespan of the SSD. SSDs have a limited number of write cycles, and once they reach their limit, they may start to fail. Look for SSDs that have high endurance ratings to ensure long-term reliability.
It’s also worth considering the brand reputation and customer reviews of the SSD you’re interested in. Research the manufacturer’s track record and read reviews from other users to get an idea of the SSD’s performance and reliability.
Lastly, check for additional features such as built-in encryption, power loss protection, and data recovery tools. These features can provide added security and peace of mind when it comes to protecting your data.
By carefully considering these factors and choosing the right SSD, you can ensure a smooth and efficient migration process, and enjoy the benefits of increased storage capacity and improved system performance.
Check Your Computer Compatibility
Before proceeding with the migration to a larger SSD, it’s essential to ensure that your computer is compatible with the new drive. This involves checking both hardware and software compatibility to avoid any compatibility issues during the migration process.
Firstly, check the physical dimensions of the SSD and compare them with the available space in your computer. SSDs come in different form factors such as 2.5-inch, M.2, and PCIe cards. Ensure that the chosen SSD can physically fit into your computer and that you have the necessary slots or connectors available.
Next, verify that your computer’s BIOS or UEFI firmware supports the new SSD. Check the manufacturer’s website or user manual for information on compatibility. In some cases, a firmware update may be required to ensure compatibility with the new SSD.
Additionally, consider the operating system compatibility. Check if your current operating system supports the larger SSD, especially if you are migrating from an older system. Most modern operating systems support larger capacity drives, but it’s always a good idea to double-check to avoid any surprises or incompatibility issues.
Another aspect to consider is the interface compatibility. Ensure that your computer’s motherboard supports the interface of the new SSD. If you are upgrading to an NVMe SSD, ensure that your motherboard has an available M.2 or PCIe slot for installation.
Lastly, consider the power requirements of the new SSD. Verify that your power supply unit (PSU) has sufficient power connectors and wattage to support the additional hardware. Some high-performance SSDs may require additional power connections.
By thoroughly checking your computer’s compatibility with the new SSD, you can avoid any hardware or software issues that may arise during the migration process. This ensures a smooth and successful migration without any unexpected surprises.
Transfer Your Operating System
One of the crucial steps in migrating to a larger SSD is transferring your operating system to the new drive. This ensures that you can seamlessly continue using your computer with all your system settings and preferences intact on the new SSD.
There are a few different methods you can use to transfer your operating system, depending on your computer’s configuration and your personal preferences. Here are a couple of common options:
1. Clone Your Operating System: One popular method is to clone your current operating system from the old drive to the new SSD. This creates an exact replica of your system on the new drive, including all the files, settings, and applications. There are several cloning software options available, such as Acronis True Image or EaseUS Todo Backup, that make the process straightforward and efficient.
2. Fresh Installation: Another option is to perform a fresh installation of your operating system directly on the new SSD. This involves creating a bootable USB drive or DVD with the operating system installation files and booting your computer from it. Follow the installation prompts to install the operating system on the new SSD. While this method requires more time and effort in reinstalling applications and transferring files, it ensures a clean and optimized operating system.
Regardless of the method you choose, it’s important to ensure that you have a backup of your important files and documents, as the migration process can sometimes lead to data loss or unforeseen complications. Additionally, make sure to follow the instructions provided by the cloning software or the operating system installation process carefully to avoid any mistakes or issues.
By transferring your operating system to the new SSD, you can enjoy the benefits of improved system performance and faster boot times, all while keeping your familiar system environment intact.
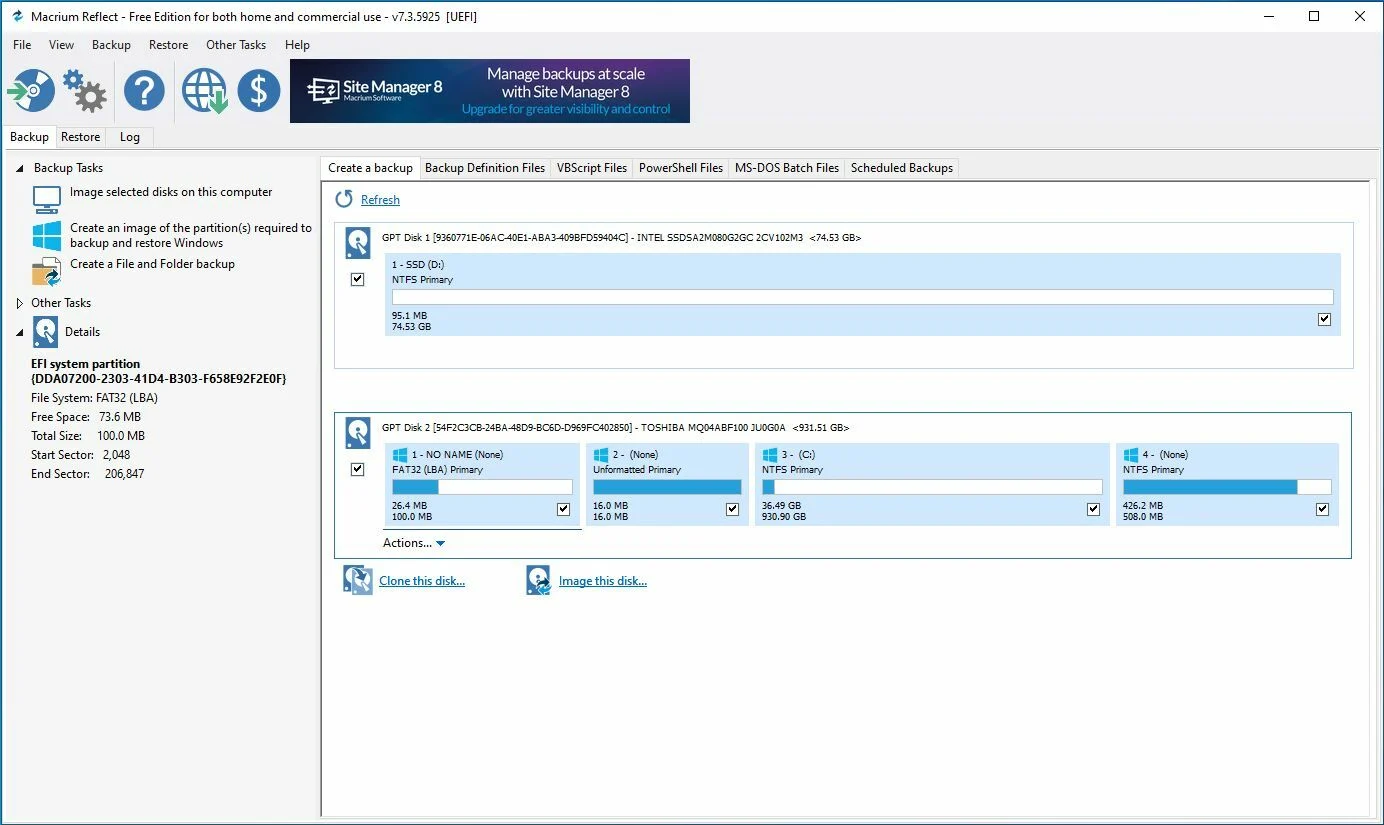
Clone Your Existing Drive
Cloning your existing drive is a popular and efficient method for migrating to a larger SSD. This process creates an exact copy of your current drive, including the operating system, files, settings, and applications, onto the new SSD. Here’s how you can clone your existing drive:
1. Choose the Right Cloning Software: Select a reliable and user-friendly cloning software that supports the migration process. Popular options include Acronis True Image, EaseUS Todo Backup, and Clonezilla. Check the software’s documentation or website for instructions on how to use it.
2. Connect the New SSD: Connect the new SSD to your computer. Depending on the type of SSD and your computer’s configuration, you can use a USB-to-SATA adapter, a SATA-to-USB enclosure, or directly connect the SSD to an available SATA port inside your computer.
3. Run the Cloning Software: Launch the cloning software and follow the instructions provided. Typically, the software will prompt you to select the source drive (your existing drive) and the target drive (the new SSD). Double-check that you have selected the correct drives to avoid any data loss.
4. Customize the Cloning Process (Optional): Some cloning software allows you to customize the process. This may include resizing partitions to utilize the full capacity of the new SSD, excluding specific files or directories from the cloning process, or adjusting advanced settings. Customize these options according to your needs, or simply use the default settings if you are unsure.
5. Start the Cloning Process: Once you have reviewed and confirmed the cloning settings, start the cloning process. The software will begin copying all the data from the source drive to the new SSD. The time required for the process to complete will depend on the amount of data being transferred and the speed of your drives.
6. Verify the Cloning Results: After the cloning process finishes, verify that the new SSD contains an exact copy of your existing drive. Check that all your files, applications, and settings are intact. You should also ensure that the new SSD is set as the boot drive in your computer’s BIOS or UEFI.
By successfully cloning your existing drive to the new SSD, you can seamlessly transition to the larger storage while preserving all your data and system configurations.
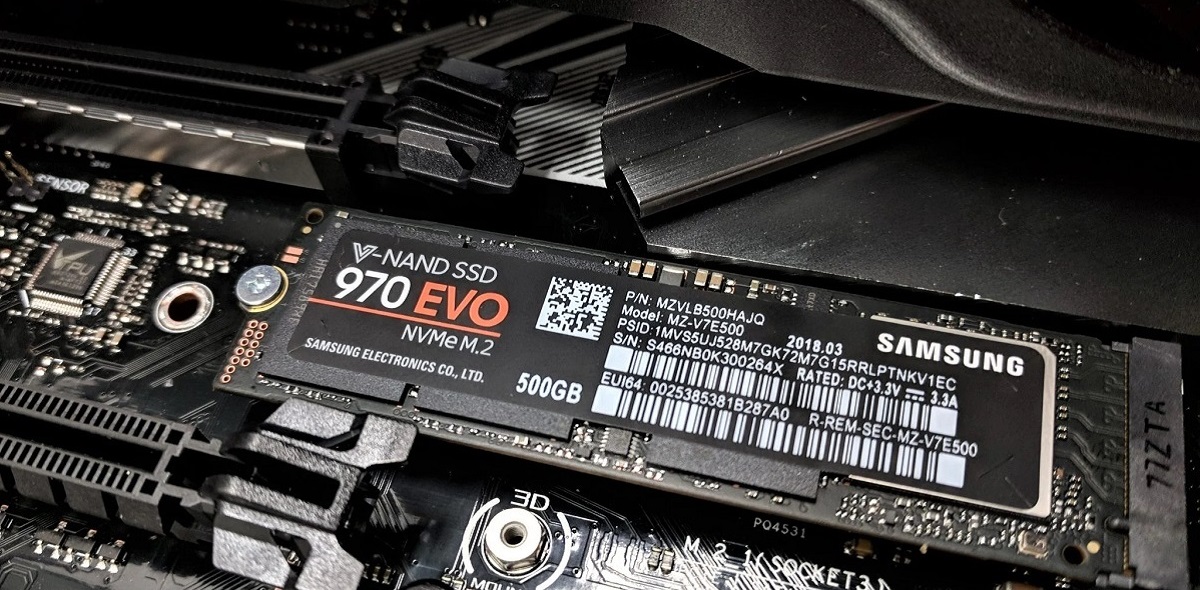
Install the New SSD
Once you have successfully cloned your existing drive, it’s time to physically install the new SSD into your computer. Follow these steps to ensure a smooth installation process:
1. Shut Down Your Computer: Before handling any hardware components, ensure that your computer is fully powered off and unplugged from the power source.
2. Locate an Available Slot: Identify an available slot for installing the new SSD. This can be a 2.5-inch drive bay, an M.2 slot, or a PCIe socket, depending on the form factor of your SSD and the available options in your computer.
3. Properly Ground Yourself: To prevent any damage from static electricity, it is essential to ground yourself. You can do this by touching a grounded metal object or by wearing an anti-static wristband.
4. Install the SSD: If you are installing a 2.5-inch SSD, insert it into an appropriate drive bay and secure it with the provided screws. If you are installing an M.2 SSD, locate the M.2 slot on your motherboard, align the notches on the SSD with the slot, and gently insert it at a 30-degree angle. Push the SSD down until it is seated firmly in the slot, and secure it with the included screw if necessary. For PCIe SSDs, follow the manufacturer’s instructions for proper installation.
5. Connect Cables (if required): Depending on the type of SSD and your computer’s configuration, you may need to connect cables. If you have installed a 2.5-inch SSD, connect a SATA data cable to the drive and the motherboard. Additionally, connect a SATA power cable from the power supply unit (PSU) to the SSD. If you have installed an M.2 or PCIe SSD, skip this step as they don’t require additional cables.
6. Reassemble Your Computer: Carefully reassemble your computer by reattaching any removed panels and securing them with screws. Ensure that all cables are properly connected and that the new SSD is firmly in place.
7. Power On and Confirm Detection: Power on your computer and enter the BIOS or UEFI settings to confirm that the new SSD is being detected by your system. If necessary, adjust the boot order to prioritize the new SSD as the primary boot device.
By correctly installing the new SSD, you can take full advantage of the increased storage capacity and improved performance that it offers.
Reinstall Your Applications
After successfully installing the new SSD and ensuring its detection, the next step is to reinstall your applications. While the operating system and files have been transferred from your previous drive to the new SSD, the applications themselves will need to be reinstalled. Here’s how you can go about reinstalling your applications:
1. Make a List: Start by creating a list of all the applications you had installed on your previous drive. This will help you keep track of the software you need to reinstall.
2. Download the Latest Versions: Visit the official websites of the applications or use trusted software repositories to download the latest versions of each application. This ensures that you are installing the most up-to-date and compatible versions for your new SSD.
3. Organize Setup Files: If you have any setup files saved from previous installations, make sure to have them readily accessible. This can save time and effort, especially if you have limited internet access or slow download speeds.
4. Install One Application at a Time: Start installing your applications one by one, following the installation prompts provided by each software. Take the time to carefully read through the installation process, ensuring that you select the correct installation directory on your new SSD.
5. Activate and Authenticate: For applications that require a license or activation key, make sure to have the necessary information ready. Activate and authenticate each application as needed, following the provided instructions or contacting the software vendor if required.
6. Configure Preferences and Settings: Once an application is installed, take the opportunity to configure its preferences and settings as needed. This may include importing custom configurations, setting up email accounts, or adjusting display settings.
7. Verify Functionality: After reinstalling each application, check that it is functioning correctly and that all features are working as expected. Test the basic functions and perform any necessary updates to ensure optimal performance.
8. Organize Application Shortcuts: Finally, organize your application shortcuts on your desktop or in your preferred application launcher for easy access. This will help you quickly find and open your installed applications.
By reinstalling your applications onto the new SSD, you can regain access to all of your favorite software and resume your usual workflows without missing a beat.
Restore Your Data
After migrating to a larger SSD and reinstalling your applications, the next crucial step is to restore your data. This includes transferring your files, documents, media, and any other personal data from your backup to the new SSD. Here’s how you can restore your data:
1. Connect Your Backup Storage: If you backed up your data on an external hard drive or a cloud storage service, connect the storage medium to your computer. Ensure that it is recognized by your system and accessible.
2. Identify Your Data: Determine the specific folders or directories that contain your data. This may include Documents, Pictures, Videos, Music, Downloads, or any custom folders where you store your personal files.
3. Copy or Move Files: Depending on your preference, you can either copy or move your files from the backup to their respective locations on the new SSD. Copying leaves the original files in the backup intact, while moving deletes them from the backup after the transfer.
4. Verify Data Integrity: After transferring the files, it is crucial to verify the integrity of your data. Check that the transferred files are complete and accessible. Open a few random files from different folders to ensure that everything has been successfully restored.
5. Restore Application-specific Data: Some applications store data in specific directories or have their own backup and restore procedures. For example, email clients may have an import/export functionality to restore your emails and settings. Refer to the documentation or support resources of individual applications to restore any application-specific data.
6. Organize Your Data: Take the time to organize and arrange your restored data on the new SSD. Create folders and subfolders as necessary to keep your files structured and easily accessible. This can help you maintain a tidy and organized workflow in the long run.
7. Delete Backup Copies: Once you have verified that all your data has been successfully restored to the new SSD, you can consider deleting the backup copies from your external storage or cloud service. However, exercise caution and ensure that you have multiple backups or an alternative backup solution before deleting any data.
By restoring your data to the new SSD, you can regain access to your important files and resume your work or entertainment without any interruption.
Test Your New SSD
After migrating to a larger SSD and completing all the necessary steps, it’s important to test your new SSD to ensure that it is functioning correctly and delivering the expected performance. Here are some tests you can perform to verify the functionality and reliability of your new SSD:
1. Boot Time: Measure the time it takes for your computer to boot up from a complete shutdown. Compare it to the boot time of your previous drive. A faster boot time indicates that the new SSD is performing well.
2. File Transfer Speed: Copy a large file or a folder containing multiple files from one location to another on the new SSD. Observe the transfer speed and compare it to the speeds you would expect from an SSD. Higher transfer speeds indicate good performance.
3. Application Launch Speed: Open several different applications and observe how quickly they launch. An SSD should significantly reduce the loading time of applications compared to a traditional hard drive.
4. Disk Benchmarking Software: Utilize disk benchmarking software, such as CrystalDiskMark or AS SSD, to measure sequential and random read/write speeds of the new SSD. Compare the results to the advertised speeds of the SSD to ensure that it is performing within the expected range.
5. System Stability: Use your computer as you normally would and monitor its stability. Check for any system freezes, crashes, or other abnormal behavior that could be related to the new SSD. A stable system indicates that the SSD is functioning correctly.
6. Temperature Monitoring: Monitor the temperature of your new SSD using software like HWMonitor or SSD-specific monitoring applications. Ensure that the temperature remains within a safe range during normal usage. Excessively high temperatures may indicate a cooling issue or other potential problems.
7. Verify Data Integrity: Double-check that all your data files are accessible and intact on the new SSD. Open a few random files from different folders to ensure that there are no data corruption issues.
8. Ongoing Performance: Regularly monitor the performance of your new SSD over time. Keep an eye on factors such as boot time, file transfer speed, and overall system responsiveness. If you notice any significant performance degradation, it may be worth investigating further or contacting the manufacturer for assistance.
By thoroughly testing your new SSD, you can ensure that it is functioning properly and delivering the expected performance gains. This will allow you to enjoy the benefits of increased storage capacity and improved system responsiveness.