Introduction
Welcome to our guide on how to merge accounts in QuickBooks Online. As a business owner or bookkeeper, you may encounter situations where you need to consolidate or streamline your accounts in order to maintain accurate financial records. QuickBooks Online offers a straightforward process for merging accounts, allowing you to efficiently combine similar accounts and simplify your bookkeeping workflow.
Merging accounts in QuickBooks Online can be beneficial in several ways. It helps in effectively managing your finances, reducing complexity, and providing a comprehensive view of your business’s financial health. By merging accounts, you can avoid duplicating transactions, eliminate confusion, and save time on data entry and financial reporting.
In this guide, we will walk you through the step-by-step process of merging accounts in QuickBooks Online. We will also cover some common issues that may arise during the merging process and provide troubleshooting tips to help you overcome them. Additionally, we will share best practices to ensure a smooth and successful account merging experience.
Whether you have duplicate accounts, want to consolidate similar account types, or need to streamline your financial records, merging accounts in QuickBooks Online is a valuable tool to simplify your bookkeeping tasks. By following the instructions in this guide, you will be able to merge accounts seamlessly and maintain accurate financial data for your business.
Understanding the need to merge accounts in QuickBooks Online
As your business grows and evolves, it’s common to end up with duplicate or similar accounts in your QuickBooks Online. This can happen due to various reasons, such as data migration, manual entry errors, or changes in your business operations. Having multiple accounts that serve the same purpose can lead to confusion, inaccurate reporting, and inefficient bookkeeping.
Merging accounts in QuickBooks Online helps you streamline your financial records by consolidating duplicate or similar accounts into a single account. This process eliminates redundancies and ensures that your financial data is organized and accurate. Here are a few key reasons why merging accounts is important:
- Avoiding data duplication: Duplicate accounts can lead to duplicate transactions, making it challenging to reconcile your bank statements and track your financial activities accurately. By merging accounts, you can consolidate all relevant transactions into one account, reducing the risk of duplication.
- Simplifying reporting: Having multiple accounts that serve the same purpose can complicate financial reporting. It can be time-consuming to analyze data from different accounts and combine them for a comprehensive view of your business’s financial performance. Merging accounts simplifies this process by providing a single account for reporting purposes.
- Streamlining bookkeeping tasks: Managing multiple accounts requires additional time and effort for data entry and maintenance. Merging accounts reduces the number of accounts you need to manage, streamlining your bookkeeping tasks and improving efficiency.
By merging accounts in QuickBooks Online, you can ensure that your financial records are accurate, organized, and easy to manage. It allows you to have a clear and consolidated view of your business’s finances, enabling you to make informed decisions and maintain compliance with accounting standards.
Step-by-step guide to merging accounts in QuickBooks Online
Merging accounts in QuickBooks Online is a simple and straightforward process. Follow these step-by-step instructions to merge accounts effectively:
- Access your Chart of Accounts: Log in to your QuickBooks Online account and navigate to the Chart of Accounts section.
- Select the accounts to merge: Identify the duplicate or similar accounts that you want to merge. Make a note of the account names and numbers to ensure accuracy.
- Create a new account: If you don’t already have a designated account to merge into, create a new account that will serve as the merged account.
- Update transactions: Before merging the accounts, ensure that all relevant transactions are assigned to the account you wish to keep. Review your transactions and make any necessary changes to ensure accuracy.
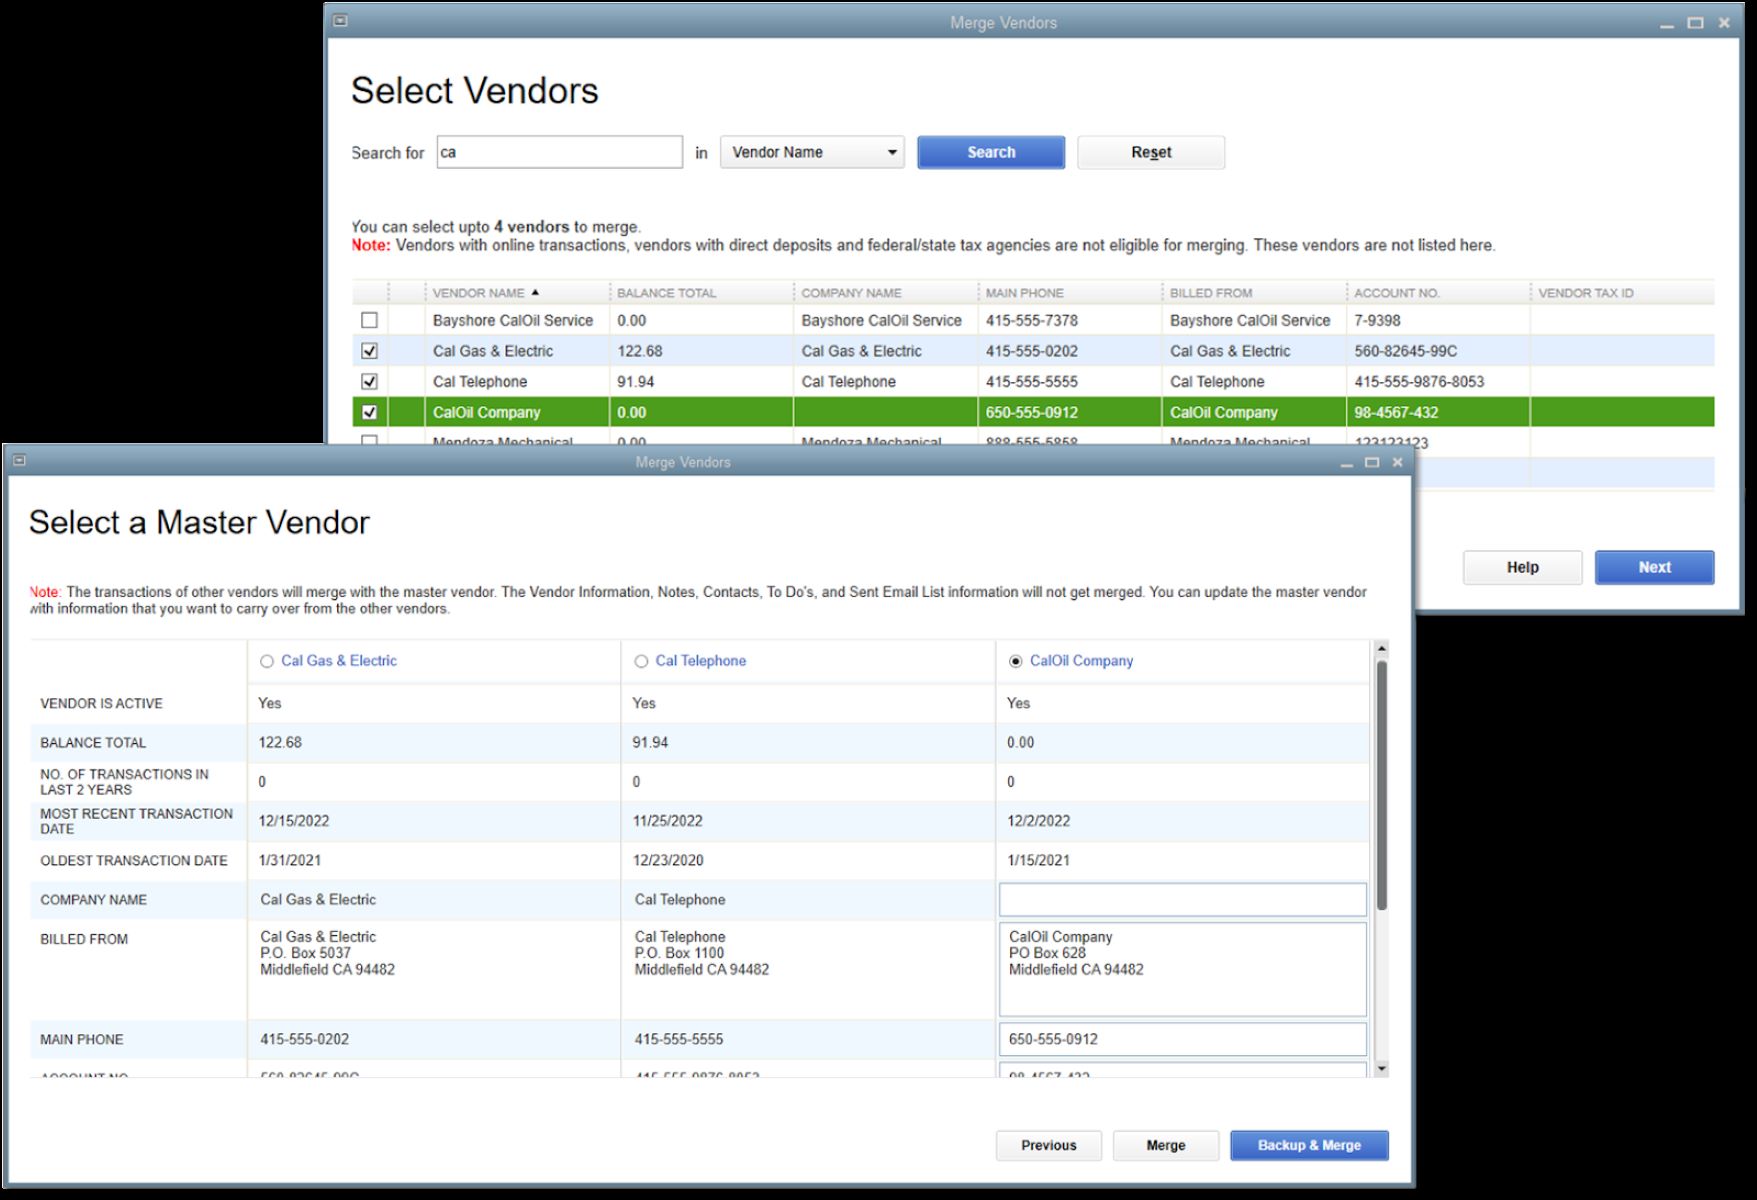
- Merge the accounts: Go back to the Chart of Accounts and select one of the accounts you want to merge. From the Actions dropdown menu, choose “Merge.”
- Select the account to merge into: In the merge window, select the account you want to merge into from the list provided. This will be the account that you created in Step 3 or an existing account that you want to keep.
- Review the merge: Double-check the account names and numbers to ensure accuracy. QuickBooks Online will display a summary of the changes that will occur during the merge process.
- Confirm the merge: Once you have reviewed the merge details and are confident in your selection, click “Merge” to initiate the process.
- Review and adjust transactions: After the merge is complete, review your transactions again to ensure that they are correctly assigned to the merged account. Make any necessary adjustments as needed.
Following these steps will allow you to successfully merge accounts in QuickBooks Online and consolidate your financial records. Remember to double-check your selections and review transactions before and after merging to maintain accuracy in your bookkeeping.
Common issues and troubleshooting tips when merging accounts in QuickBooks Online
While merging accounts in QuickBooks Online is generally a smooth process, you may encounter some common issues or challenges. Here are a few troubleshooting tips to help you overcome them:
- Transaction conflicts: If there are transactions in both accounts you’re trying to merge, QuickBooks Online may flag them as conflicts. Review these transactions and make necessary adjustments to ensure accurate merging.
- Sub-accounts: Merging sub-accounts can cause confusion if they have different parent accounts. Consider whether merging the sub-accounts is necessary or if it’s better to keep them separate to maintain clarity.
- Account types: QuickBooks Online may have restrictions on merging certain account types. Ensure that the account types you’re merging are compatible and not restricted from being merged.
- Third-party integrations: If you use third-party apps or integrations with QuickBooks Online, merging accounts may affect how data is synced between these platforms. Check with the specific app or integration provider for any guidance or precautions related to merging accounts.
- Reporting implications: After merging accounts, certain financial reports may need to be adjusted to accurately reflect the changes. Run and review your reports to ensure the merged accounts are accounted for correctly.
- Data backup: Before proceeding with merging accounts, it’s advisable to create a backup of your QuickBooks Online data. This will ensure you have a copy of your data in case any issues arise during or after the merging process.
If you encounter any unexpected issues or challenges while merging accounts in QuickBooks Online, it’s recommended to reach out to QuickBooks customer support or consult with a certified QuickBooks ProAdvisor. They can provide personalized guidance and assistance based on the specific details of your situation.
By following these troubleshooting tips and seeking guidance when needed, you can navigate any challenges that arise and successfully merge accounts in QuickBooks Online.
Best practices for merging accounts in QuickBooks Online
When merging accounts in QuickBooks Online, it’s important to follow some best practices to ensure a smooth and accurate process. These practices will help you maintain data integrity and make the most out of the merging feature:
- Review accounts regularly: Regularly review your accounts to identify duplicate or similar accounts that can be merged. This way, you can address account consolidation proactively and avoid complications down the road.
- Backup your data: Before merging accounts, create a backup of your QuickBooks Online data. This step acts as a safety net in case any issues arise during the merging process. It ensures that you have a copy of your data that you can restore if needed.
- Ensure transaction accuracy: Before merging accounts, thoroughly review the transactions associated with the accounts. Make sure that all transactions are accurately assigned to the account you wish to keep. This step will help prevent any discrepancies or loss of data during the merging process.
- Consider historical data: Take historical data into account when choosing which account to merge into. Ensure that the selected account has the relevant transaction history that you want to retain for reference and reporting purposes.
- Communicate with stakeholders: If multiple individuals or teams access your QuickBooks Online account, communicate the account merging process and its implications to ensure everyone is aware of any changes. This will help maintain transparency and avoid confusion among users.
- Review and adjust reports: After merging accounts, carefully review and adjust any financial reports that may have been affected by the merge. Ensure that the reports accurately reflect your updated account structure.
- Monitor and reconcile: Monitor your merged accounts regularly to ensure that transactions are being recorded correctly and reconciled properly. This step will help you identify any issues or discrepancies early on and take corrective actions as necessary.
- Consult with an expert: If you’re unsure about merging accounts or need assistance with complex account structures, consider consulting with a certified QuickBooks ProAdvisor or accounting professional. Their expertise and guidance can help you make informed decisions and navigate any challenges that may arise.
By following these best practices, you can ensure the successful merging of accounts in QuickBooks Online and maintain accurate financial records for your business. Remember to approach the process with careful consideration, attention to detail, and a focus on data integrity.
Conclusion
Merging accounts in QuickBooks Online is an essential task for maintaining accurate financial records and streamlining your bookkeeping processes. By consolidating duplicate or similar accounts, you can avoid data duplication, simplify reporting, and streamline your bookkeeping tasks.
In this guide, we have walked you through a step-by-step process for merging accounts in QuickBooks Online. We have also discussed common issues and provided troubleshooting tips to help you overcome any challenges you may encounter during the merging process. Additionally, we have shared best practices to ensure a smooth and successful account merging experience.
Remember to carefully review your accounts, ensure transaction accuracy, and backup your data before proceeding with the merging process. Communicate with stakeholders and adjust reports as needed to reflect the changes. Regularly monitor and reconcile your merged accounts to maintain data integrity.
If you are unsure or face complexities in merging accounts, it is advisable to seek assistance from a certified QuickBooks ProAdvisor or accounting professional. They can provide personalized guidance based on your specific needs and help ensure a seamless merging process.
By following the guidelines and taking advantage of the merging feature in QuickBooks Online, you can effectively manage your financial records, save time, and make informed decisions for the success of your business.


