Introduction
Welcome to this comprehensive guide on how to merge customers in QuickBooks Online. As a business owner or accountant, you may encounter duplicate customer records in your QuickBooks Online account. These duplicates can create confusion, cause inconsistencies in financial reporting, and even lead to inaccuracies in tracking sales and customer data. Fortunately, QuickBooks Online provides a simple solution to merge duplicate customer records, allowing you to streamline your records and maintain accurate and organized customer information.
By merging duplicate customer records, you can consolidate sales transactions, avoid duplicate invoicing, and ensure that all historical data is stored under one primary customer. This process helps you maintain a clean and efficient customer list and reduces the risk of errors or discrepancies.
In this guide, we will walk you through the step-by-step process of merging customers in QuickBooks Online, ensuring that you have a seamless experience. We will cover how to access the Customer Center, identify duplicate customers, merge the records, select the primary customer, and review and update the merged customer’s information where necessary.
Whether you are new to QuickBooks Online or have been using it for some time, this guide will equip you with the knowledge and skills to effectively manage and consolidate your customer data. We understand the importance of accurate record-keeping and strive to provide you with clear instructions and helpful tips to make the process as straightforward as possible.
So, let’s dive in and learn how to merge customers in QuickBooks Online to improve the efficiency and organization of your business records!
Step 1: Accessing the Customer Center
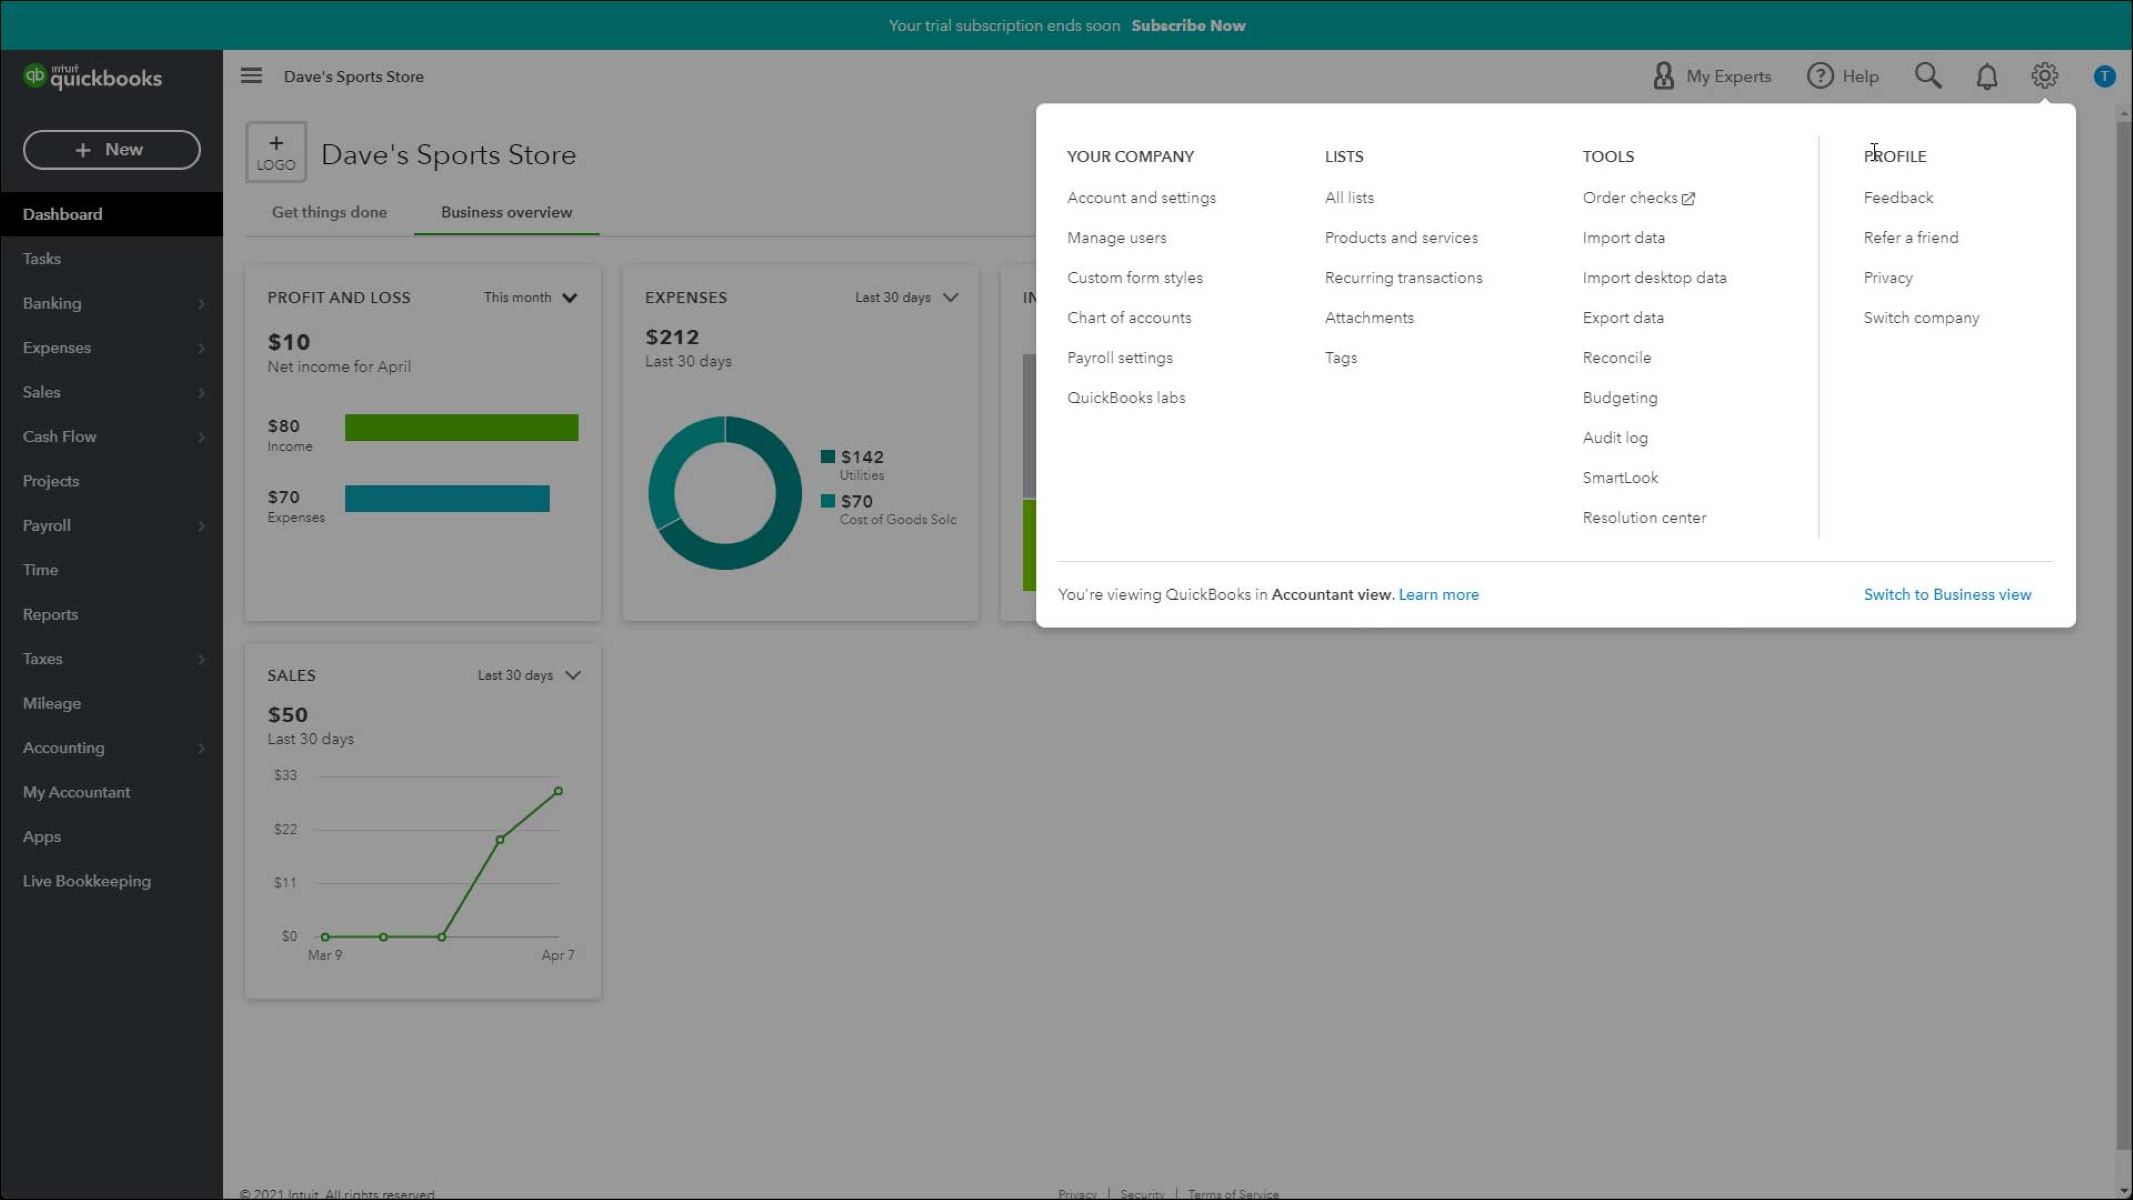
The first step in merging customers in QuickBooks Online is to access the Customer Center, where you can view and manage all your customer records. Follow these simple steps to access the Customer Center:
- Log in to your QuickBooks Online account using your credentials.
- Once logged in, navigate to the left-hand menu and click on the “Sales” tab.
- In the drop-down menu, click on “Customers” to open the Customer Center.
Upon accessing the Customer Center, you will see a list of all your existing customers. This list allows you to search for specific customers and view their details, including contact information, transaction history, and any notes or attachments associated with the customer’s record.
It is essential to familiarize yourself with the Customer Center interface, as it provides the necessary tools to identify duplicate customer records and merge them effectively. Take some time to explore the various tabs and features within the Customer Center, as this will facilitate the merging process later on.
Now that you have accessed the Customer Center, you are ready to move on to the next step: identifying the customers to merge.
Step 2: Identifying the customers to merge
Before merging customer records in QuickBooks Online, it is crucial to identify the duplicate customers that need to be consolidated. By carefully reviewing your customer list and identifying duplicates, you can ensure that the merging process is accurate and efficient. Follow these steps to identify the customers to merge:
- Within the Customer Center, scan the customer list to look for any names that appear multiple times. Pay attention to slight variations in names, such as misspellings or different initials.
- Click on a customer’s name to open their record and review their transaction history, contact information, and other details.
- If you suspect that a customer has a duplicate record, take note of the customer’s name as it appears on the duplicate record.
- Compare the details of each duplicate customer’s record to determine which one is the primary record and which one(s) should be merged into it.
It is essential to consider factors such as recent transactions, payment history, and the level of activity for each customer to identify the most accurate and up-to-date record to serve as the primary customer.
QuickBooks Online also provides a useful feature called “Find Duplicates” that can help streamline the process of identifying duplicate customer records. To access this feature:
- Go to the top-right corner of the Customer Center and click on the “Action” dropdown menu.
- Select “Find Duplicates” from the list of options.
- QuickBooks Online will then generate a list of potential duplicate customer records based on specific criteria, such as matching names or email addresses. Review these duplicates and proceed with merging them as necessary.
By using both manual review and the “Find Duplicates” feature, you can ensure a thorough identification of duplicate customer records, bringing you closer to a streamlined and organized customer list. Once you have identified the customers to merge, you can proceed to the next step of the merging process: actually merging the customers.
Step 3: Merging the customers
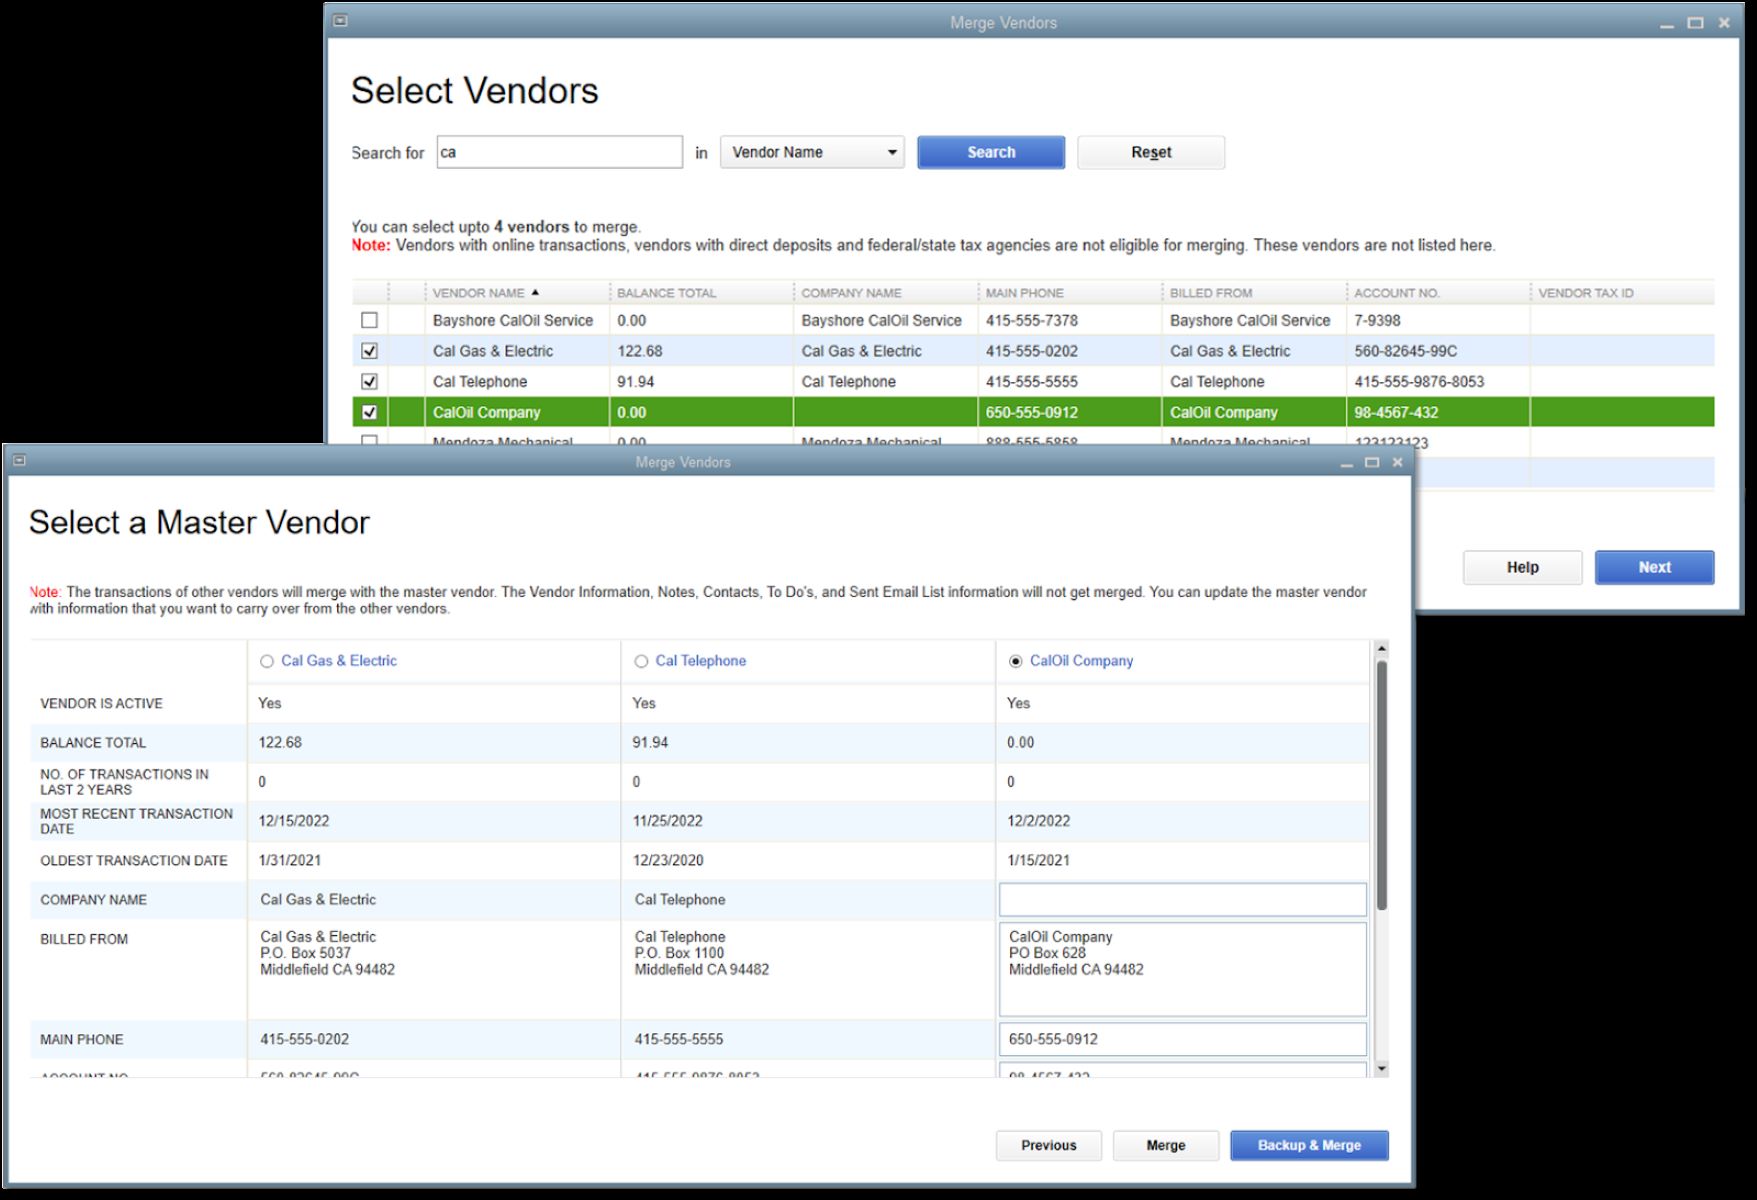
Now that you have identified the duplicate customer records in QuickBooks Online, it’s time to merge them into a single, consolidated customer record. Follow these steps to merge the customers:
- Within the Customer Center, locate the customer record that you want to merge into another record.
- Click on the customer’s name to open their record.
- Click on the “Edit” button at the top right corner of the customer’s record.
- In the “Edit” mode, scroll down to the bottom of the customer’s record until you find the “Merge” section on the left-hand side.
- Click on the “Merge” drop-down menu and select the duplicate customer record that you want to merge into the current record. This will be the record that you identified as secondary or duplicate during the identification process.
- After selecting the duplicate record, click on the “Merge” button to initiate the merging process.
QuickBooks Online will then merge the two customer records into a single record, consolidating all the information and transactions associated with both records. It automatically merges the details such as addresses, contact information, and transaction history, ensuring that you have a complete and accurate customer record.
It is important to note that the merging process cannot be undone. Therefore, it is crucial to carefully review the records and make sure you select the correct records to merge. Take the time to double-check that you have selected the primary customer record that contains the most accurate and up-to-date information.
Repeat the same process for any additional duplicate customer records that you have identified, merging them into the appropriate primary customer records. By merging duplicate customer records, you can avoid confusion, streamline your customer list, and ensure that all sales transactions and customer information are organized and accessible in one place.
Once you have successfully merged the customers, you can proceed to the next step: selecting the primary customer.
Step 4: Selecting the primary customer
After merging the duplicate customer records in QuickBooks Online, it is important to designate one of them as the primary customer. The primary customer will be the record that you want to keep and maintain as the main source of information for that particular customer. Follow these steps to select the primary customer:
- Within the Customer Center, locate the merged customer record that contains the consolidated information of the duplicate records.
- Click on the merged customer record to open it.
- Review the combined information and transaction history to ensure that it includes all the necessary and accurate details.
- Click on the “Edit” button at the top right corner of the merged customer record.
- Navigate to the “Merge” section and click on the “Primary” checkbox next to the duplicate customer record that you want to set as the primary customer.
By selecting the primary customer, you are indicating that this record will serve as the main source of information for all future transactions and customer interactions. The preferences, contact details, and transaction history of the primary customer will be retained and used going forward.
If you have merged multiple customers into one record, repeat the above steps to select the primary customer for each set of merged records.
It is important to choose the primary customer carefully, considering factors such as recent activity, payment history, and the customer’s importance to your business. Selecting the most accurate and up-to-date record as the primary customer will ensure that your customer data remains consistent and reliable.
After designating the primary customer, you can proceed to the next step: confirming the merge.
Step 5: Confirming the merge
Once you have selected the primary customer and consolidated the duplicate records in QuickBooks Online, it is important to confirm the merge to ensure that all changes have been applied correctly. Follow these steps to confirm the merge:
- Within the Customer Center, locate the primary customer record that you have designated after the merge.
- Click on the customer’s name to open their record.
- Review all the information, including contact details, addresses, and transaction history, to verify that the merge was successful and all relevant data has been retained.
- Make any necessary updates or corrections to the merged customer record. This may include updating contact details, adding additional notes, or attaching relevant documents.
- Save the changes by clicking on the “Save” button at the top right corner of the customer’s record.
By reviewing the merged customer record and making any necessary updates, you can ensure that the consolidated customer information is accurate and up to date. This step is crucial for maintaining the integrity of your customer data and ensuring that it reflects the latest interactions and transactions.
It is important to note that the merged records cannot be separated once the merge has been confirmed. Therefore, it is essential to double-check all the information and ensure that you have selected the correct primary customer during the merging process.
After confirming the merge and reviewing the customer data, you can proceed to the final step: reviewing and updating the merged customer information.
Step 6: Reviewing and updating merged customer information
After merging and confirming the customer records in QuickBooks Online, it is essential to thoroughly review and update the merged customer’s information to ensure accuracy and consistency. Follow these steps to review and update the merged customer information:
- Within the Customer Center, locate the primary customer record that has been merged and confirmed.
- Click on the customer’s name to open their record.
- Review all the details, including contact information, addresses, payment terms, and any other relevant information. Make note of any outdated or incorrect information.
- Edit the customer’s record by clicking on the “Edit” button at the top right corner of the customer’s record.
- Update the necessary information, such as contact details, addresses, payment terms, and any other relevant data.
- Save the changes by clicking on the “Save” button at the top right corner of the customer’s record.
By reviewing and updating the merged customer information, you can ensure that the consolidated record is accurate and up to date. This step is crucial for maintaining proper communication, delivering invoices to the correct addresses, and having the most recent contact information for the customer.
It is also an opportunity to add any additional information or details that were not present in the original customer records. This can include notes about specific preferences, important dates, or any other relevant information that can help you better serve the customer in the future.
Furthermore, take this opportunity to create a standardized format for customer records by ensuring that fields are consistently filled in and uniformly formatted. This will improve the overall consistency and readability of your customer information in QuickBooks Online.
After reviewing and updating the merged customer information, you have successfully completed the process of merging customers in QuickBooks Online. Your customer list is now streamlined, consolidated, and accurate, allowing you to efficiently manage your relationships and transactions.
Implementing these steps will help you maintain organized customer records and ensure that your financial reporting is accurate and up to date. By regularly reviewing and merging duplicate customer records, you can avoid confusion, streamline your processes, and improve the overall efficiency of your business operations.
Conclusion
Merging customers in QuickBooks Online is a vital process to ensure the accuracy and organization of your customer records. By following the step-by-step guide outlined above, you can effectively identify and consolidate duplicate customer records, resulting in a streamlined and efficient customer list.
Starting with accessing the Customer Center, you can navigate through the various features to locate and identify duplicate customer records. Utilizing the “Find Duplicates” feature can further streamline this process by automatically identifying potential duplicates based on specific criteria.
Once you have identified the duplicate customers, merging them is a simple process that consolidates all relevant information into a single, primary customer record. Carefully selecting the primary customer is crucial to ensure that the most accurate and up-to-date information is retained.
Confirming the merge is an essential step to ensure that all changes have been applied correctly. Reviewing the merged customer record and making any necessary updates or corrections guarantees that the consolidated information is accurate and up to date.
Lastly, take the time to thoroughly review and update the merged customer’s information, optimizing the record for accuracy and consistency. This step allows for standardized formats, consistent contact details, and additional notes or details that can facilitate better customer relationship management.
By implementing these steps regularly, you can maintain an organized and accurate customer list, improve financial reporting, and enhance the overall efficiency of your business operations. QuickBooks Online provides the necessary tools to merge and manage your customer records effectively, ensuring smooth operations and better customer management.
Now that you have acquired the knowledge and understanding of how to merge customers in QuickBooks Online, it’s time to put it into practice. Consolidate your customer records, streamline your processes, and confidently manage your relationships with the help of QuickBooks Online’s powerful features.


