Introduction
Have you ever found yourself working late at night on your Chromebook and struggling to see the keys on your keyboard? Well, the solution to your problem might be simpler than you think. By enabling the keyboard backlight feature on your Chromebook, you can illuminate the keys, making it easier to work in low-light conditions.
A backlit keyboard is a useful feature that provides better visibility and improves typing accuracy, especially in dimly lit environments. It allows you to type with ease, without straining your eyes or making mistakes due to incorrect key presses.
While not all Chromebook models come with built-in keyboard backlighting, many newer models do. If you’re unsure whether your Chromebook has this feature, you can easily check by following a few simple steps.
In this article, we will guide you through the process of checking your Chromebook’s compatibility for a backlit keyboard and provide you with a step-by-step guide to enable the keyboard backlight. We’ll also address common troubleshooting issues you may encounter along the way.
So, if you’re ready to make your Chromebook keyboard light up and enhance your typing experience, let’s dive in!
Why do you need a backlit keyboard?
A backlit keyboard offers several advantages that can greatly enhance your experience when using a Chromebook. Here are some reasons why you might need a backlit keyboard:
- Improved visibility: One of the primary benefits of a backlit keyboard is improved visibility. When working in low-light conditions or at night, it can be difficult to see the keys on a traditional keyboard. The backlighting feature illuminates the keys, making it easier to locate and press the right keys, reducing typos and mistakes.
- Enhanced productivity: With a backlit keyboard, you can continue working efficiently, even in dimly lit environments. Whether you’re working late at night, in a dimly lit room, or on a flight, the illuminated keys enable you to type accurately without needing external lighting sources.
- Easier to use multimedia functions: Many Chromebooks have multimedia keys that allow you to control volume, play/pause, or skip tracks. With a backlit keyboard, these multimedia keys are clearly visible, making it easier to access and use them without struggling to find the correct keys in the dark.
- Aesthetically pleasing: Apart from the functional benefits, a backlit keyboard also adds a touch of elegance and style to your Chromebook. The soft glow of the backlit keys creates a visually appealing experience and adds a modern look to your device.
- Customization options: Some Chromebooks with backlit keyboards offer customization options that allow you to adjust the brightness level or even change the color of the backlight. This flexibility allows you to personalize your keyboard lighting to suit your preferences and create a personalized workspace.
Overall, a backlit keyboard can greatly enhance your typing experience on a Chromebook by providing better visibility, increased productivity, and a visually pleasing aesthetic. Whether you’re a student, professional, or casual user, enabling the keyboard backlight can greatly improve your overall user experience and make using a Chromebook more enjoyable.
Checking your Chromebook compatibility
Before getting started with enabling the keyboard backlight on your Chromebook, it’s important to check if your device is compatible with this feature. Here’s how you can quickly verify the compatibility:
- Refer to the manufacturer’s specifications: The easiest way to determine if your Chromebook has a backlit keyboard is by referring to the manufacturer’s specifications. Visit the official website of your Chromebook’s manufacturer and search for your device model. Look for details specifically mentioning a backlit keyboard or illuminated keys.
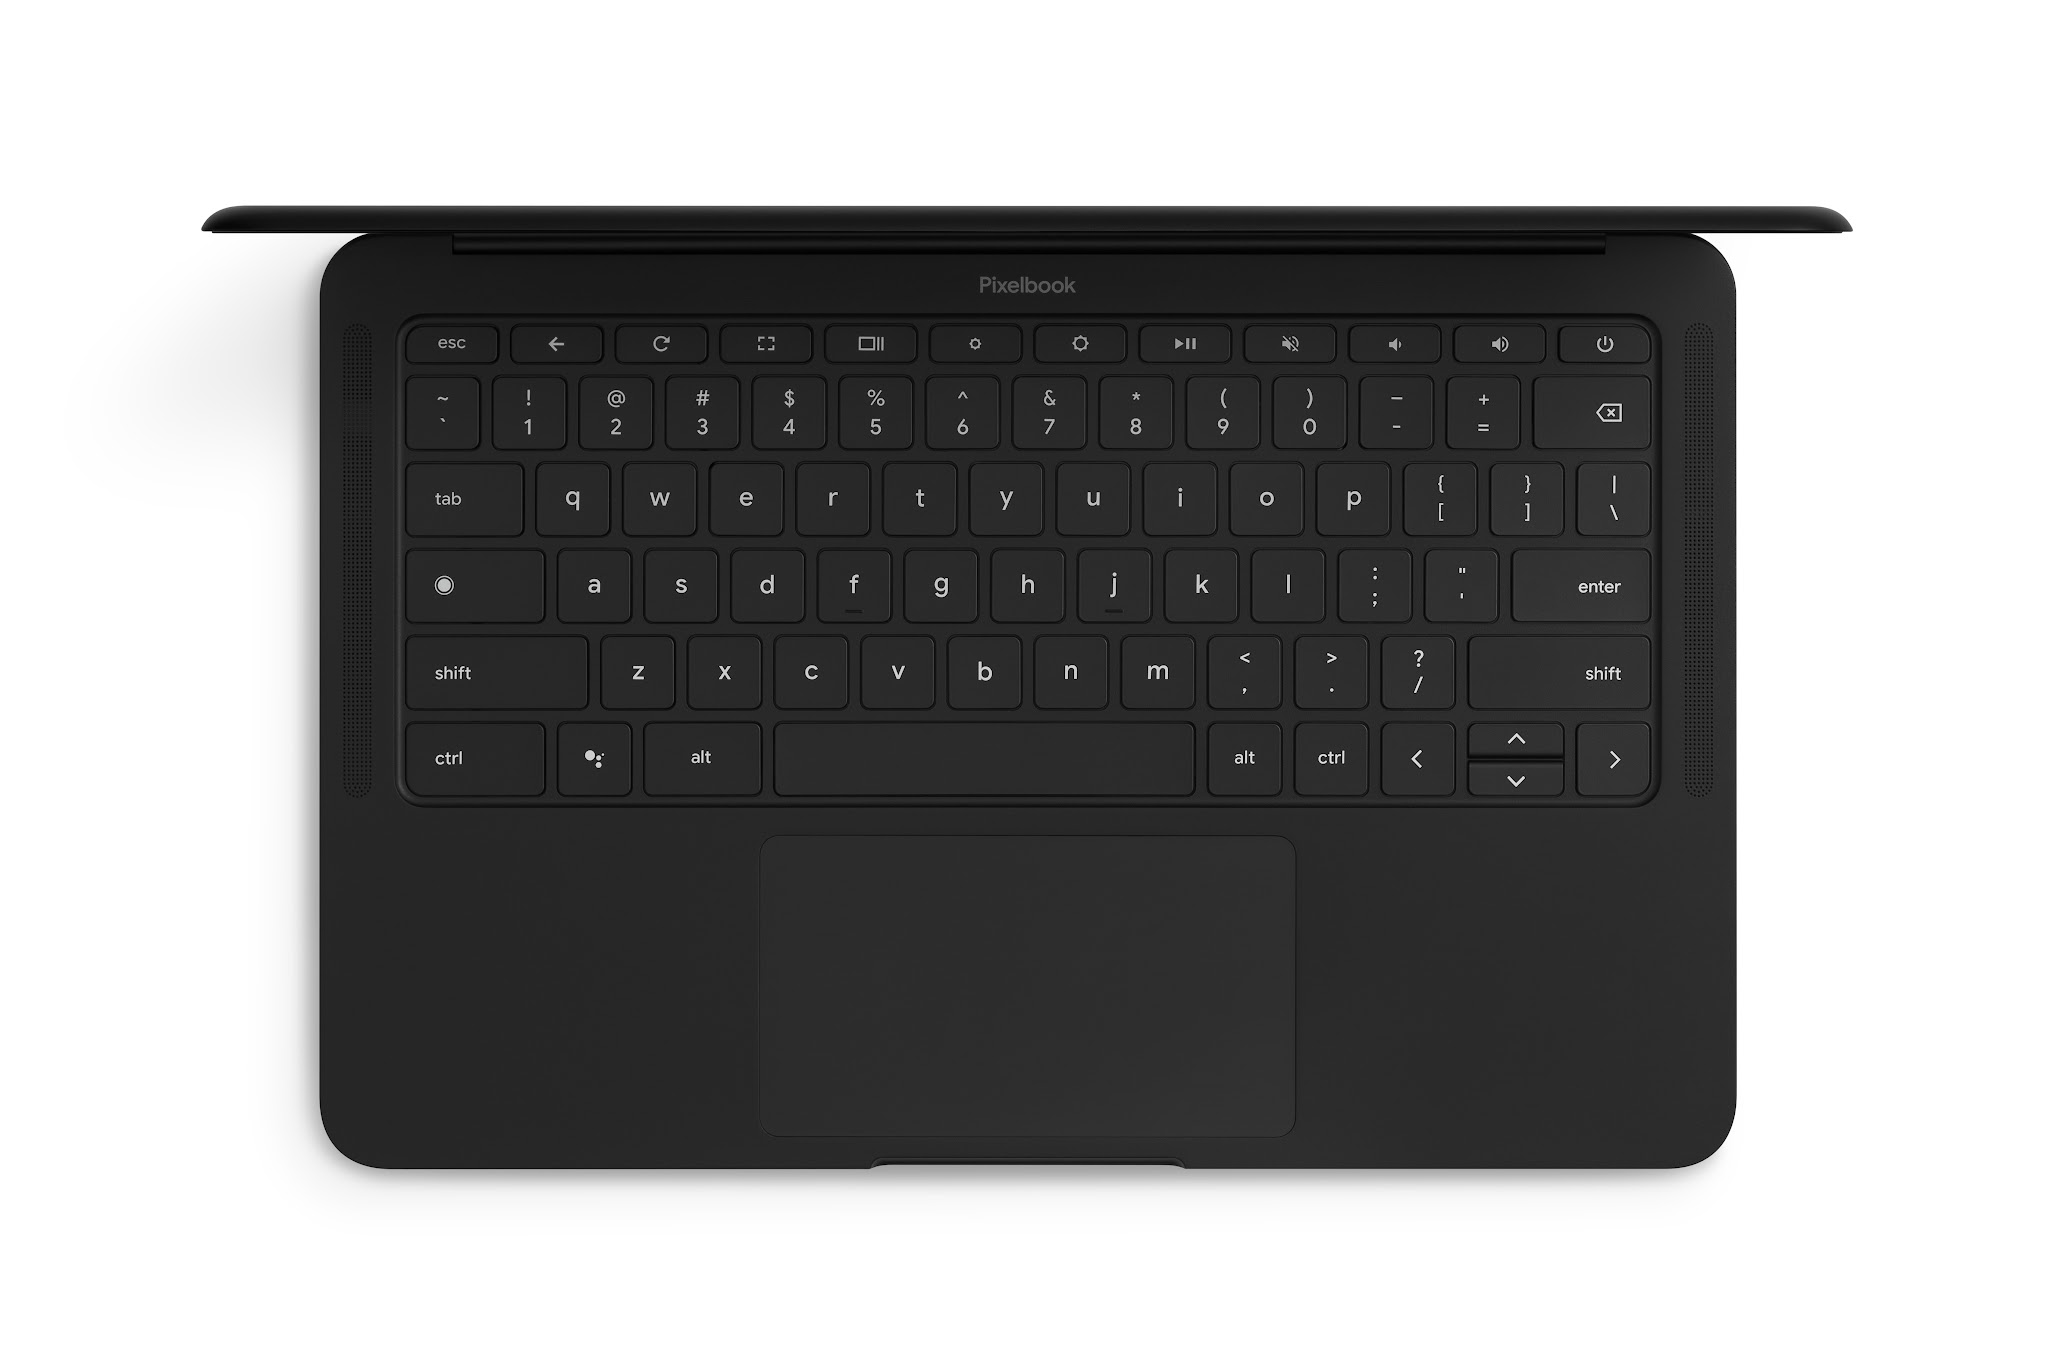
- Inspect your Chromebook: If you can’t find the information online, you can visually inspect your Chromebook for any indications of a backlit keyboard. Look for symbols or icons on the keyboard deck or near the function keys that resemble a lightbulb or a keyboard symbol with rays emanating from it.
- Check your Chromebook settings: Another way to confirm compatibility is by accessing your Chromebook’s settings. Click on the system clock in the lower right corner of the screen and then select the gear icon to open the Settings menu. Look for the “Keyboard” or “Language and Input” section and see if there is an option to control the keyboard backlight. If you find this option, it indicates that your Chromebook supports a backlit keyboard.
- Consult the user manual: If you still can’t determine the compatibility of your Chromebook, refer to the user manual that came with your device. Look for any references to a backlit keyboard or instructions on how to enable the keyboard backlight.
By following these steps, you can quickly determine if your Chromebook is equipped with a backlit keyboard. If you find that your device is compatible, you can proceed to the next section for a comprehensive guide on how to enable the keyboard backlight. However, if your Chromebook does not support a backlit keyboard, don’t worry! There are external keyboard lighting solutions available that can enhance your typing experience in low-light conditions.
Step-by-step guide: Enabling the keyboard backlight
Once you’ve determined that your Chromebook supports a backlit keyboard, you can follow these steps to enable the keyboard backlight:
- Access the Chromebook settings: Click on the system clock in the lower right corner of your Chromebook’s screen. From the pop-up menu, select the gear icon to open the Settings menu.
- Navigate to the Keyboard settings: In the Settings menu, locate and click on the “Keyboard” or “Language and Input” section. This is where you’ll find options related to your Chromebook’s keyboard settings.
- Enable the keyboard backlight: Look for the option that allows you to enable the keyboard backlight. Depending on your Chromebook model and software version, this option may be labeled as “Keyboard backlight” or “Backlit keyboard.” Toggle the switch or checkbox to the “On” position to enable the backlight.
- Adjust the backlight brightness: Some Chromebooks allow you to adjust the brightness level of the keyboard backlight. If your device offers this feature, look for a slider or customizable options to regulate the brightness. Set it according to your preference.
- Save and exit: Once you’ve enabled the keyboard backlight and adjusted the brightness level, click on the “Apply” or “Save” button to save your changes. Close the Settings menu and return to your usual workspace.
Congratulations! You have successfully enabled the keyboard backlight on your Chromebook. Now, the keys on your keyboard should be illuminated, allowing you to type with ease even in low-light conditions.
Keep in mind that the specific steps and terminology may vary slightly depending on your Chromebook model and software version. If you encounter any difficulties or cannot locate the keyboard backlight settings, refer to your Chromebook’s user manual or the manufacturer’s support documentation for further assistance.
Now that your keyboard backlight is enabled, you can enjoy improved visibility and a more enjoyable typing experience on your Chromebook!
Troubleshooting common issues
While enabling the keyboard backlight on your Chromebook is generally a straightforward process, you may come across some common issues. Here are a few troubleshooting tips to help you resolve them:
- No keyboard backlight option: If you’re unable to find the keyboard backlight option in your Chromebook settings, ensure that your device is indeed compatible with a backlit keyboard. Double-check the specifications or consult the manufacturer’s documentation. If your Chromebook does not support a built-in backlit keyboard, consider using an external keyboard lighting solution.
- Keyboard backlight not turning on: If you’ve enabled the keyboard backlight in the settings but it isn’t turning on, try adjusting the brightness level. It’s possible that the backlight is set to a low brightness level that may be difficult to notice. If adjusting the brightness doesn’t solve the issue, restart your Chromebook and check if the backlight turns on. If the problem persists, consider reaching out to the manufacturer’s support for further assistance.
- Inconsistent backlight behavior: Sometimes, the keyboard backlight may behave inconsistently, turning on and off randomly or not responding to adjustments. In such cases, try updating your Chromebook’s software to the latest version. Software updates often include bug fixes and improvements that may address such issues. If the problem persists, perform a powerwash (factory reset) on your Chromebook, but make sure to back up your important files before doing so.
- Dim or flickering backlight: If the keyboard backlight appears dim or flickers, it could be due to a hardware issue. Check the physical connections between your keyboard and Chromebook to ensure they are secure. If the issue persists, contact the manufacturer’s support for assistance with repairing or replacing the keyboard.
- Keyboard backlight draining battery: If you notice that enabling the keyboard backlight significantly impacts your Chromebook’s battery life, consider adjusting the brightness level or using the backlight sparingly when not required. Lowering the brightness or using power-saving features can help minimize battery consumption.
If the troubleshooting tips mentioned above do not resolve your issue, reach out to your Chromebook manufacturer’s support or visit their online community forums to seek additional assistance specific to your device model.
Remember, each Chromebook model may have its own quirks and solutions, so it’s important to consult the appropriate resources for accurate troubleshooting guidance.
Conclusion
Enabling the keyboard backlight on your Chromebook can greatly enhance your typing experience, providing better visibility and increased productivity, especially in low-light conditions. By following our step-by-step guide, you can easily enable the keyboard backlight and enjoy illuminated keys.
First, check your Chromebook’s compatibility for a backlit keyboard by referring to the manufacturer’s specifications, visually inspecting your device, or checking the keyboard settings. Once confirmed, proceed to enable the keyboard backlight through the Chromebook settings, adjusting the brightness level according to your preference.
Should you encounter any issues, such as the absence of a keyboard backlight option, inconsistent behavior, or dim/flickering backlight, refer to our troubleshooting tips. These suggestions include checking compatibility, adjusting settings or brightness, updating software, performing a powerwash, or seeking assistance from the manufacturer’s support.
Remember to keep your Chromebook’s model and software version in mind, as they may affect the specific steps or terminology. If all else fails, consult the manufacturer’s documentation or support resources for further assistance.
With the keyboard backlight enabled, you can now enjoy an improved typing experience, even in dimly lit environments. Whether you’re working late at night, in a dimly lit room, or during travel, the illuminated keys will make it easier to type accurately and comfortably.
So go ahead, make your Chromebook keyboard light up, and unlock a new level of productivity and convenience!


