Introduction
Welcome to the world of 3D printing, where imagination becomes reality! In this rapidly evolving field, the ability to create intricate objects with a 3D printer has revolutionized various industries, from manufacturing to healthcare. However, the process of transforming a digital design into a physical object requires more than just a 3D printer.
One crucial component of 3D printing is G-Code. G-Code is a language that enables the printer to understand and execute the instructions necessary to bring your design to life. In simpler terms, it is the bridge between your digital model and the physical object.
Understanding G-Code is essential for any 3D printing enthusiast or professional. It allows you to fine-tune your prints, optimize printing parameters, and troubleshoot potential issues that may arise during the printing process. In this article, we will guide you through the process of creating G-Code for your 3D printer, from choosing the right software to troubleshooting common problems.
Whether you are a beginner or an experienced 3D printing enthusiast, this guide will help you navigate the world of G-Code and make the most out of your 3D printer. So, let’s dive in and explore the fundamentals of G-Code for 3D printing!
What is G-Code?
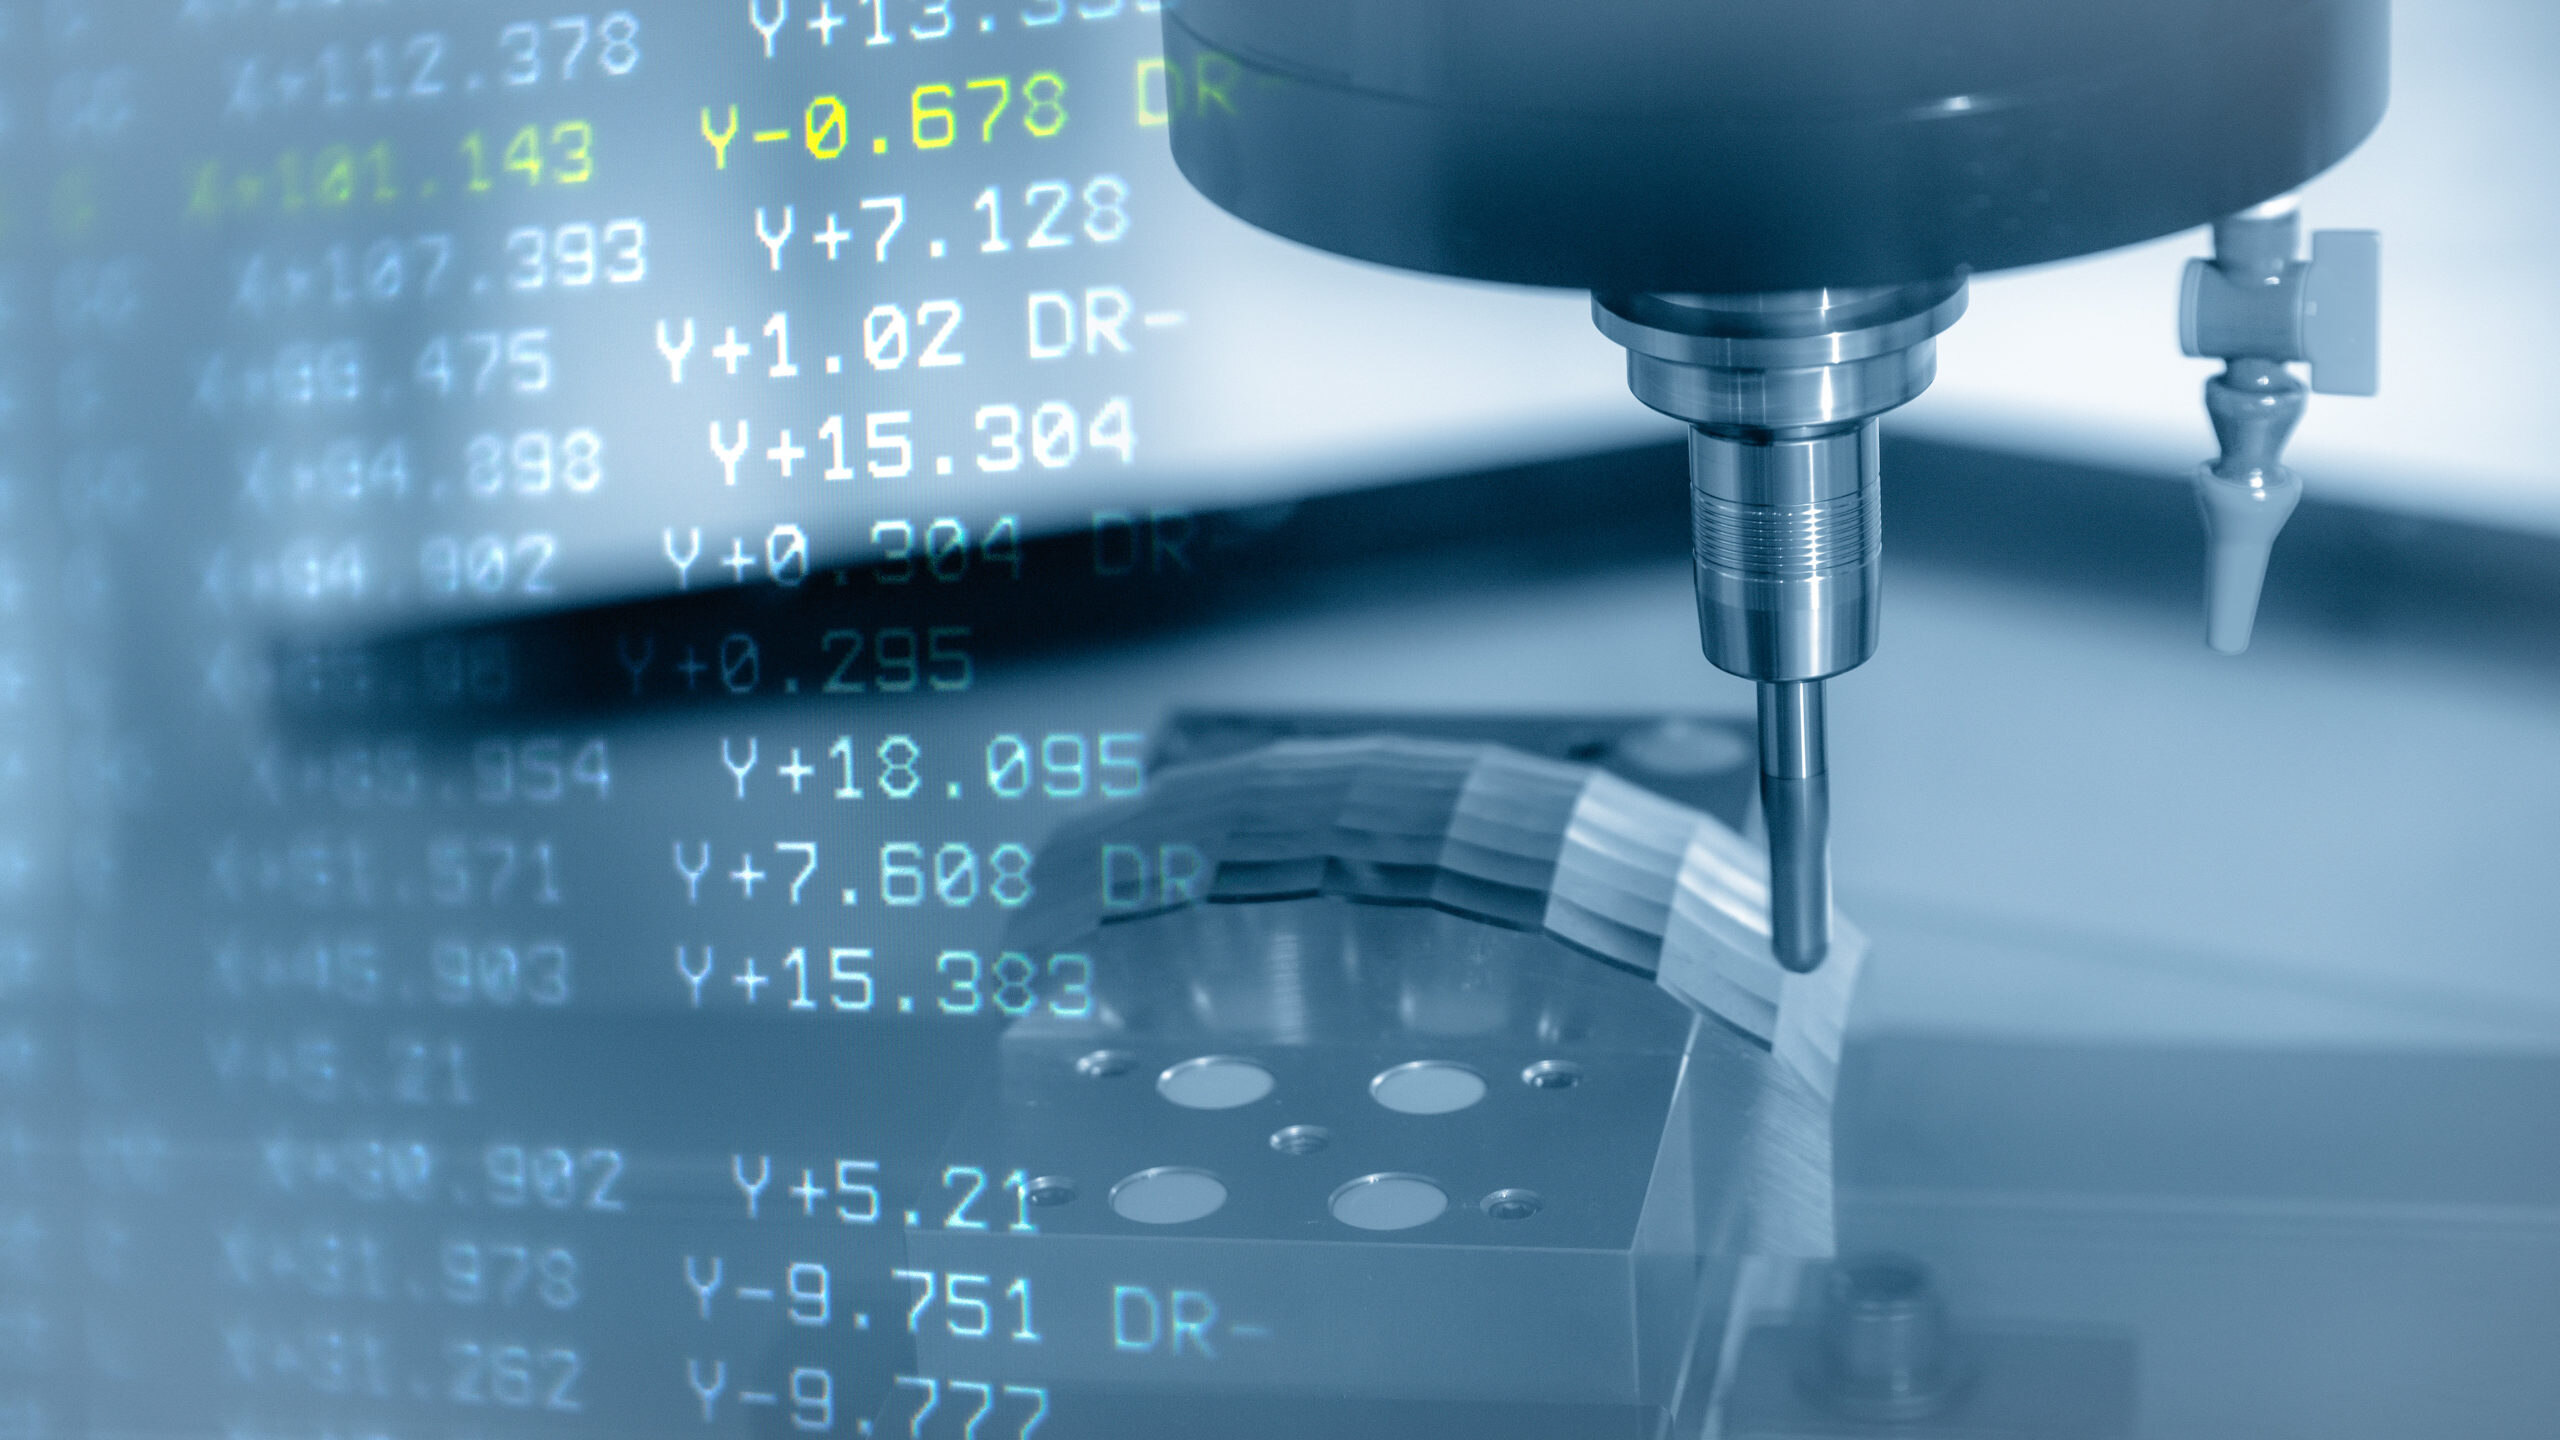
Before we delve deeper into the process of creating G-Code for 3D printing, let’s take a moment to understand what G-Code actually is. G-Code, short for “Geometric Code,” is a programming language specifically designed for controlling computer-numerical-controlled (CNC) machines, including 3D printers.
G-Code serves as a set of instructions that tells the 3D printer how to move, extrude filament, adjust temperatures, and perform other necessary actions to create the desired object. Essentially, it provides step-by-step guidance to the machine, allowing it to translate a digital 3D model into a physical object.
Each line of G-Code consists of a command, preceded by a specific letter or number and followed by parameters or values. These commands can determine the speed of printing, the position of the print head, the temperature of the extruder, and various other aspects of the printing process. By manipulating these commands, you can have precise control over the final output of your 3D prints.
Although G-Code is a universal language for CNC machines, there are variations and extensions specific to 3D printing. For example, Marlin and RepRap are two popular firmware that interpret G-Code commands for 3D printers. Learning the syntax and structure of G-Code is essential to optimize your prints and achieve the desired level of detail and quality.
Now that we have a basic understanding of what G-Code is, let’s move on to exploring the fundamentals of creating G-Code for your 3D printer.
Understanding the Basics of G-Code for 3D Printing
Now that we know what G-Code is, let’s dive into the basics of using G-Code for 3D printing. G-Code consists of a series of commands, each responsible for a specific action in the printing process. Understanding these commands will help you control the various aspects of your 3D prints.
One of the most important G-Code commands is the “G” command, which refers to the movement of the print head. For example, the G1 command controls linear movement, allowing you to specify the coordinates for the printer to move to. The G28 command is used to move the print head to the home position.
The “M” command is also essential in G-Code. The M104 command, for instance, sets the temperature of the extruder, while the M140 command controls the temperature of the print bed. Using these commands effectively is crucial for printing with different materials and optimizing the adhesion of your prints to the print bed.
In addition to movement and temperature commands, G-Code also includes commands for controlling the speed, fan, and extrusion of filament. The “F” command establishes the feed rate or speed of the print head, while the “M106” command controls the fan speed. The “G92” command sets the nozzle position and can be used for calibration purposes.
It’s important to note that G-Code can be quite complex, especially as you start exploring advanced printing techniques. Understanding the basics and gradually expanding your knowledge will enable you to leverage G-Code to its full potential and achieve high-quality prints.
Beyond the individual commands, G-Code also has a specific structure. Each command consists of a letter or number, usually followed by parameters or values enclosed in parentheses. It’s crucial to pay attention to the syntax and formatting to ensure that your G-Code is valid and understandable by your 3D printer.
Now that you have a solid foundation in the basics of G-Code for 3D printing, let’s move on to the next step: choosing the right software for generating G-Code.
Choosing the Right Software for Generating G-Code
When it comes to generating G-Code for your 3D printer, having the right software is essential. The software you choose will determine how efficiently and accurately your 3D models are translated into G-Code instructions. Here are some factors to consider when selecting the software:
1. 3D Modeling Software Integration: Look for software that seamlessly integrates with popular 3D modeling software like Blender, SolidWorks, or Autodesk Fusion 360. This will allow you to directly export your models into the G-Code generator without any compatibility issues.
2. User-Friendliness: Consider the ease of use of the software. Look for a user-friendly interface with clear navigation and intuitive features. This will make the process of generating G-Code easier, especially for beginners who may not be familiar with complex software.
3. Customization Options: Check if the software allows you to customize various printing parameters. Look for features like adjusting layer height, print speed, infill density, and support structures. Customization options will give you more control over the final output of your prints.
4. Update and Support: Ensure that the software is regularly updated with bug fixes and improvements. Also, check if the developers provide prompt customer support to address any issues or queries that may arise during your G-Code generation process.
5. Compatibility: Verify whether the software is compatible with your specific 3D printer. Different printers may have specific G-Code dialects or firmware requirements, so make sure the software supports the specific format your printer uses.
6. Community and Resources: Consider the availability of a strong user community and online resources. Having access to user forums, tutorials, and troubleshooting guides can be invaluable in helping you navigate any challenges you may encounter while generating G-Code.
Take the time to research and compare different software options before making a decision. Some popular software choices for generating G-Code include Ultimaker Cura, PrusaSlicer, Simplify3D, and Slic3r. Each has its own strengths and weaknesses, so it’s important to find the one that best suits your needs and workflow.
Now that you have chosen the software for generating G-Code, it’s time to dive into the step-by-step process of creating G-Code for your 3D printer.
Step-by-Step Guide to Making G-Code for Your 3D Printer
Creating G-Code for your 3D printer may seem daunting, but with the right software and a step-by-step approach, it can be a straightforward process. Here is a guide to help you create G-Code for your 3D printer:
Step 1: Install and Set Up the G-Code Generating Software: Download and install the software of your choice for generating G-Code. Follow the installation instructions provided by the software developer. Once installed, open the software and configure the settings according to your printer’s specifications.
Step 2: Import Your 3D Model: Use the software’s import feature to bring in your 3D model. Ensure that the model is correctly positioned and sized within the software’s build area. You may need to rotate or scale the model to fit your desired specifications.
Step 3: Adjust Printing Parameters: Explore the software’s settings and adjust various printing parameters to match your desired printing quality and speed. These settings may include layer height, print speed, infill density, support structures, and more. Make sure to refer to your printer’s specifications and material guidelines for optimal settings.
Step 4: Generate G-Code: Once you have configured the printing parameters, it’s time to generate the G-Code. Use the software’s slicing function to convert your 3D model into layers and generate the G-Code file. This process may take a few moments, depending on the complexity of your model and the chosen settings.
Step 5: Save and Export G-Code: After the G-Code has been generated, save the file to your computer. Make sure to choose a location that is easily accessible and memorable. Some software may also allow you to directly export the G-Code to an SD card or USB drive for easy transfer to your 3D printer.
Step 6: Transfer G-Code to Your 3D Printer: Connect your 3D printer to your computer or insert the SD card/USB drive containing the G-Code file. Follow your printer’s instructions for transferring the G-Code file. Once transferred, you are ready to start the printing process.
By following these step-by-step instructions, you can create G-Code for your 3D printer with ease. Remember to double-check the G-Code file for any errors or syntax issues before starting the printing process. It’s always a good practice to preview the G-Code or use a G-Code viewer to visualize the toolpath and ensure everything looks as intended.
Now that you have your G-Code ready, it’s important to have a solid understanding of the different G-Code commands and how they impact your 3D prints. In the next section, we will explore the various G-Code commands in more detail.
Understanding the Different G-Code Commands
Now that you have generated your G-Code, it’s important to understand the different G-Code commands and their functions. G-Code commands are used to control various aspects of the 3D printing process, including movement, temperature, speed, and extrusion. Here are some commonly used G-Code commands:
G0 and G1: These commands control linear movement. G0 is used for rapid moves, where the printer moves quickly between points without extruding filament. G1 is used for controlled moves, where the printer moves more slowly while extruding filament.
G28: This command moves the print head to the home position. It is often used at the start of a print or to reposition the print head after a completed print.
G92: This command allows you to set the current position of the printer’s axes. It is often used for calibration and leveling purposes.
M104 and M109: These commands control the temperature of the extruder. M104 sets the temperature without waiting, while M109 sets the temperature and waits until it reaches the desired temperature before proceeding.
M140 and M190: These commands control the temperature of the print bed. M140 sets the temperature without waiting, while M190 sets the temperature and waits until it reaches the desired temperature before proceeding.
M106: This command controls the fan speed. The fan is often used to improve print quality by cooling the printed layers and reducing the chances of warping.
M107: This command turns off the fan. It is useful when printing materials that do not require additional cooling, such as certain filaments that are sensitive to rapid temperature changes.
F: This command controls the feed rate or print speed. It determines how fast the print head moves during printing.
In addition to these basic commands, G-Code also includes other commands for controlling extruder retraction, bed leveling, filament loading, and more. Understanding these commands and their parameters will allow you to fine-tune your prints and optimize the printing process.
Now that you have a better understanding of the different G-Code commands, let’s explore how you can fine-tune your G-Code to achieve optimal 3D printing results in the next section.
Fine-Tuning Your G-Code for Optimal 3D Printing Results
Creating high-quality 3D prints requires more than just generating G-Code. Fine-tuning your G-Code parameters can significantly improve the print quality and overall performance of your 3D printer. Here are some important aspects to consider when fine-tuning your G-Code:
1. Layer Height: Adjusting the layer height can impact the level of detail in your prints. A smaller layer height produces finer details but may increase print times, while a larger layer height can speed up printing but may result in less detailed prints. Experiment with different layer heights to find the balance that suits your project.
2. Print Speed: Controlling the print speed can significantly affect the quality of your prints. Faster print speeds can reduce overall print time but may sacrifice fine details and accuracy. Slower speeds, on the other hand, can enhance print quality but may extend print times. Find the optimal print speed for your specific 3D printer and material.
3. Infill Density: Adjusting the infill density can impact the strength and weight of your prints. Higher infill densities provide more structural support but require more material and increase print time. Lower infill densities reduce material consumption but may result in less robust prints. Consider the desired balance between strength and material usage.
4. Support Structures: When printing models with overhangs or complex geometries, enabling support structures can ensure successful prints. Most slicing software provides options for generating support structures automatically. Adjust the support density, pattern, and placement based on the complexity of your model.
5. Cooling Settings: Cooling plays a vital role in achieving optimal print quality. Ensure that adequate cooling is enabled to prevent overheating and improve layer adhesion. Experiment with fan speeds, layer cooling times, and other cooling settings to find the optimal balance for your prints.
6. Retraction: Proper retraction settings can minimize stringing and oozing during the printing process, resulting in cleaner prints. Adjust the retraction speed and distance to reduce the amount of filament being pulled back when moving between print areas.
It’s important to note that fine-tuning your G-Code settings requires careful experimentation and testing. Make incremental adjustments to one parameter at a time and evaluate the results before making further changes. Keep detailed notes of the settings used for each print, as this will help you identify the optimal parameters for future projects.
By refining your G-Code parameters, you can achieve the optimal balance between print quality, speed, and material usage. However, even with fine-tuned G-Code, issues may still arise during the printing process. In the next section, we will explore common troubleshooting strategies for G-Code related problems.
Troubleshooting Common Issues with G-Code for 3D Printing
While creating and fine-tuning your G-Code, it’s possible to encounter certain issues that affect the quality or functionality of your 3D prints. Understanding how to troubleshoot these common G-Code-related issues can help you overcome challenges and achieve better results. Here are some common problems and their potential solutions:
1. Print Layer Shift: If you notice that your print layers are shifting or misaligned, it could indicate a problem with G-Code settings. Check the belts, pulleys, and other mechanical components of your 3D printer to ensure they are properly tightened. Additionally, review the G-Code commands related to movement (such as G0 and G1) to ensure they are accurate.
2. Stringing and Oozing: Stringing occurs when the filament leaves unwanted strands or “strings” during non-printing movements. To minimize stringing, adjust the retraction settings in your G-Code to pull back the filament when moving between print areas. Additionally, decrease the print temperature and increase cooling to reduce the viscosity of the filament.
3. Warping and Adhesion Issues: Warping is common when printing with certain materials like ABS. Ensure that your print bed is properly leveled and heated to the recommended temperature. Adjust the initial layer height and print speed in the G-Code to promote proper adhesion. Consider using a brim or raft to improve bed adhesion for large or complex prints.
4. Over- and Under-Extrusion: Over-extrusion occurs when too much filament is deposited, leading to bulbous or rough prints. Under-extrusion, on the other hand, results in gaps or weak layers. To address over-extrusion, adjust the extrusion multiplier or flow rate in the G-Code settings. For under-extrusion, check the nozzle for clogs or improper feeding of filament and adjust the extrusion temperature or retraction settings accordingly.
5. Print Speed Inconsistencies: Inconsistent print speed can cause visible variations in the quality of your print layers. Check the G-Code settings to ensure that the print speed is consistent throughout the print. Adjust the acceleration and jerk settings in the G-Code to reduce sudden changes in speed that may impact the print quality.
6. Print Quality Issues: Various factors can affect print quality, such as layer height, infill density, and support structures. Experiment with different G-Code settings to find the optimal balance for your specific prints. Additionally, consider calibrating your printer for accurate and consistent extrusion, bed leveling, and overall mechanical performance.
When troubleshooting G-Code-related issues, it’s crucial to work methodically and make small, incremental changes to your G-Code settings. Keep detailed records of your changes, and test each adjustment to evaluate its impact on print quality and functionality.
By understanding the common issues that can occur with G-Code for 3D printing and applying the appropriate troubleshooting strategies, you can overcome challenges and achieve better results with your prints.
Now that we’ve covered troubleshooting strategies, let’s move on to some helpful tips and best practices for generating G-Code for your 3D printer.
Tips and Best Practices for Generating G-Code
Generating G-Code for your 3D printer requires attention to detail and an understanding of the underlying principles. Here are some tips and best practices to help you streamline the process and achieve the best results:
1. Understand Your Printer: Familiarize yourself with the specifications and capabilities of your 3D printer. Different printers may have specific requirements and limitations that should be taken into account when generating G-Code.
2. Calibrate Your Printer: Regularly calibrate your printer to ensure optimal performance. This includes leveling the bed, checking the extrusion rate, and ensuring the printer’s mechanical components are properly adjusted.
3. Use High-Quality 3D Models: Start with high-quality and clean 3D models. Models with errors or inconsistencies can lead to issues in the G-Code generation process and ultimately affect the final print quality.
4. Optimize Support Structures: When generating G-Code for models that require support structures, optimize their placement and density. Avoid unnecessary support structures that can be difficult to remove or affect the surface finish of the print.
5. Use Customizable G-Code Scripts: Many slicing software allows for the integration of custom G-Code scripts. Utilize these scripts to automate specific actions or add personalized print settings for different materials or projects.
6. Experiment with Different Settings: Don’t be afraid to experiment with different settings and parameters, such as layer height, infill density, or print speeds. This iterative process can lead to better understanding and optimization of the G-Code for your specific prints.
7. Regularly Update Slicing Software: Keep your slicing software up to date with the latest versions. Software updates often include bug fixes, performance improvements, and new features that can enhance the G-Code generation process.
8. Maintain Proper Filament Settings: Ensure that your filament settings, such as diameter and flow rate, are accurately configured in the slicing software. This helps achieve precise extrusion and prevents under- or over-extrusion issues.
9. Review and Validate G-Code: Before starting a print, review the generated G-Code in a G-Code viewer or simulator to ensure that it appears as intended. Pay attention to movement paths, temperatures, and other critical parameters.
10. Document Your Successful Settings: Once you find the optimal G-Code settings for a specific material or print, document them for future reference. This allows you to replicate successful prints and save time on future projects.
By following these tips and best practices, you can improve the efficiency and effectiveness of your G-Code generation process. Remember that G-Code generation is a continuous learning experience, and fine-tuning the settings takes time and patience.
Now that you are armed with these valuable tips, you can create G-Code for your 3D printer with confidence and achieve exceptional results.
Conclusion
Creating G-Code for your 3D printer is a crucial step in the 3D printing process. Understanding the basics of G-Code, choosing the right software, and fine-tuning your G-Code parameters can have a significant impact on the quality and success of your 3D prints.
In this comprehensive guide, we have explored what G-Code is and its importance in 3D printing. We have discussed the basics of G-Code for 3D printing, including the different commands and their functions. Furthermore, we have provided a step-by-step guide to creating G-Code for your 3D printer, as well as offering troubleshooting strategies for common G-Code-related issues.
Additionally, we have shared valuable tips and best practices to optimize the G-Code generation process, such as understanding your printer, calibrating it regularly, using high-quality 3D models, and experimenting with different settings. These practices will help you achieve optimal results and unlock the full potential of your 3D printer.
Remember, generating G-Code is an ongoing learning process. Through experimentation, testing, and continuous refinement, you can further enhance your G-Code skills and produce exceptional 3D prints.
Now that you have a solid foundation in G-Code for 3D printing, it’s time to apply this knowledge and embark on your 3D printing journey. Enjoy the process of bringing your digital designs to life, and embrace the endless possibilities that lie ahead!


