Introduction
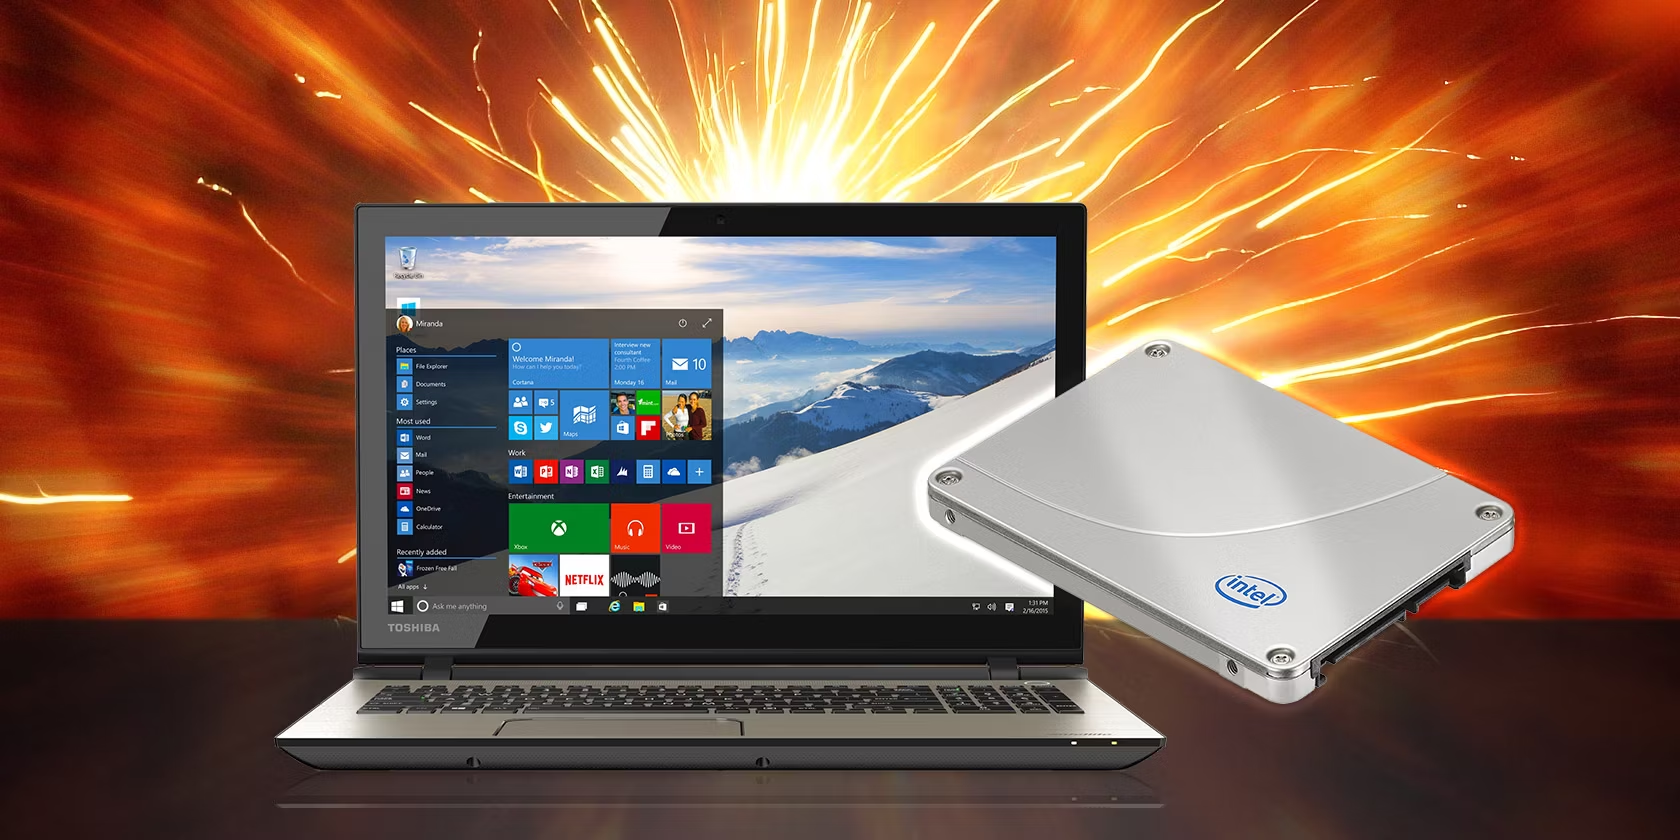
Installing Windows 8 on an SSD (Solid State Drive) can greatly enhance your computer’s performance and speed. An SSD is a storage device that uses flash memory to store and retrieve data quickly, unlike traditional hard drives that utilize spinning disks. This makes it an ideal choice for those looking to optimize their system’s responsiveness and reduce load times.
In this article, we will guide you through the process of installing Windows 8 on an SSD. We will cover the necessary requirements, step-by-step instructions, and tips to ensure a successful installation. By following this guide, you can experience the benefits of faster boot times, improved application responsiveness, and smoother overall performance.
Before we dive into the installation process, it’s important to note that installing Windows 8 on an SSD requires some preparation and attention to detail. You will need to back up your data, create a Windows 8 installation media, prepare your SSD, and perform the installation. Additionally, you will need to configure Windows 8 on the SSD, install drivers, and apply updates to ensure optimal functionality.
This guide is suitable for both novice and experienced users. Whether you’re upgrading your existing system or building a new one, our step-by-step instructions will help you through the process. So, let’s get started and unlock the full potential of your SSD with Windows 8!
Requirements
Before you begin the process of installing Windows 8 on an SSD, there are a few requirements that you need to meet. Ensuring that you have the necessary hardware, software, and tools will make the installation process smoother and more successful. Here’s what you’ll need:
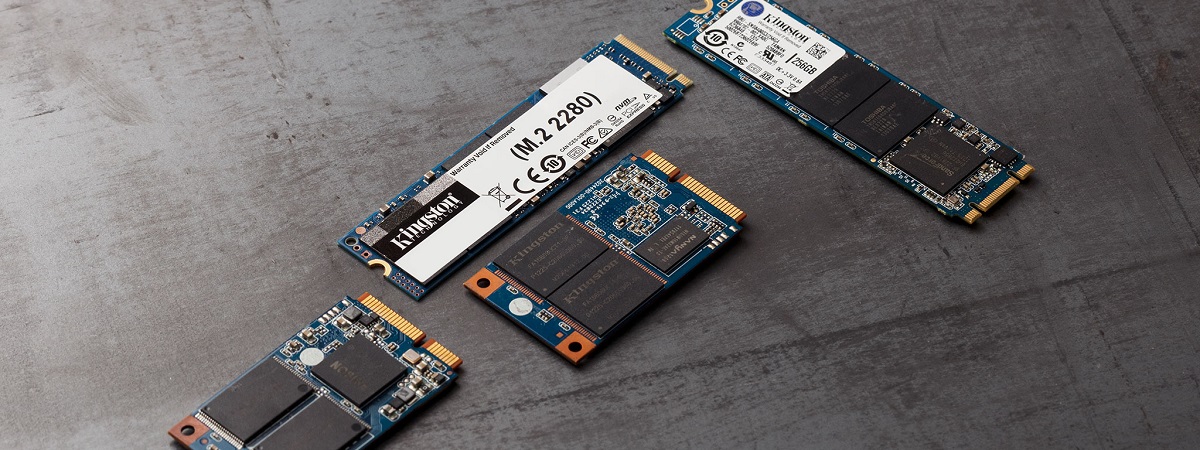
- SSD: Of course, you’ll need an SSD to install Windows 8. Make sure you have a compatible SSD with sufficient storage capacity for the operating system and any additional software you plan to install.
- Windows 8 Installation Media: You will need a copy of the Windows 8 operating system installation media. This can be in the form of a physical DVD or a USB drive. If you don’t already have a Windows 8 installation media, you can create one using Microsoft’s Media Creation Tool.
- Data Backup: It’s crucial to back up all your important files and data before proceeding with the installation. This will ensure that your data is safe in case of any unexpected issues during the installation process.
- Computer: You will need a computer that meets the minimum system requirements for running Windows 8. This includes a compatible processor, sufficient RAM, and other hardware specifications. Check the official Microsoft website for the detailed system requirements.
- External Storage Device: Having an external storage device, such as a USB drive or external hard drive, is useful for storing the backup of your data. This will allow you to easily restore your files after the installation of Windows 8 on the SSD.
- Internet Connection: An internet connection is recommended during the installation process to download updated drivers and software patches. It will ensure that you have the latest updates and enhancements for your system.
By fulfilling these requirements, you will have everything you need to successfully install Windows 8 on your SSD. Make sure to double-check the hardware compatibility and gather all the necessary tools and resources before starting the installation process.
Step 1: Backup Your Data
Before proceeding with the installation of Windows 8 on your SSD, it is crucial to back up all your important data to ensure that you don’t lose any files or documents during the process. Here’s how you can back up your data:
- Identify Important Files: Take some time to identify the files and folders that are essential to you. This could include documents, photos, videos, music, and any other personal files.
- Choose a Backup Method: There are various backup methods that you can choose from. You can manually copy and paste your files to an external storage device, use cloud storage services, or use dedicated backup software. Choose a method that suits your needs and preferences.
- Create a Backup: Once you have chosen your backup method, start creating a backup of your important data. Follow the instructions of your chosen method to ensure that all your files are securely backed up.
- Verify Your Backup: After the backup process is complete, take some time to verify that your files have been successfully backed up. Check that all your important data is intact and accessible.
- Store Your Backup Safely: It’s crucial to store your backup in a safe location, separate from your computer. Consider using multiple storage devices or a combination of local and cloud storage to ensure redundancy and protection against data loss.
By backing up your data, you can have peace of mind knowing that your important files are secure. In the event of any unexpected issues during the installation process, you can easily restore your data and continue where you left off.
Take your time to complete this step thoroughly, as it is an essential precautionary measure. Once you have successfully backed up your data, you can move on to the next step of installing Windows 8 on your SSD.
Step 2: Create a Windows 8 Installation Media
In order to install Windows 8 on your SSD, you will need to create a Windows 8 installation media. This can be done by following these steps:
- Obtain a Windows 8 ISO: If you don’t have a Windows 8 installation media, you can download a Windows 8 ISO file from the official Microsoft website. Make sure to select the appropriate version and edition of Windows 8 that you want to install.
- Prepare a USB Drive or DVD: You will need a USB drive or a DVD to create the installation media. Ensure that the USB drive has sufficient storage capacity or use a blank DVD for this purpose.
- Download and Use the Media Creation Tool: Microsoft provides a free tool called the “Media Creation Tool” that simplifies the process of creating a Windows 8 installation media. Download the tool from the Microsoft website and follow the on-screen instructions to create the media.
- Select the Installation Media Type: When using the Media Creation Tool, choose the option to create a bootable USB drive or burn the ISO file to a DVD, depending on the method you prefer.
- Wait for the Process to Complete: The tool will take some time to download the required files and create the installation media. Make sure your internet connection is stable during this process.
- Validate the Installation Media: Once the creation process is complete, check the installation media to ensure it is valid and error-free. You can do this by running a verification tool or comparing the file size and checksum to the official Microsoft ISO file.
After creating the Windows 8 installation media, you will have a bootable USB drive or DVD that you can use to install Windows 8 on your SSD. It is recommended to keep the installation media in a safe place for future use or in case you need to reinstall or repair your operating system.
With the installation media ready, you are now prepared to move on to the next step of preparing your SSD for the installation of Windows 8.
Step 3: Prepare Your SSD
Before you install Windows 8 on your SSD, it is essential to prepare the SSD for the installation. This involves various steps to ensure that the SSD is optimized and ready to perform at its best. Follow these guidelines to prepare your SSD:
- Check Compatibility: Make sure that your SSD is compatible with your computer’s hardware and that it meets the necessary requirements for installing Windows 8. Consult the SSD manufacturer’s website or documentation for specific information.
- Connect the SSD: If you haven’t already done so, physically install the SSD into your computer. Ensure that it is securely connected using the appropriate cables and connections.
- Access BIOS/UEFI Settings: Restart your computer and access the BIOS (Basic Input/Output System) or UEFI (Unified Extensible Firmware Interface) settings. This can usually be done by pressing a specific key, such as F2 or Delete, during the startup process. Consult your computer’s documentation for the exact key or combination of keys.
- Enable AHCI Mode: Once in the BIOS/UEFI settings, navigate to the SATA or Storage Settings and enable AHCI (Advanced Host Controller Interface) mode for your SSD. This will allow for optimal performance and compatibility.
- Save and Exit: After making the necessary changes, save the settings and exit the BIOS/UEFI. Your computer will restart.
- Format the SSD: Once your computer has restarted, go to the Disk Management tool in Windows. Locate the SSD and format it using the NTFS file system. Ensure that you are formatting the correct drive to prevent data loss. Take note of the drive letter assigned to the SSD.
- Assign Drive Letter (if needed): In some cases, the SSD may not have a drive letter assigned to it. Right-click on the SSD partition in Disk Management and choose “Change Drive Letter and Paths.” Assign a drive letter to the SSD for easier identification.
By following these steps, you will have successfully prepared your SSD for the installation of Windows 8. The SSD is now ready to receive the operating system and deliver fast and efficient performance. With your SSD prepared, you can proceed to the next step of installing Windows 8.
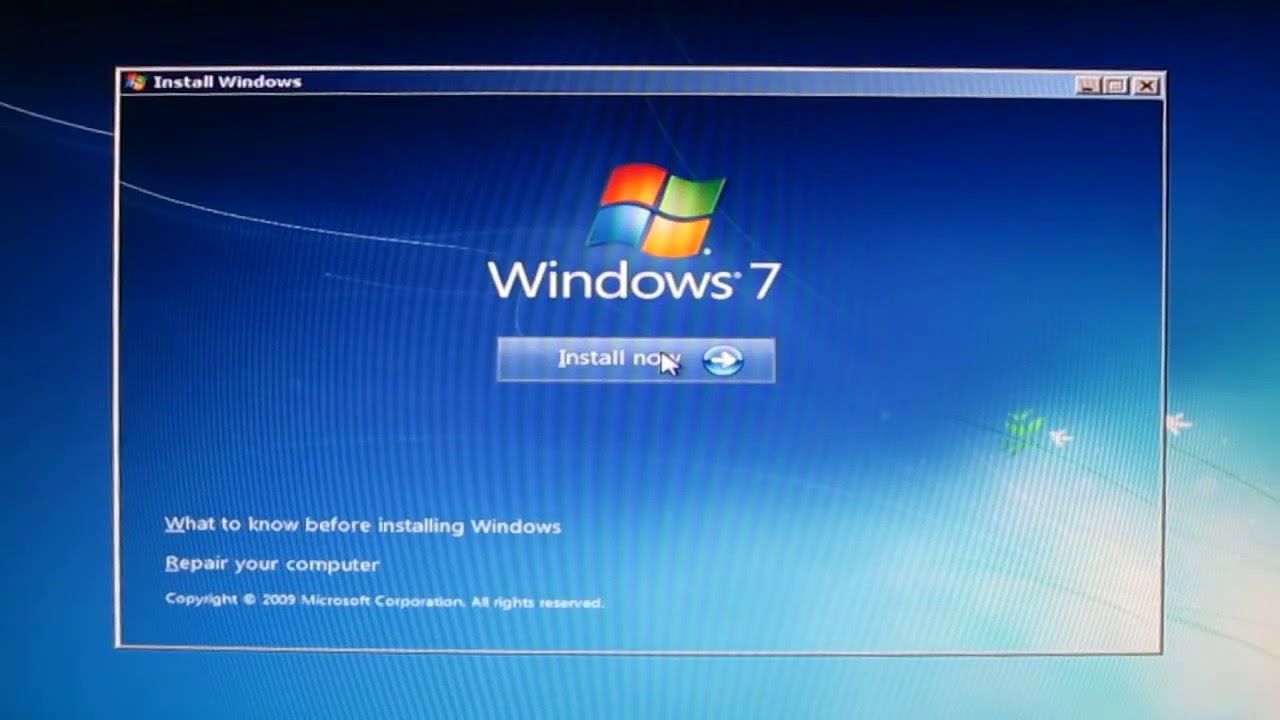
Step 4: Install Windows 8
Now that you have backed up your data, created a Windows 8 installation media, and prepared your SSD, it’s time to install Windows 8. Follow these steps to complete the installation process:
- Boot from the Installation Media: Connect the USB drive or insert the DVD containing the Windows 8 installation media into your computer. Restart your computer and enter the BIOS/UEFI settings. Set the boot order to prioritize the installation media, so your computer will boot from it.
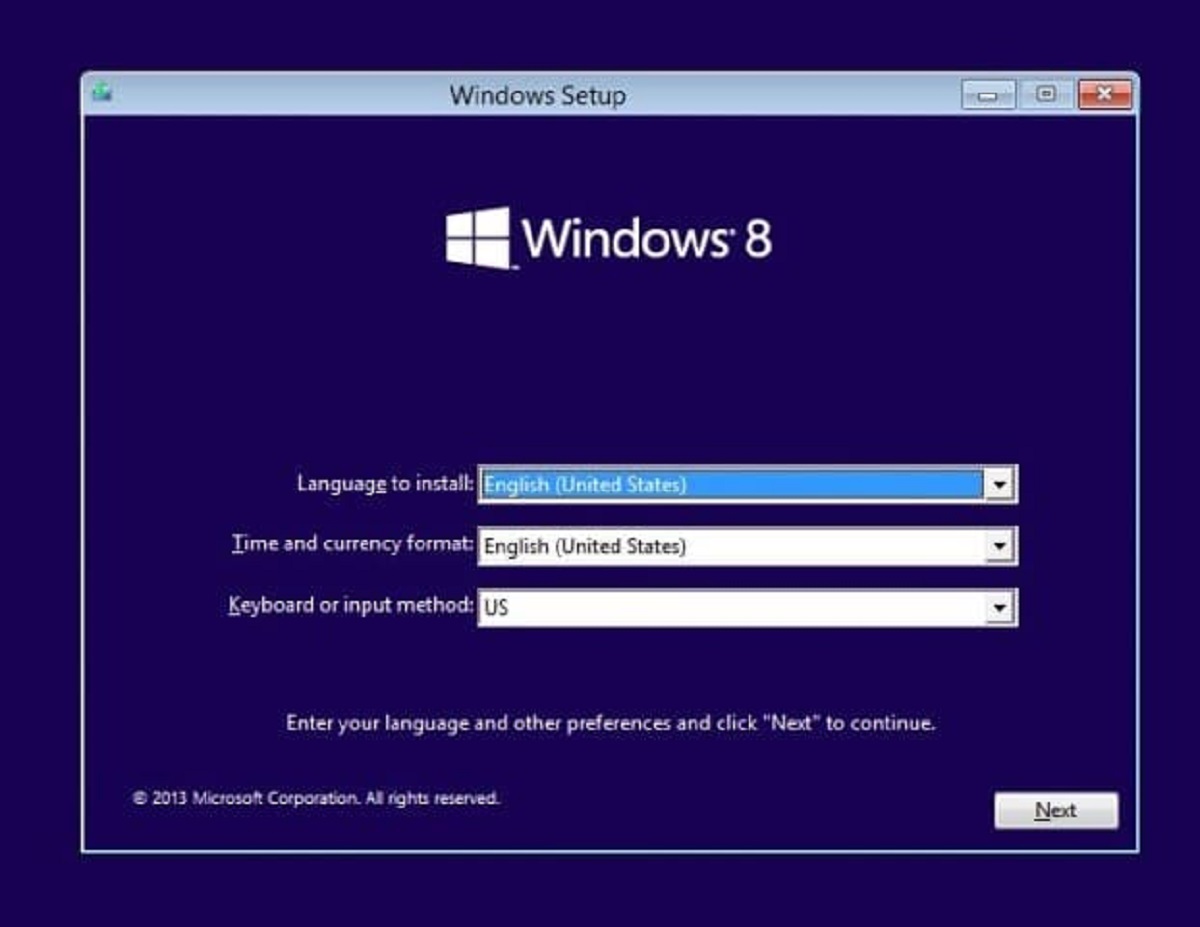
- Start the Installation: Once your computer boots from the installation media, the Windows 8 setup will begin. Select your language, time, and keyboard preferences, and click “Next” to proceed.
- Enter the Product Key: If prompted, enter the product key associated with your copy of Windows 8. Follow the on-screen instructions to proceed.
- Accept the License Terms: Read and accept the license terms and conditions to continue with the installation process.
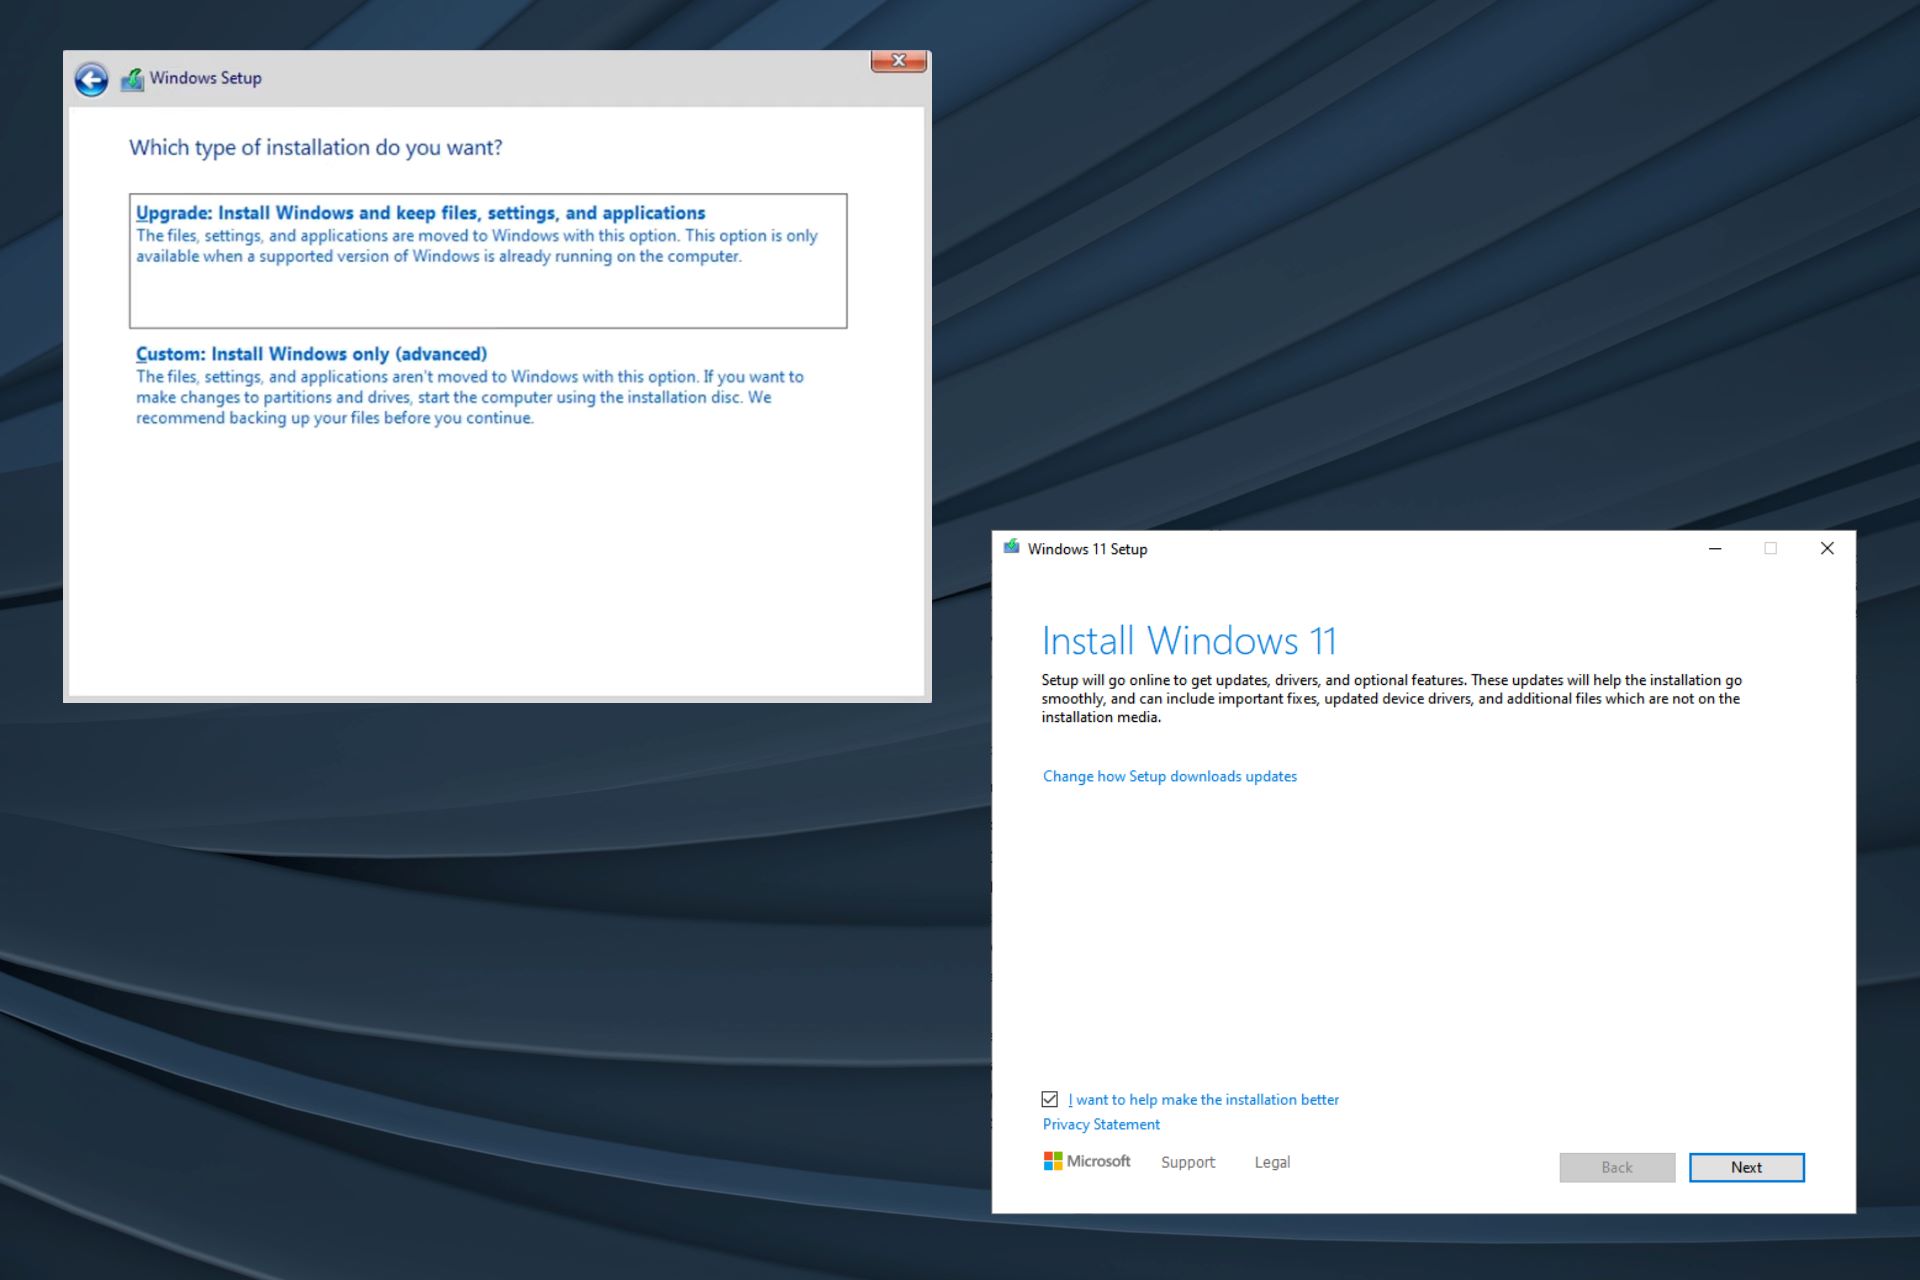
- Select the Installation Type: Choose the “Custom: Install Windows Only (Advanced)” option. This will allow you to install Windows 8 on your SSD, while also providing options to customize the installation.
- Select the SSD as the Installation Location: On the next screen, you will see a list of available drives. Select the partition on your SSD that you formatted earlier. Click “Next” to begin the installation.
- Wait for the Installation to Complete: Windows 8 will now be installed on your SSD. The installation process may take some time, so be patient and wait for it to complete.
- Set Up Personalization and Settings: Once the installation is finished, you will be prompted to personalize Windows 8 and configure settings such as privacy options and user accounts. Follow the on-screen instructions to set up your preferences.
After completing these steps, Windows 8 will be successfully installed on your SSD. Your computer will restart, and you will be greeted with the Windows 8 login screen. Enter your credentials, and you can start exploring and enjoying the features of Windows 8 on your SSD.
Remember to keep your Windows 8 product key in a safe place for future reference, as you may need it for reactivating or reinstalling Windows in case of system changes or hardware upgrades.
Step 5: Configure Windows 8 on SSD
After successfully installing Windows 8 on your SSD, it’s important to configure the operating system to maximize its performance on the SSD. Follow these steps to optimize and customize Windows 8 on your SSD:
- Update Windows: Connect your computer to the internet and check for any available updates for your Windows 8 installation. Installing the latest updates will ensure that your system has the latest bug fixes, security patches, and driver updates.
- Enable Trim: Trim is a command that ensures the SSD maintains optimal performance by erasing unused data blocks. To enable Trim, open the command prompt as an administrator and type in “fsutil behavior set DisableDeleteNotify 0”. Press enter, and Trim will be enabled for your SSD.
- Disable Disk Defragmentation: SSDs do not benefit from traditional disk defragmentation, as it can wear out the drive unnecessarily. Disable automatic disk defragmentation for your SSD through the “Optimize Drives” utility in Windows.
- Adjust Power Settings: Optimize your power settings to ensure that your SSD is utilized efficiently. Access the “Power Options” in the Control Panel and select the “High Performance” power plan. Customize the plan to prevent excessive sleep and hibernation settings.
- Configure Page File: By default, Windows sets up a page file on the SSD. However, to minimize unnecessary writes and preserve the lifespan of the SSD, consider moving the page file to a secondary hard drive or reducing its size. You can adjust the page file settings in the advanced system settings.
- Disable Superfetch and Prefetch: Disable these features to prevent excessive read and write operations on your SSD. Open the “Services” window from the Control Panel, locate the Superfetch and Prefetch services, and set their startup type to “Disabled”.
- Install Essential Software: Install essential software programs that you frequently use and configure them to save files and data to locations other than your SSD. This helps prevent unnecessary writes and reduces the load on the SSD.
- Customize Visual Effects: Adjust the visual effects settings in Windows 8 to strike a balance between aesthetics and performance. Disable unnecessary animations and visual effects to reduce the strain on your SSD.
By following these configuration steps, you can optimize your Windows 8 installation on your SSD. These optimizations will help extend the lifespan of your SSD and ensure optimal performance and durability over time. It’s important to periodically review and update these settings as needed for any changes to your system or software.
With Windows 8 now configured on your SSD, you can enjoy the fast boot times, improved responsiveness, and overall enhanced performance that your SSD brings to your computer.
Step 6: Install Drivers and Updates
After installing Windows 8 on your SSD, it is important to install the necessary drivers and updates to ensure proper functionality and compatibility with your hardware and software. Follow these steps to install drivers and updates:
- Check for Updates: Connect your computer to the internet and go to the Windows Update settings. Check for any available updates and install them. This will ensure that your system is up to date with the latest security patches, bug fixes, and performance improvements.
- Driver Updates: Visit the websites of your computer’s manufacturers or hardware manufacturers to download the latest drivers for your specific components. Install the appropriate drivers for your graphics card, network adapter, sound card, and other peripherals. This will enhance the performance and compatibility of your hardware with Windows 8.
- Windows Store Updates: If you have any apps installed from the Windows Store, open the Store app and check for updates. Install any available updates for your apps to ensure that you have the latest features and bug fixes.
- BIOS/UEFI Updates: Check your computer or motherboard manufacturer’s website for any available BIOS/UEFI updates. These updates can provide improved compatibility and performance for your hardware. Follow the manufacturer’s instructions to safely update the BIOS or UEFI.
- Software Updates: Install updates for your commonly used software programs, such as web browsers, productivity suites, and media players. These updates often include bug fixes, security patches, and new features.
- Verify Device Functionality: After installing the updates and drivers, ensure that all your devices and peripherals are functioning properly. Test the functionality of your network adapters, sound devices, printers, scanners, and any other connected devices.
Installing the necessary drivers and updates is crucial for the optimal performance and stability of your Windows 8 installation. It ensures that your hardware is properly recognized and utilized, and that you have the latest features and security patches for your software.
Regularly check for updates and install them as they become available. This will help keep your system running smoothly and protect against potential vulnerabilities and compatibility issues.
With the drivers and updates installed, you can now enjoy a fully functional and up-to-date Windows 8 experience on your SSD.
Conclusion
Installing Windows 8 on an SSD can greatly enhance your computing experience by providing faster boot times, improved application responsiveness, and overall smoother performance. By following the steps outlined in this guide, you can successfully install Windows 8 on your SSD and optimize it for maximum efficiency.
Remember to back up your data before beginning the installation process to ensure that your important files are safe. Creating a Windows 8 installation media allows for a hassle-free installation and future system repair or reinstallation.
Preparing your SSD and configuring Windows 8 are essential steps to ensure optimal performance. Enabling Trim, adjusting power settings, and customizing visual effects will further enhance the speed and efficiency of your SSD.
Installing the necessary drivers, updates, and software will ensure compatibility, security, and the latest features for your system. Regularly check for updates to maintain a stable and optimized Windows 8 experience.
By following this guide, you can unlock the full potential of your SSD and enjoy the benefits of a faster and more efficient computing experience. Windows 8 combined with an SSD provides a winning combination for improved productivity and enjoyment.
Now that you have learned how to install Windows 8 on an SSD, it’s time to get started and experience the performance boost for yourself. Enjoy the speed and responsiveness that your SSD brings to your Windows 8 operating system!