Introduction
Chrome extensions are a fantastic way to enhance your browsing experience, adding new functionalities and customization options to your Chrome browser. While most extensions can be easily installed from the Chrome Web Store with just a few clicks, you may come across some extensions that are not available in the store or have been removed.
In such cases, the good news is that you can still install Chrome extensions manually. Manually installing an extension involves downloading the extension files and loading them into your Chrome browser. This gives you the freedom to use extensions that are not listed in the store or have been discontinued, ensuring that you can still enjoy their features.
If you’re unfamiliar with the process of manually installing Chrome extensions, fear not! In this article, we will guide you through the step-by-step process to install Chrome extensions manually. Whether it’s an extension that you’ve downloaded from a third-party website or an extension that you’ve developed yourself, this guide will help you get it up and running in no time.
So, if you’re ready to take control of your Chrome browsing experience and explore the world of unique and custom extensions, let’s dive right in and learn how to install Chrome extensions manually.
Step 1: Download the Chrome Extension
The first step in manually installing a Chrome extension is to download the extension files onto your computer. This can be done by visiting the website or source where the extension is available for download. Typically, you’ll find a download link or button that you can click to initiate the download.
Make sure to download the extension from a reliable and trusted source. It’s important to be cautious and avoid downloading extensions from unknown or suspicious websites, as they may contain malware or other security risks.
Once the download is complete, you’ll generally have a zipped file or a folder containing the extension files. Most extensions are packaged in a compressed format to facilitate easy distribution and installation.
After downloading the extension files, it’s a good idea to create a dedicated folder on your computer to keep them organized. This will make it easier to locate the files when you’re ready to install the extension in Chrome.
Remember to keep the downloaded extension files in a safe location, as you will need them in the next steps of the installation process. Now that you have successfully downloaded the Chrome extension, let’s move on to the next step, where we will extract the extension files.
Step 2: Extract the Extension Files
Once you have downloaded the Chrome extension and have the files ready on your computer, the next step is to extract the extension files from the compressed folder. This is necessary to access and load the extension into your Chrome browser.
To extract the extension files, locate the downloaded zipped folder on your computer. Right-click on the folder and select the “Extract” or “Extract Here” option from the context menu. This will unpack the compressed files and create a new folder with the extension files.
After extracting the files, you will see a folder containing various files and folders associated with the extension. These files include the extension’s manifest file, JavaScript files, HTML files, CSS files, and any other resources necessary for the extension to function properly.
It is important to keep the extracted files intact and not modify or delete any of them unless you have a good understanding of the extension’s structure and functionality. Altering the files could result in the extension not working correctly or causing compatibility issues with your browser.
Now that you have successfully extracted the extension files, you are one step closer to installing the extension manually in your Chrome browser. In the next step, we will enable the Developer Mode in Chrome to allow for the installation of the extension.
Step 3: Enable Developer Mode in Chrome
Before you can install a Chrome extension manually, you need to enable Developer Mode in the Chrome browser. Developer Mode allows you to load and test extensions that are not available in the Chrome Web Store.
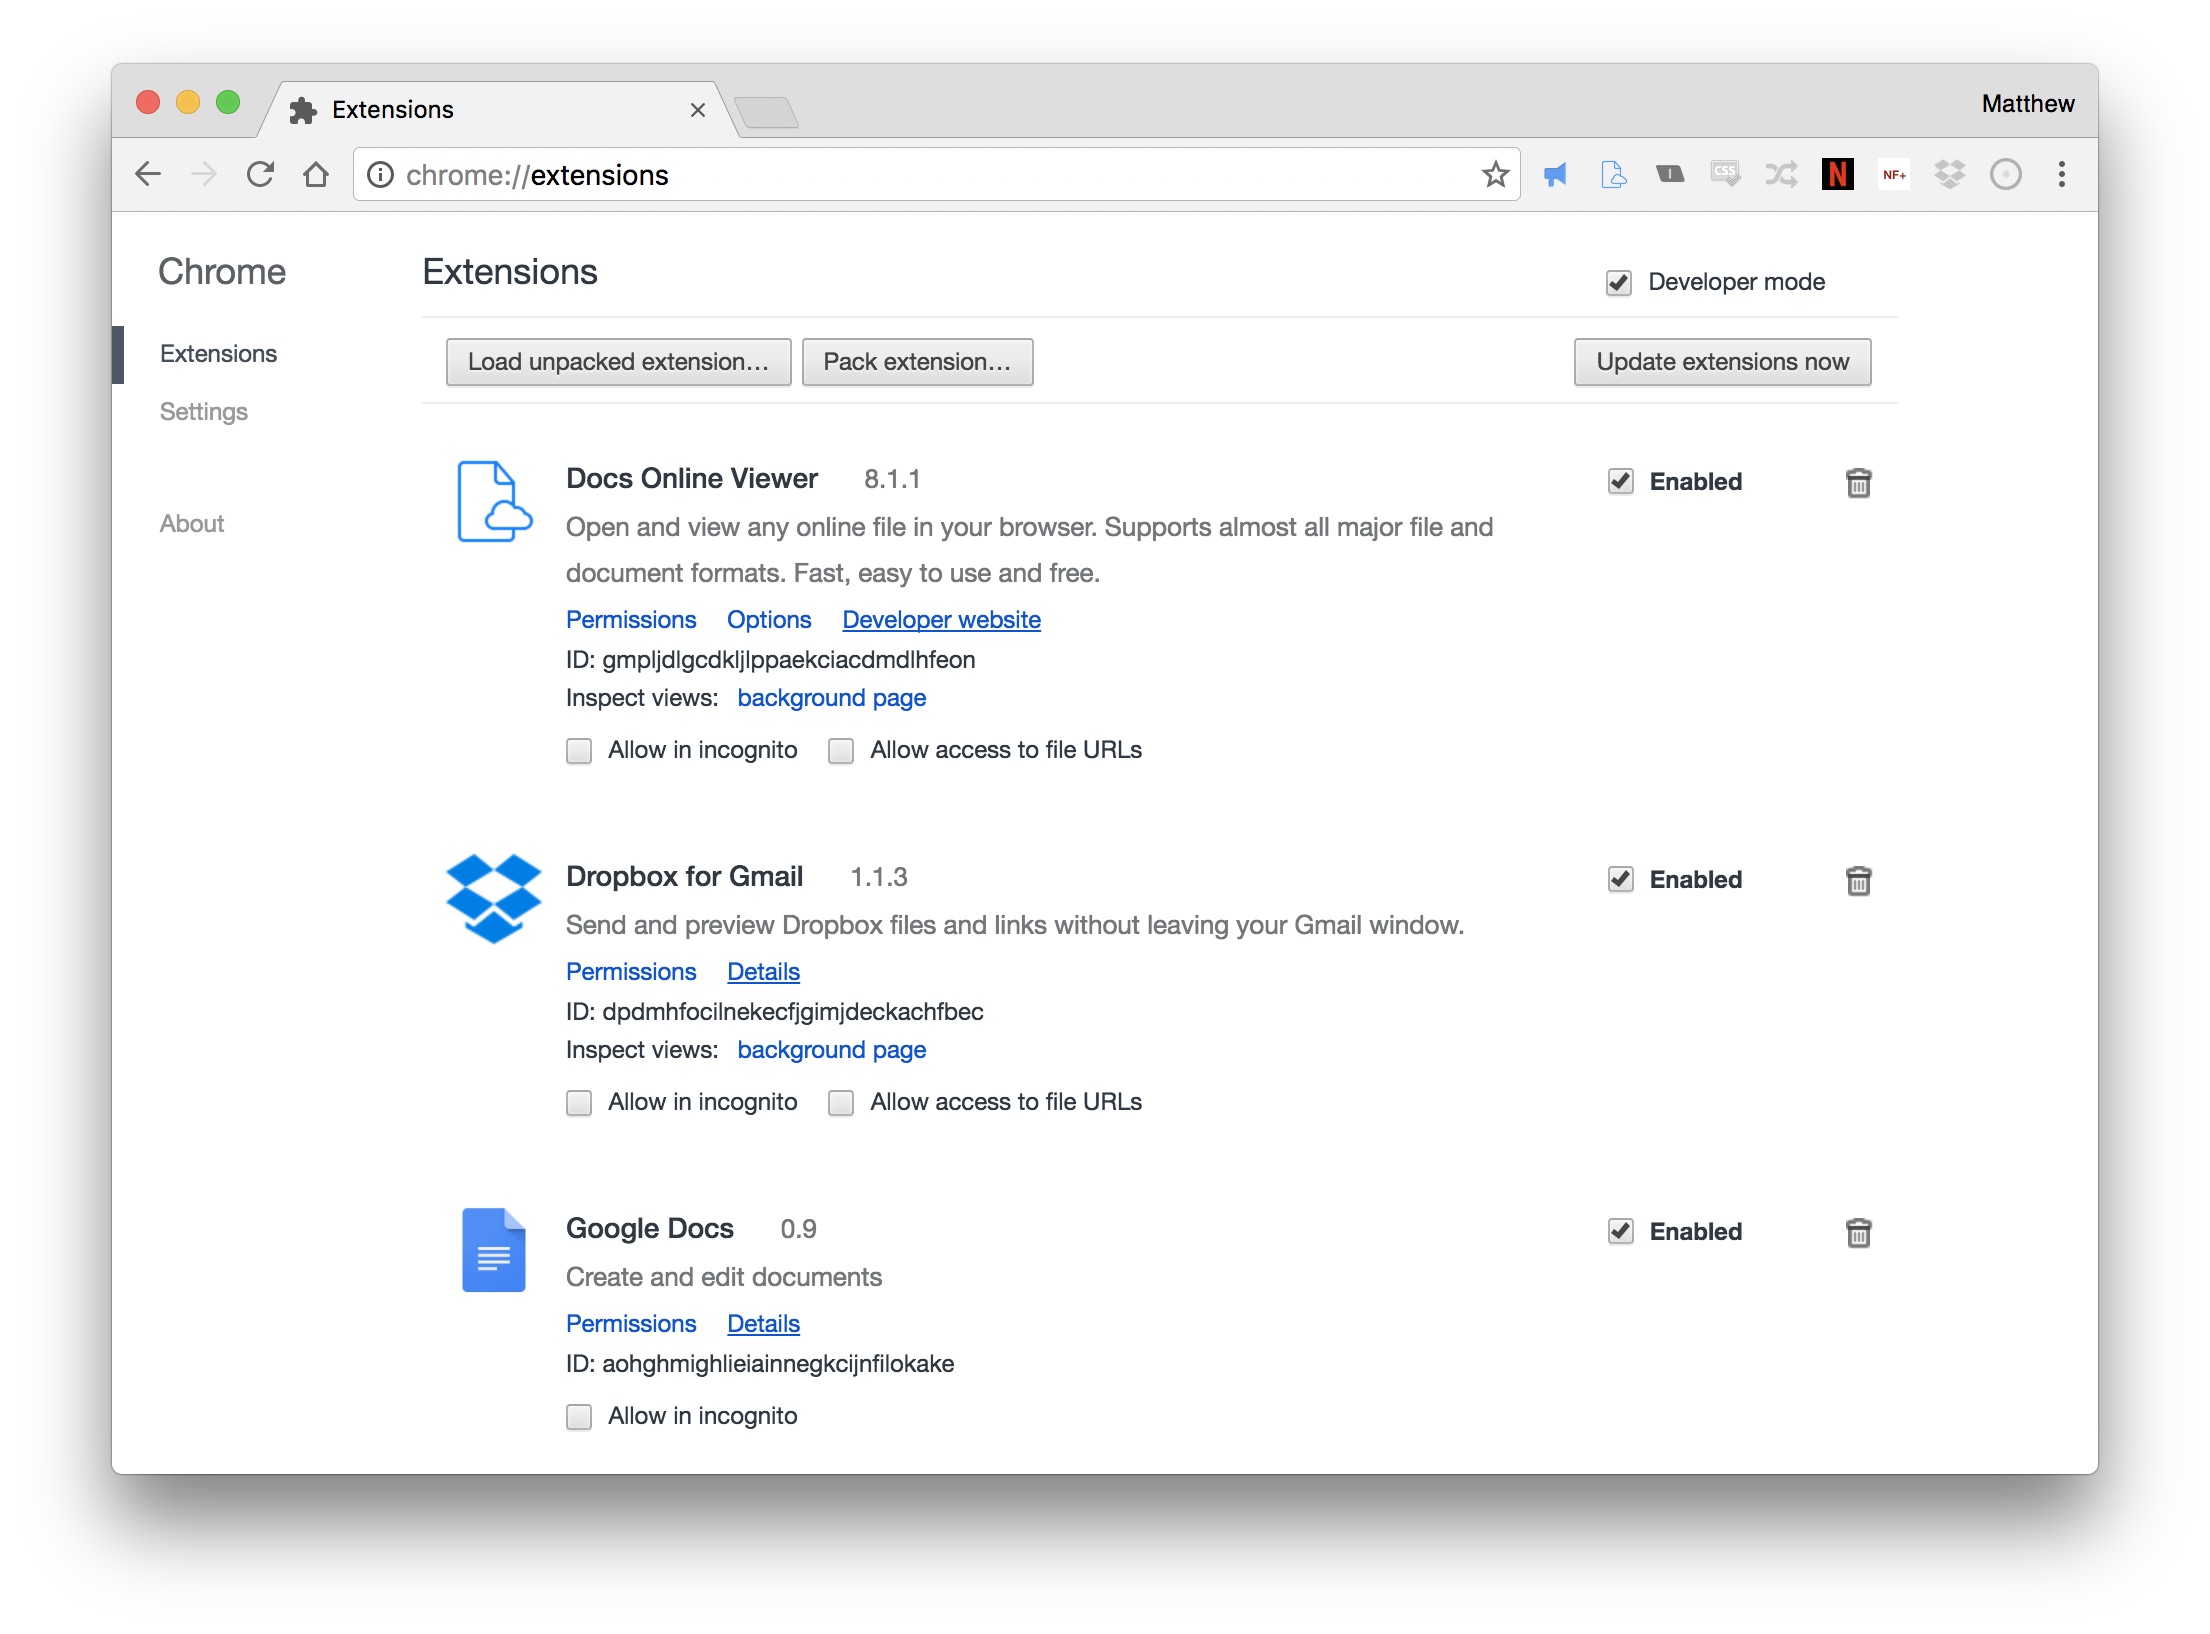
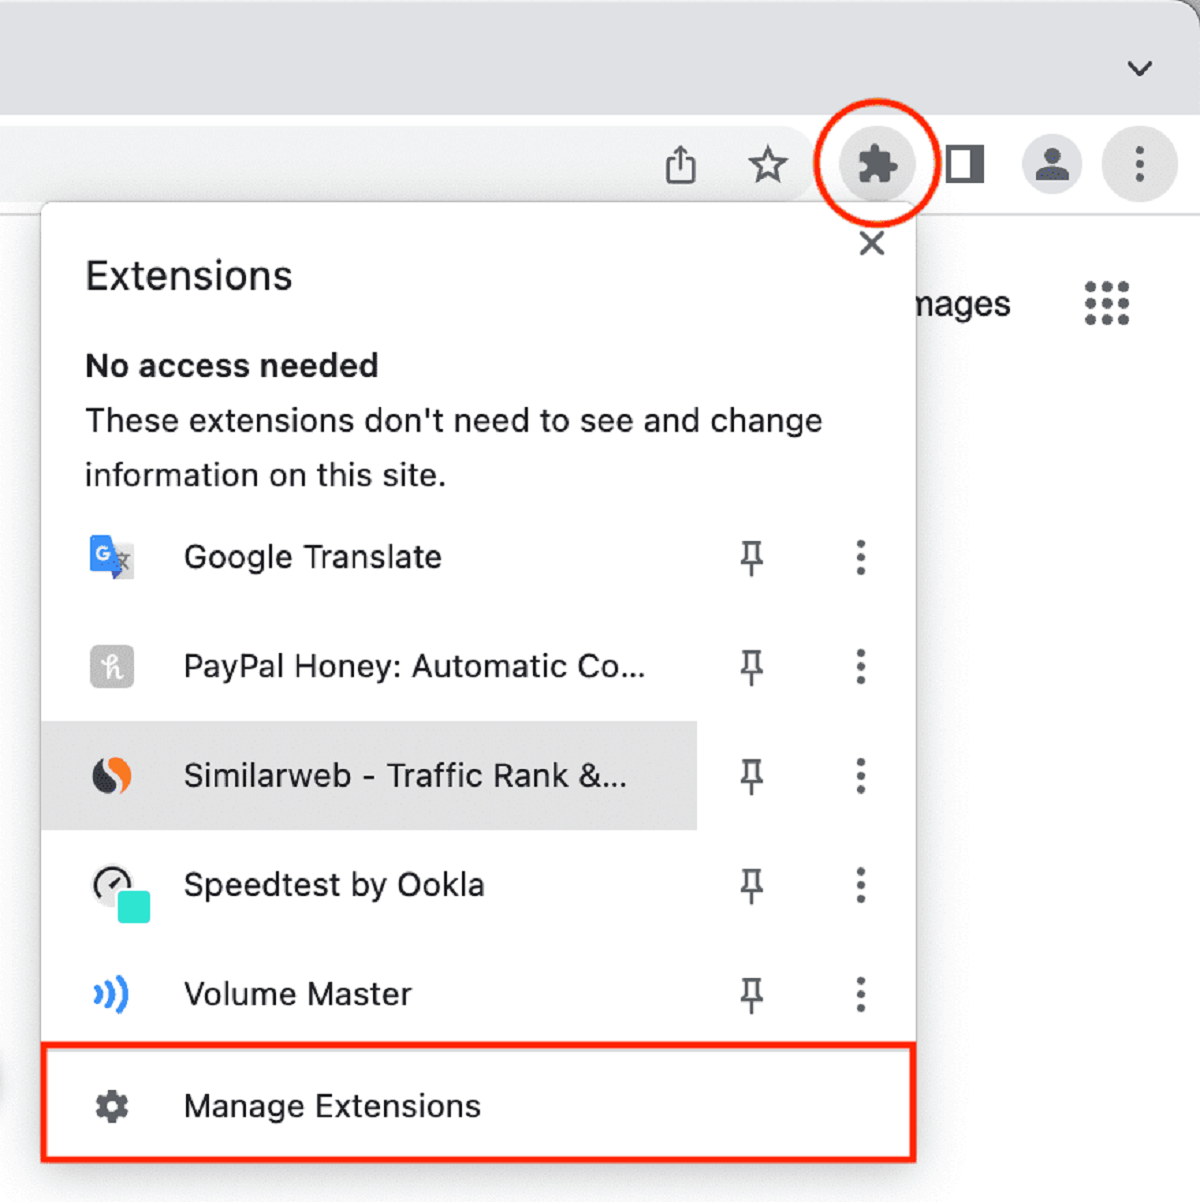
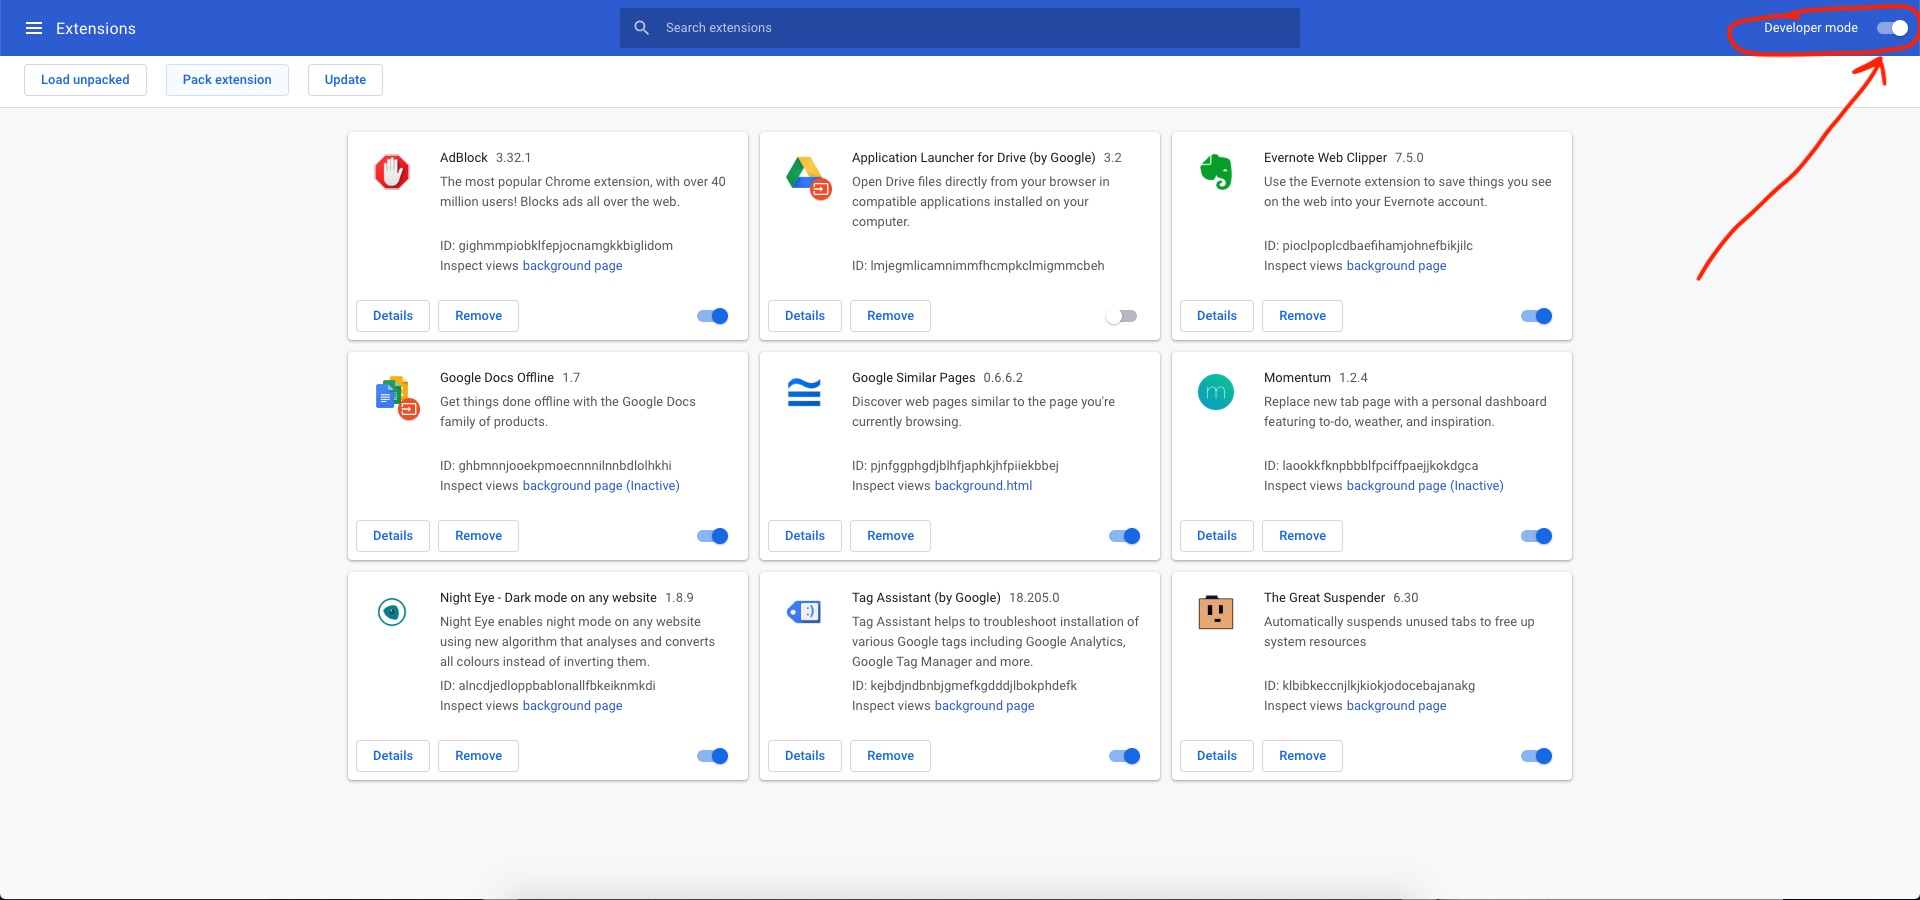
To enable Developer Mode, launch your Chrome browser and access the Extensions settings. You can do this by clicking on the three-dot menu icon in the top-right corner of the browser window, then selecting “More Tools” and “Extensions” from the drop-down menu.
In the Extensions settings, you will find a toggle switch labeled “Developer mode” near the top-right corner of the page. Click on the toggle switch to enable Developer Mode.
Enabling Developer Mode will reveal new options and controls for managing extensions. It’s important to note that enabling Developer Mode does not pose any security risks to your browser as long as you only load and install extensions from trusted sources.
With Developer Mode now enabled, you are ready to proceed to the next step, where we will load the extension into Chrome.
Step 4: Load the Extension in Chrome
Now that you have enabled Developer Mode in Chrome, you can proceed to load and install the manually downloaded extension. This step involves adding the extension files to your Chrome browser.
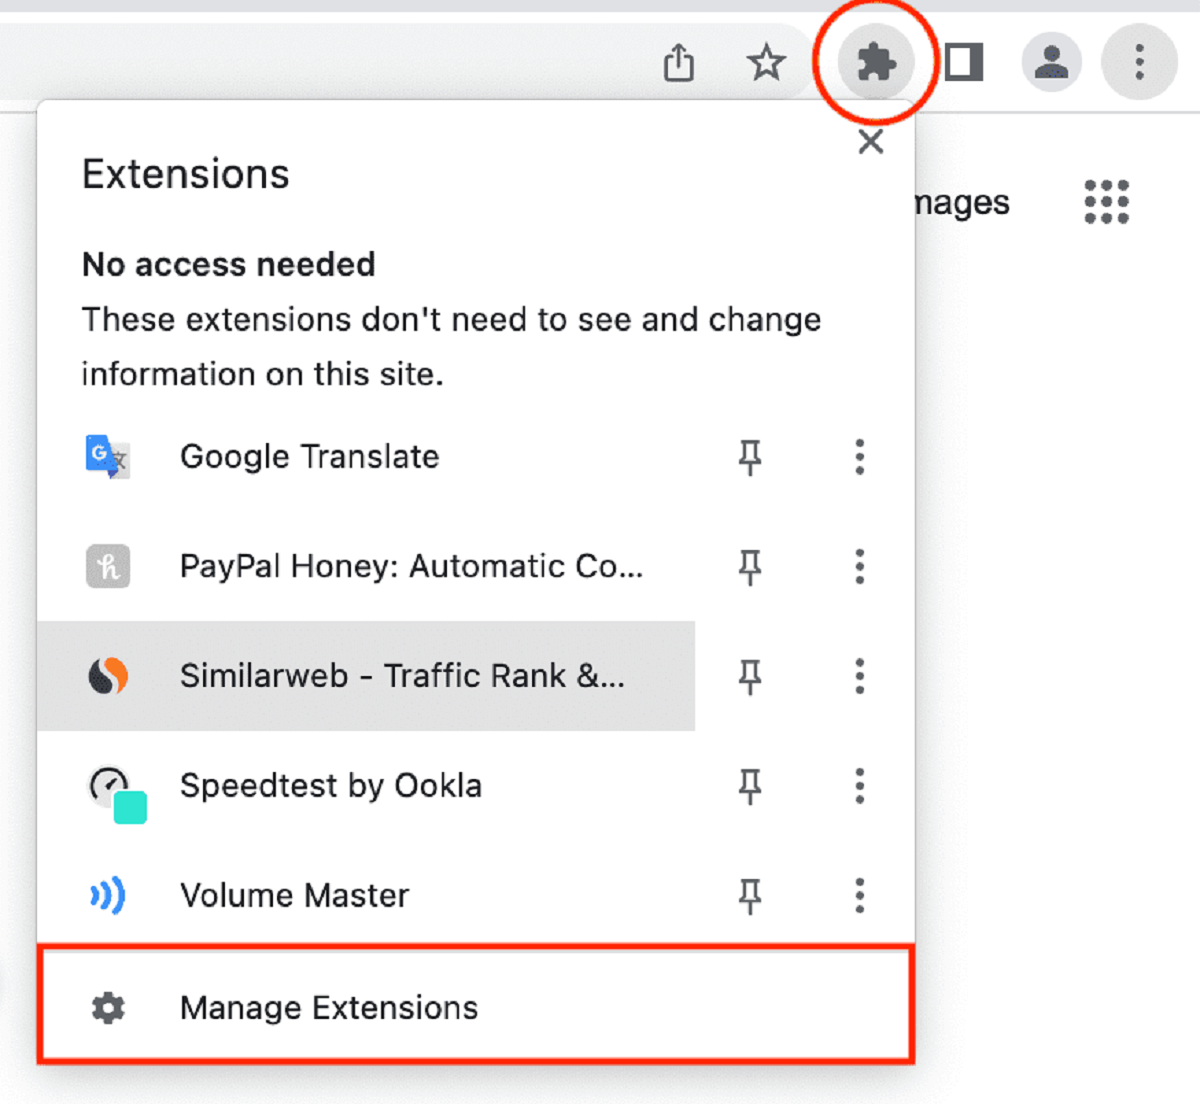
To load the extension, go back to the Extensions settings page in Chrome. You can access this page by clicking on the three-dot menu icon, selecting “More Tools,” and then “Extensions.”
In the Extensions settings, you will now see a new button labeled “Load unpacked” near the top-left corner of the page. Click on this button to open a file browser dialog.
Navigate to the folder where you extracted the extension files in Step 2. Select the folder and click “Open” to load the extension into Chrome.
Once the extension is loaded, you will see a new entry in the Extensions list, representing the manually installed extension. The entry will display the extension’s name, version, and other details.
It’s important to note that you should only load and install extensions from trusted sources to avoid any security risks. Ensure that you have thoroughly vetted the extension and are confident in its authenticity and safety.
Now that you have successfully loaded the extension in Chrome, you are almost done! In the next step, we will test the extension to ensure it is functioning correctly.
Step 5: Test the Extension
After loading the extension in Chrome, it’s crucial to test its functionality to ensure that it is working as expected. Testing the extension will help you verify that all features and functionalities are functioning correctly in your browser.
To test the extension, navigate to a webpage or perform the specific action that the extension is designed to enhance or modify. For example, if you installed a productivity extension, test its features by opening a new tab or trying out its toolbar options.
Pay attention to any changes or additions that the extension introduces to the browser interface or the webpage you’re visiting. Make sure the extension is working as intended and that there are no error messages or unexpected behavior.
If the extension has settings or preferences that can be customized, take some time to explore and modify them according to your preference. This will help you personalize the extension to suit your needs and maximize its effectiveness.
It’s important to thoroughly test the extension’s functionality across different scenarios to ensure its stability. Try using the extension on various websites and in different situations, to guarantee a seamless experience across the board.
If you encounter any problems or note any discrepancies during the testing phase, consider reaching out to the extension developer for support or consulting the documentation provided by the developer. They may be able to assist you in troubleshooting the issue or providing further instructions.
Once you are satisfied with the extension’s performance and have confirmed that it is working correctly, congratulations! You have successfully installed and tested a Chrome extension manually.
Now you can enjoy the added features and enhanced browsing experience offered by the extension. Remember to keep your extensions updated and regularly check for new releases or updates to ensure you’re getting the latest features and security patches.
Conclusion
Manually installing Chrome extensions can be a valuable skill, giving you the flexibility to use extensions not available in the Chrome Web Store or those that have been discontinued. By following the step-by-step guide outlined in this article, you can easily download, extract, load, and test Chrome extensions on your own.
Remember to exercise caution when downloading extension files from third-party websites and only install extensions from trusted sources to avoid any security risks. Enabling Developer Mode in Chrome allows you to load and test these extensions without compromising the safety of your browser.
Testing the functionality of the extension after installation is crucial to ensure that it works as intended and meets your expectations. Take the time to explore its features, customize settings, and test it across various websites and situations to ensure a smooth and seamless experience.
With the ability to manually install Chrome extensions, you can unlock a world of possibilities to enhance your browsing experience. From productivity tools to personalized customization, these extensions can make your time on the internet more efficient, engaging, and enjoyable.
So, go ahead and explore the wide range of Chrome extensions available, from popular ones in the Chrome Web Store to unique extensions you discover on trusted websites. Unleash the full potential of your Chrome browser by installing and utilizing extensions that cater to your specific needs and preferences.
By following the steps outlined in this guide, you can become proficient in manually installing Chrome extensions, giving you more control and customization options over your browsing experience.
Now, it’s time to start exploring, installing, and enjoying the vast world of Chrome extensions at your fingertips. Happy browsing!


