Introduction
When it comes to understanding your computer’s hardware, one important component to familiarize yourself with is the hard disk drive (HDD). The HDD is where your operating system, software, and personal files are stored. Whether you’re interested in upgrading your storage capacity or troubleshooting any issues, it’s crucial to be able to identify your HDD accurately.
In this guide, we will walk you through the process of identifying your hard disk drive. We will cover various aspects, such as the manufacturer, model number, capacity, speed, interface, form factor, connectivity options, firmware information, and health and usage status. By understanding these key details, you’ll have a better grasp of your HDD and be equipped to make informed decisions regarding any necessary upgrades or maintenance.
It’s essential to note that the methods and tools for accessing this information may vary depending on your operating system and computer model. However, the fundamental concepts discussed here should apply to most systems, allowing you to identify your HDD effectively.
So, if you’re ready to dive into the world of HDD identification, let’s get started!
Understanding Hard Disk Drive (HDD)
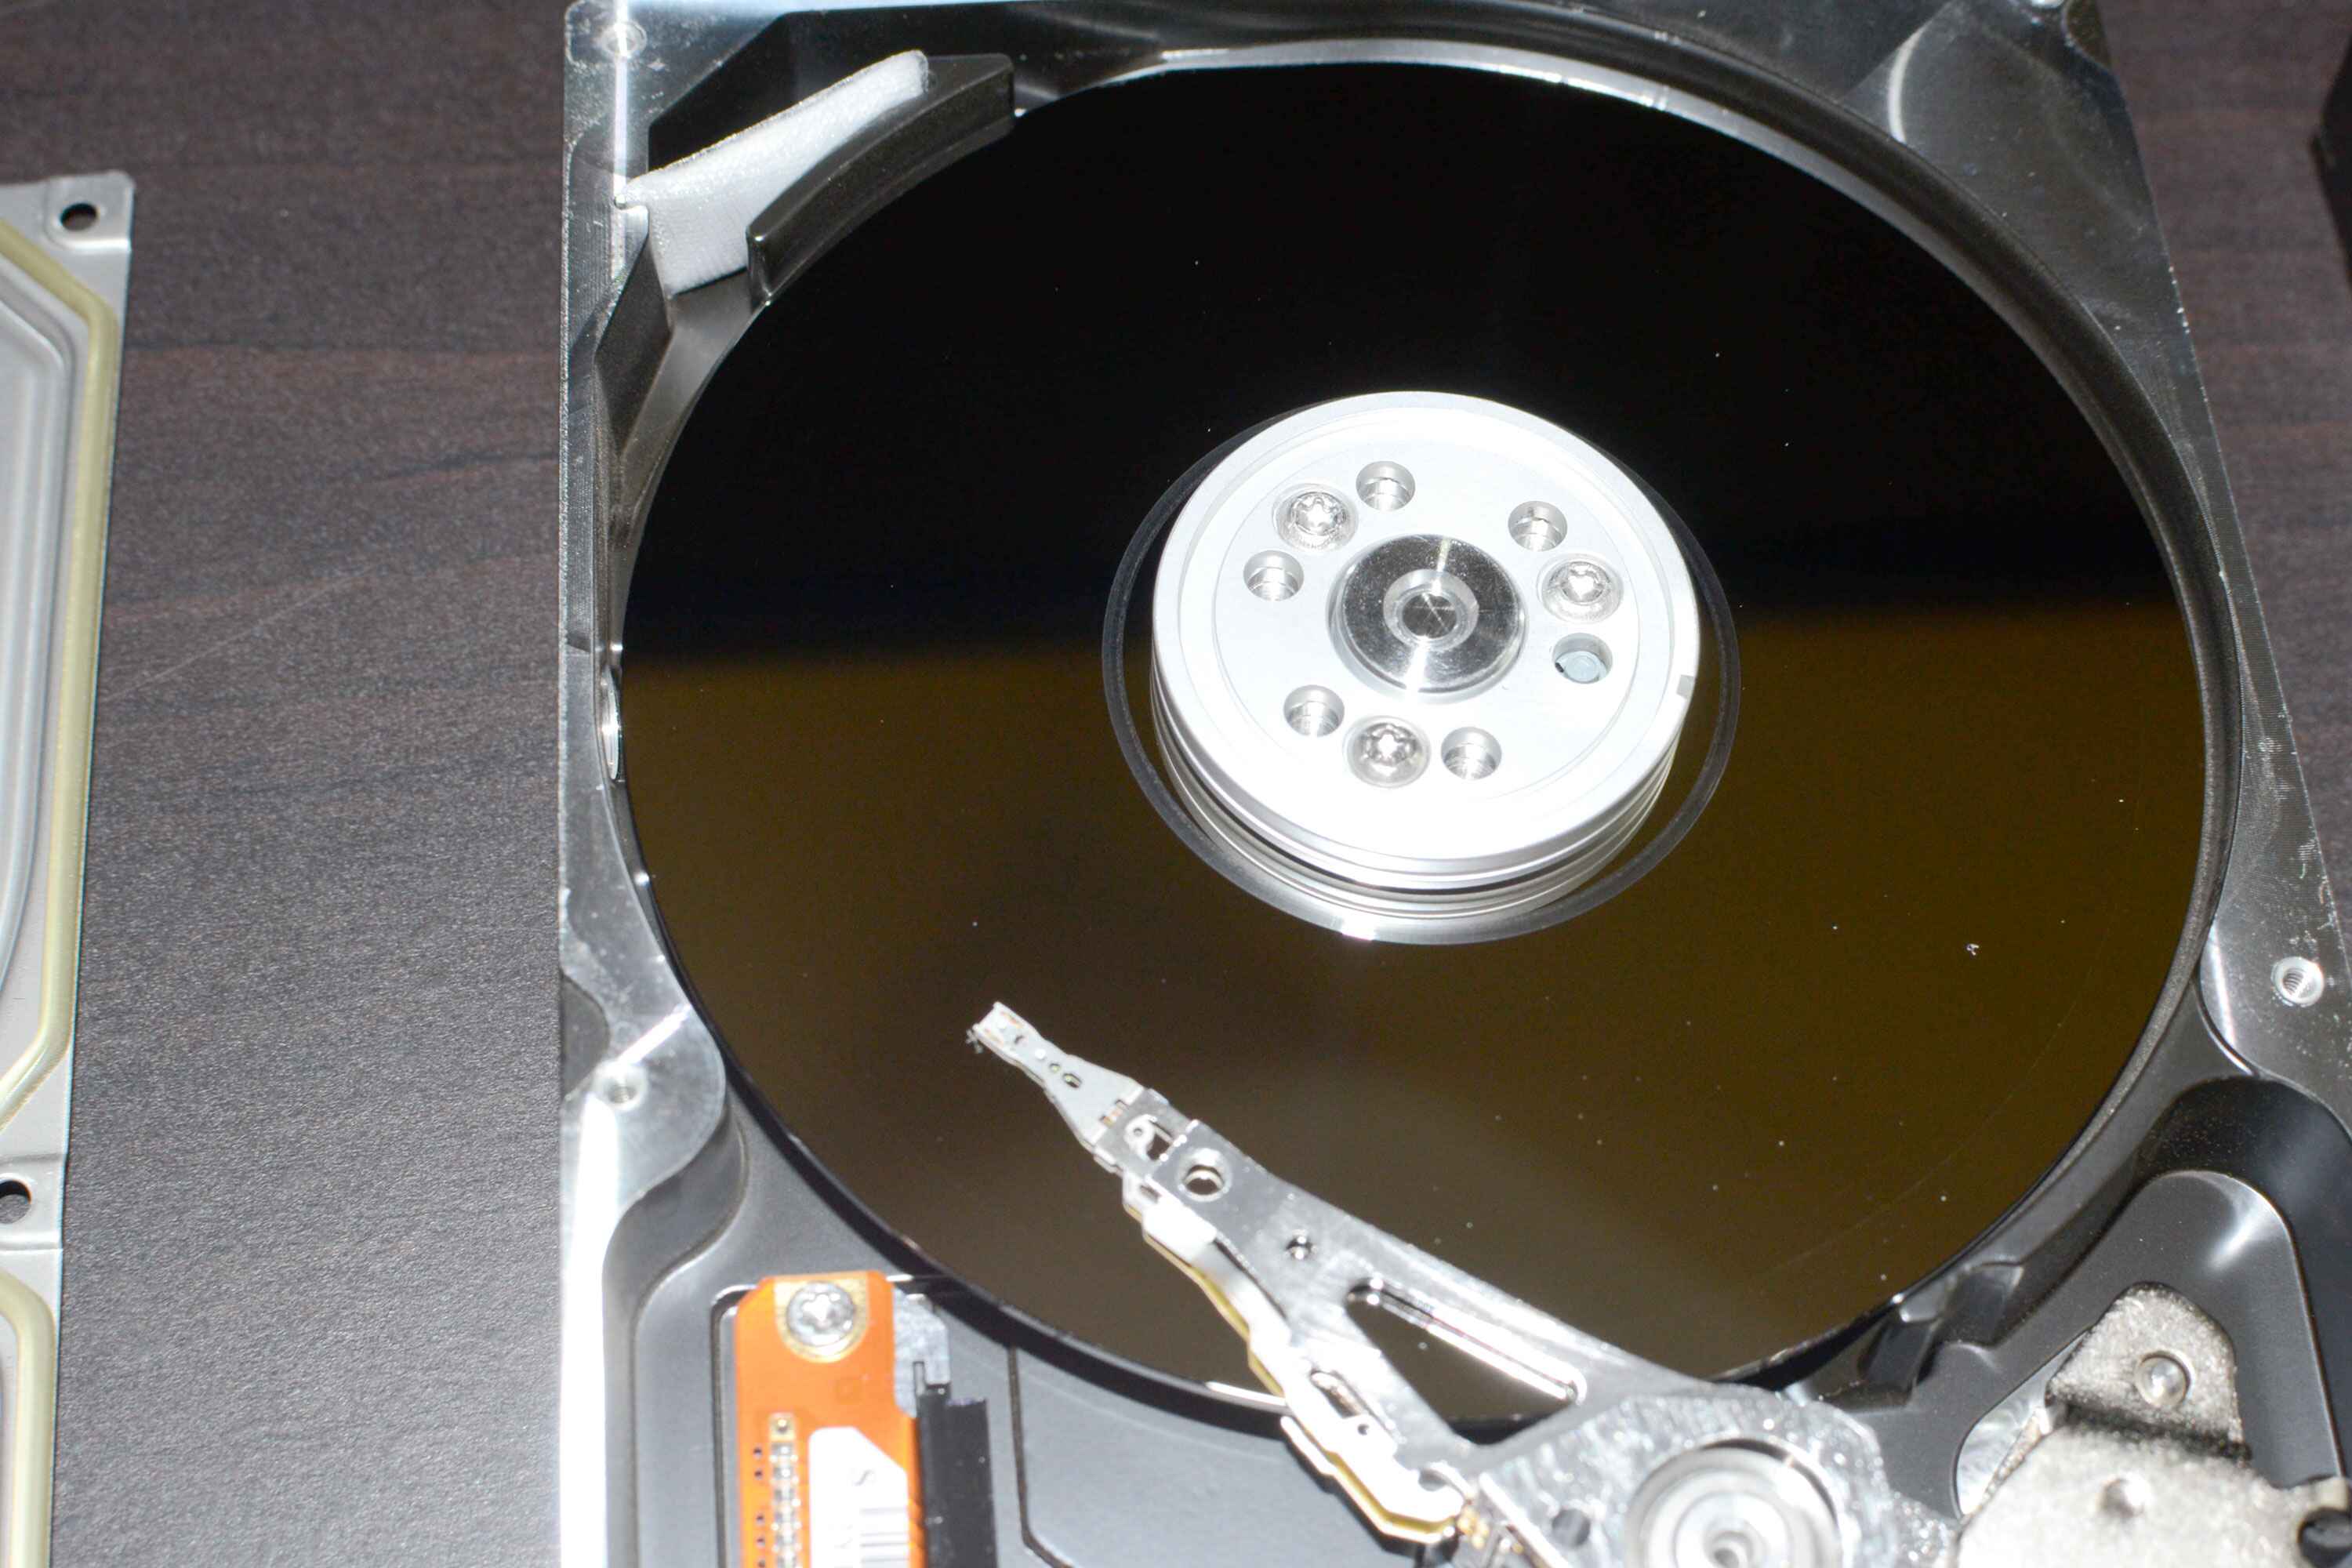
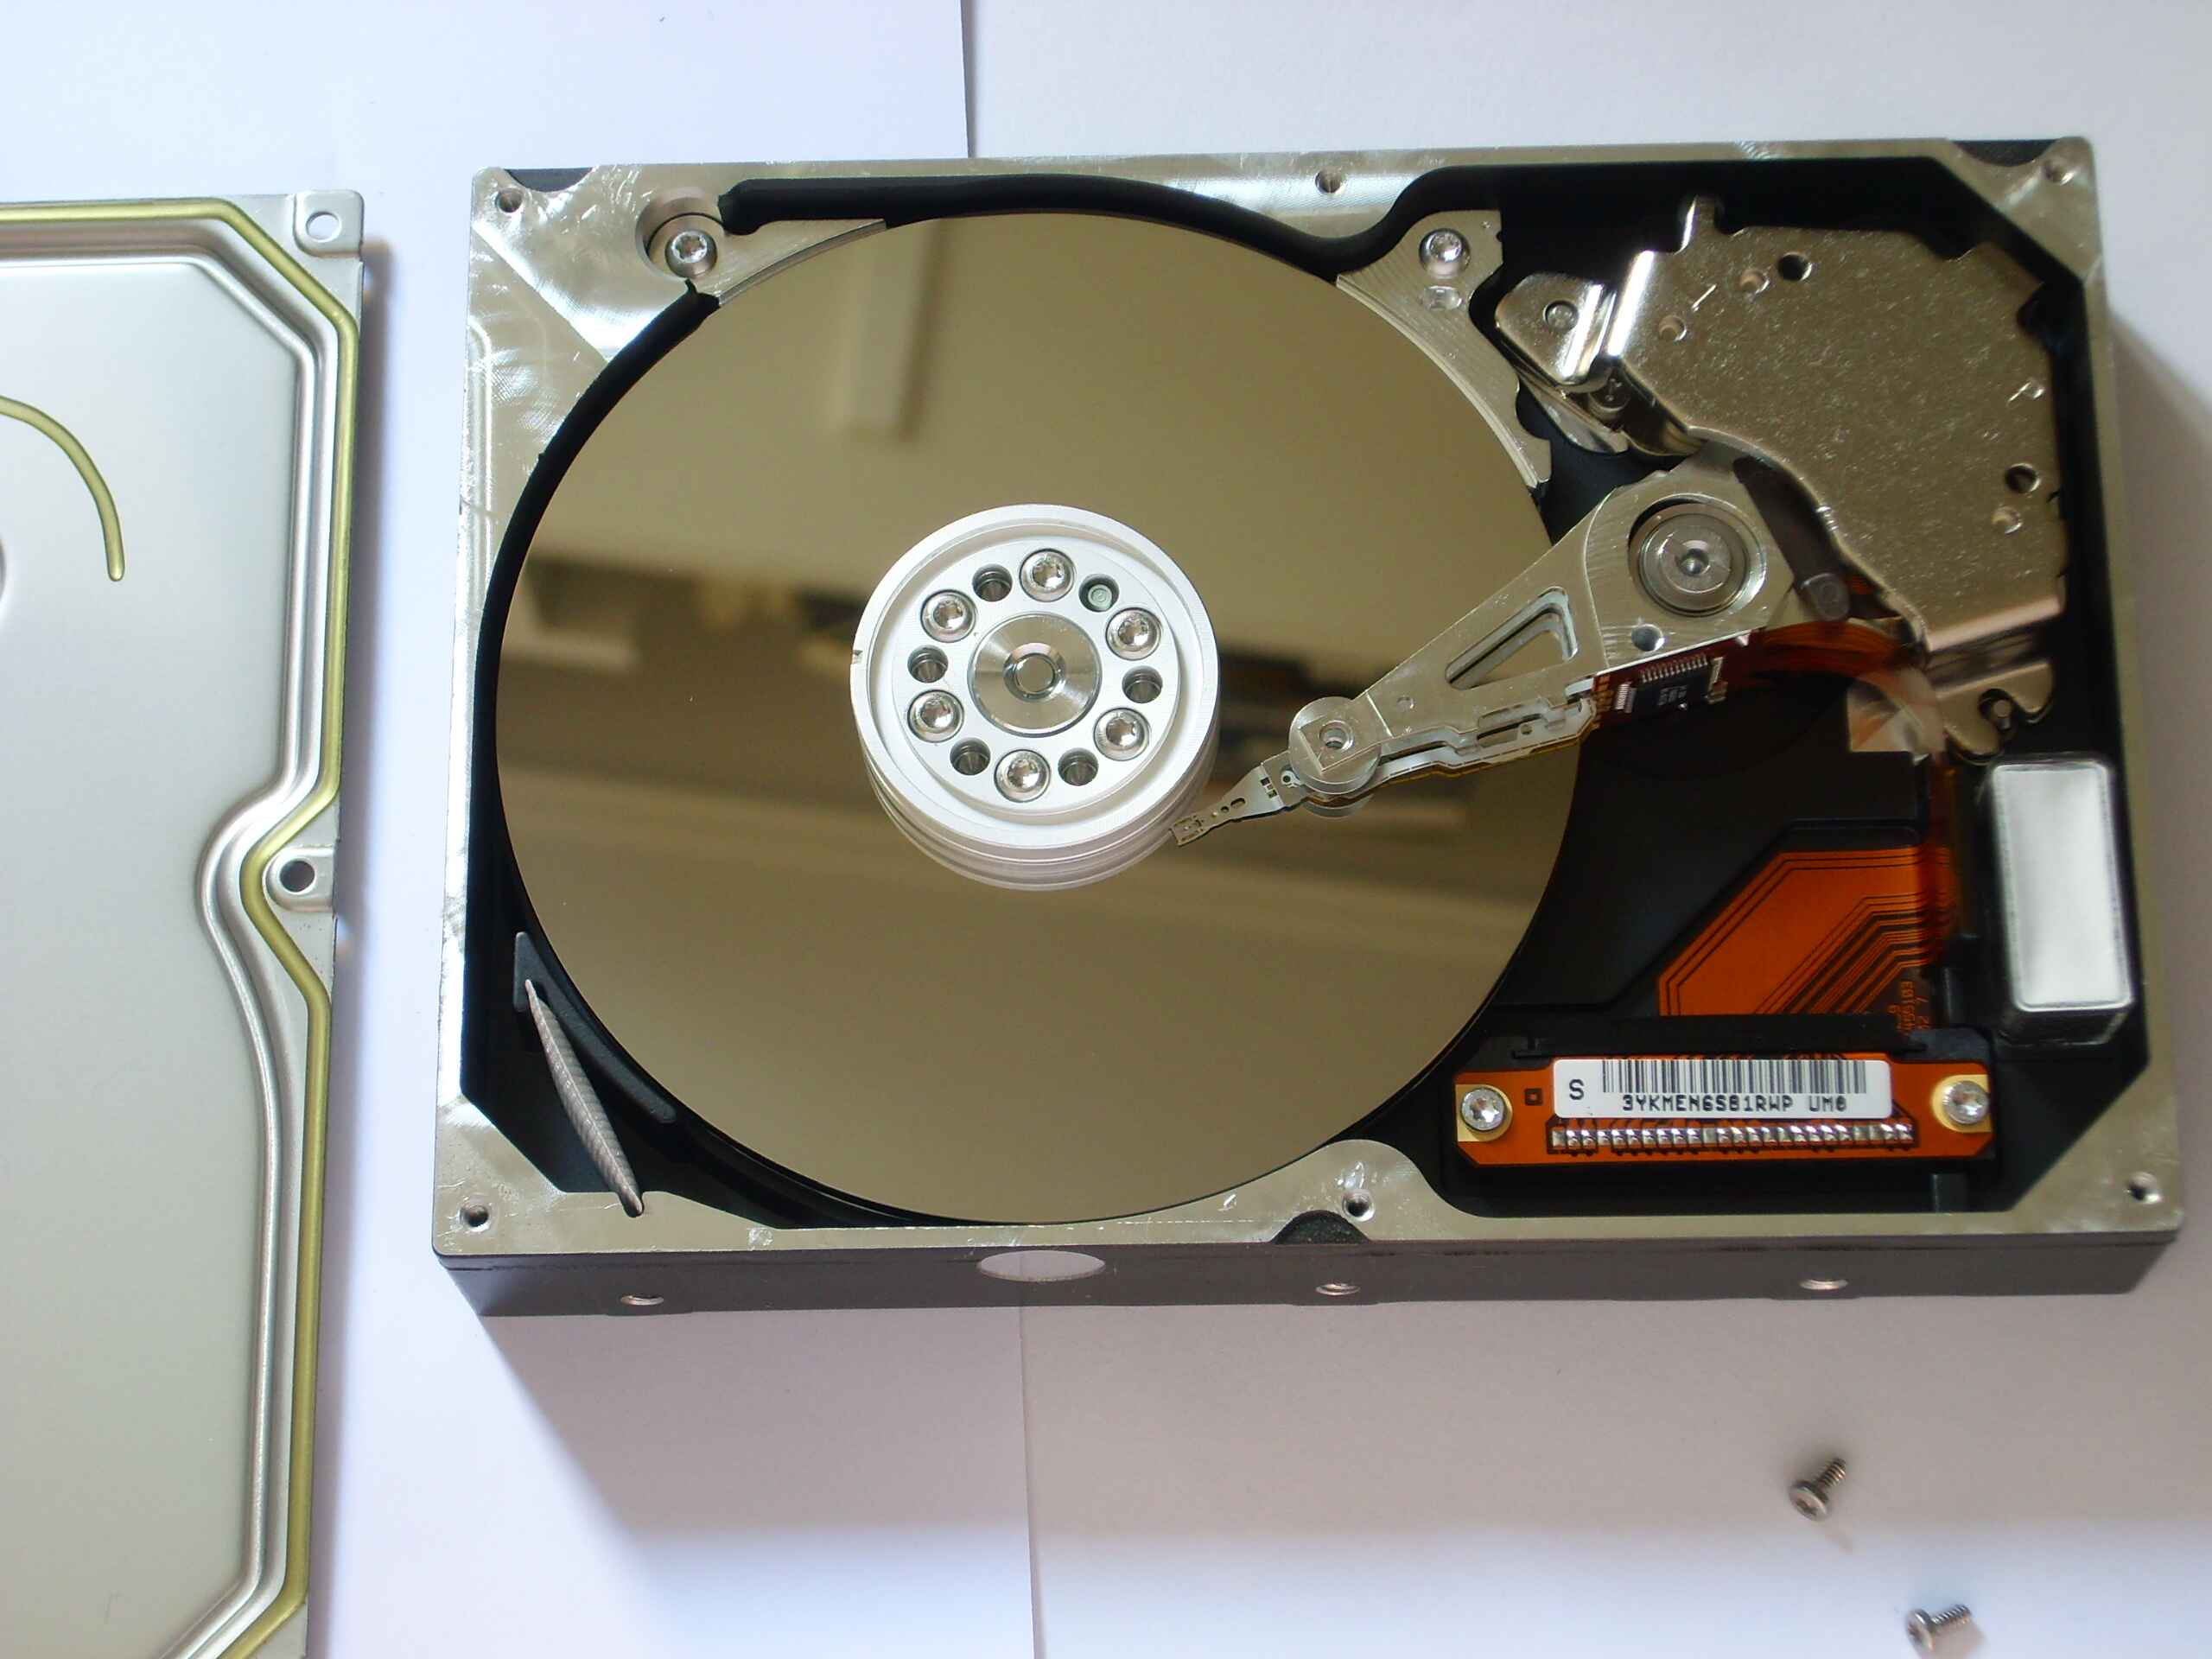
Before we delve into the process of identifying your hard disk drive (HDD), let’s take a moment to understand what an HDD is and how it functions. An HDD is a crucial component of your computer that provides long-term storage for your operating system, software, and files. It consists of one or more spinning disks, called platters, which store data magnetically. These platters rotate at high speeds while an actuator arm with read/write heads accesses and modifies the data.
The capacity of an HDD refers to the amount of data it can store. HDDs are available in a range of capacities, from a few gigabytes (GB) to several terabytes (TB) or more. The speed of an HDD determines how quickly data can be accessed and transferred. It is measured in revolutions per minute (RPM), with higher RPM indicating faster performance.
The interface of an HDD determines how it connects to your computer’s motherboard. Common interfaces include SATA (Serial ATA) and IDE (Integrated Drive Electronics). SATA is the more modern and commonly used interface, offering faster data transfer speeds and compatibility with newer computer systems.
The form factor refers to the physical dimensions of the HDD. The standard form factors for internal HDDs are 3.5 inches for desktop computers and 2.5 inches for laptops and portable devices. The form factor affects compatibility and determines the physical size of the HDD, making it important to choose one that matches your computer’s specifications.
Now that we have a basic understanding of what an HDD is and its key components, we can move on to the process of identifying your specific hard disk drive. By knowing the manufacturer, model number, capacity, speed, interface, form factor, and other relevant details, you’ll have a better understanding of your HDD’s capabilities and compatibility with your system.
In the following sections, we will explore various methods and tools to help you identify your hard disk drive effectively. Let’s continue on this exciting journey of discovery!
Checking Your Computer’s Specifications
Before we get into the specifics of identifying your hard disk drive (HDD), it’s essential to start by checking your computer’s specifications. This step will provide you with valuable information that will help in the identification process.
One way to access your computer’s specifications is by navigating to the System Information utility. On Windows, you can do this by pressing the Windows key + R to open the Run dialog box, then typing “msinfo32” and hitting Enter. For Mac users, click on the Apple menu, select “About This Mac,” and then click on “System Report.”
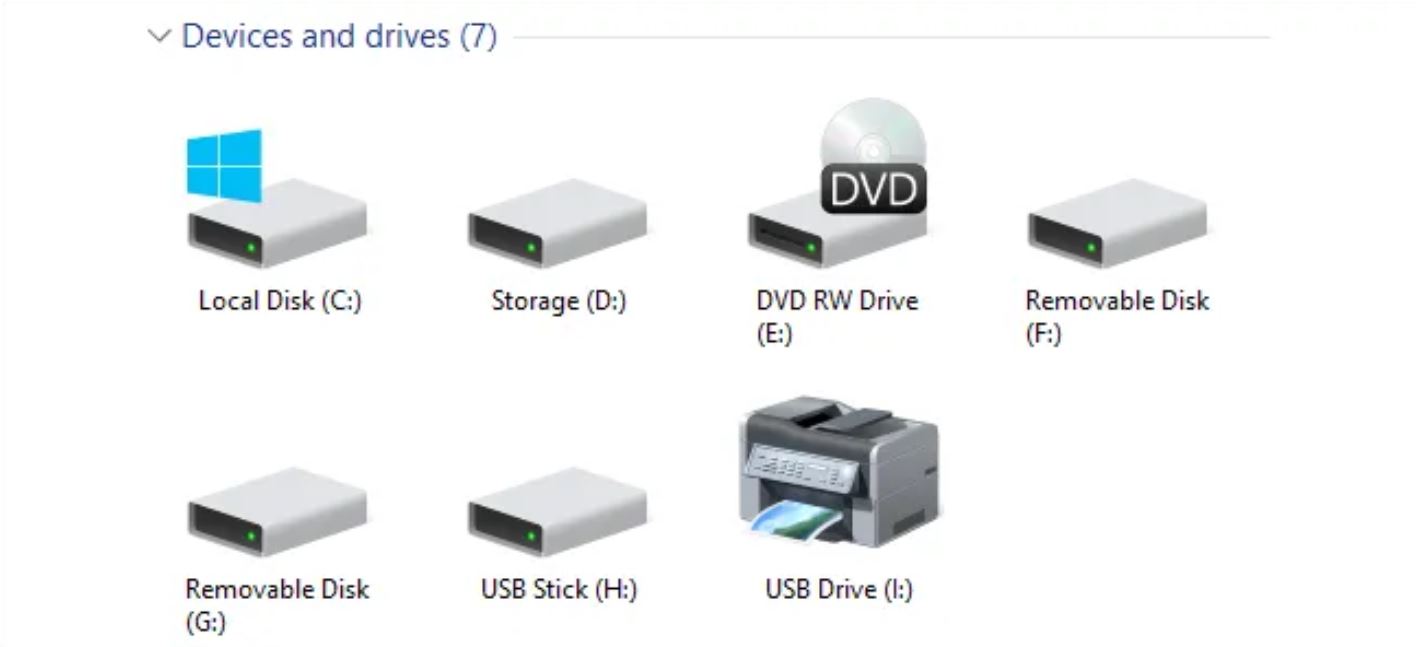
Once you’re in the System Information utility, look for the “Storage” or “Hard Drives” section. Here, you will find valuable information about your computer’s storage devices, including your hard disk drive.
In addition to accessing the System Information utility, you can also check your computer’s specifications by referring to the user manual or documentation provided by the manufacturer. This documentation often includes detailed information about the hardware components, including the HDD.
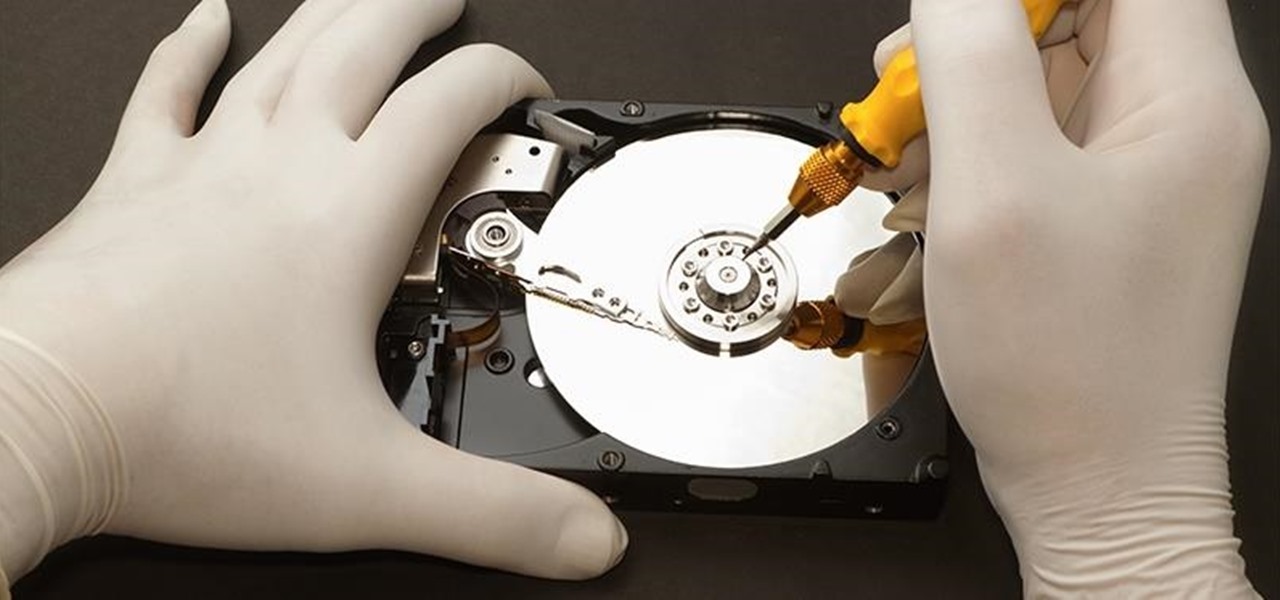
Another method is to physically open your computer’s case and visually inspect the hard disk drive. However, this method requires caution, as it involves handling sensitive internal components. If you’re comfortable doing so, ensure you follow proper procedures, such as grounding yourself to prevent static electricity damage and taking necessary precautions to avoid injury or damage to your computer.
By checking your computer’s specifications, you will gain a better understanding of the general details of your hard disk drive. This information will serve as a starting point as we dive deeper into the process of identifying specific details such as the manufacturer, model number, and capacity of your HDD.
In the upcoming sections, we will explore various techniques to help you identify your hard disk drive accurately. So let’s move on to the next step and discover the manufacturer of your HDD!
Identifying the Manufacturer
Identifying the manufacturer of your hard disk drive (HDD) is the first step in accurately identifying your device. The manufacturer is the company that produced the HDD and is often visible on the physical label or casing of the drive.
To locate the manufacturer, start by examining the exterior of your computer or the external enclosure if you are using an external HDD. Look for any labels or markings that indicate the brand or logo of the manufacturer. The manufacturer’s name is usually prominently displayed and can significantly vary depending on the brand.
If you are unable to locate the manufacturer through these physical means, you can turn to software tools to help you identify the manufacturer. One such tool is a disk management utility, which provides detailed information about connected storage devices, including the manufacturer.
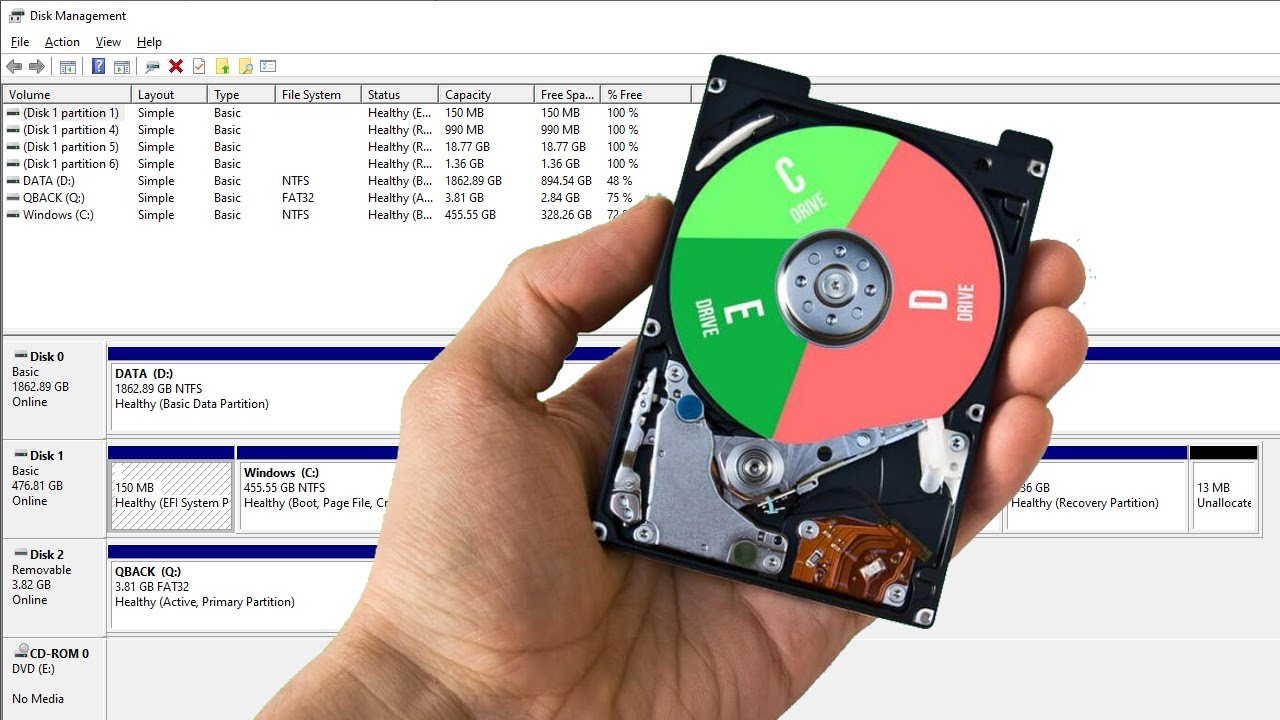
On Windows, you can access the disk management utility by right-clicking the Start button and selecting “Disk Management” from the menu. Look for your HDD in the list of drives and check the “Manufacturer” column to identify the manufacturer.
On a Mac, you can use the Disk Utility tool to view information about your HDD. Open Disk Utility, located in the Applications > Utilities folder, and select your HDD. In the information panel, you will find the manufacturer’s name.
In some cases, the manufacturer’s logo or branding might be absent due to the drive being an OEM (Original Equipment Manufacturer) version. In such instances, you can search the model number or serial number on the manufacturer’s website or conduct a web search to find information about the drive’s origin.
By identifying the manufacturer of your HDD, you will have a crucial piece of information that will aid in further identifying its specifications and characteristics. Now that we have determined the manufacturer, let’s move on to the next step and explore how to check the model number and serial number of your hard disk drive.
Checking Model Number and Serial Number
Once you have identified the manufacturer of your hard disk drive (HDD), the next step is to locate and check the model number and serial number. These two identifiers provide more specific information about your HDD and are essential for obtaining accurate details about the device.
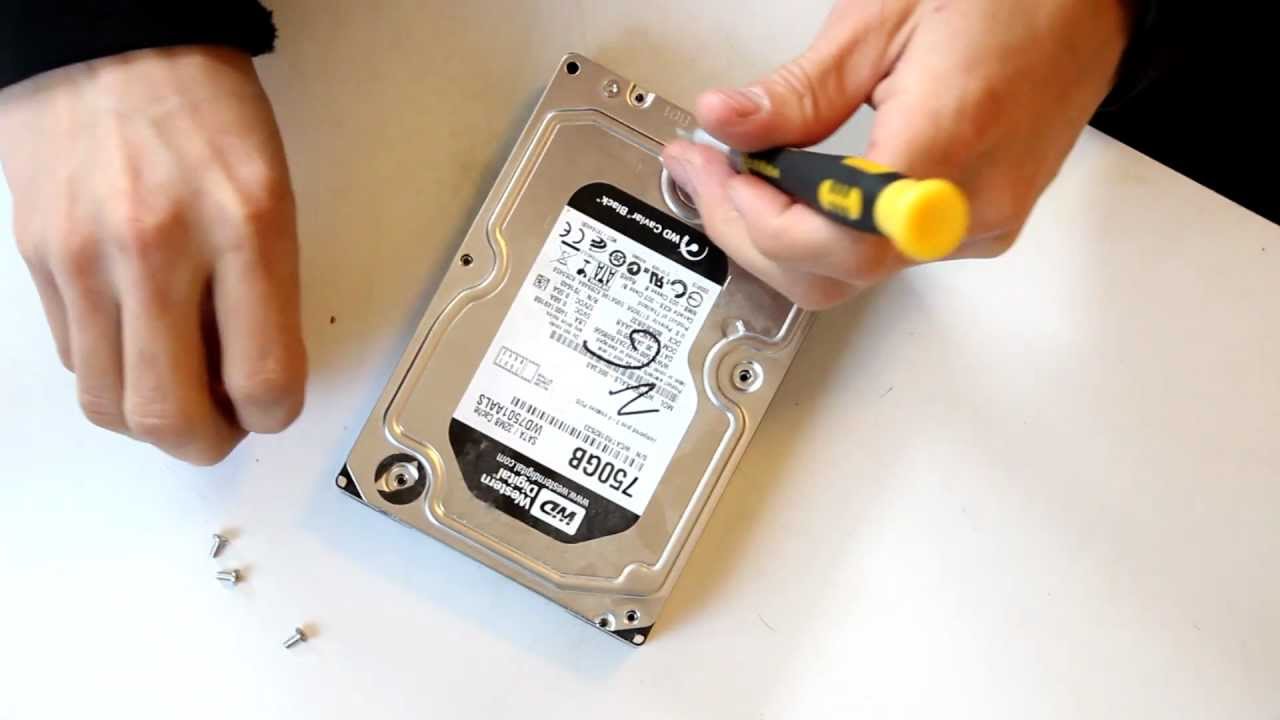
To find the model number and serial number, start by examining the physical label or casing of the HDD. Look for any alphanumeric codes or labels that indicate the model number or serial number. These codes are typically printed on the label or engraved on the casing of the drive.
If you are using a desktop computer, the HDD is usually located inside the computer case. You may need to open the case and visually inspect the HDD to find the label with the model number and serial number. Remember to follow proper procedures and precautions when handling the internal components of your computer.
If you are using a laptop or a portable device with a built-in HDD, the label with the model number and serial number may be located on the bottom of the device or within the battery compartment. Check the bottom of your laptop or refer to the manufacturer’s documentation for guidance.
In addition to the physical label, you can also retrieve the model number and serial number through software tools. On Windows, you can use the System Information utility or third-party disk management software to display detailed information about your HDD, including the model number and serial number.
On a Mac, you can use the Disk Utility tool or open the “About This Mac” window and navigate to the “Storage” tab to find the model number and serial number of your HDD.
Once you have obtained the model number and serial number, it is recommended to record these details for future reference. You can jot them down or take a photo of the label to ensure you have a record of the necessary information.
The model number and serial number are crucial for obtaining accurate support, warranty information, and specifications specific to your HDD. With these identifiers in hand, you can proceed to the next step and determine the capacity of your hard disk drive.
Determining the Capacity
When it comes to hard disk drives (HDDs), one of the most critical factors to consider is the storage capacity. The capacity of an HDD refers to the amount of data that it can store. Determining the capacity of your HDD is essential for understanding how much data you can store on the drive.
To determine the capacity of your hard disk drive, you have several options:
- Physical Label: The physical label on your HDD often includes information about its capacity. Look for an indication of the storage capacity, typically measured in gigabytes (GB), terabytes (TB), or even petabytes (PB).
- System Information Utility: On Windows, you can use the System Information utility to retrieve information about your HDD, including the capacity. Open the utility by pressing the Windows key + R, typing “msinfo32,” and hitting Enter. Look for your HDD in the “Storage” or “Hard Drives” section, and you will find the capacity listed.
- Disk Utility: If you’re using a Mac, you can use the Disk Utility tool to access information about your HDD. Open Disk Utility, located in the Applications > Utilities folder, and select your HDD. In the information panel, you will find the capacity listed.
It’s important to note that the actual usable capacity of an HDD may be slightly less than the advertised capacity. This discrepancy is due to the way storage devices are formatted and the space reserved for file systems and other system files.
Understanding the capacity of your hard disk drive is crucial for managing your data effectively. It allows you to gauge how much storage space you have available and whether you might need to consider upgrading to a larger capacity drive in the future.
Now that you’ve determined the capacity of your HDD, we can move on to the next step and examine the speed and interface of your hard disk drive.
Examining Speed and Interface
When it comes to your hard disk drive (HDD), two significant aspects to consider are its speed and interface. Understanding these factors will help you assess the performance and compatibility of your HDD with your computer system.
The speed of your HDD refers to how quickly data can be accessed and transferred. It is mainly determined by the rotational speed of the platters inside the drive, measured in revolutions per minute (RPM). Higher RPM generally result in faster data transfer rates.
Typically, HDDs can have speeds of 5,400 RPM or 7,200 RPM, though some high-performance drives may have even higher RPM. It’s important to note that higher RPM generally results in improved speed and performance, making it a desirable feature for tasks that require intensive data read and write operations, such as gaming or video editing.
Another critical aspect to consider is the interface of your HDD. This refers to how the drive connects to your computer’s motherboard and determines the data transfer speed and compatibility. Two common interfaces for HDDs are:
- SATA (Serial ATA): SATA is the most widely used interface for HDDs. It offers fast data transfer speeds and is compatible with a wide range of computer systems. SATA interfaces come in different generations, such as SATA II, SATA III, etc., with each generation offering progressively faster speeds.
- IDE (Integrated Drive Electronics): IDE interfaces, also known as Parallel ATA (PATA), were commonly used in older computer systems. However, they have been largely replaced by the faster and more efficient SATA interfaces. If your HDD has an IDE interface, it may indicate that your system is relatively old, and an upgrade to a SATA HDD might be beneficial.
To determine the speed and interface of your HDD, you can refer to the manufacturer’s documentation, physical labels on the drive, or utilize software tools such as the System Information utility on Windows or Disk Utility on Mac.
Understanding the speed and interface of your hard disk drive is crucial for optimizing performance and ensuring compatibility with your computer system. Now that you have examined the speed and interface, let’s move on and identify the form factor of your HDD.
Identifying the Form Factor
When it comes to identifying your hard disk drive (HDD), understanding the form factor is essential. The form factor refers to the physical dimensions and shape of the HDD. Identifying the form factor is crucial for ensuring compatibility with your computer system and choosing the appropriate replacement or upgrade options.
There are two common form factors for HDDs:
- 3.5-inch Form Factor: The 3.5-inch form factor is typically used for desktop computer HDDs. These drives are larger in size, allowing for increased storage capacity and improved performance. They are designed to fit into the appropriate drive bays within a desktop computer tower.
- 2.5-inch Form Factor: The 2.5-inch form factor is primarily used for laptop HDDs and portable devices. These drives are smaller in size and more compact, making them suitable for slim devices where space is limited. They are also commonly used in external HDDs due to their portability.
To identify the form factor of your HDD, you can visually inspect the drive itself. If you have a desktop computer, the HDD is typically located inside the computer case. Open the case, locate the HDD, and observe its physical size. A 3.5-inch form factor drive will be larger than a 2.5-inch form factor drive.
If you have a laptop or a portable device, the form factor may be indicated on the manufacturer’s documentation or label on the bottom of the device. External HDDs usually have the form factor mentioned on the packaging or the physical label of the drive.
Identifying the correct form factor is vital when considering any replacements or upgrades for your hard disk drive. Choosing a drive with the wrong form factor may result in physical incompatibility, rendering the new drive unusable in your device.
Now that you have identified the form factor of your HDD, we will move on to the next step and explore the different connectivity options available for hard disk drives.
Checking Connectivity Options
When it comes to identifying and working with your hard disk drive (HDD), understanding the connectivity options is crucial. The connectivity options determine how the HDD connects to your computer system and affect data transfer speeds, compatibility, and overall performance.
There are different connectivity options available for HDDs:
- SATA (Serial ATA): SATA is the most common and widely used connectivity option for modern HDDs. It offers fast data transfer speeds and is compatible with most computer systems. SATA cables have a distinctive L-shaped connector with either 7 or 15 pins, depending on the generation. SATA interfaces allow for easy installation and replacement of HDDs.
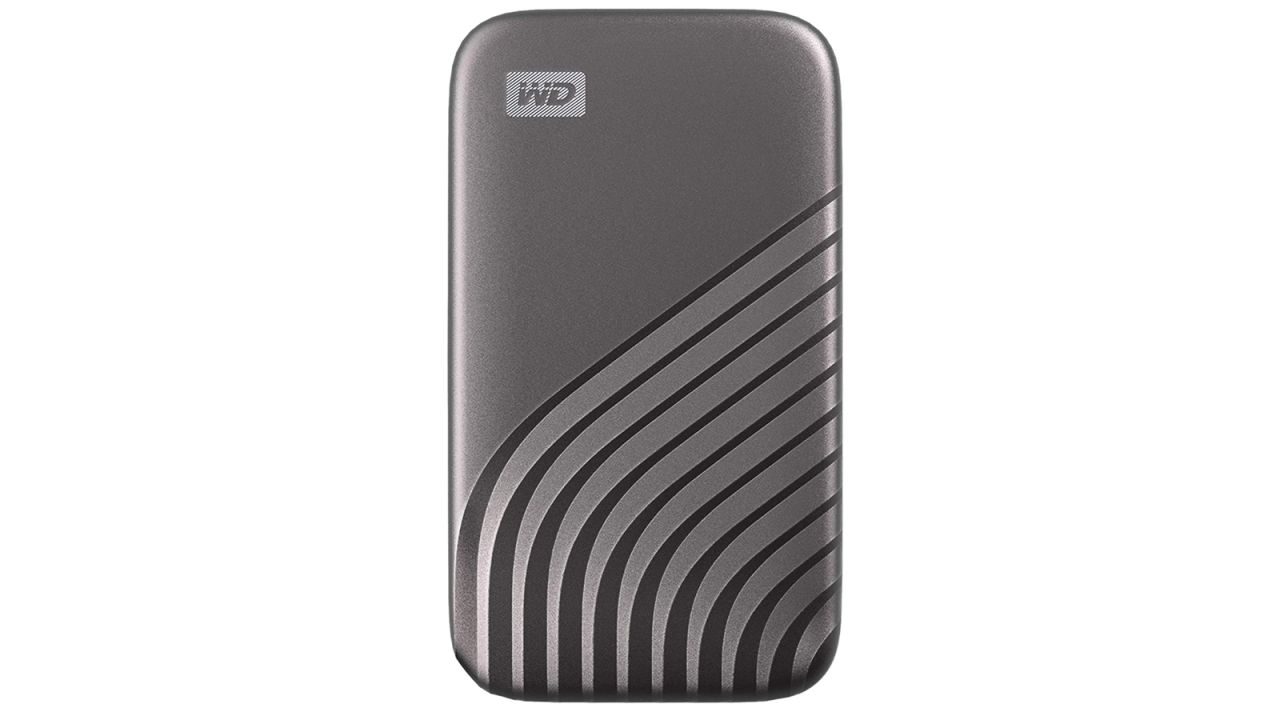
- USB (Universal Serial Bus): USB connectivity is primarily used for external HDDs. USB connections provide convenience and portability, allowing you to connect and disconnect the drive easily. USB 3.0 or USB 3.1 interfaces offer faster transfer speeds compared to older USB 2.0 connections, improving overall performance.
- eSATA (External Serial ATA): eSATA is an external version of the SATA connectivity option. It provides faster data transfer speeds than USB connections and is commonly used for external HDDs that require high performance. eSATA connections enable direct connection to the computer’s SATA port, avoiding the need for additional adapters.
- Thunderbolt: Thunderbolt is a high-speed connectivity option, commonly used in Mac systems. Thunderbolt connections offer ultra-fast data transfer speeds and support for daisy-chaining multiple devices. Thunderbolt 3, in particular, provides blazing-fast speeds, making it ideal for professional applications that require large data transfer rates.
To determine the connectivity option of your HDD, you can refer to the physical connections on the drive or the manufacturer’s documentation. The connectivity option is usually indicated by the type of ports or connectors present on the HDD itself.
If you are using an external HDD, the connectivity option may also be mentioned on the packaging or the label of the drive. Additionally, your computer system’s specifications or system information utility can provide information about the connectivity options available.
Understanding the connectivity options of your HDD is crucial for selecting the appropriate cables, adapters, or ports to ensure proper connectivity and optimal performance. Now that you have checked the connectivity options of your HDD, we will move on to the next step and explore how to locate firmware information.
Locating Firmware Information
When it comes to managing and understanding your hard disk drive (HDD), it’s important to be aware of the firmware that controls its operations. Firmware is the software embedded within the HDD that provides instructions for its functioning and ensures compatibility with the computer system.
Locating the firmware information of your HDD can be done through various methods, including:
- Manufacturer’s Website: One of the simplest ways to find firmware information is by visiting the manufacturer’s website. Look for the support or downloads section and search for your specific HDD model. The manufacturer may provide firmware updates and related information for their drives.
- Software Tools: There are specialized software tools available that can provide detailed information about your HDD, including firmware details. Examples include the CrystalDiskInfo or HWiNFO utilities, which provide comprehensive information about your hard drive, including firmware version and other technical details.
- Disk Utility: On a Mac system, you can use the built-in Disk Utility tool to access firmware information. Open Disk Utility, select your HDD, and click on the “Info” button. In the information panel, you can find details about the firmware version.
- System Information Utility: On Windows, you can use the System Information utility to retrieve firmware information. Open the utility by pressing the Windows key + R, typing “msinfo32,” and hitting Enter. Look for your HDD in the “Storage” or “Hard Drives” section, and you may find firmware details listed.
Keeping your HDD’s firmware up to date is important as firmware updates can bring improvements in performance, reliability, and compatibility. Just make sure to follow the manufacturer’s instructions carefully while updating the firmware to avoid any potential issues.
By locating the firmware information of your HDD, you gain valuable insights into the version and functionality of the installed firmware. This knowledge can help you troubleshoot any compatibility issues, understand specific features, and stay up to date with the latest developments in HDD technology.
Now that you have learned how to locate firmware information, let’s move on to the next step and explore how to identify the health and usage status of your hard disk drive.
Identifying the Health and Usage Status
Knowing the health and usage status of your hard disk drive (HDD) is crucial for maintaining its performance and reliability. By assessing the health and usage of your HDD, you can identify any potential issues or signs of degradation and take appropriate action to prevent data loss or system failure.
There are several ways to identify the health and usage status of your HDD:
- S.M.A.R.T. Monitoring: S.M.A.R.T. (Self-Monitoring, Analysis, and Reporting Technology) is a feature implemented in most modern HDDs. It continuously monitors various aspects of the drive, such as temperature, read and write errors, load cycles, and more. You can use specialized software, such as CrystalDiskInfo or HD Tune, to access the S.M.A.R.T. attributes and check the status of your HDD.
- Manufacturer’s Diagnostic Tools: Many HDD manufacturers provide diagnostic tools specific to their drives. These tools can assess the health and usage status of the HDD and provide detailed reports. Visit the manufacturer’s website or refer to the documentation to identify and download the appropriate diagnostic tool for your HDD.
- Third-Party Utilities: There are third-party disk diagnostic utilities available that can analyze the health and usage status of your HDD. Examples include Hard Disk Sentinel, HDDScan, or CrystalDiskMark. These programs provide comprehensive information about your HDD’s health, performance, and any potential issues.
By monitoring the health and usage status of your HDD, you can identify early warning signs of potential failures, saving you from unexpected data loss or system crashes. Monitoring also helps you plan for timely upgrades or replacements, ensuring a smooth transition to a new drive without any disruptions.
It’s important to note that while these tools can provide valuable insights, they should be used as a guide and not as definitive indicators. If you have concerns about your HDD’s health, it’s advisable to consult with a professional data recovery service or seek assistance from the HDD manufacturer for further guidance.
Now that you have learned how to identify the health and usage status of your HDD, let’s move on to the next step and explore additional features and considerations to keep in mind when working with your hard disk drive.
Checking for Additional Features
In addition to the technical specifications and characteristics previously discussed, hard disk drives (HDDs) can come with various additional features that enhance performance, reliability, and data management.
Here are some common additional features to check for when examining your HDD:
- Cache: Cache, also known as a buffer, is fast memory located on the HDD that temporarily stores frequently accessed data. A larger cache can improve performance by reducing data access times. Check your HDD’s specifications or software tools to determine the cache size and whether it meets your needs.
- Noise and Power Consumption: Some HDDs are designed to operate quietly, which is beneficial if noise levels are a concern. Additionally, power consumption can vary among drives, so it’s worth considering power-efficient options to minimize energy usage and reduce overall system heat.
- Advanced Formatting Technologies: Some HDDs may support advanced formatting technologies, such as Advanced Format or Shingled Magnetic Recording (SMR). These technologies increase storage density and improve performance but may require specific software or firmware support.
- Noise and Shock Resistance: HDDs designed for portable devices or rugged environments may include features to withstand shocks, vibrations, and extreme conditions. If you use your HDD in such scenarios, it’s worth checking for these additional durability features.
- Data Encryption: Certain HDDs provide built-in hardware encryption capabilities to protect data stored on the drive. This feature can enhance security and privacy, making it useful for sensitive information or business applications. Check the manufacturer’s specifications or software tools to determine if your HDD supports encryption.
Identifying additional features and considering their implications can help you make informed decisions when choosing, upgrading, or managing your HDD. These features may impact performance, reliability, and compatibility with your specific needs and use cases.
It’s important to note that not all HDDs will have the same set of additional features. Some features may be more prevalent in specific drive models or from certain manufacturers. It’s recommended to review the manufacturer’s documentation or specifications and consult relevant resources to identify and understand the additional features specific to your HDD.
Now that we’ve explored the various characteristics and features of your HDD, you have a comprehensive understanding of how to identify, assess, and work with your hard disk drive effectively.
Conclusion
Identifying and understanding your hard disk drive (HDD) is crucial for effective HDD management, troubleshooting, and making informed decisions regarding upgrades or replacements. Throughout this guide, we have explored various aspects of HDD identification, including the manufacturer, model number, capacity, speed, interface, form factor, connectivity options, firmware information, health and usage status, and additional features.
By familiarizing yourself with these details, you can better comprehend your HDD’s capabilities, compatibility, and performance. Checking your computer’s specifications, locating the manufacturer, and identifying the model and serial numbers provide a foundation for further exploration. Determining the capacity, speed, and interface helps you understand the storage capabilities and data transfer performance of your HDD. Identifying the form factor and connectivity options ensures proper compatibility with your computer system. Locating firmware information and checking the health and usage status help you monitor and maintain your HDD’s reliability. Lastly, considering additional features allows you to explore advanced functionalities, security measures, and efficiency attributes of your HDD.
Remember to utilize tools such as manufacturer’s documentation, physical labels, software utilities, and manufacturer websites to gather accurate information about your HDD. It’s also important to exercise caution when handling internal components and follow proper procedures to avoid any damage or injury.
With a comprehensive understanding of your HDD, you can confidently manage and optimize its performance, plan for upgrades or replacements, and troubleshoot any issues that may arise. By staying informed and up to date about the specifications and characteristics of your HDD, you can make informed decisions and ensure the longevity and efficiency of your storage solution.
We hope that this guide has provided you with valuable insights into identifying your hard disk drive and its various components. Armed with this knowledge, you are now well-equipped to navigate the world of HDDs and harness the full potential of your computer’s storage system.