Introduction
Welcome to our guide on how to make the motor on a hard disk drive spin! Hard disk drives are essential components of modern computers, storing all of our valuable data. While many people are familiar with the basic functions of a hard disk drive, understanding how the motor works and being able to make it spin can be a fascinating and rewarding experience.
In this article, we will provide you with a step-by-step guide on how to make the motor on a hard disk drive spin. By understanding the components of a hard disk drive and following our instructions, you can gain insights into the inner workings of this technology and potentially apply this knowledge to other projects.
Before we dive into the practical steps, it’s important to note that tinkering with hardware components requires caution and attention to detail. Ensure that you have the necessary tools and follow safety precautions throughout the process to avoid any accidental damage or injury.
So, if you’re ready to embark on an adventure of exploring the mechanics behind a hard disk drive and making its motor spin, let’s get started with the first step – understanding the components of a hard disk drive!
Understanding the Components of a Hard Disk Drive
Before we begin delving into the process of making the motor on a hard disk drive spin, it’s crucial to familiarize ourselves with the key components of this essential device. Understanding how each part contributes to the overall functionality of the hard disk drive will greatly aid us in our endeavor.
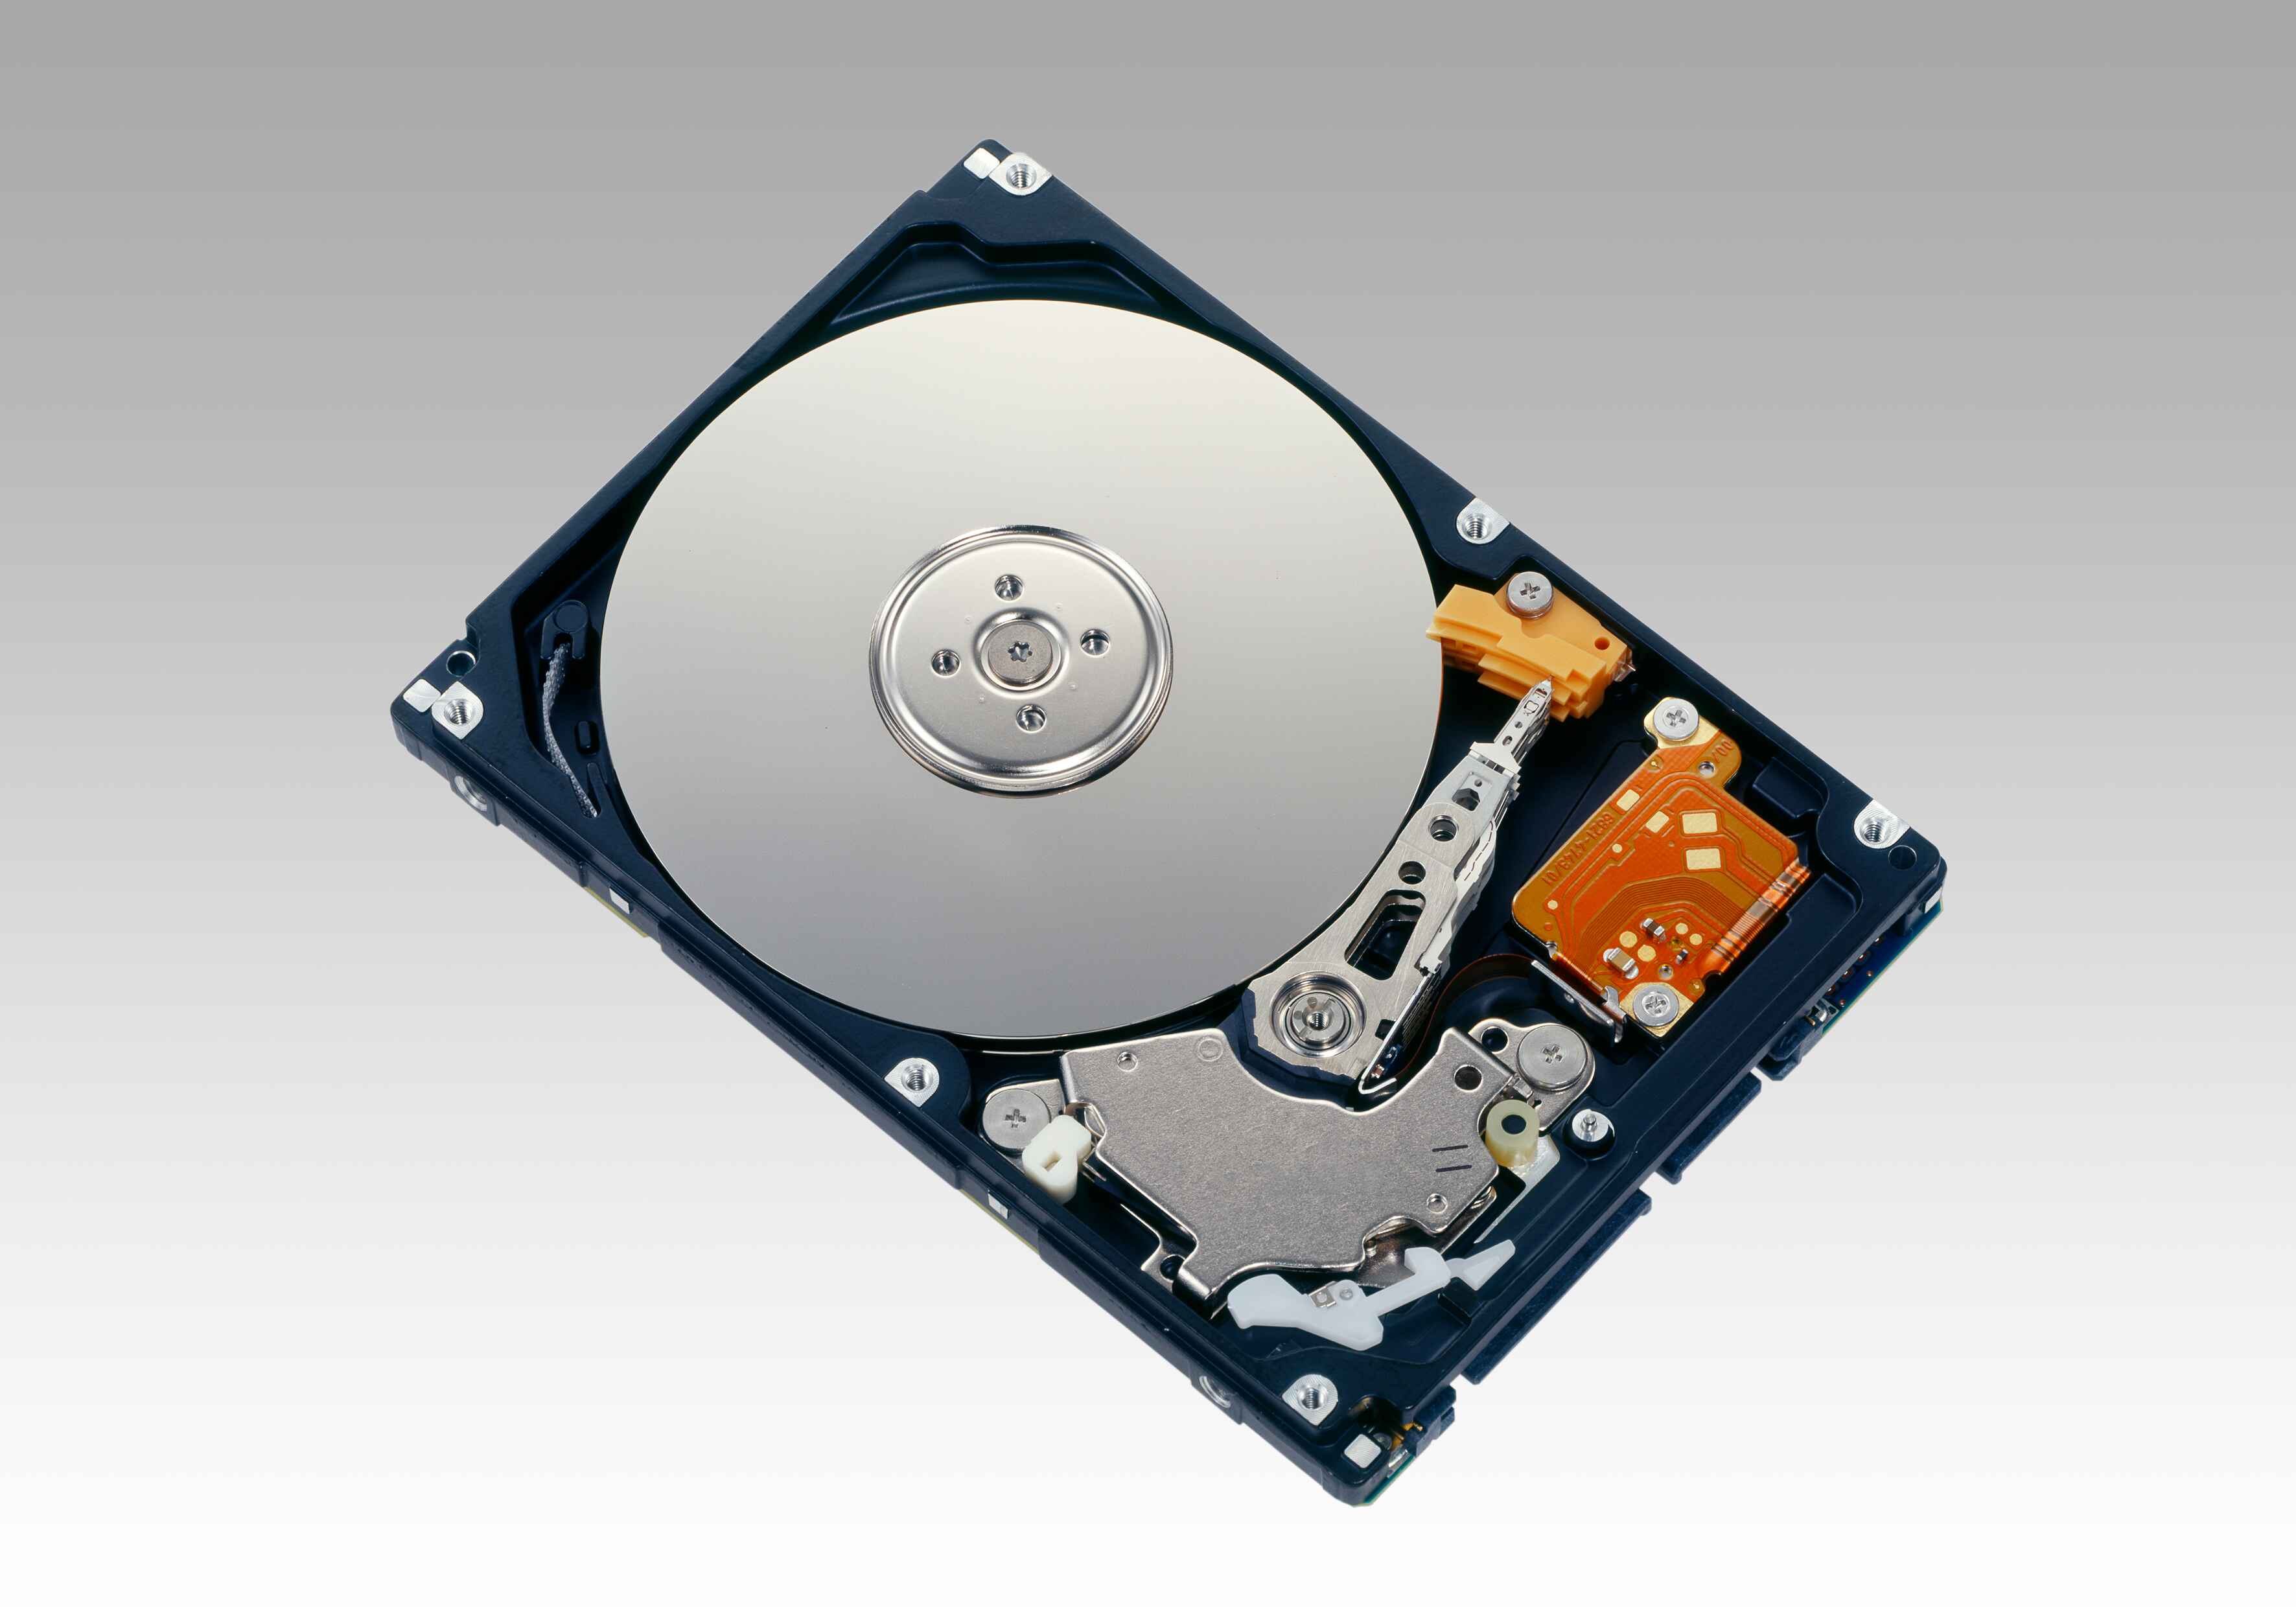
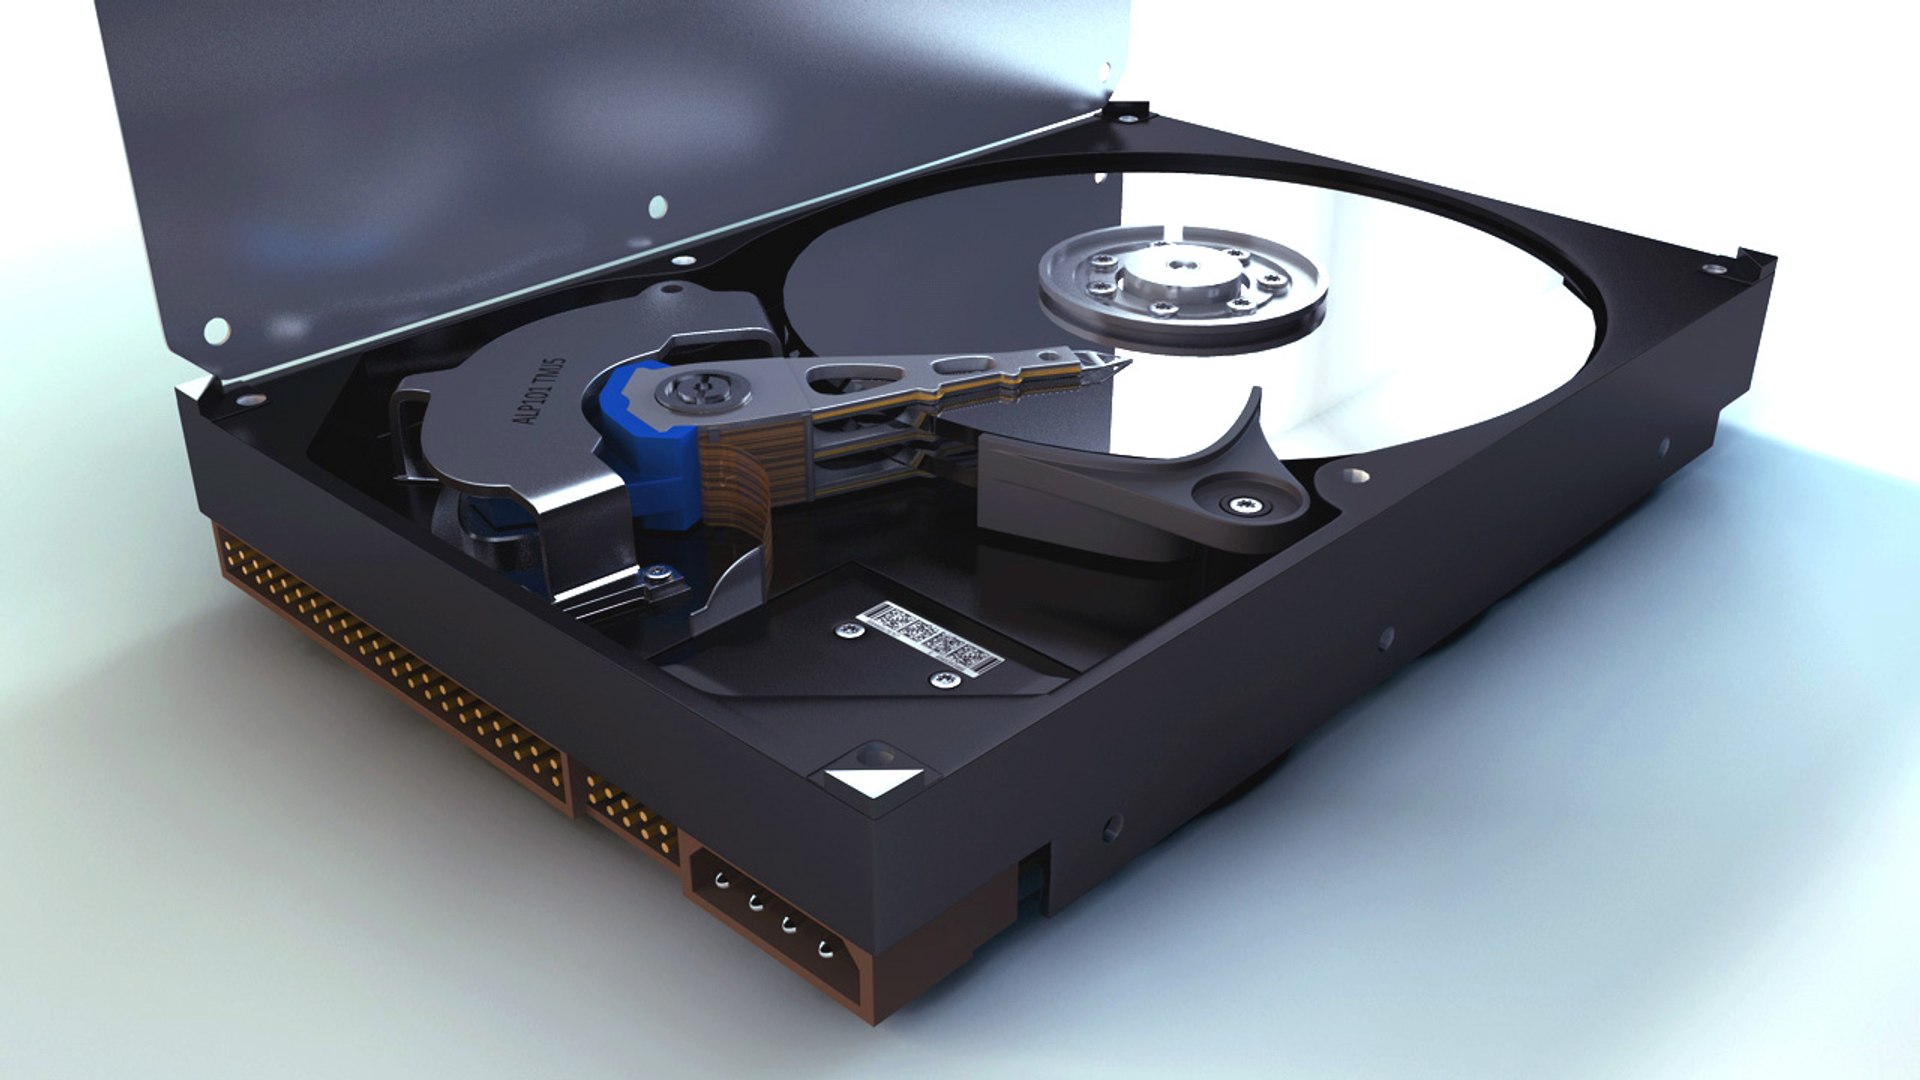
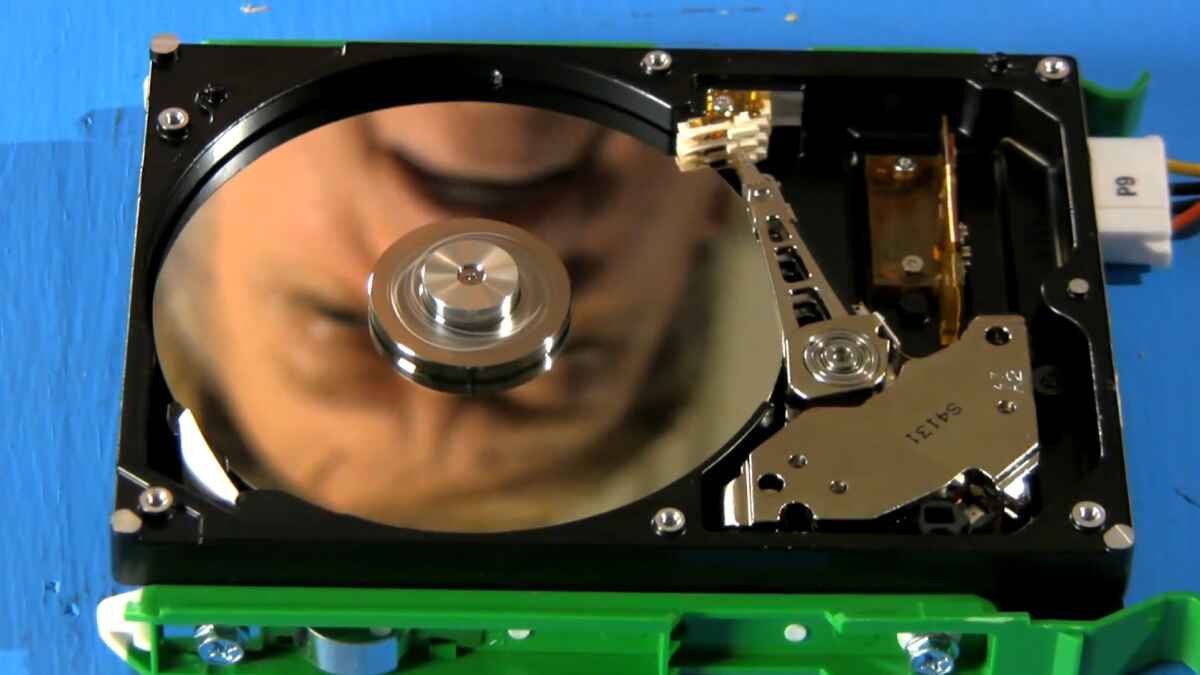
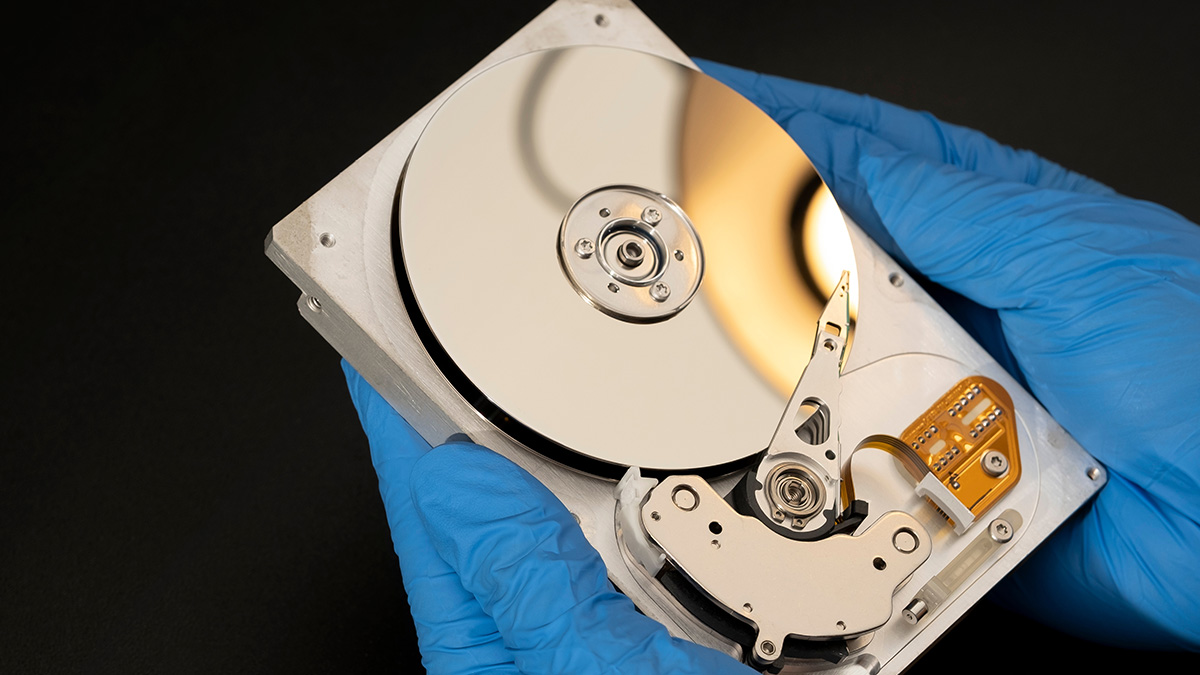
The primary components of a hard disk drive include the platter, the read/write head, the actuator arm, and of course, the motor. The platter is a circular disk made of a magnetic material and is responsible for storing all the data. The read/write head, located on the actuator arm, retrieves and writes the data onto the platter’s surface.
The motor, the focus of our attention in this guide, plays a crucial role in spinning the platter at high speeds. The motor consists of several parts, including the stator and the rotor. The stator is the stationary component, and the rotor is the rotating part of the motor. Through a combination of electromagnetic and mechanical forces, the motor generates the necessary rotational motion to spin the platter.
Hard disk drives commonly utilize brushless DC (BLDC) motors, which provide efficient and reliable operation. These motors rely on a series of coils and magnets to produce the rotational force required to spin the platter. Understanding the construction and principles behind these motors will enable us to harness their power and make them spin even outside their original housing.
By having a solid understanding of the components and mechanics of a hard disk drive, we are now prepared to embark on our journey of making the motor spin. In the next section, we will explore the tools and equipment needed for this project.
Tools and Equipment Needed
Now that we have a clear understanding of the components of a hard disk drive, let’s gather the necessary tools and equipment to successfully make the motor spin. Having the right tools on hand will ensure a smooth and efficient process.
Here’s a list of the tools and equipment you will need:
- Screwdriver set – To open the hard disk drive casing and access the motor.
- Alligator clips – To establish an electrical connection between the motor and an external power source.
- Wires – To connect the alligator clips to the motor and the power source.
- Power supply unit – To provide electrical power to the motor.
- Electrical tape – To secure and insulate the connection between the wires and the alligator clips.
It’s essential to select a screwdriver set that includes the appropriate bits for your specific hard disk drive model. Different models may require different screwdriver types, such as Phillips or Torx.
When it comes to alligator clips, ensure that they are of good quality and have a secure grip. This will help establish a stable connection between the motor and the power source, minimizing the risk of power interruptions or disconnections during the test.
The wires used should have sufficient gauge to handle the current required by the motor. It’s a good practice to use color-coded wires to differentiate between positive and negative connections, reducing the chances of incorrect wiring.
Lastly, the power supply unit should match the voltage and amperage requirements of the motor. Be sure to choose a power supply with a stable output to maintain consistent power delivery.
With all the necessary tools and equipment at your disposal, you’re now prepared to move onto the next step – removing the hard disk drive cover and accessing the motor.
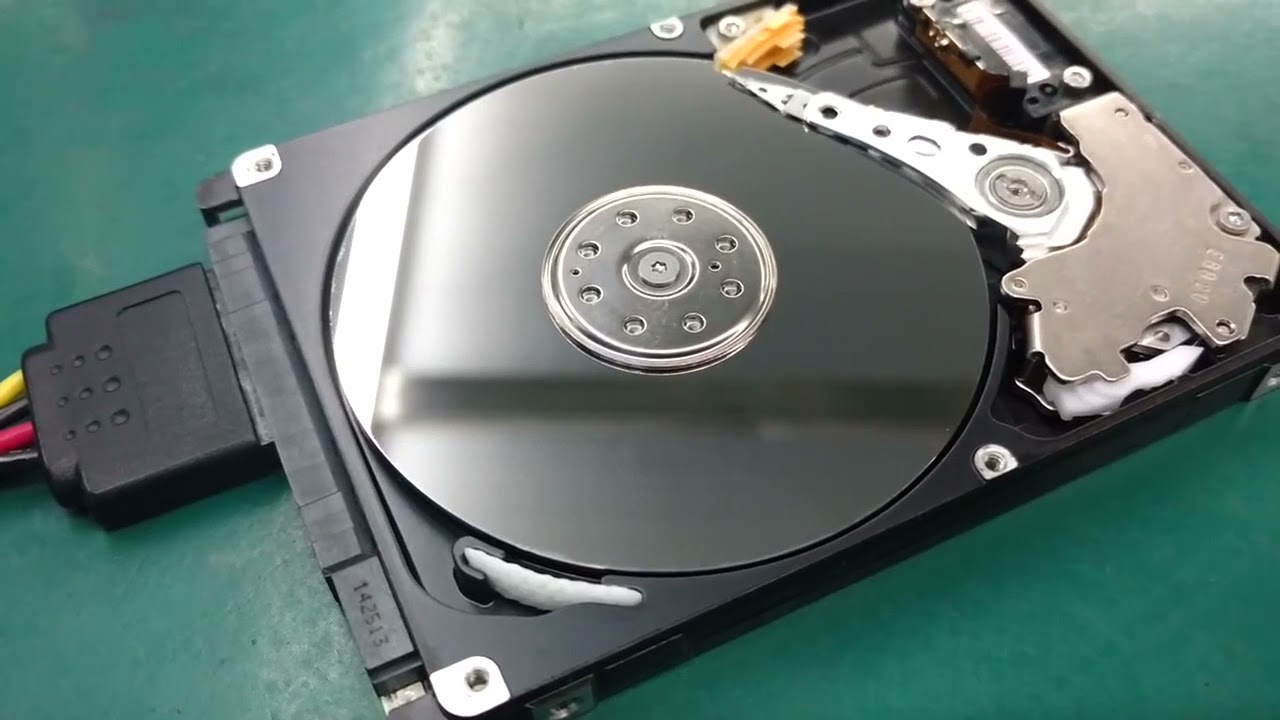
Removing the Hard Disk Drive Cover
Now that we have gathered the required tools and equipment, it’s time to remove the hard disk drive cover. This step will provide us access to the internal components, including the motor. Follow these steps carefully to avoid any damage to the hard disk drive or its components:
- Before starting, ensure that your workspace is clean and free from any static electricity. This will help prevent any potential damage to the sensitive electronic components of the hard disk drive.
- Power down your computer or any device connected to the hard disk drive. It’s essential to disconnect the power source to prevent any accidental electrical discharge or damage.
- Using the appropriate screwdriver from your set, carefully remove the screws securing the hard disk drive cover. Take note of the number and location of the screws as they may differ between hard disk drive models.
- Once the screws are removed, gently lift the cover to expose the internal components. Be cautious and avoid touching any exposed circuit boards or components directly.
- Set aside the cover in a safe place to prevent it from being misplaced or damaged.
With the hard disk drive cover removed, we now have access to the motor. Take a moment to familiarize yourself with the positioning and wiring of the motor, as this will be our next focus. This step is crucial as it allows us to properly identify the motor and understand its connection points for the next steps in the process.
Now that we are a step closer to our ultimate goal, let’s move on to the next section to learn more about identifying the motor on the hard disk drive.
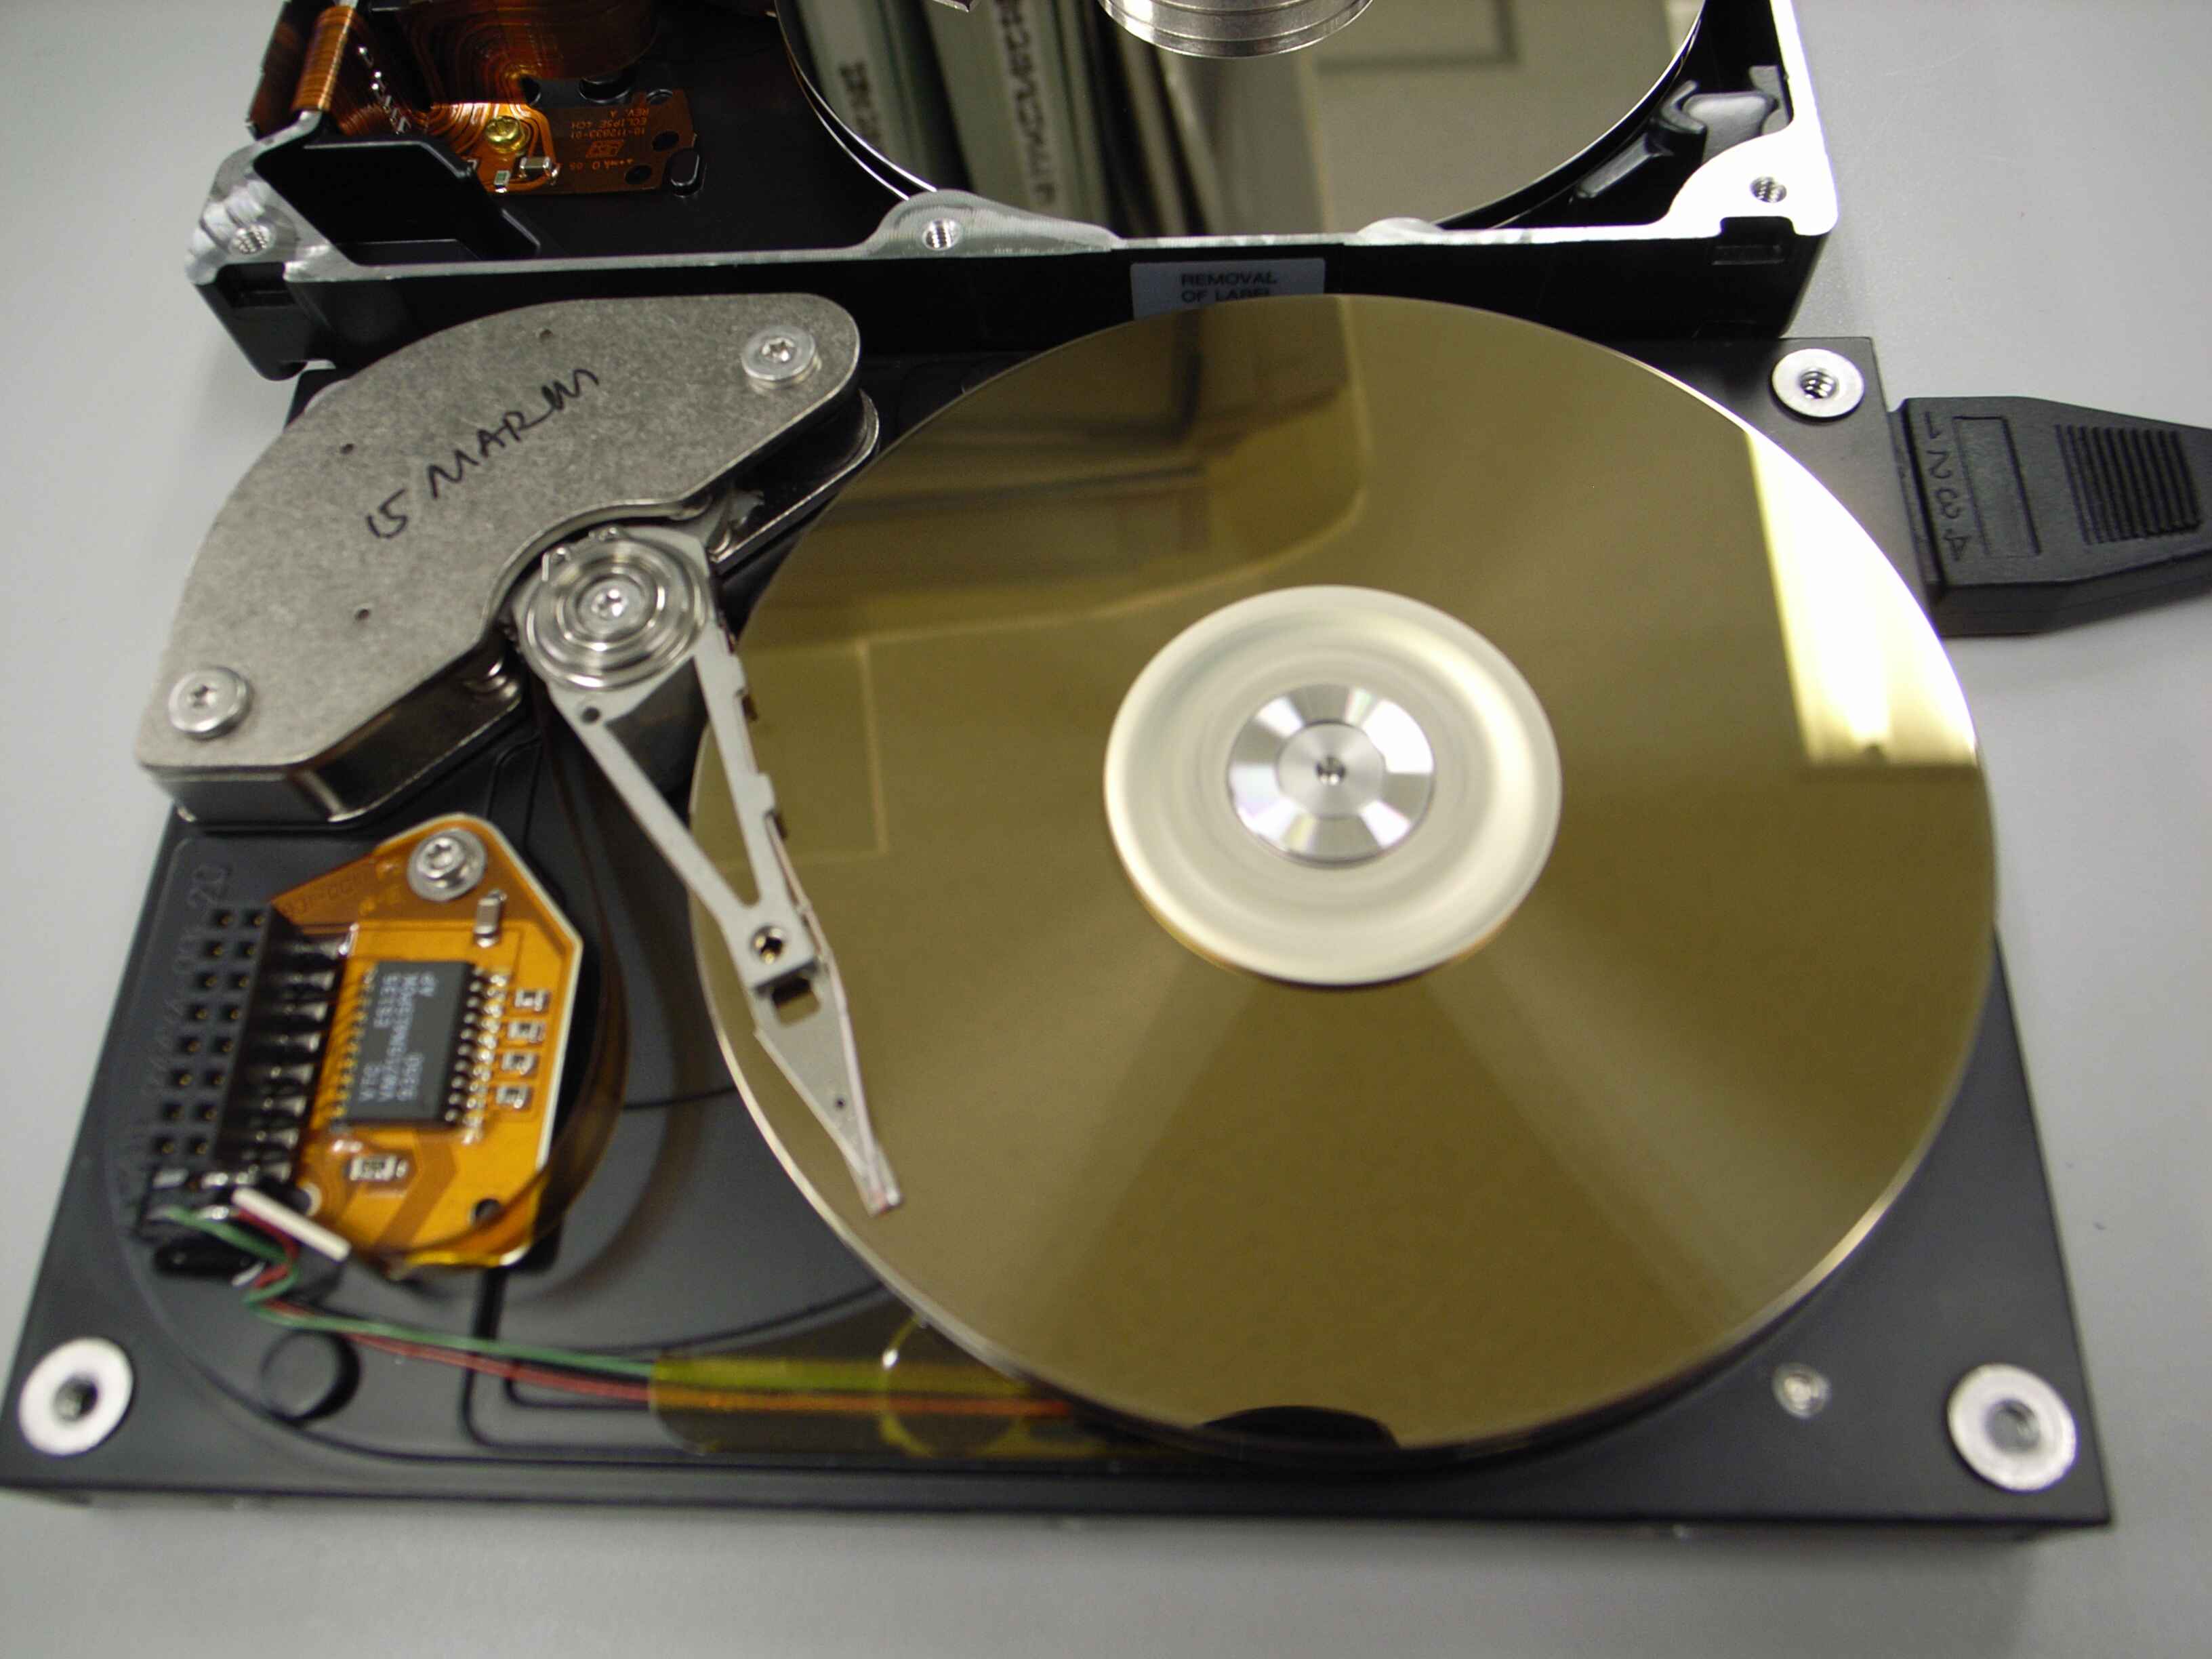
Identifying the Motor
Now that we have successfully removed the hard disk drive cover, it’s time to identify the motor. Identifying the motor is crucial in order to proceed with the next steps of wiring and testing.
When looking at the internal components of the hard disk drive, you will typically find the motor located near the center of the assembly. The motor appears as a cylindrical or square-shaped component with wires connected to it.
Take a closer look at the motor and observe the labeling or markings on its surface. It may have information such as the model number, power requirements, or manufacturer details. These markings can be helpful in determining the specifications of the motor and ensuring that we can provide the necessary power supply to make it spin.
In addition to the visual inspection, you can also follow the wire connections to confirm that they are connected to the motor. The wires are usually color-coded, with red representing the positive connection and black or blue representing the negative connection. It is essential to note down the wire colors and their corresponding connections for later reference when wiring the motor.
Remember to handle the motor with care while identifying it. Avoid applying excessive force or pressure to prevent any damage or dislodging of the components.
With the motor identified, we are now ready to move on to the exciting part – wiring the motor to an external power source to make it spin. Let’s proceed to the next section to learn the necessary steps.
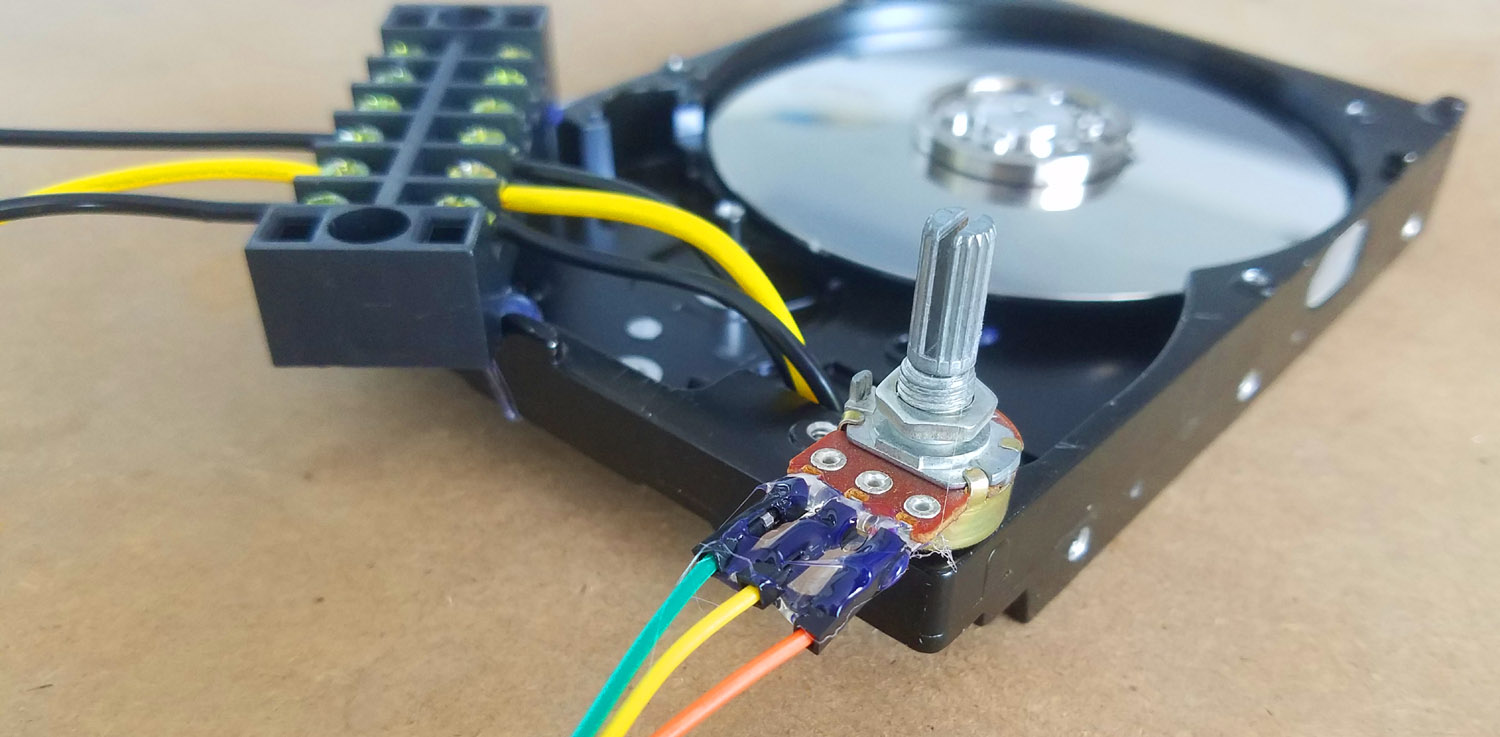
Wiring the Motor to an External Power Source
Now that we have identified the motor, it’s time to connect it to an external power source to make it spin. This step will enable us to test the motor’s functionality and observe its rotation. Follow these steps carefully to ensure a proper connection:
- Prepare the alligator clips by removing any insulation from the ends. This will allow for a secure electrical connection.
- Identify the positive and negative terminals on the motor. These are typically indicated by red and black wires, respectively.
- Attach one alligator clip to the positive terminal of the motor by securely clamping it onto the exposed wire. Ensure a firm connection without damaging the wire insulation.
- Attach the other alligator clip to the negative terminal of the motor using the same method.
- With the alligator clips attached, grab the wires on the other end of the clips and connect them to the corresponding terminals of the external power source.
- Double-check the wiring connections to ensure that the positive and negative terminals are properly aligned.
After completing the wiring, you are ready to power on the external power source. If everything is connected correctly, the motor should start spinning. Take a moment to observe the rotation and ensure that it is smooth and steady.
It’s important to note that the motor may spin in either direction depending on its design. Don’t be alarmed if it rotates clockwise or counterclockwise; both are considered normal and depend on the motor’s internal construction.
If the motor doesn’t spin or exhibits irregular movement, double-check the connections to ensure they are secure and correctly aligned. You may need to troubleshoot potential issues such as loose connections, incorrect wiring, or insufficient power supply.
Take extra caution while handling the motor and the power source, ensuring proper safety measures are in place to prevent electrical shocks or accidents.
With the motor successfully wired to an external power source and spinning as intended, we have achieved a significant milestone! In the next section, we will explore how to secure the motor in place to ensure stability during further testing and usage.
Testing the Motor Rotation
With the motor successfully wired to an external power source, it’s time to test its rotation to ensure proper functionality. Testing the motor rotation will help us verify that everything is working as expected and prepare us for securing the motor in place.
Once you have applied power to the motor, closely observe its rotation. Take note of the direction in which it spins, whether clockwise or counterclockwise. This information is crucial for future reference when integrating the motor into other projects.
During the testing phase, pay attention to the speed and consistency of the motor’s rotation. It should spin smoothly and steadily without any sudden jerks or fluctuations. If you notice any irregularities or issues, double-check the wiring connections and the power supply to ensure everything is properly set up.
While testing the motor rotation, you may also want to experiment with different voltages or power levels to observe the corresponding changes in motor speed. However, be cautious not to exceed the manufacturer’s specified voltage limits to avoid damaging the motor.
Additionally, you can try reversing the polarity of the power supply to observe changes in motor direction. This can be done by swapping the positive and negative terminals of the power source. Take note of the changes in rotation direction as you make adjustments.
Testing the motor rotation serves as a crucial step to confirm its functionality and suitability for your specific project requirements. Once you are satisfied with the motor’s performance, you can proceed to the next section to learn how to secure it in place for more stable and reliable operation.
Remember to exercise caution and adhere to safety guidelines while testing the motor to ensure a safe working environment.
Securing the Motor in Place
Now that we have confirmed the functionality of the motor, it’s time to securely position it within the hard disk drive or any other project you may be working on. Properly securing the motor ensures stability and reliable operation, minimizing the risk of any accidental movement or damage.
Here are the steps to securely position the motor:
- Identify a suitable location within the hard disk drive or your project where the motor can be placed. Consider factors such as the available space, accessibility for wiring, and any necessary mounting points.
- Use mounting brackets, adhesive tapes, or screws to affix the motor to the chosen location. Ensure that the motor is positioned securely and firmly in place, reducing any potential vibrations or movement.
- Verify that the wiring connections from the motor to the power supply are secured and not exposed, minimizing the risk of accidental disconnections or short circuits.
- Double-check the surrounding components and wires to ensure they are clear of the motor’s rotating parts. This prevents any interference or potential damage during operation.
It’s important to note that depending on your specific project requirements, you may need to explore additional methods of securing the motor. For example, if you are incorporating the motor into a custom-built device, you may need to design and fabricate a suitable mounting structure to ensure a robust and stable installation.
Securing the motor in place not only ensures optimal performance but also enhances the overall safety and longevity of your project. Take the time to carefully position and secure the motor, ensuring that it is well-integrated into the system.
With the motor securely in place, you have successfully completed a significant part of the process. Next, we will provide you with some valuable troubleshooting tips to assist you in addressing any potential issues that may arise along the way.
Troubleshooting Tips
During the process of making the motor on a hard disk drive spin, you may encounter some challenges or issues. Here are some troubleshooting tips to help you address common problems and ensure a smooth operation:
- Double-check the wiring connections: Ensure that the alligator clips are securely attached to the motor’s terminals and that the wires are properly connected to the power source. Loose or incorrect connections can result in a non-functional motor.
- Verify the power supply: Make sure that the voltage and amperage of the power supply match the motor’s specifications. Using an incompatible power supply can lead to insufficient power delivery or, conversely, overloading and damaging the motor.
- Inspect for damaged components: Check the motor and its wiring for any signs of damage, such as frayed wires or burnt components. Faulty or damaged parts can disrupt the motor’s operation and should be replaced if necessary.
- Ensure proper insulation: Confirm that all connections between the wires and alligator clips are securely insulated. Without proper insulation, there is a risk of short circuits or electrical shocks.
- Check for obstructions or mechanical issues: Examine the motor and surrounding components for any obstructions that may impede its rotation. Remove any debris or objects that may be interfering. Additionally, ensure that the motor’s mechanical parts are properly aligned and functioning smoothly.
- Test with another power source: If the motor is not working as expected, try using a different power source to eliminate the possibility of a faulty power supply. It can help isolate the issue and determine whether the problem lies with the power source or the motor itself.
By following these troubleshooting tips, you can overcome common challenges and ensure a successful outcome in making the motor on a hard disk drive spin. Remember to exercise caution and use your knowledge and judgment when diagnosing and addressing any issues that may arise.
With the troubleshooting steps covered, it’s time to wrap up our guide. We hope that this has been an enlightening and rewarding experience, providing you with valuable insights into the inner workings of a hard disk drive’s motor and its integration into various projects.
Conclusion
Congratulations on successfully exploring the process of making the motor on a hard disk drive spin! Through this guide, we delved into understanding the components of a hard disk drive, gathering the necessary tools and equipment, removing the hard disk drive cover, identifying the motor, wiring it to an external power source, testing its rotation, securing it in place, and troubleshooting any potential issues.
By following these steps, you have gained valuable knowledge about the inner workings of a hard disk drive and how to make its motor spin outside of its original housing. This newfound understanding can open doors to further exploration and applications in various projects that involve motor-driven mechanisms.
Remember to always exercise caution, follow safety guidelines, and pay attention to detail when working with hardware components. This will ensure not only a successful outcome but also a safe and enjoyable experience.
We hope that this guide has been informative and helpful in your journey of understanding and working with hard disk drive motors. Feel free to experiment, explore, and apply this knowledge to your own projects.
Thank you for joining us on this exciting adventure, and we wish you the best of luck in all your future endeavors!