Introduction
Printer hard disk drives are an often overlooked component of modern printers. These small storage devices play a crucial role in the printing process by storing sensitive documents, print logs, and other important data. While most people are unaware of the existence and functionality of these hard disk drives, they can provide valuable information and insights that can be used for various purposes.
In this article, we will explore how to view data from a printer hard disk drive and understand the steps involved in accessing and analyzing the stored information. Whether you are a business owner looking to monitor printing activities, an IT professional investigating potential security breaches, or simply a curious individual interested in learning more about printer technology, this guide will help you navigate the process.
Before we delve into the steps, it is important to note that the availability and accessibility of printer hard disk drives may vary depending on the printer model and manufacturer. Some printers may not have a built-in hard disk drive, while others may require additional software or hardware to view the stored data. Therefore, it is crucial to determine whether your printer has a hard disk drive and understand the necessary prerequisites.
Now, let us dive into the details of printer hard disk drives and explore the reasons why you may want to view the data stored on them.
Understanding Printer Hard Disk Drives
Printer hard disk drives (HDDs) are a crucial component of many modern printers. These small storage devices are typically integrated into high-end commercial printers and multifunction devices, but they can also be found in some consumer-grade printers. The primary function of a printer HDD is to store and process data related to the printing operations.
Printer HDDs have a significant capacity, allowing them to store a vast amount of data. This includes print jobs, document files, user settings, printer configurations, and even temporary data used during the printing process. The data is stored on the HDD in a structured manner, making it easily retrievable when required.
One key advantage of storing data on the printer HDD is the ability to maintain a comprehensive print log. This log provides a detailed record of all print jobs, including information such as the date and time of printing, the user who initiated the print job, the number of pages printed, and any print settings applied. This information can be valuable for monitoring printing activities, allocating costs, and ensuring compliance with printing policies.
In addition to print logs, printer HDDs can also store temporary data used during the print process. This includes data that needs to be accessed quickly, such as fonts, images, and other resources required for printing. By storing these elements on the HDD, the printer can quickly access and process them, resulting in faster print speeds and improved efficiency.
Furthermore, printer HDDs can be used to store confidential or sensitive documents temporarily. This can be particularly useful in environments where printing security is a concern, such as in healthcare or legal industries. By storing sensitive documents on the printer HDD instead of the computer’s hard drive, it reduces the risk of unauthorized access and ensures that the documents are securely stored within the printer itself.
Overall, printer HDDs play a crucial role in the printing process by storing and processing data related to print jobs, print logs, and temporary resources. Understanding the capabilities and functionality of printer HDDs is essential for accessing and analyzing the data stored within them, which we will explore further in the following sections.
Reasons to View Data From Printer Hard Disk Drive
While printer hard disk drives may seem like a hidden and insignificant component of a printer, there are several compelling reasons why one might want to view the data stored on them. Let’s explore some of the common motivations for accessing and analyzing printer HDD data.
1. Monitoring Print Activities: Viewing the data from a printer HDD allows you to monitor and track print activities. This is especially useful in business environments where it is necessary to keep an eye on printing usage and costs. By analyzing the print logs stored on the HDD, you can gain insights into who is printing, what documents are being printed, and how frequently printing is occurring.
2. Print Security and Compliance: Printer HDDs can store temporary data and confidential documents. Accessing the data on the HDD allows you to verify if any sensitive information has been printed and ensure compliance with security protocols. By reviewing the data, you can identify any potential security breaches, unauthorized document printing, or other activities that may pose a risk to data privacy.
3. Investigating Printing Issues: When faced with printing issues such as printing errors, missing print jobs, or inconsistent print quality, examining the data on the printer HDD can provide valuable clues. Reviewing the data can help pinpoint any errors or anomalies in the printing process, allowing for faster troubleshooting and resolution of the problem.
4. Cost Allocation: For businesses that allocate printing costs to specific departments or individuals, accessing the printer HDD data enables accurate cost allocation and billing. By analyzing the print logs and usage patterns, you can determine the printing expenses associated with each user or department, making cost management more efficient.
5. Improving Print Workflow: Examining the data on the printer HDD can help identify bottlenecks or inefficiencies in the print workflow. By analyzing print logs and usage patterns, you can identify areas where print jobs are frequently delayed, which can be addressed to optimize print workflow and improve overall efficiency.
These are just a few examples of why accessing and viewing data from a printer hard disk drive can be beneficial. The ability to monitor print activities, ensure print security, investigate printing issues, allocate costs accurately, and improve print workflow makes accessing printer HDD data a valuable tool for businesses and individuals alike.
Steps to View Data From Printer Hard Disk Drive
Now that we understand the importance of accessing and viewing data from a printer hard disk drive, let’s explore the steps involved in the process. While the specific steps may vary depending on the printer model and manufacturer, the following general guidelines will help you get started:
1. Check the Printer Model and Manufacturer: Before proceeding, it is essential to determine the make and model of your printer. This information can usually be found on a label or in the printer’s manual. Knowing the printer model will help guide you in finding the relevant documentation and resources for accessing the printer’s hard disk drive.
2. Determine if the Printer has a Hard Disk Drive: Not all printers have a built-in hard disk drive. It is crucial to verify if your printer is equipped with an HDD to ensure that the steps below are relevant to your particular printer model. You can typically find this information in the printer’s manual or by contacting the manufacturer’s customer support.
3. Accessing the Printer’s Hard Disk Drive: To view the data on the printer HDD, you will need to access it physically. Depending on the printer model and design, the HDD may be located in a removable compartment or behind a panel. Refer to the printer’s manual or online documentation for specific instructions on accessing the HDD on your printer.
4. Connecting the Printer’s Hard Disk Drive to a Computer: Once you have accessed the printer HDD, you will need to establish a connection between the HDD and a computer. This can typically be done using a USB cable, SATA cable, or another suitable connection method. Ensure that both the printer and the computer are turned off before making any connections.
5. Using Software to View Data From the Printer’s Hard Disk Drive: After establishing a connection between the printer HDD and the computer, you will need to use software to access and view the data stored on the HDD. Some printers may come with proprietary software for this purpose, while others may require the use of third-party software. Follow the instructions provided by the printer manufacturer or consult the manual for guidance on the software to use.
6. Analyzing the Data From the Printer’s Hard Disk Drive: Once you have successfully accessed the printer HDD and retrieved the data using the software, you can begin analyzing it. This may involve reviewing print logs, examining document files, or extracting any other relevant information stored on the HDD. The specific analysis will depend on your purpose for accessing the printer HDD data.
These steps provide a general framework for viewing data from a printer hard disk drive. It is important to note that the exact process may vary depending on the printer model and manufacturer. Therefore, it is crucial to refer to the printer’s manual or online documentation for specific instructions tailored to your printer.
Step 1: Check the Printer Model and Manufacturer
Before proceeding with accessing and viewing the data from a printer’s hard disk drive, the first step is to identify your printer’s model and manufacturer. This information is crucial as it will guide you in finding the relevant documentation and resources specific to your printer.
1. Locate the Printer Model: The printer model is typically displayed on the front or top of the printer. It can be a combination of numbers and letters that uniquely identifies the printer. If you cannot locate the model on the printer itself, you can check the printer’s documentation or the box it came in.
2. Identify the Printer Manufacturer: The printer manufacturer is the company that designed and produced the printer. It can usually be found on the front or top of the printer as well. Common printer manufacturers include HP, Canon, Epson, Brother, and many others.
3. Refer to the Printer’s Manual: Once you have determined the model and manufacturer of your printer, it is important to consult the printer’s manual. The manual provides valuable information regarding the printer’s features, specifications, and any additional hardware or software required to access the hard disk drive and view its data. The manual may also contain specific instructions on where to find the hard disk drive compartment or panel, if applicable.
4. Visit the Manufacturer’s Website: The manufacturer’s website is a valuable resource for gathering information about your printer model. Most printer manufacturers have dedicated support pages where you can find product documentation, software downloads, and FAQs related to accessing and viewing data from the printer’s hard disk drive. Visit the manufacturer’s website and navigate to the support section, then enter your printer model to access the relevant information.
5. Contact Customer Support: If you are unable to locate the necessary information through the printer’s manual or the manufacturer’s website, reaching out to customer support can provide further assistance. Contact the manufacturer’s customer support through their provided channels, such as phone, email, or live chat, and provide them with your printer’s model and any specific questions or concerns you may have. The customer support team can guide you in the right direction and provide the necessary information for accessing and viewing data from the printer’s hard disk drive.
By checking the printer model and manufacturer, consulting the printer’s manual, visiting the manufacturer’s website, and contacting customer support when needed, you can ensure that you have the necessary information and resources to proceed with accessing and viewing data from your printer’s hard disk drive.
Step 2: Determine if the Printer has a Hard Disk Drive
Before proceeding with accessing and viewing data from a printer’s hard disk drive (HDD), it is crucial to determine whether your printer is equipped with a built-in HDD. Not all printers have this feature, and it varies depending on the printer model and manufacturer. Here’s how you can determine if your printer has a hard disk drive:
1. Refer to the Printer’s Manual: The printer’s manual is a valuable resource for finding information about the hardware components of your printer, including whether it has a hard disk drive. Look for a section in the manual that discusses the printer’s specifications or hardware features. If an HDD is present, this information should be mentioned along with details about its capacity and functionality.
2. Check the Printer’s Control Panel and Display: Some printers may have a control panel or display that provides information about the hardware components. Look for any indications or settings related to the hard disk drive. If there is an option to manage or configure the HDD through the control panel, it is likely that your printer has one.
3. Examine the Printer’s External Appearance: While it may not always be evident from the outside, some printers have visible indicators that suggest the presence of a hard disk drive. Look for any additional compartments, slots, or panels on the printer that are not typically associated with paper trays, ink cartridges, or other standard printer components. These additional compartments may house the hard disk drive.
4. Online Research: Conducting online research about your printer model can provide additional insights into whether it has a built-in hard disk drive. Visit the manufacturer’s website and search for your printer model to access product-specific information. Online forums, tech communities, and review websites can also be valuable sources where users share their experience and highlight the presence of an HDD in a particular printer model.
5. Contact the Manufacturer: If all else fails, reaching out to the printer manufacturer’s customer support can provide definitive information about whether your printer has an HDD. Contact the manufacturer’s customer support through their provided channels and provide them with your printer model. They will be able to clarify whether your printer has a hard disk drive and answer any other questions you may have.
By referring to the printer’s manual, checking the control panel and external appearance, conducting online research, and contacting the manufacturer’s customer support, you will be able to determine whether your printer has a built-in hard disk drive. This step is crucial as it ensures that the subsequent steps for accessing and viewing data from the printer’s hard disk drive are relevant to your printer model.
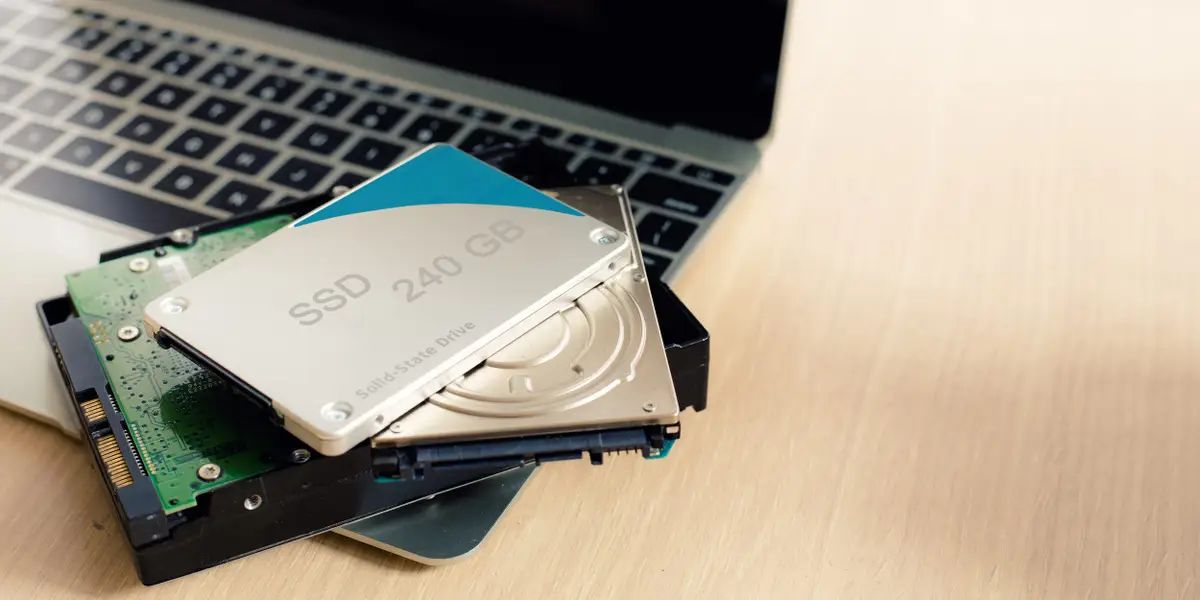
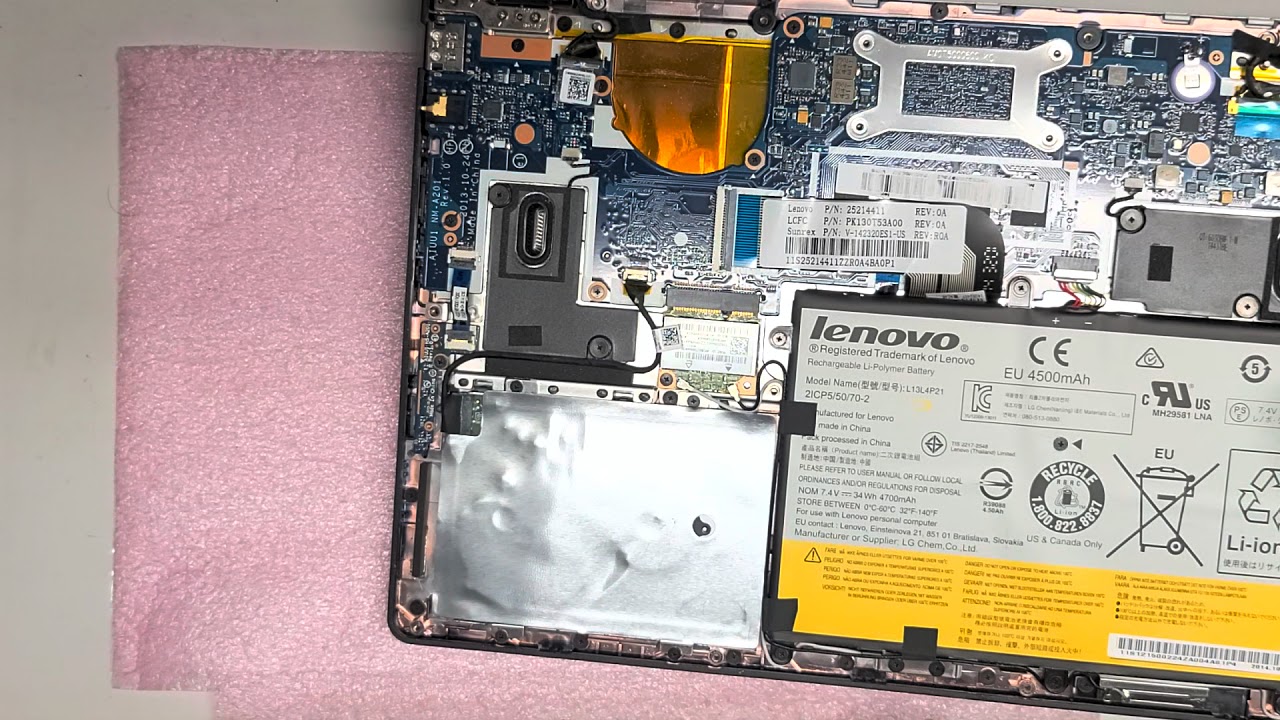
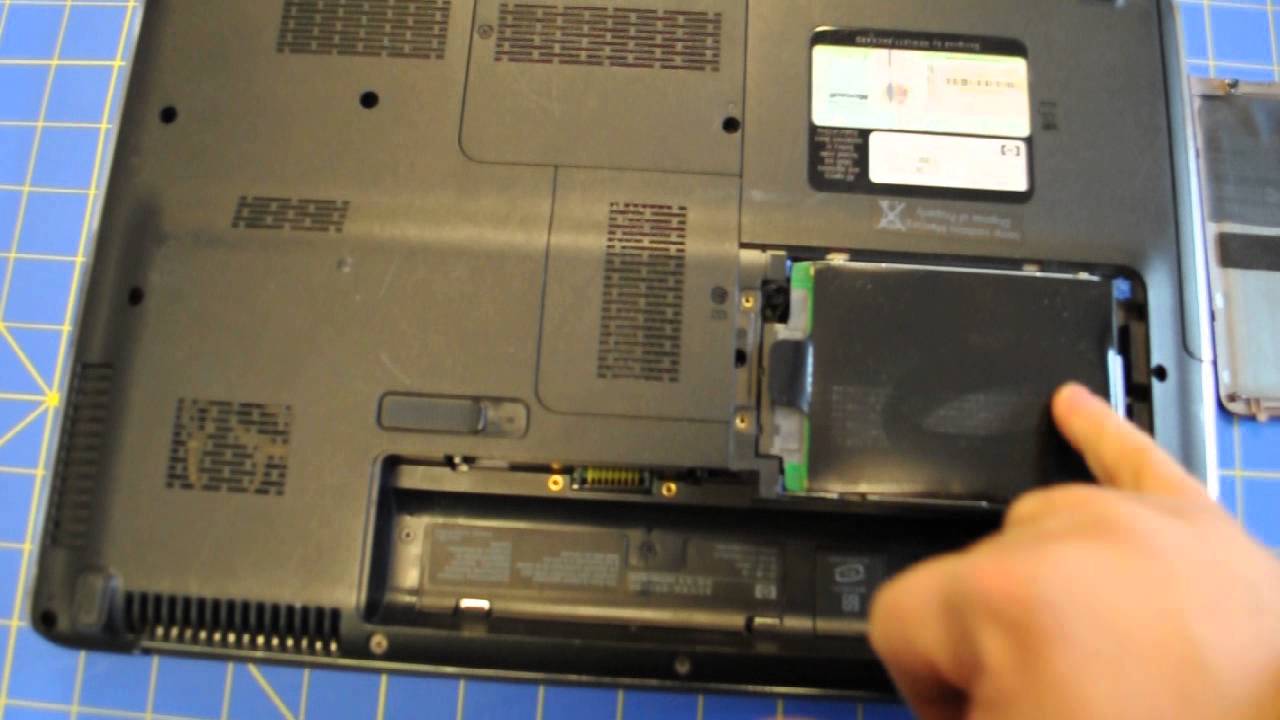
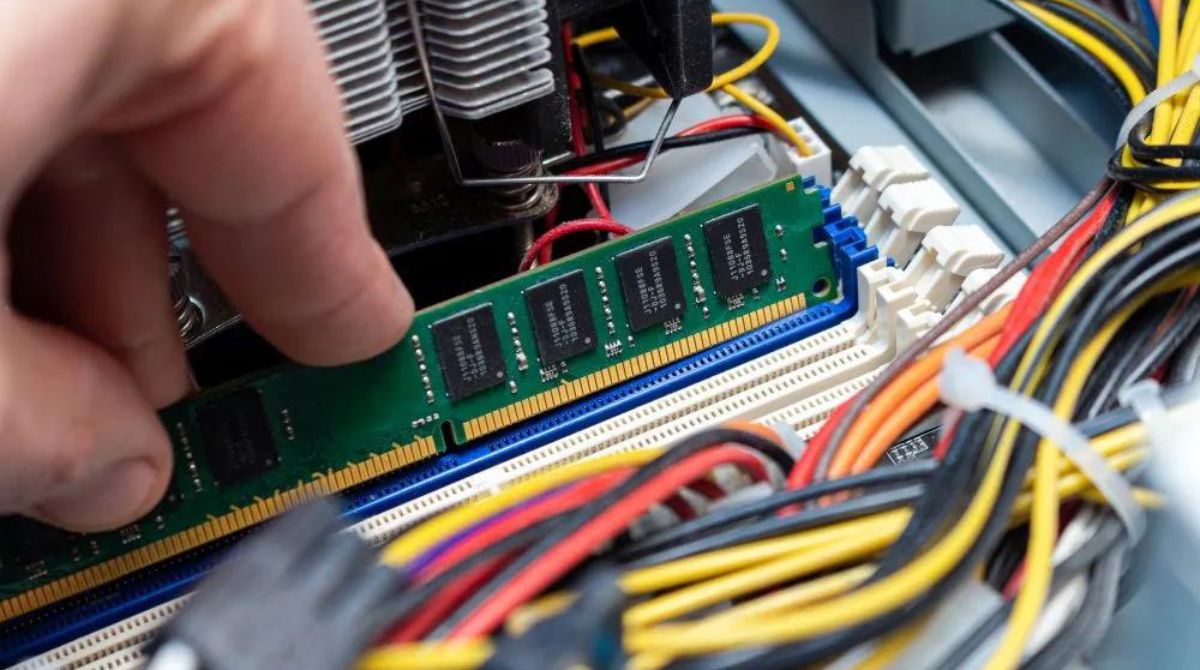
Step 3: Accessing the Printer’s Hard Disk Drive
Once you have determined that your printer has a built-in hard disk drive (HDD), the next step is to physically access the HDD. The process of accessing the printer’s hard disk drive may vary depending on the printer model and design. Here are some general guidelines to help you access the printer’s HDD:
1. Refer to the Printer’s Manual: The printer’s manual is a valuable resource that provides detailed instructions on accessing different components of the printer, including the hard disk drive. Consult the manual for specific instructions tailored to your printer model. Look for a section related to servicing, maintenance, or replacing parts, as it may provide guidance on accessing the HDD.
2. Locate the HDD Compartment or Panel: Examine the external appearance of the printer to identify any specific compartments or panels dedicated to accessing the hard disk drive. These compartments or panels may be located on the side, front, or back of the printer. Note that some printer models may require removing certain components, such as a side cover or a rear panel, to access the HDD compartment.
3. Follow Safety Precautions: Before attempting to access the printer’s hard disk drive, make sure to turn off the printer and disconnect it from the power source. This will ensure your safety and prevent any potential damage to the printer or the HDD. Take additional precautions if necessary, such as wearing protective gloves or following any specific guidelines mentioned in the printer’s manual.
4. Remove the HDD Compartment or Panel: Depending on your printer model, you may need to remove screws or clips to access the HDD compartment or panel. Carefully unscrew or unclip the necessary parts following the directions provided in the printer’s manual. If you encounter any difficulties, refer to the manual or contact the manufacturer’s customer support for assistance.
5. Handle the HDD with Care: Once you’ve gained access to the HDD, handle it with care to avoid damage. The HDD may be secured in place with screws or brackets. Remove these fastenings and gently detach the HDD from its housing, making sure not to touch the exposed circuits or delicate components.
Keep in mind that these instructions are general guidelines, and the specific steps to access the printer’s hard disk drive may vary depending on your printer model. Always refer to the printer’s manual for precise instructions and follow any safety precautions mentioned. If you’re unsure or encounter any difficulties, consider contacting the manufacturer’s customer support for assistance.
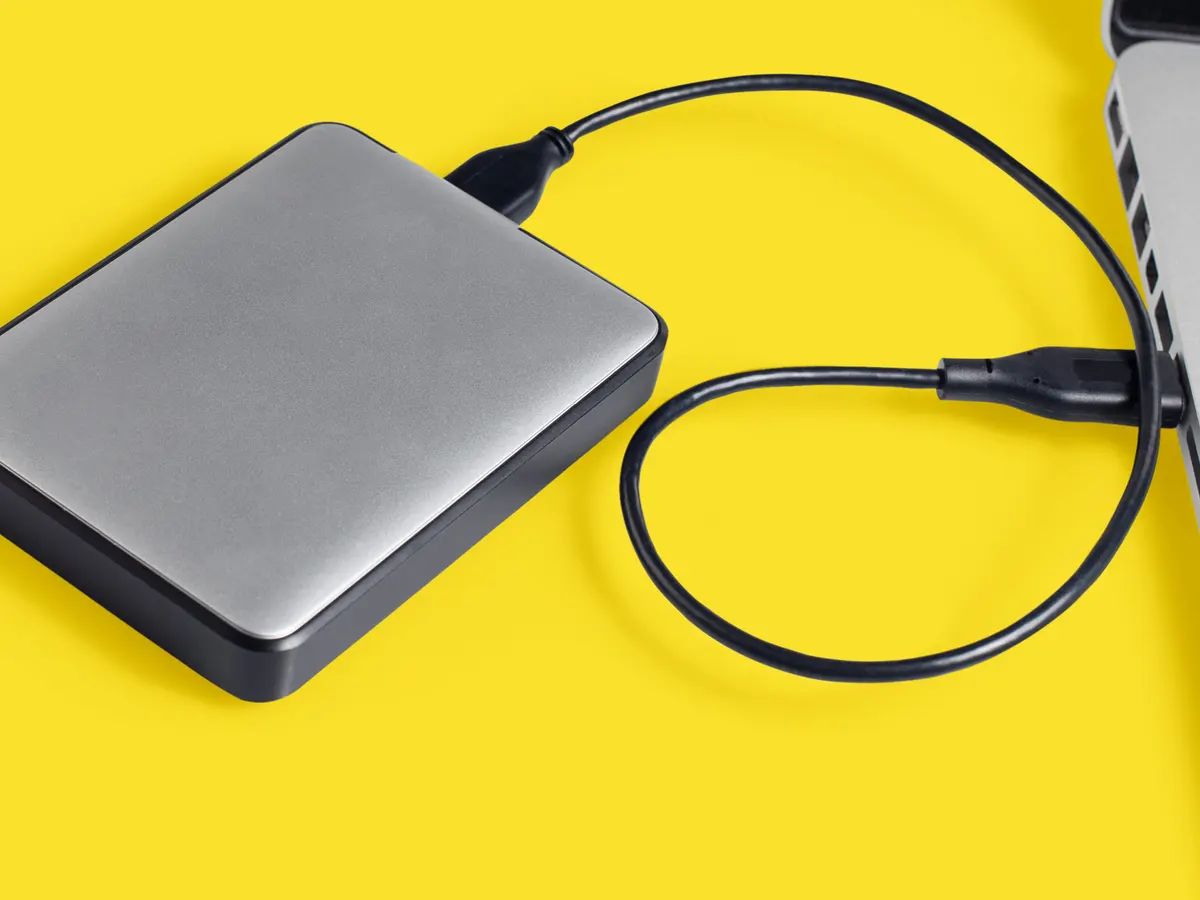
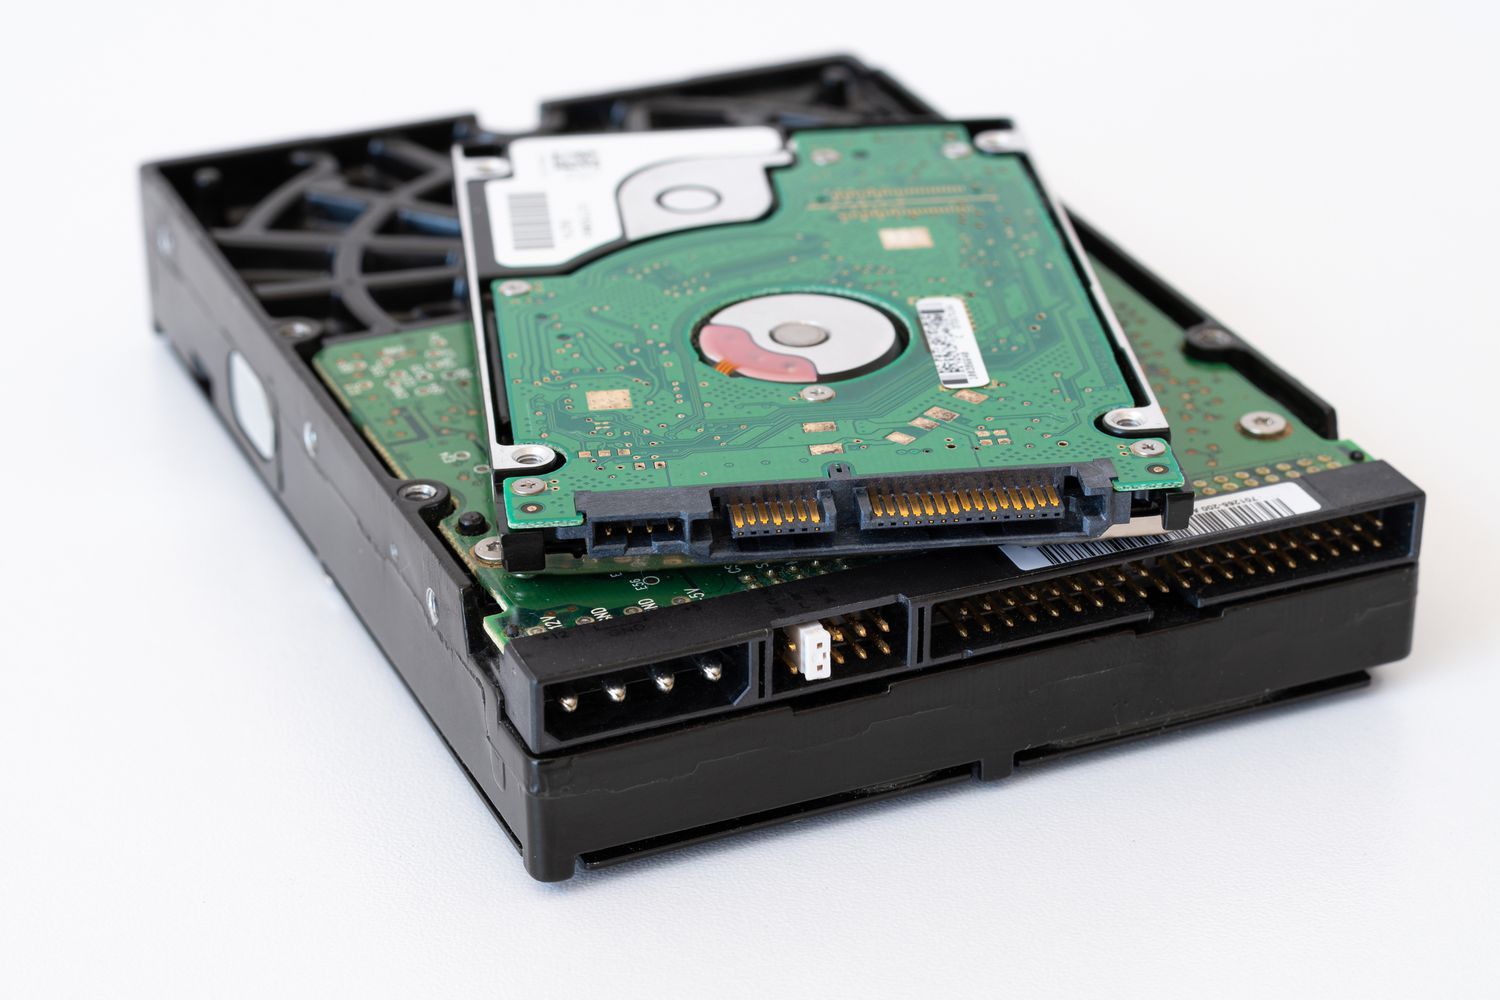
Step 4: Connecting the Printer’s Hard Disk Drive to a Computer
After successfully accessing the printer’s hard disk drive (HDD), the next step is to establish a connection between the HDD and a computer. This connection will allow you to transfer and view the data stored on the HDD. The specific method of connecting the HDD to a computer may differ depending on the printer model and the interface options available. Here are some general steps to guide you:
1. Turn off the Printer and Computer: Before making any connections, ensure that both the printer and the computer are turned off. This will prevent any potential electrical damage and ensure a safe and successful connection.
2. Identify the Connection Interface: Determine the type of interface that the printer HDD uses to connect to a computer. The most common interface options include USB, SATA, or SCSI. Refer to the printer’s manual or online documentation for information on the specific interface used by your printer model.
3. Gather the Necessary Cables: Based on the interface identified in the previous step, gather the appropriate cables needed to connect the printer HDD to the computer. USB cables are commonly used for connecting the HDD to a computer. Ensure that the cables are in good condition and capable of supporting the necessary data transfer speeds.
4. Connect the HDD to the Computer: Depending on the available connection options, follow these steps:
- If using a USB connection: Plug one end of the USB cable into the USB port on the printer’s HDD and the other end into an available USB port on your computer. Ensure a secure connection is established.
- If using a SATA or SCSI connection: Connect the appropriate SATA or SCSI cable to the respective ports on both the printer’s HDD and the computer. Secure the connection by gently pushing the connectors into place, ensuring they are firmly seated.
5. Power on the Printer and Computer: Once the HDD is properly connected, power on both the printer and the computer. Wait for them to completely boot up and establish a connection between the two devices.
6. Verify the Connection: Check the computer to see if it recognizes the connected printer HDD. Depending on your operating system, an alert or notification may appear indicating the detection of a new storage device. Ensure that the computer recognizes the printer HDD before proceeding to the next step.
It is important to note that the steps mentioned here are general guidelines, and the actual process of connecting the printer’s HDD to a computer may differ depending on the printer model and the interface used. Always consult the printer’s manual or online documentation for specific instructions tailored to your printer.
Once the printer’s HDD is successfully connected to the computer, you can proceed to the next step of using software to view the data stored on the HDD.
Step 5: Using Software to View Data From the Printer’s Hard Disk Drive
Once you have successfully connected the printer’s hard disk drive (HDD) to your computer, the next step is to use software to access and view the data stored on the HDD. The software required may vary depending on the printer model and manufacturer. Here are some general steps to guide you in using software to view data from the printer’s HDD:
1. Refer to the Printer’s Manual: The printer’s manual is a valuable source of information regarding the software required to access the HDD. Look for a section on using the HDD or accessing stored data. The manual may provide guidance on the specific software options available for your printer model.
2. Visit the Manufacturer’s Website: The manufacturer’s website often provides software downloads for their printers. Go to the manufacturer’s support page and search for software related to accessing the printer’s HDD. Enter your printer model or browse through the available software options to find the appropriate software for your needs.
3. Install the Software: Download the software from the manufacturer’s website and follow the installation instructions provided. Ensure that you choose the correct software version compatible with your operating system. Once the installation is complete, launch the software on your computer.
4. Connect to the Printer’s HDD: Open the software you installed and follow the on-screen instructions to establish a connection with the printer’s HDD. Depending on the software, you may need to select the connected HDD from a list of available devices or use specific settings to connect to the printer’s HDD.
5. Navigate and View Data: Once the connection to the printer’s HDD is established, navigate through the software interface to access and view the data stored on the HDD. The software should provide options to browse through print logs, document files, or other data stored on the HDD. Use the software’s features and functions to analyze and retrieve the desired information.
Please note that the software interface and features may vary depending on the printer model and the software provided by the manufacturer. Refer to the software’s user guide or accompanying documentation for specific instructions on how to navigate, search, and retrieve data from the printer’s HDD.
It is always recommended to follow the instructions provided by the printer manufacturer, as they are tailored to your specific printer model and ensure compatibility with the printer’s hardware and software components.
With the software installed and connected to the printer’s HDD, you can now proceed to analyze and extract the data stored on the HDD, which will be covered in the next step.
Step 6: Analyzing the Data From the Printer’s Hard Disk Drive
After successfully accessing and viewing the data from the printer’s hard disk drive (HDD), the next step is to analyze the retrieved data. Analyzing the data can provide valuable insights into printing activities, security breaches, cost allocation, or other purposes for accessing the printer’s HDD. Here are some general steps to guide you in analyzing the data:
1. Review Print Logs: Start by examining the print logs stored on the HDD. The print logs provide details about past print jobs, such as the date and time of printing, the user who initiated the print job, and the number of pages printed. Analyzing the print logs can reveal patterns, identify frequent users or departments, and help monitor printing activities.
2. Examine Document Files: If the printer’s HDD stores document files, review them to gain insights into the types of documents printed. This can be useful for monitoring sensitive or confidential information being printed and ensuring compliance with printing policies. Analyze the document files to identify any anomalies or unauthorized printing activities.
3. Analyze Print Usage: Use the data from the printer’s HDD to analyze print usage patterns. Look for trends such as high-volume printing times, excessive paper usage, or specific print settings being frequently applied. This analysis can help optimize print workflow, identify areas for cost-saving, and improve overall print efficiency.
4. Identify Security Breaches: Examine the data from the printer’s HDD to identify potential security breaches. Look for any unauthorized access attempts, printing of confidential documents, or suspicious printing activities that may pose a risk to data privacy. Analyzing the data can help detect and prevent such security breaches in the future.
5. Allocate Printing Costs: If your organization allocates printing costs to specific departments or individuals, use the data from the printer’s HDD to accurately allocate costs. Analyze the print logs and usage patterns to determine the printing expenses associated with each user or department, enabling efficient cost management and billing.
6. Generate Reports: Depending on your analysis goals, consider generating reports based on the data extracted from the printer’s HDD. Reports can provide a clear overview of printing activities, costs, and printing patterns. These reports can be useful for management reviews, budgeting, or compliance purposes.
Remember that the specific analysis will depend on your purpose for accessing the printer’s HDD data. Tailor your analysis to meet the specific goals and requirements of your organization or the purpose for which you accessed the HDD data.
By following these steps, you can effectively analyze the data retrieved from the printer’s HDD and gain valuable insights for monitoring print activities, ensuring print security, optimizing print workflow, allocating costs, and improving overall print efficiency.
Conclusion
Accessing and viewing data from a printer’s hard disk drive can provide valuable insights into print activities, security, cost allocation, and more. By following the steps outlined in this guide, you can successfully navigate the process of accessing and analyzing the data stored on the printer’s HDD.
Begin by checking the printer model and manufacturer to gather the necessary information and resources. Determine if your printer has a built-in hard disk drive, and if so, proceed with accessing the HDD by following the instructions provided in the printer’s manual or online documentation. Once you have physical access to the HDD, connect it to a computer using the appropriate cables and interfaces.
Next, use software specifically designed for accessing the printer’s HDD to view and retrieve the stored data. Install the relevant software from the manufacturer’s website or other trusted sources, and follow the instructions provided to establish a connection between the HDD and the computer. Once connected, navigate through the software to access the desired data, such as print logs, document files, or other relevant information.
Finally, analyze the retrieved data to gain insights into print activities, security breaches, cost allocation, or other specific purposes. Review print logs, examine document files, analyze print usage patterns, identify security breaches, or generate reports to meet your analysis goals. The analysis will depend on your specific objectives and the purpose for which you accessed the printer’s HDD data.
It is important to note that the steps and process may vary depending on the printer model and manufacturer. Refer to the printer’s manual, the manufacturer’s documentation, or contact customer support for model-specific instructions and guidance.
By following these steps and leveraging the data stored on the printer’s hard disk drive, you can effectively monitor print activities, enhance print security, optimize print workflow, allocate costs accurately, and improve overall print efficiency.