Introduction
Removing a hard disk drive from an HP Pavilion laptop may seem like a daunting task, but with the right guidance, you can do it safely and easily. Whether you want to replace a faulty hard drive or upgrade to a larger storage capacity, this step-by-step guide will walk you through the process.
The hard disk drive is a crucial component of your laptop, responsible for storing all your important files and programs. Over time, it may become necessary to remove and replace the hard drive due to wear and tear, or simply because you need more storage space for your growing digital library.
Before you dive into this process, it’s important to note that opening up your laptop and tinkering with its components may void your warranty. If your laptop is still covered under warranty, it’s best to consult with an authorized service provider for any necessary repairs or upgrades.
That being said, if you’re comfortable with taking matters into your own hands and have some basic technical skills, removing a hard disk drive from an HP Pavilion laptop is a feasible task. Just make sure to follow these instructions carefully and take all necessary precautions to avoid any damage to your laptop or its components.
Step 1: Shut Down and Unplug Your Laptop
The first step in removing a hard disk drive from your HP Pavilion laptop is to ensure that it is completely shut down and unplugged from any power source. This is a crucial step to prevent any electrical mishaps or data corruption during the removal process.
To shut down your laptop, click on the Start menu in the bottom left corner of your screen, then select “Shutdown.” Wait for your laptop to completely power down before proceeding to the next step.
Once your laptop is turned off, unplug the power cord from the wall outlet and disconnect any other connected cables, such as Ethernet or USB cables. It’s important to ensure that there is no power running to your laptop before you start working on it.
Taking the extra precaution of unplugging your laptop will minimize the risk of accidental electrocution and prevent any power surges from damaging any internal components.
It is also advisable to remove any external devices, such as a mouse, keyboard, or printer, that may be connected to your laptop. This will give you more freedom of movement and make it easier to work with your laptop during the removal process.
By shutting down your laptop and disconnecting it from its power source, you have prepared a safe environment to proceed with the next steps of removing the hard disk drive from your HP Pavilion laptop.
Step 2: Prepare Your Workspace
Before you begin the process of removing the hard disk drive from your HP Pavilion laptop, it’s important to prepare your workspace to ensure a smooth and organized process. By creating an ideal environment, you can minimize the risk of losing small components or causing damage to your laptop.
First, find a clean and well-lit area where you can comfortably work on your laptop. A clutter-free desk or table will provide you with ample space to lay out your tools and keep track of any screws or cables that you may need to remove during the process. Make sure you have enough room to move around and access all sides of the laptop easily.
To avoid any accidental static discharge that could potentially harm your laptop’s delicate components, it’s advisable to work on an anti-static mat or use an anti-static wrist strap. These items help to dissipate static electricity, which can build up on your body and discharge into sensitive electronic components.
Next, gather the necessary tools for the task. You will likely need a small Phillips screwdriver to remove the screws securing the hard disk drive and other components. It’s important to use the correct size screwdriver to prevent damaging the screws or stripping them.
Additionally, it’s a good idea to have a small container or magnetic tray to hold the screws you remove. This will prevent them from getting lost or rolling off your workspace. Keeping the screws organized will aid in reassembling the laptop later.
Lastly, it’s essential to have the user manual or service guide for your specific HP Pavilion laptop model. This resource will provide detailed instructions and illustrations that can guide you through the disassembly process specific to your laptop. Refer to the manual for any special considerations or precautions when removing the hard disk drive.
By preparing your workspace with a clean and well-organized area, anti-static precautions, the necessary tools, and the user manual, you are setting yourself up for a successful hard disk drive removal process on your HP Pavilion laptop.
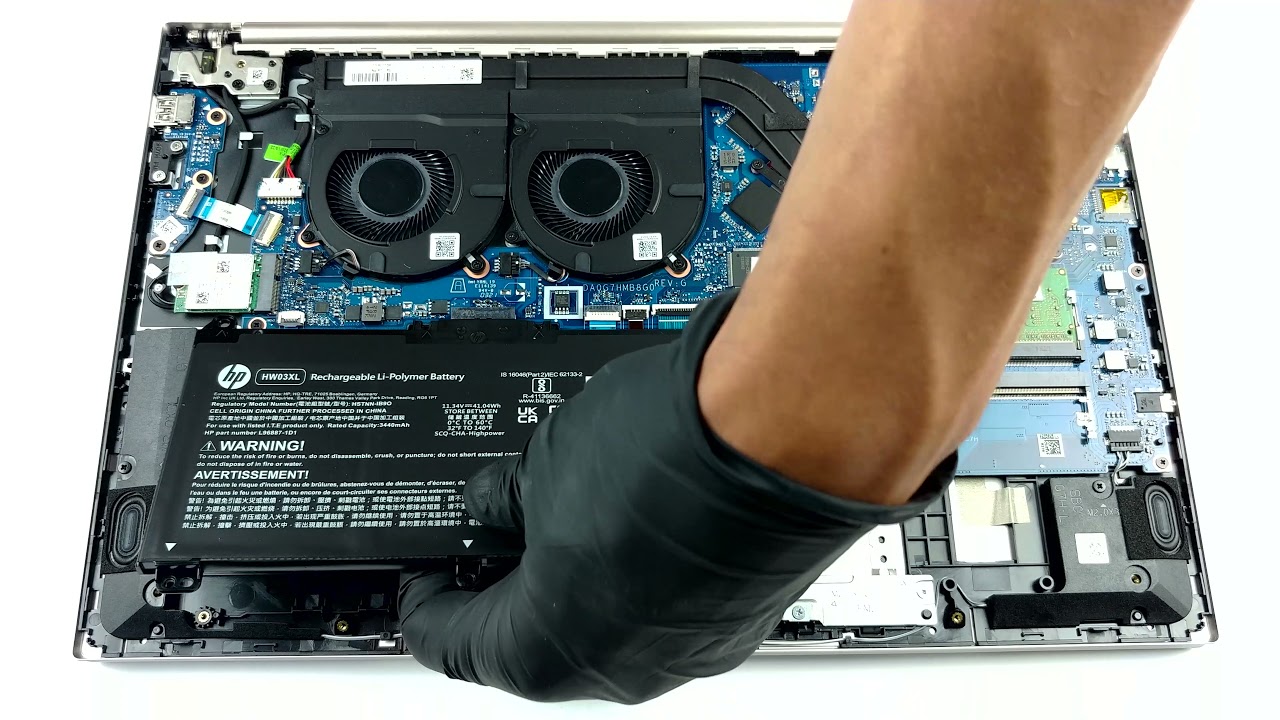
Step 3: Remove the Battery
Before you proceed with removing the hard disk drive from your HP Pavilion laptop, it’s essential to remove the battery. This step is necessary to ensure your safety and prevent any electrical mishaps during the process.
Start by locating the battery on the underside of your laptop. Typically, the battery is held in place by a latch or release mechanism that secures it to the laptop’s chassis. Consult your user manual or service guide for specific instructions on how to remove the battery for your particular laptop model.
Once you have located the battery and release mechanism, follow the instructions to unlock and remove it. In most cases, you will need to slide or press a button to release the latch and then lift the battery out of its compartment.
Ensure that you handle the battery with care and avoid applying excessive force. Some batteries may have tabs or connectors that need to be gently detached from the laptop’s motherboard. Take note of the battery’s orientation and how it connects to the laptop before removing it. This will make it easier to reconnect the battery when reassembling your laptop.
With the battery successfully removed, set it aside in a safe place away from your workspace. This will prevent any accidental damage or interference during the rest of the hard disk drive removal process.
Removing the battery from your HP Pavilion laptop is an important step to ensure your safety and prevent any potential electrical issues. By following the proper procedures outlined in your user manual, you can safely detach the battery and move on to the next steps of removing the hard disk drive.
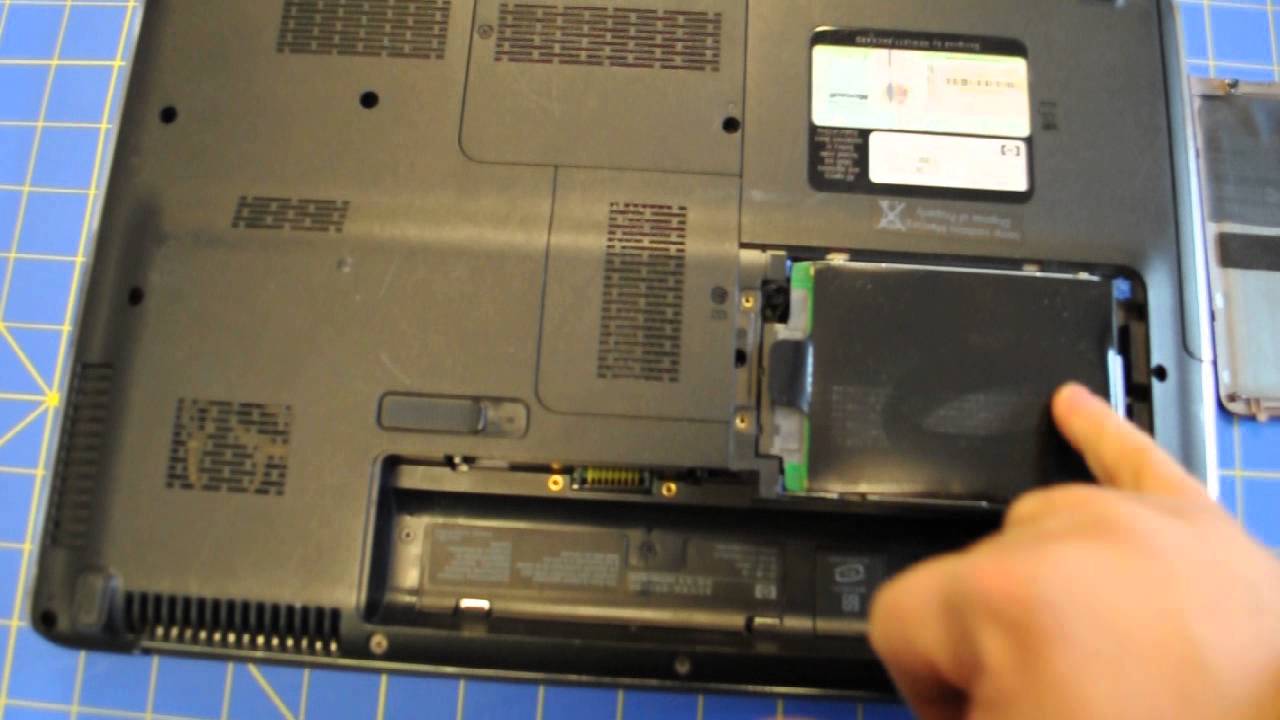
Step 4: Locate the Hard Disk Drive
Now that you have removed the battery from your HP Pavilion laptop, it’s time to locate the hard disk drive (HDD). The HDD is the component that stores all your data, including operating system files, documents, and programs.
The location of the HDD can vary depending on the model of your HP Pavilion laptop. In most cases, the HDD is located underneath a removable panel on the bottom of the laptop. Look for a panel that is secured by screws or latches.
Refer to your user manual or service guide for detailed instructions on how to locate the HDD for your specific laptop model. The manual will provide diagrams and descriptions to guide you through the process.
Once you have identified the removable panel that houses the HDD, use a small Phillips screwdriver to remove the screws securing it in place. Set aside the screws in a safe location to prevent them from getting lost.
With the screws removed, gently lift the panel to reveal the HDD underneath. Take note of any cables or connections attached to the HDD, as these will need to be disconnected in the next steps.
Inspect the HDD and locate the data and power cables connected to it. These cables are responsible for transferring data and providing power to the HDD. They are typically secured by small connectors or clips.
Taking note of the cable connections will make it easier to disconnect them in the following steps when removing the HDD from your HP Pavilion laptop.
By carefully locating the HDD and familiarizing yourself with its position and cable connections, you are ready to proceed with the next steps of removing the hard disk drive from your HP Pavilion laptop.
Step 5: Unscrew the Hard Disk Drive Enclosure
With the hard disk drive (HDD) located in your HP Pavilion laptop, the next step is to unscrew the HDD enclosure. The enclosure is the metal or plastic frame that holds the HDD securely in place.
Using a small Phillips screwdriver, carefully remove the screws that secure the HDD enclosure to the laptop’s chassis. Take note of the number and position of the screws as you remove them, as this will help you when it’s time to reassemble the laptop.
Once you have removed all the screws, set them aside in a safe place. Gently lift the HDD enclosure away from the laptop, exposing the HDD itself.
It’s important to handle the HDD and the enclosure with care to avoid any damage to the delicate components. Avoid applying excessive force or bending the enclosure during removal.
Although the HDD enclosure may vary in design depending on your specific HP Pavilion laptop model, it is typically secured by screws or clips. In some cases, you may need to slide the enclosure out from the laptop’s chassis.
By unscrewing the HDD enclosure, you are gaining access to the HDD itself, which is the primary component you will be removing from your HP Pavilion laptop. Remember to take your time and be cautious during this process to avoid any accidental damage to the HDD or other internal components.
With the HDD enclosure removed, you are now ready to proceed with disconnecting the cables that are attached to the hard disk drive in the next steps.
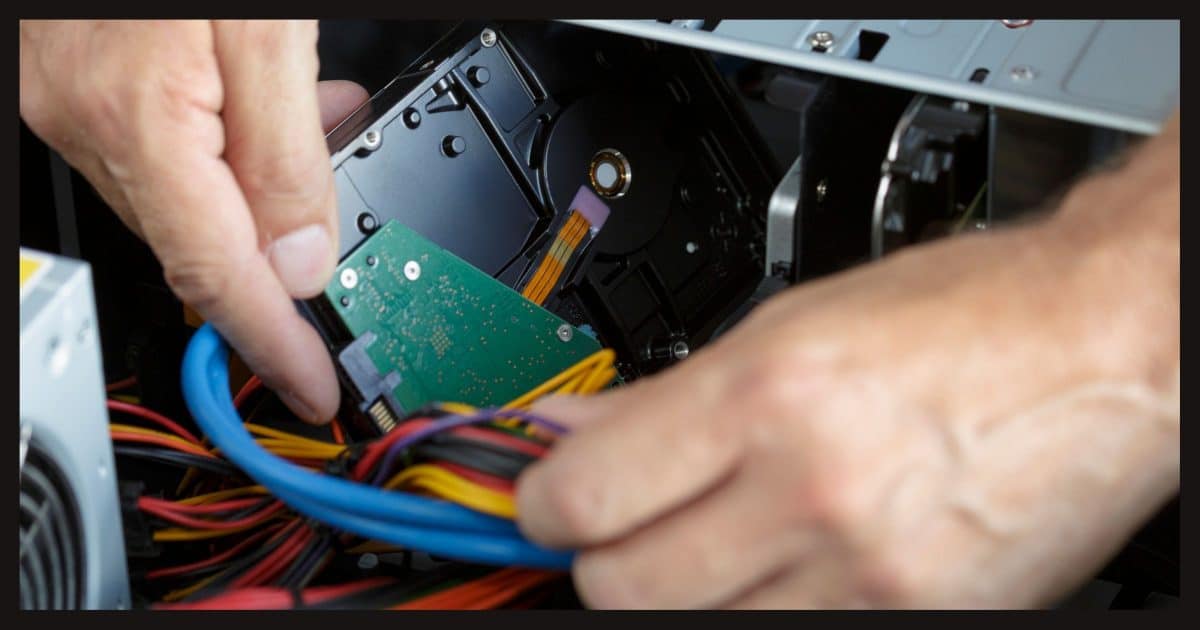
Step 6: Disconnect the Hard Disk Drive Cable
Now that you have unscrewed the hard disk drive (HDD) enclosure, it’s time to disconnect the cables attached to the HDD. These cables are responsible for transferring data to and from the HDD as well as providing power to it.
Take a close look at the cables connected to the HDD. There are typically two cables: the data cable and the power cable. The data cable is usually a flat and wide ribbon-like cable, while the power cable is a smaller, multi-colored cable with a connector.
To disconnect the data cable, gently pull out the connector from the HDD. Be careful not to apply excessive force or bend the connectors. If the cable is secured by a clip or latch, release it before pulling out the connector.
Next, locate the power cable connected to the HDD. This cable is responsible for supplying power to the HDD. Disconnect the power cable by pulling it out from the HDD connector. Again, be cautious and avoid bending or damaging the connectors.
Once you have disconnected both the data and power cables, you can safely remove the HDD from your HP Pavilion laptop. Carefully lift the HDD, holding it by the sides, and set it aside in a secure place.
Remember to keep the cables and connectors organized and prevent them from tangling or getting lost. You may want to use small cable ties or twist ties to secure the cables together while you proceed with the rest of the removal process.
By disconnecting the cables from the HDD, you have successfully freed the HDD from its connections and are now one step closer to fully removing it from your HP Pavilion laptop. Take your time and handle the cables delicately to ensure a smooth and damage-free process.
Step 7: Remove the Hard Disk Drive
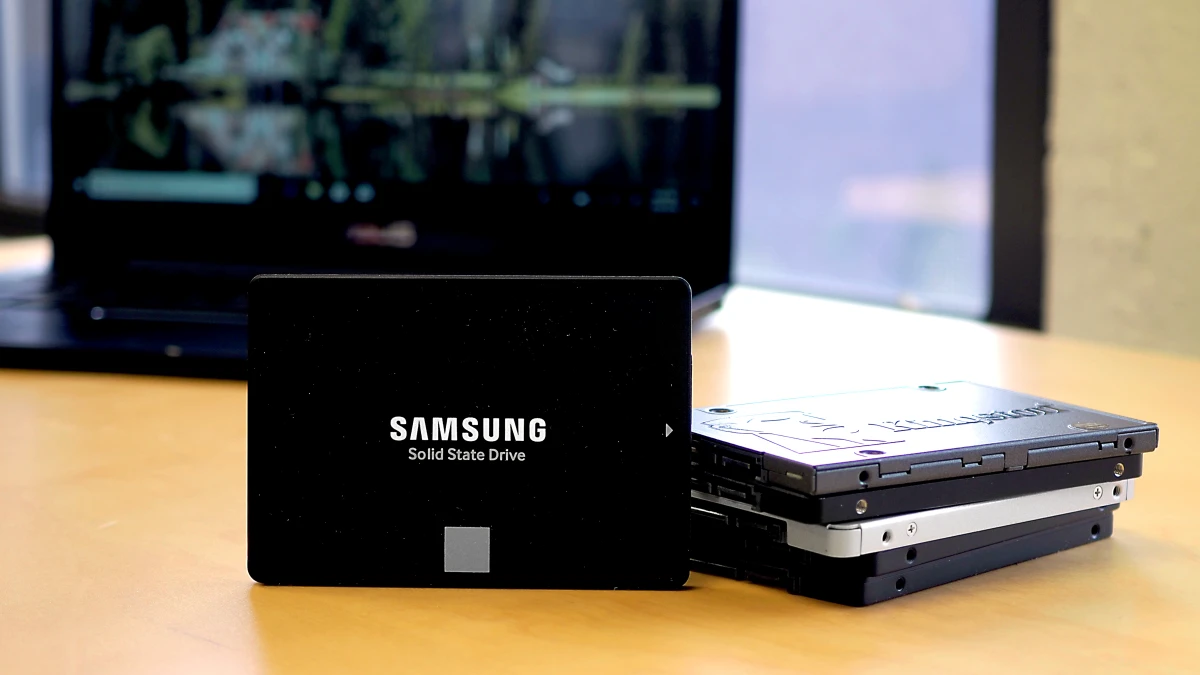
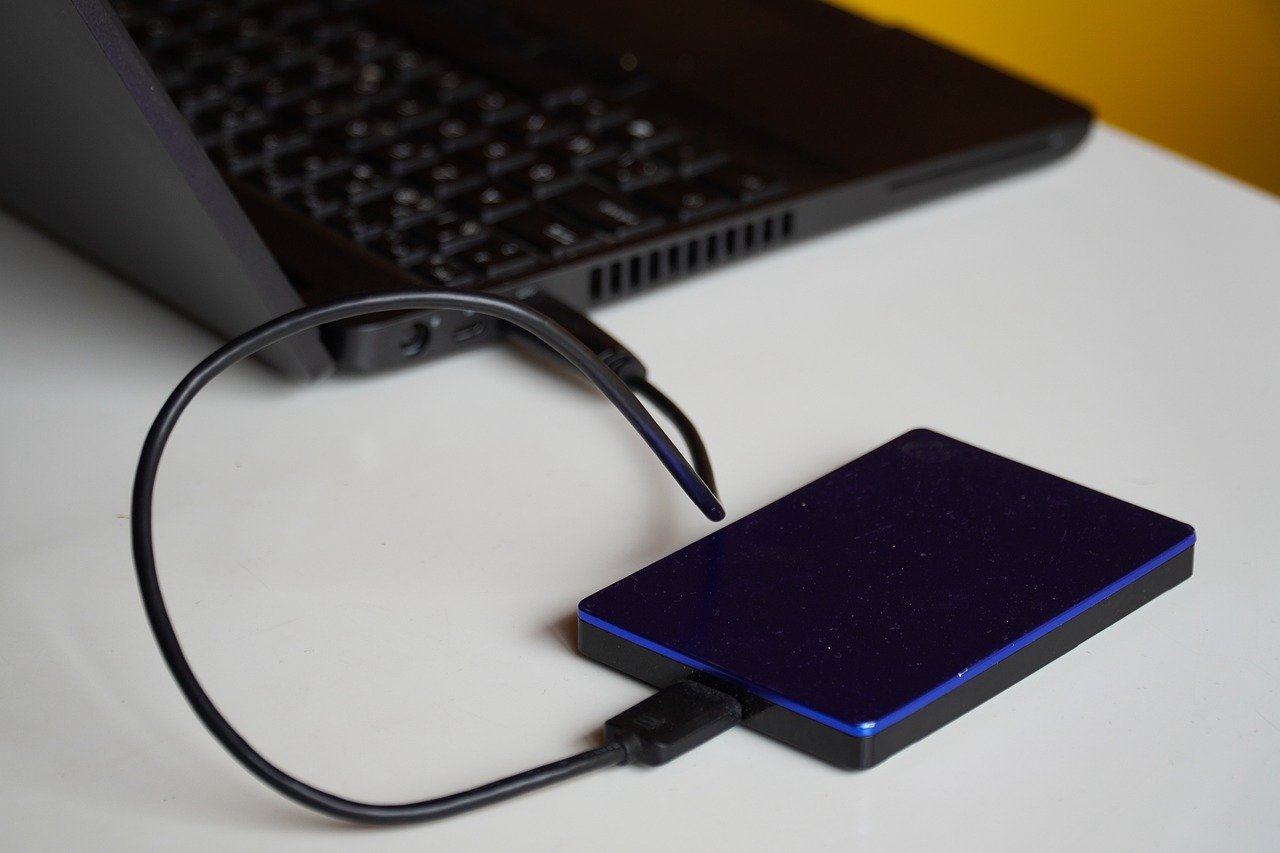
With the cables disconnected, it’s time to remove the hard disk drive (HDD) from your HP Pavilion laptop. The HDD is where all your data is stored, and removing it allows for replacement or upgrading to a new HDD or a solid-state drive (SSD).
Gently lift the HDD from its position, making sure to hold it by the sides and avoid touching the circuit board or any other sensitive components. Take note of the orientation and position of the HDD as you remove it, as this will help you align the replacement drive correctly.
If the HDD seems to be held in place by any additional screws or brackets, carefully remove them to fully release the HDD from the laptop. Set any screws or brackets aside in a safe place, as you may need them for future reassembly.
Place the removed HDD in an anti-static bag or another safe container to protect it from static electricity and any physical damage while it is not in use. This will ensure that the HDD remains in optimal condition if you need to reinstall it or retrieve data from it in the future.
If you are replacing the HDD with a new one or upgrading to an SSD, follow the manufacturer’s instructions to install the new drive in the same position. Make sure to align the connectors and screw holes properly before securing it in place.
Remember to handle the new drive with care, avoiding direct contact with the connectors or circuit board. Take your time and be gentle when installing the new HDD or SSD to avoid damaging any components or connectors.
By removing the hard disk drive from your HP Pavilion laptop, you have completed a crucial step in the process of replacing or upgrading your storage drive. Whether you are replacing it with a new HDD or upgrading to an SSD, take proper precautions to handle the drives and ensure a successful installation.
Step 8: Replace or Upgrade the Hard Disk Drive
Now that you have successfully removed the original hard disk drive (HDD) from your HP Pavilion laptop, it’s time to replace or upgrade the drive to either a new HDD or a solid-state drive (SSD). This step allows you to enhance your laptop’s storage capacity, speed, and overall performance.
Begin by carefully unpacking the new HDD or SSD from its packaging. Avoid touching the drive’s connectors or circuit board directly to prevent any potential damage from static electricity or debris.
If you are replacing the HDD with a new one, align the connectors and screw holes of the new drive with the corresponding slots in your laptop. Gently slide it into the correct position, taking care not to force it. Double-check the alignment before proceeding.
For an SSD upgrade, you may require an adapter to fit the smaller form factor of the SSD into your laptop’s HDD slot. Consult your user manual or service guide for specific instructions on how to properly install an SSD into your laptop.
Once the new storage drive is securely in place, reattach any screws or brackets that you removed earlier to hold the drive in place. Avoid overtightening the screws, as this can damage the drive or the laptop’s chassis.
Next, reconnect the data cable and power cable to the new HDD or SSD. Ensure that the connectors are properly aligned and securely plugged in. Take your time to avoid bending or damaging the connectors during the reconnection process.
After confirming all connections and securing the new drive in place, it’s time to move on to the final step of reassembling your HP Pavilion laptop.
If you plan to use the previously removed HDD for backup or external storage, keep it in a safe place until you’re ready to use it. Properly store it in an anti-static bag or a suitable container to protect it from physical damage and static electricity.
By replacing or upgrading the hard disk drive with a new HDD or SSD, you have taken a significant step in enhancing the storage and performance capabilities of your HP Pavilion laptop. Follow the manufacturer’s instructions and take necessary precautions to ensure a successful installation.
Step 9: Reassemble Your Laptop
Now that you have completed the process of replacing or upgrading the hard disk drive (HDD) in your HP Pavilion laptop, it’s time to reassemble the laptop and ensure that everything is securely put back together.
Begin by carefully placing the HDD enclosure back into its original position. Make sure it is aligned properly with the screw holes in the laptop’s chassis. Use a small Phillips screwdriver to reattach the screws that secure the enclosure in place. Take your time to tighten the screws evenly, but avoid overtightening to prevent any damage to the laptop’s components.
Next, reconnect the battery to the laptop. Align the battery properly with the battery compartment and gently slide it into place. Ensure that it is securely seated in its proper position. Use the latch or release mechanism to lock the battery in place.
Once the battery is secured, double-check all connections and components to ensure that everything is in place. Make sure that there are no loose cables or parts that could interfere with the proper functioning of the laptop.
Now is a good time to refer back to your user manual or service guide to verify any additional steps or precautions required for reassembly specific to your HP Pavilion laptop model. Each laptop may have slight variations in the reassembly process, so it’s crucial to follow the manufacturer’s instructions.
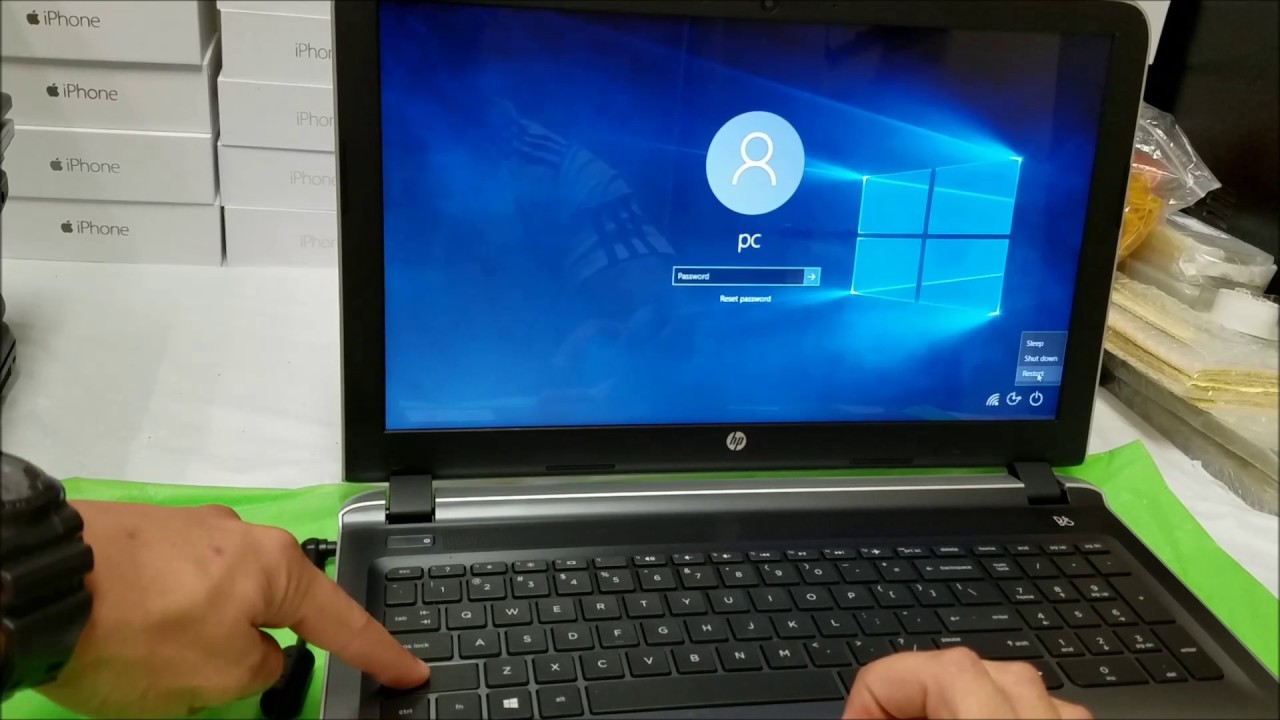
After confirming that everything is properly assembled, plug your laptop back into a power source and turn it on. Your laptop should now recognize the new hard disk drive, and you can proceed with the necessary software installation, such as reinstalling the operating system and transferring your data from backup.
Congratulations! You have successfully reassembled your HP Pavilion laptop after replacing or upgrading the hard disk drive. Take a moment to ensure that the laptop is functioning correctly and that all your data is accessible from the new drive.
If you encounter any issues during the reassembly or if your laptop does not recognize the new drive, consult the manufacturer’s support or seek assistance from a professional technician to troubleshoot and resolve the problem.
Conclusion
Removing and replacing the hard disk drive (HDD) in your HP Pavilion laptop might seem like a daunting task at first, but by following this step-by-step guide, you can confidently upgrade or replace your storage drive. With careful handling and attention to detail, you can enhance your laptop’s storage capacity and performance.
Remember to take the necessary safety precautions, such as shutting down and unplugging your laptop before starting the process. Prepare your workspace and gather the required tools to ensure a smooth and organized procedure. Follow the manufacturer’s instructions provided in the user manual or service guide for your specific HP Pavilion laptop model.
Each step, from removing the battery to unscrewing the HDD enclosure, requires patience and precision. Pay close attention to the cable connections and screws to avoid damage or misplacement. If you are unsure about any step, consult the user manual or seek professional assistance.
Once you have successfully replaced or upgraded the HDD, reassemble your laptop carefully, checking that all components and cables are properly secured. Double-check your work before powering on your laptop to ensure that the new drive is recognized, and restore any necessary software or data from backup.
By following this comprehensive guide, you have empowered yourself to undertake the task of removing and replacing the hard disk drive in your HP Pavilion laptop. Enjoy the benefits of increased storage capacity and improved performance, and rest assured knowing that you have accomplished this technical feat.