Introduction
Welcome to our guide on how to get your mouse back on a Chromebook. Chromebooks are well-known for their seamless browsing experience and user-friendly interface. However, just like any other device, they can encounter occasional issues, including problems with the mouse cursor not appearing or behaving erratically. This can be frustrating, especially when you rely on your Chromebook for work or personal use.
In this article, we will explore various troubleshooting steps and solutions to help you get your mouse back up and running smoothly on your Chromebook. Whether you are experiencing a completely missing cursor, a frozen cursor, or unexpected cursor movements, we’ve got you covered.
Before we delve into the troubleshooting steps, it’s important to note that some Chromebooks, such as the Google Pixelbook, have touch screens and support both touchpad and touchscreen gestures. If you are facing mouse-related issues on a Chromebook with a touch screen, you may need to recalibrate or adjust the touchpad settings to resolve the problem.
Now, let’s get started on troubleshooting your mouse issues on a Chromebook.
Troubleshooting the Mouse
If you’re experiencing issues with your mouse on a Chromebook, there are a few troubleshooting steps you can take to try and resolve the problem:
- Check the physical connection: Ensure that your mouse is properly connected to your Chromebook, whether it’s wired or wireless. If it’s a wired mouse, make sure the USB connector is securely plugged into the USB port. For wireless mice, ensure that the batteries are not dead and that the Bluetooth connection is active.
- Restart your Chromebook: Sometimes, a simple restart can solve minor software glitches. Click on the status area in the bottom right corner, then click on the Power button, and select “Restart” from the dropdown menu. After the Chromebook restarts, check if the mouse is functioning properly.
- Clean the mouse and mousepad: Dirt, dust, and debris can accumulate on the mouse sensor or the mousepad, leading to tracking issues. Clean the mouse sensor with a soft cloth and gently wipe the mousepad to ensure optimal tracking. If you’re using a mousepad, try using the mouse directly on a smooth and flat surface to rule out any issues with the pad.
- Try a different USB port or receiver: If you’re using a wireless mouse with a USB receiver, try plugging the receiver into a different USB port on your Chromebook. Sometimes, USB ports can become loose or malfunction, causing connectivity issues. By trying a different port, you can determine if the problem is specific to the port or the mouse itself.
- Update your Chrome OS: Outdated software can cause compatibility issues and other problems. To check for system updates, click on the status area, then click on the gear-shaped Settings icon. Scroll down to the “About Chrome OS” section and click on “Check for updates.” If updates are available, follow the prompts to install them. After the update, check if the mouse is functioning correctly.
- Powerwash your Chromebook: This step should only be considered as a last resort, as it will erase all data and reset your Chromebook to its factory settings. If none of the previous troubleshooting steps have resolved the mouse issue, a powerwash can help fix any software-related problems. To perform a powerwash, click on the status area, then click on the gear-shaped Settings icon. Scroll down to the “Advanced” section, click on “Reset settings,” and select “Powerwash.” Follow the on-screen instructions to complete the process.
- Contact support: If you’ve tried all the troubleshooting steps above and your mouse is still not working correctly, it’s recommended to reach out to Chromebook support. They can provide further assistance and guidance based on your specific device and situation.
By following these troubleshooting steps, you should be able to resolve common mouse-related issues on your Chromebook. Remember, it’s always essential to keep your Chromebook and software up to date for optimal performance.
Adjusting the Touchpad Settings
If you are using a Chromebook with a touchpad and experiencing issues with the cursor or touchpad functionality, adjusting the touchpad settings can often help resolve the problem. Follow these steps to make adjustments:
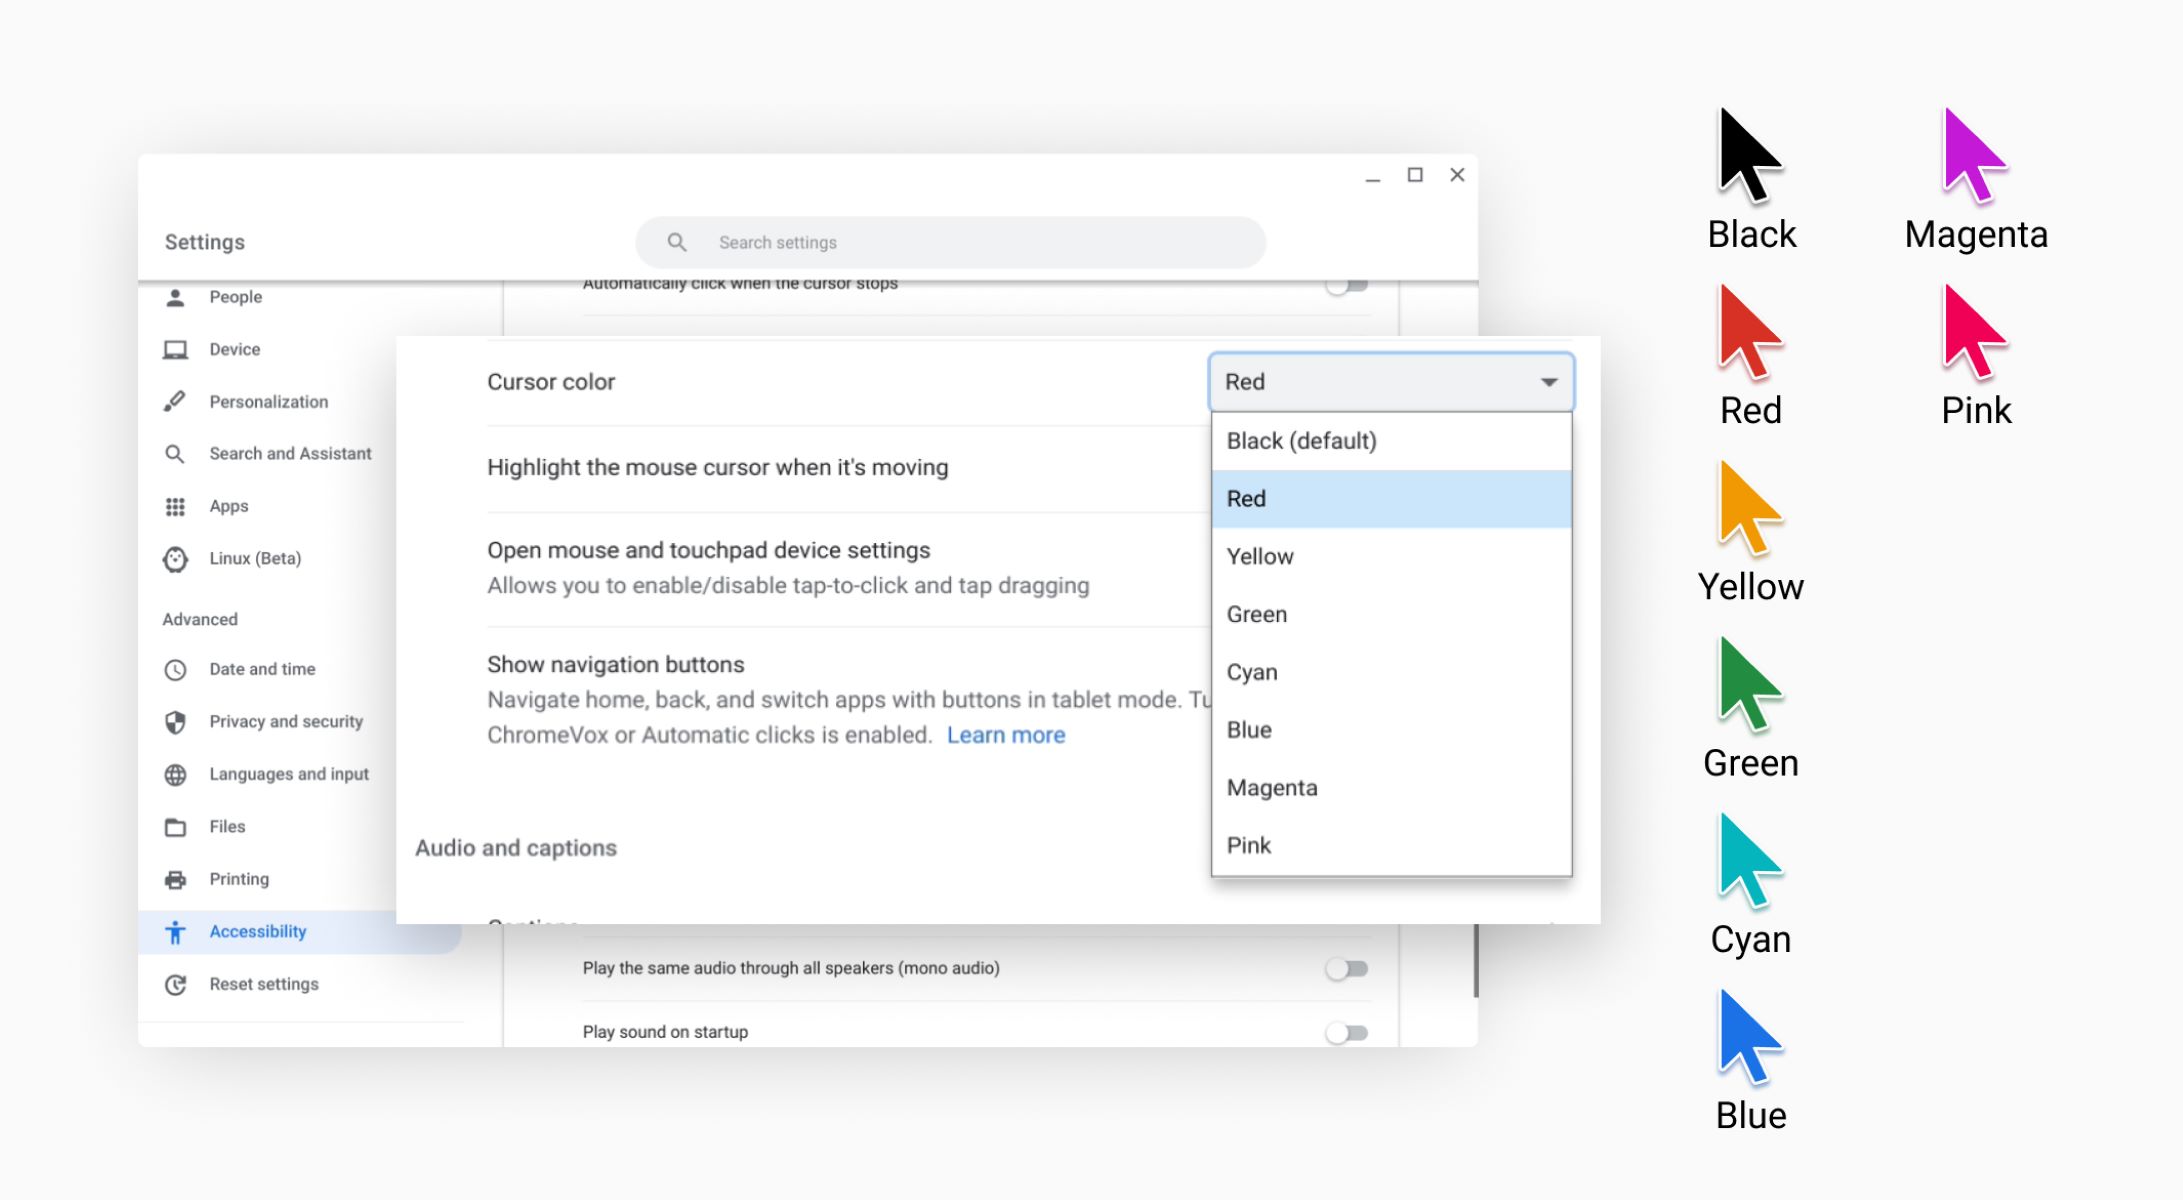
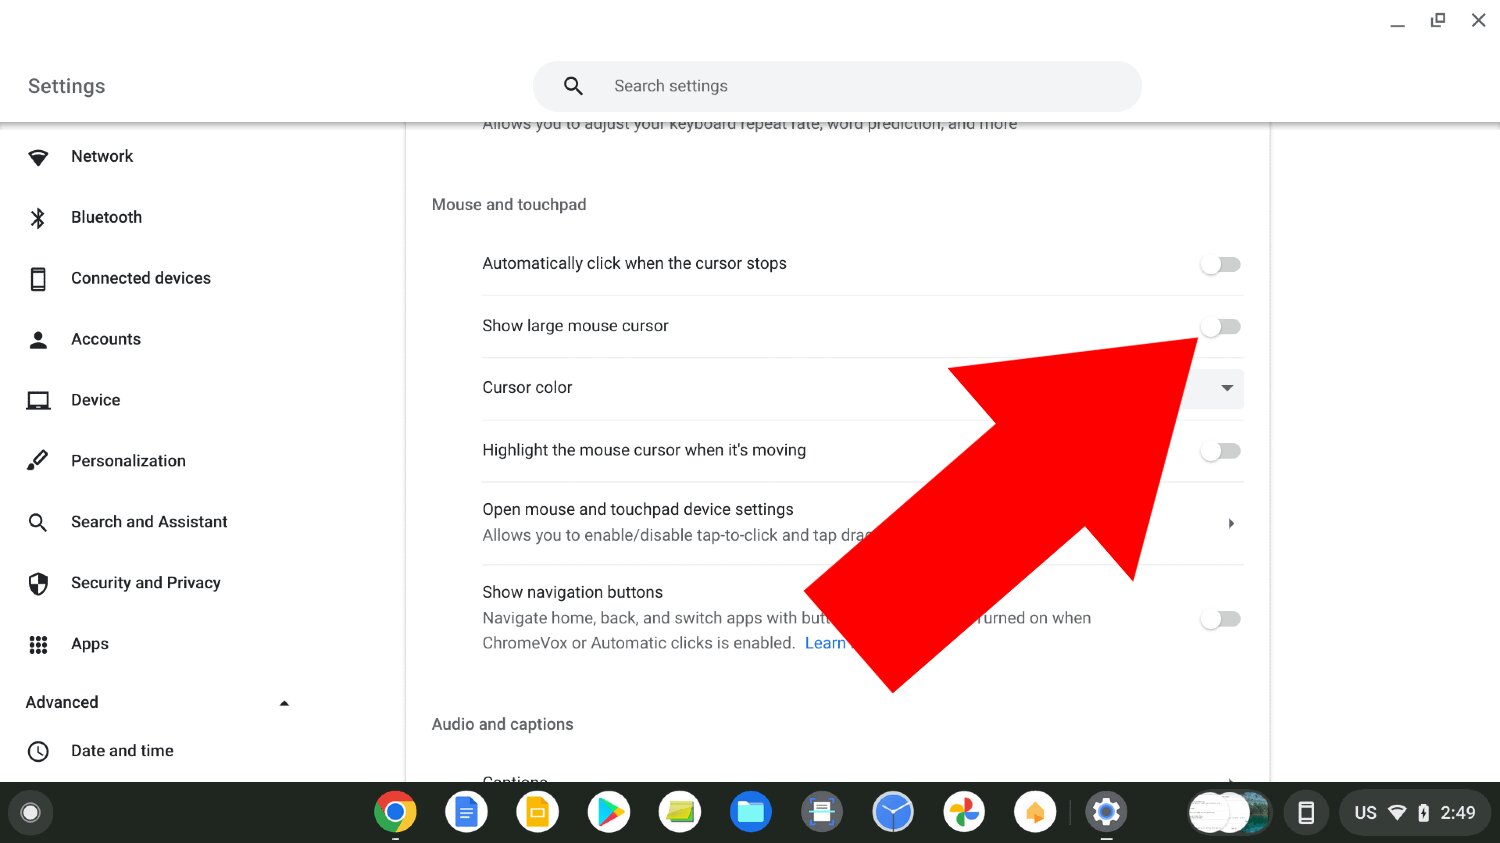
- Access touchpad settings: Click on the status area in the bottom right corner of your Chromebook screen. Then, click on the gear-shaped Settings icon, and select “Touchpad” from the left-hand menu. This will open the touchpad settings page.
- Adjust sensitivity: One common issue is overly sensitive touchpad settings, which can result in the cursor moving too quickly or unpredictably. On the touchpad settings page, you’ll find a slider to adjust the sensitivity. Experiment with different levels until you find a comfortable setting that suits your needs.
- Enable tap-to-click: By default, Chromebooks have tap-to-click disabled. Enabling this feature can make navigation more convenient. On the touchpad settings page, check the box next to “Tap to click” to enable it. This allows you to tap lightly on the touchpad as a substitute for clicking the button.
- Configure two-finger scrolling: Two-finger scrolling allows you to scroll up and down or side to side by swiping two fingers on the touchpad. If this feature is not functioning correctly, make sure it is enabled in the touchpad settings. Look for the option called “Enable two-finger scrolling” or similar and ensure it is checked.
- Disable accidental touches: Some touchpads have a tendency to register accidental touches while typing, resulting in the cursor moving unexpectedly. To prevent this, you can enable the “Disable touchpad while typing” option in the touchpad settings. When enabled, the touchpad will be deactivated while you are typing, reducing the chances of unintentional cursor movements.
- Test the changes: After making adjustments to the touchpad settings, test the touchpad behavior to see if the changes have resolved the issue. Move the cursor around, attempt both single and two-finger gestures, and ensure that the touchpad is responding as expected.
Adjusting the touchpad settings can significantly improve the mouse navigation experience on your Chromebook. Play around with the sensitivity and features to find the right settings for your preferences. Don’t hesitate to revisit these settings if you encounter similar issues in the future.
Checking for System Updates
Keeping your Chromebook’s software up to date is crucial for optimal performance and resolving various issues, including mouse-related problems. Here’s how you can check for system updates on your Chromebook:
- Click on the status area in the bottom right corner of your Chromebook screen. Then, click on the gear-shaped Settings icon to open the Chromebook settings.
- In the left-hand menu, scroll down and click on “About Chrome OS.” This section provides information about your Chrome OS version and current system status.
- Click on the “Check for updates” button located below the Chrome OS version information. This will prompt your Chromebook to search for any available updates.
- If updates are found, click on the “Restart to update” button. Your Chromebook will download and install the updates automatically.
- After the update is complete, your Chromebook will restart. Once it boots up, check if the mouse is functioning as expected.
- If no updates are found, your Chromebook is already running the latest software version. In this case, move on to other troubleshooting methods to address the mouse issue.
Regularly checking for updates and keeping your Chromebook’s software current is essential for stability and bug fixes. By ensuring you have the latest updates installed, you can address any potential system issues that might be causing mouse-related problems.
Note that updates may take some time to download and install, so it’s ideal to perform this step when you have a stable internet connection and are not in the middle of an urgent task.
Restarting the Chromebook
When experiencing issues with your mouse on a Chromebook, performing a simple restart can often help resolve the problem. Here’s how you can restart your Chromebook:
- Click on the status area in the bottom right corner of your Chromebook screen. This will open the Quick Settings menu.
- Click on the Power button, represented by a circle with a vertical line in the center.
- In the drop-down menu that appears, select the “Restart” option. Your Chromebook will then begin the restart process.
- Wait for your Chromebook to fully shut down and then boot up again. This usually takes a minute or two.
- After the restart, check if the mouse is functioning properly. Test the cursor movement and click to see if it is responsive and accurate.
- If the mouse issue persists, you may need to troubleshoot further or try alternative solutions.
Restarting your Chromebook can help resolve minor software glitches that may be affecting the mouse functionality. It essentially refreshes the system, allowing for a clean start, and can often solve temporary issues.
If you regularly leave your Chromebook in sleep mode or hibernate mode, restarting it periodically can help prevent potential problems from accumulating over time. It’s a simple and effective troubleshooting step that you can try whenever you encounter any issues with your mouse or other aspects of your Chromebook’s performance.
Resetting the Chromebook
If you have tried the previous troubleshooting steps and are still experiencing persistent mouse issues on your Chromebook, you may need to consider resetting your device. Resetting your Chromebook can help resolve software-related problems that may be impacting the mouse functionality.
It’s important to note that resetting your Chromebook will erase all data and settings, so make sure to back up any important files beforehand. Here’s how you can reset your Chromebook:
- Click on the status area in the bottom right corner of your Chromebook screen to open the Quick Settings menu.
- Click on the gear-shaped Settings icon to open the Chromebook settings.
- In the left-hand menu, scroll down and click on “Advanced” to expand the options.
- Click on “Reset settings” to access the reset options.
- Select the “Powerwash” option, which will restore your Chromebook to its original factory settings.
- Follow the on-screen instructions to complete the reset process. Your Chromebook will restart and guide you through the initial setup, just like when you first obtained it.
- After the reset, set up your Chromebook with your Google account, reinstall apps and extensions, and test if the mouse issue has been resolved.
- If the mouse is still not functioning correctly after the reset, it may be necessary to contact Chromebook support for further assistance.
Resetting your Chromebook can be a more drastic solution, but it can often resolve persistent issues, including those affecting the mouse. By starting fresh with the default settings, you eliminate any potential software conflicts that might have been causing the problem.
Remember to backup your files and ensure you have a stable internet connection to reinstall any necessary apps and extensions after the reset. This way, you can get your Chromebook back up and running smoothly.
Using an External Mouse
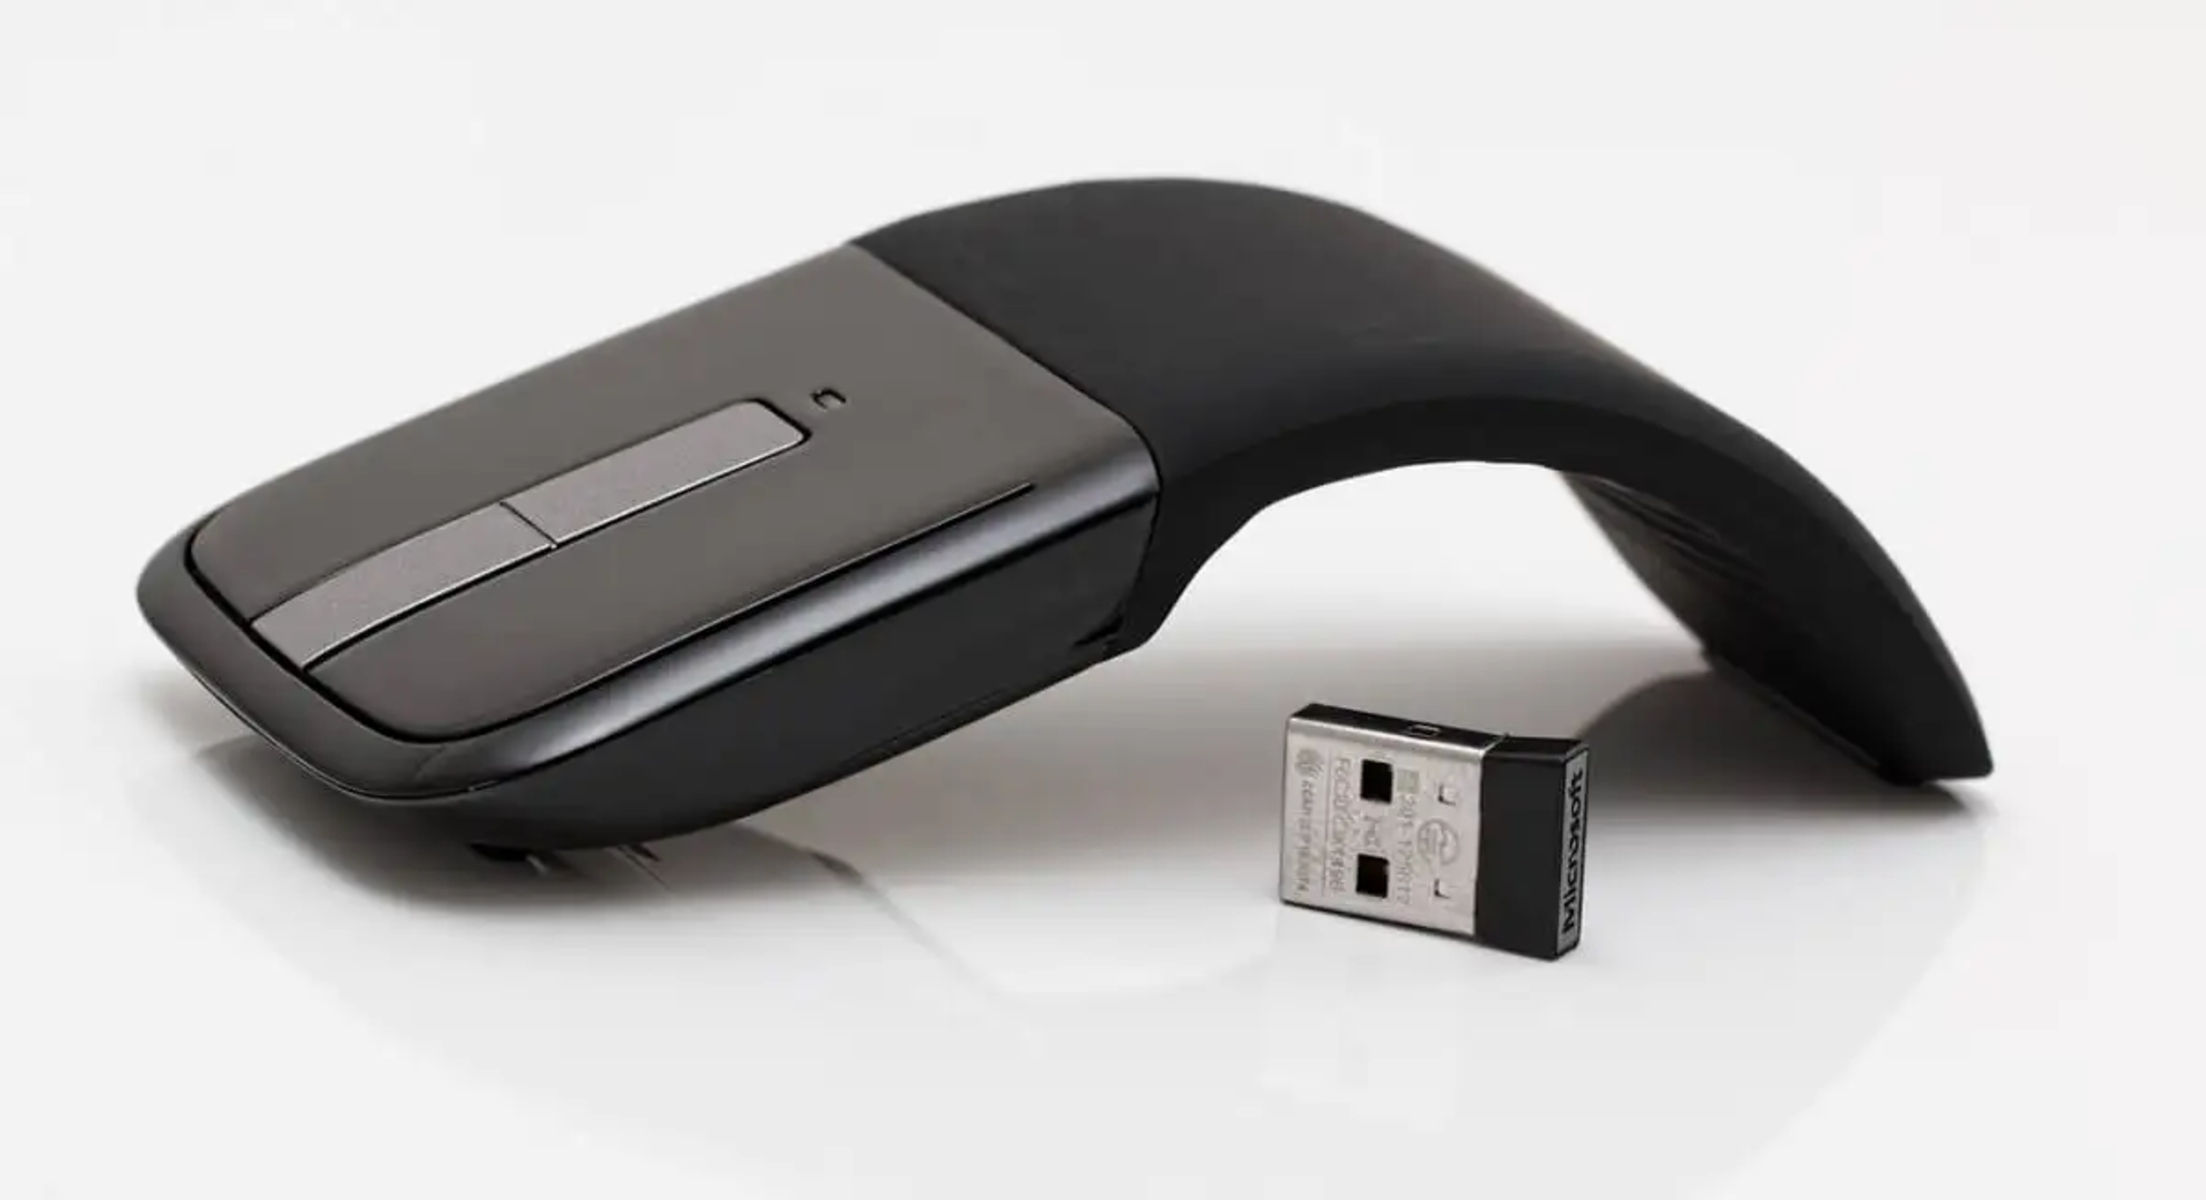
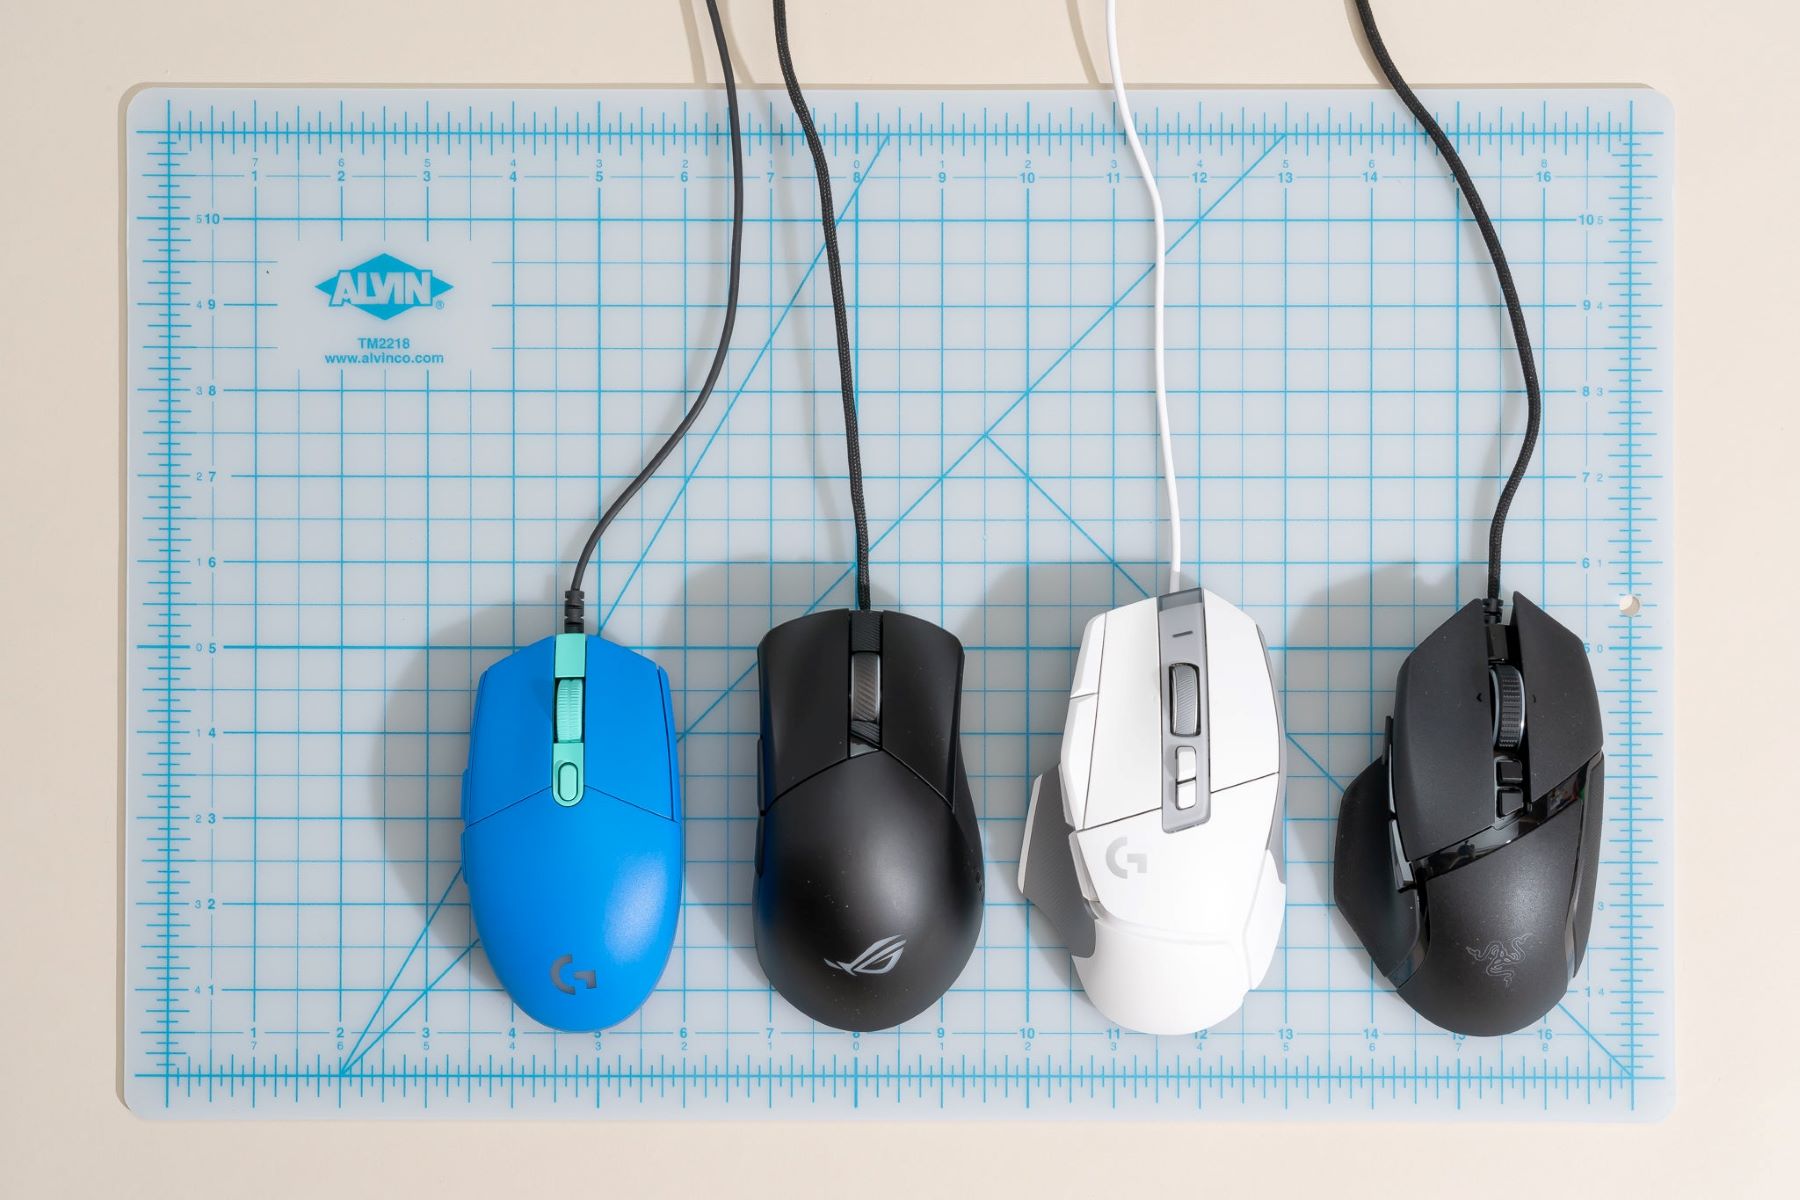
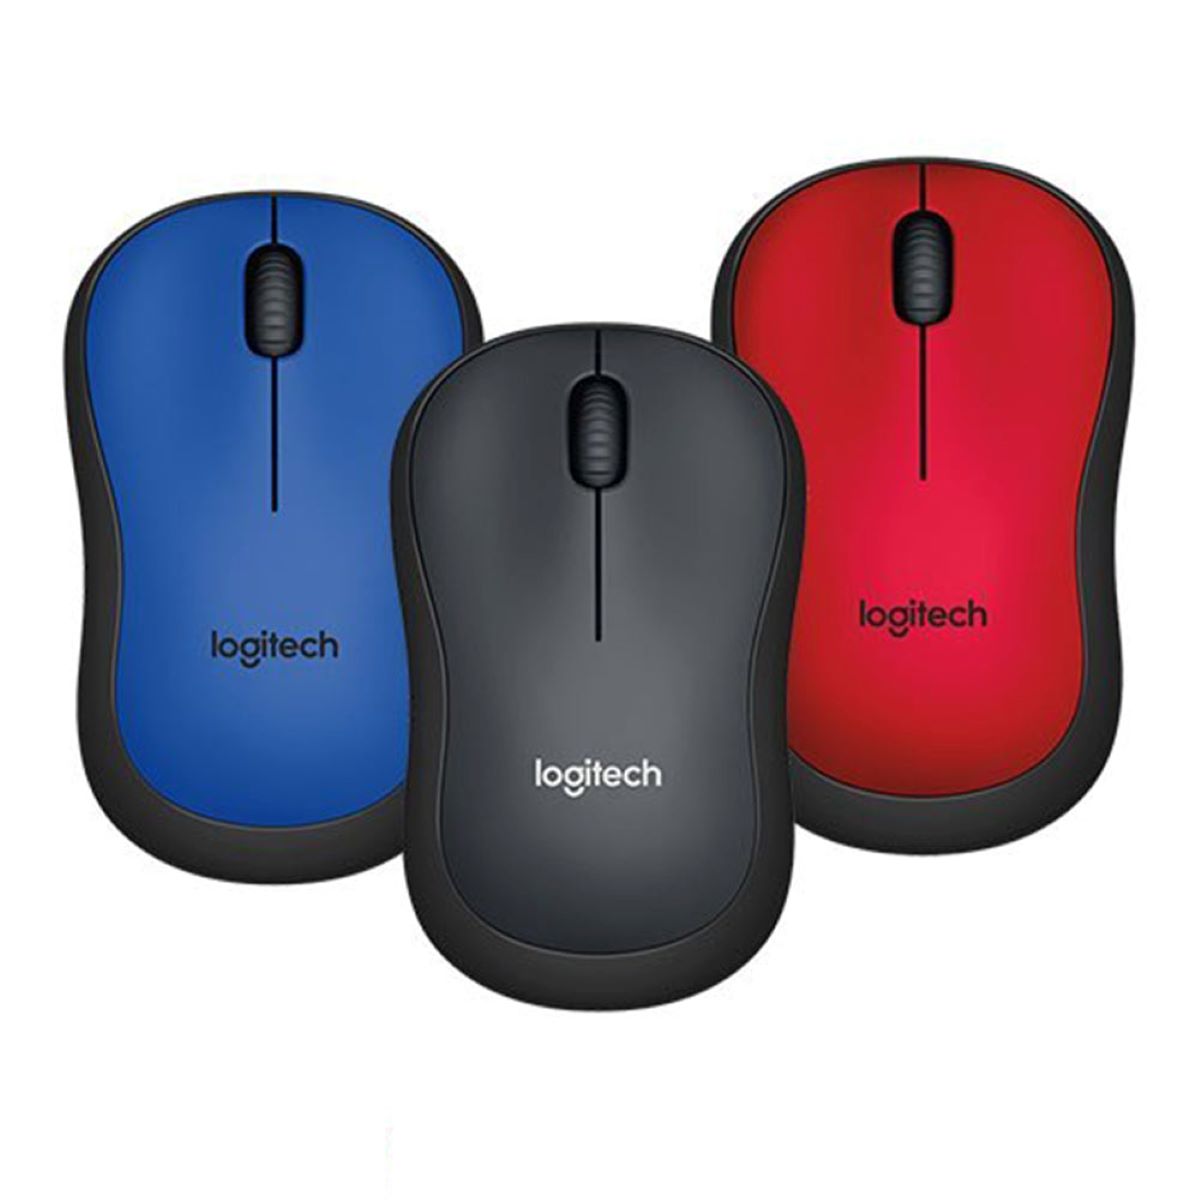
If you’re still experiencing issues with the built-in touchpad on your Chromebook, using an external mouse can offer a reliable alternative. By connecting an external mouse, you can regain precise cursor control and navigate without interruptions. Here’s how to use an external mouse on your Chromebook:
- Locate the USB ports on your Chromebook. Depending on the model, there may be one or more USB ports available.
- Connect the USB receiver of the external mouse into one of the USB ports on your Chromebook.
- If your external mouse is Bluetooth-enabled, activate Bluetooth on your Chromebook and put the mouse into pairing mode. Then, follow the on-screen instructions to connect the mouse wirelessly.
- Once connected, the external mouse should be automatically detected by your Chromebook. You can start using it right away.
- Test the external mouse by moving the cursor and clicking to ensure that it’s functioning correctly.
- If you’re using a wired external mouse, make sure to position the mouse on a flat surface for optimal tracking.
- If the external mouse is working properly, you can continue using it as an alternative to the built-in touchpad until the issue with the touchpad is resolved.
Using an external mouse provides a simple and effective workaround when dealing with touchpad-related issues on your Chromebook. It allows you to maintain productivity and smooth navigation without being hindered by faulty touchpad functionality.
Remember that if you’re using a wireless mouse, you may need to replace the batteries periodically to ensure uninterrupted operation. Additionally, make sure to keep the USB receiver or Bluetooth connection intact to maintain a stable connection between the mouse and your Chromebook.
Contacting Support
If you have exhausted all troubleshooting options and are still unable to resolve the mouse issues on your Chromebook, it may be time to reach out to Chromebook support for further assistance. They have the expertise and knowledge to help diagnose and address more complex problems that may require advanced troubleshooting steps.
Here’s how you can contact Chromebook support:
- Click on the status area in the bottom right corner of your Chromebook screen to open the Quick Settings menu.
- Click on the gear-shaped Settings icon to open the Chromebook settings.
- In the left-hand menu, scroll down and click on “Help”. This section provides various help resources and contact options.
- Review the available troubleshooting articles and information to see if you can find a solution to your specific mouse issue.
- If you are unable to resolve the problem through self-help resources, look for a “Contact support” or a similar option to get in touch with Chromebook support directly.
- Follow the instructions provided to reach out to support. This may involve filling out an online form, initiating a chat session, or calling a support hotline.
- Be prepared to provide details about the issue you are facing, including any troubleshooting steps you have already taken. The support team will guide you through additional troubleshooting or escalate the issue if necessary.
When contacting Chromebook support, it’s helpful to have your Chromebook model information and serial number readily available. This ensures a more efficient and targeted support experience.
Remember that Chromebook support is there to assist you, so don’t hesitate to reach out if you’ve exhausted all other options. They are equipped to address various hardware and software issues, including mouse-related problems, and will work with you to find a resolution.