Introduction
Minecraft is a wildly popular video game known for its unique gameplay and blocky, pixelated graphics. While the game can run on most modern computers, running Minecraft on a dedicated graphics card can greatly enhance the gaming experience. By leveraging the power of a graphics card, players can enjoy smoother gameplay, higher frame rates, and improved visual quality.
In this article, we will guide you through the process of getting Minecraft to run on your graphics card. We will cover everything from checking compatibility and requirements to updating your graphics card drivers and adjusting graphic settings in Minecraft. Additionally, we will explore the option of overclocking your graphics card for even better performance, though this step is optional and should be done with caution.
Whether you’re a seasoned Minecraft player or just getting started, optimizing the game to utilize your graphics card can make a significant difference in your gaming experience. So, let’s dive in and explore the steps to get Minecraft running on your graphics card!
Why Running Minecraft on a Graphics Card is Important
Minecraft is a visually rich game that relies heavily on resource-intensive graphics. By running Minecraft on a dedicated graphics card, you can harness the power and capabilities of the card to optimize the game’s performance and visual quality. Here are a few reasons why running Minecraft on a graphics card is crucial:
- Improved Performance: The dedicated processing power of a graphics card enables smoother gameplay by offloading the computational burden from the CPU. This results in higher frame rates and reduced instances of lag or stuttering.
- Enhanced Visual Quality: Minecraft boasts a vibrant and immersive world with intricate details. A graphics card can handle the rendering of complex textures, lighting effects, and advanced shaders, resulting in sharper, more detailed graphics and more realistic gameplay.
- Increased Draw Distance: With a graphics card, you can extend the draw distance in Minecraft, allowing you to see objects and landscapes in the game from further away. This can greatly enhance the overall gaming experience, especially when exploring vast terrains or engaging in long-distance battles.
Furthermore, running Minecraft on a graphics card opens up the possibilities for modding and texture packs. Many mods and resource packs require the power of a graphics card to run smoothly and provide the intended visual enhancements. By utilizing a dedicated graphics card, you can fully enjoy the vast array of user-created content available for Minecraft.
In summary, running Minecraft on a graphics card offers improved performance, enhanced visual quality, increased draw distance, and compatibility with mods and resource packs. These benefits can significantly enhance your gameplay experience and allow you to explore Minecraft’s virtual world with greater detail and fluidity.
Checking Compatibility and Requirements
Before diving into running Minecraft on your graphics card, it’s essential to ensure that your system meets the compatibility and requirements. Here’s what you need to check:
- Graphics Card Compatibility: Verify that your graphics card is compatible with Minecraft. Most modern graphics cards from reputable manufacturers should work fine, but it’s a good idea to check the manufacturer’s website or documentation for compatibility information.
- Minimum System Requirements: Ensure that your computer meets the minimum system requirements for Minecraft. These requirements include the operating system, processor, RAM, and storage space. The official Minecraft website provides the necessary information, and you can compare it with your system specifications.
- Driver Updates: Check if your graphics card drivers are up to date. Outdated or incompatible drivers can cause performance issues or even prevent Minecraft from running on your graphics card. Visit the manufacturer’s website or use their software to download and install the latest drivers for your specific graphics card model.
- Available Slots: Determine if your computer has an available PCI Express slot for installing a dedicated graphics card. If your system only has integrated graphics or lacks a compatible slot, you may need to consider upgrading to a new graphics card or consulting with a professional technician.
- Power Supply: Make sure that your power supply can handle the additional power requirements of a dedicated graphics card. Some high-end graphics cards may require a power supply with specific wattage or connectors. Consult your power supply’s specifications or seek expert advice if needed.
By checking compatibility and ensuring that your system meets the requirements, you can avoid potential issues and ensure a smooth transition to running Minecraft on your graphics card.
Updating Graphics Card Drivers
One crucial step in getting Minecraft to run on your graphics card is to ensure that your graphics card drivers are up to date. Outdated drivers can result in performance issues, graphical glitches, or even prevent Minecraft from running correctly. Follow these steps to update your graphics card drivers:
- Identify Your Graphics Card: Determine the exact model and manufacturer of your graphics card. You can usually find this information in the Device Manager or by checking the documentation that came with your computer or graphics card.
- Visit the Manufacturer’s Website: Go to the official website of your graphics card manufacturer. Look for the “Support” or “Drivers” section. Typically, there will be a search function where you can enter your graphics card model to locate the appropriate drivers.
- Download the Latest Drivers: Find the latest drivers that are compatible with your graphics card and operating system. Download the driver package or executable file to your computer.
- Install the Updated Drivers: Locate the downloaded driver file on your computer and double-click on it to initiate the installation process. Follow the prompts provided by the installation wizard, and restart your computer if required.
- Verify Installation: After the installation is complete, confirm that the updated drivers are successfully installed on your system. You can do this by checking the Device Manager or using the manufacturer’s software to verify the driver version.
Regularly updating your graphics card drivers is essential not only for running Minecraft but also for optimal performance in other demanding applications and games. It enables your graphics card to take advantage of the latest features, bug fixes, and performance optimizations provided by the manufacturer.
Remember to periodically check for driver updates, as new versions are often released to address compatibility issues and improve overall stability and performance. Keeping your graphics card drivers up to date can go a long way in ensuring smooth gameplay and an enhanced gaming experience when running Minecraft on your graphics card.
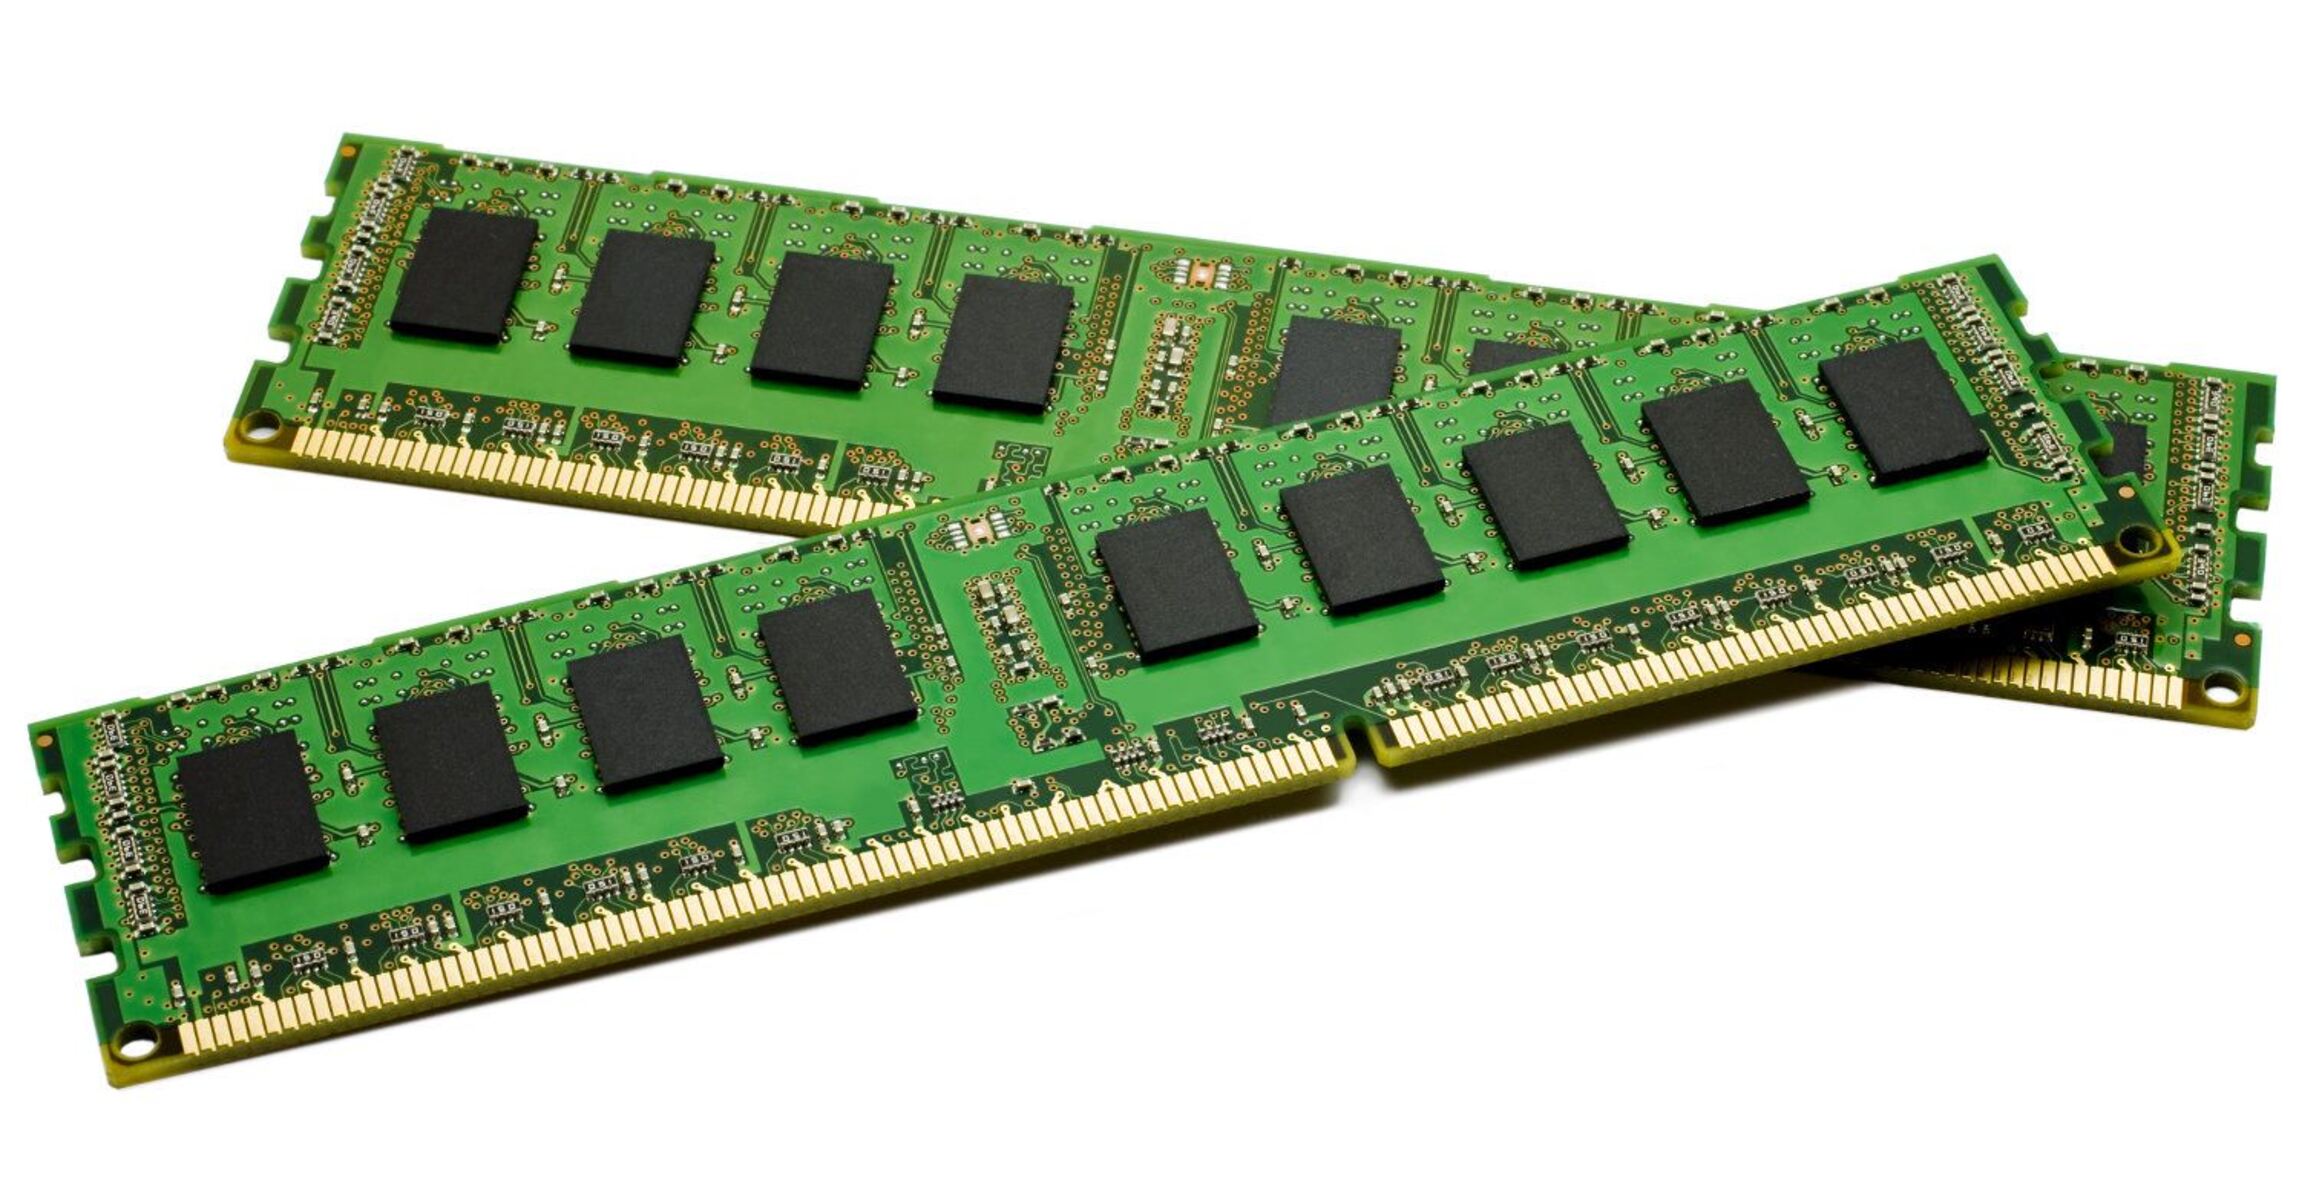
Allocating More RAM to Minecraft
Minecraft heavily relies on system memory (RAM) to load and process game data. By allocating more RAM to Minecraft, you can provide the game with additional resources, allowing for smoother gameplay and reducing the likelihood of performance issues. Follow these steps to allocate more RAM to Minecraft:
- Launch the Minecraft Launcher: Open the Minecraft Launcher on your computer.
- Go to Installations: Click on the “Installations” tab at the top of the Launcher window.
- Select the Minecraft Version: Choose the Minecraft version you want to allocate more RAM to. If the version is not listed, you may need to create a new installation by clicking on the “+ New” button.
- Edit the Installation: Locate the installation you selected and click on the three dots (…) next to it. Then, click on “Edit” in the dropdown menu.
- Modify RAM Allocation: In the Edit Installation window, you will see a section called “JVM Arguments” or “Java Settings.” Look for a line that starts with “-Xmx” or “-Xms,” followed by a number and “M” for megabytes. This denotes the allocated RAM. Increase this number to allocate more RAM to Minecraft. For example, change “-Xmx2G” to “-Xmx4G” to allocate 4GB of RAM.
- Save and Launch: Once you have increased the allocated RAM, click on the “Save” button to save the changes. Then, you can launch Minecraft using that specific installation.
Keep in mind that allocating more RAM to Minecraft can improve performance, but it’s important not to allocate too much RAM, as it can adversely affect system stability and performance. Find the right balance for your system by experimenting with different RAM allocations.
Additionally, it’s worth noting that the amount of RAM you can allocate to Minecraft depends on the total amount of RAM available on your computer. If you have limited RAM capacity, allocating large amounts of RAM to Minecraft may not be feasible or beneficial.
By allocating more RAM to Minecraft, you provide the game with additional resources to run more efficiently, resulting in smoother gameplay and a more enjoyable gaming experience.
Adjusting Graphic Settings in Minecraft
Customizing the graphic settings in Minecraft can significantly impact the game’s performance and visual quality. By fine-tuning these settings, you can optimize Minecraft to run smoothly on your graphics card. Here are the key graphic settings to consider adjusting:
- Render Distance: The render distance determines the distance at which Minecraft renders the game world. Lowering the render distance can improve performance by reducing the amount of terrain and objects that need to be rendered.
- Graphics: In the graphics settings, you can adjust various visual options, such as fancy or fast graphics, smooth lighting, and particles. Experiment with different settings to find a balance between visual quality and performance.
- Max Framerate: Set a maximum framerate for Minecraft to maintain a steady and consistent framerate. Limiting the framerate can help prevent your graphics card from working unnecessarily hard, reducing power consumption and potentially preventing overheating.
- Biome Blend: Enabling biome blend combines adjacent biomes together smoothly, creating a more natural transition. While visually appealing, this setting can be demanding on your graphics card. If you notice a decrease in performance, consider disabling this option.
- Advanced Graphics: Minecraft offers additional advanced graphics settings, such as anti-aliasing, anisotropic filtering, and mipmapping. These settings can enhance the visual quality but may impact performance. Toggle these options and assess the impact on your system to find the right balance.
When adjusting graphic settings, it’s crucial to strike a balance between visual quality and performance. Pushing all settings to the maximum can be demanding on your graphics card and may lead to decreased performance or graphical issues. Experiment with different settings and monitor their impact on gameplay to find the optimal configuration for your system.
Additionally, it’s worth noting that some graphical enhancements, like shaders and texture packs, require more processing power from your graphics card. If you choose to use these additional visual enhancements, be aware of the potential impact on performance and adjust settings accordingly.
By adjusting the graphic settings in Minecraft, you can optimize the game to utilize your graphics card’s capabilities effectively. Finding the right balance between performance and visual quality ensures an immersive and enjoyable gaming experience.
Overclocking Your Graphics Card (Optional)
Overclocking your graphics card is an optional step that can provide an extra boost in performance when running Minecraft or other demanding applications. Overclocking involves increasing the clock speed of your graphics card beyond its default settings. However, it’s important to note that overclocking can void your warranty and may pose some risks if not done properly. Here are some considerations if you decide to overclock your graphics card:
- Research and Safety: Before attempting to overclock your graphics card, thoroughly research your specific model and its overclocking capabilities. Understand the potential risks involved and how to mitigate them. Taking precautions and following proper procedures can minimize the likelihood of damaging your graphics card.
- Temperature Monitoring: Overclocking can generate additional heat, potentially affecting your graphics card’s stability and lifespan. Monitor the temperature of your graphics card using software tools or third-party applications. If temperatures exceed safe levels, consider adjusting your overclock or improving cooling in your computer case.
- Incremental Approach: Overclocking should be done in small increments. Increase the clock speed gradually and test for stability after each adjustment. Running stress tests or benchmarking software, such as FurMark or 3DMark, can help identify any issues caused by the overclock.
- Voltage Adjustments: Increasing the voltage of your graphics card can help support higher clock speeds. However, voltage adjustments should be approached with caution, as improper settings can damage your graphics card. Ensure that you have adequate cooling solutions to handle the increased heat generated by voltage adjustments.
- Stability Testing: After overclocking your graphics card, test its stability by running demanding games or stress tests for an extended period. This will help ensure that your graphics card can handle sustained overclocked performance without encountering crashes or other instability issues.
Although overclocking your graphics card can potentially provide a performance boost, it shouldn’t be considered a necessary step for running Minecraft. Most modern graphics cards already offer sufficient power to run the game smoothly. Overclocking should only be pursued by experienced users who are willing to accept the risks and understand the proper procedures for their specific graphics card model.
Remember that overclocking can significantly increase power consumption and generate more heat. If you have a laptop or an older system, it may not have adequate cooling capabilities to handle the increased heat. In such cases, it’s generally advisable to refrain from overclocking.
Lastly, be aware that overclocking your graphics card may void its warranty. Check with the manufacturer to understand their policies regarding overclocking before proceeding.
Overall, overclocking your graphics card is an optional step that, if done correctly and with caution, can provide an extra performance boost for running Minecraft or other resource-intensive applications. However, it should be approached carefully and is not recommended for everyone.
Troubleshooting Common Issues
While running Minecraft on your graphics card can greatly enhance your gaming experience, you may encounter some common issues along the way. Here are some troubleshooting steps to address these issues:
- Crashing or Freezing: If Minecraft crashes or freezes when running on your graphics card, start by ensuring that your graphics card drivers are up to date. If the issue persists, try allocating less RAM to Minecraft, as too much allocated RAM can sometimes cause instability. Additionally, verify that your system meets the minimum system requirements for Minecraft.
- Artifacts or Graphical Glitches: If you notice strange graphical artifacts or glitches in Minecraft, it may indicate a problem with your graphics card. Double-check that your graphics card drivers are updated. If the issue persists, try lowering the graphic settings in Minecraft and ensure that your graphics card is not overclocked too aggressively.
- Low FPS or Performance: If you experience low frames per second (FPS) or overall poor performance in Minecraft, start by adjusting the graphic settings to a lower configuration. Lowering the render distance, turning off fancy graphics, and reducing other visual effects can help increase performance. Additionally, consider closing any unnecessary background programs or processes that may be consuming system resources.
- Compatibility Issues with Mods or Resource Packs: If you encounter compatibility issues between Minecraft, your graphics card, and certain mods or resource packs, ensure that all components are up to date. Some mods or resource packs may require specific versions of Minecraft or more powerful hardware. Verify the compatibility of the specific mods or resource packs with your Minecraft version and graphics card.
- Excessive GPU Temperature: If you notice that your graphics card is running at dangerously high temperatures while playing Minecraft, it may indicate inadequate cooling. Ensure that your computer’s ventilation is unobstructed, clean any dust from the fans or heat sinks, and consider using additional cooling solutions such as improved case fans or aftermarket GPU coolers.
If you have tried the troubleshooting steps above and are still experiencing issues, consider reaching out to the Minecraft community forums or technical support channels. They may have additional insights or specific solutions tailored to your situation.
Remember that every computer system is unique, and the optimal settings and troubleshooting steps may vary. It’s essential to be patient and willing to experiment with different configurations to find what works best for your individual setup.
By troubleshooting common issues, you can overcome obstacles and enjoy a smooth experience while running Minecraft on your graphics card.
Conclusion
Running Minecraft on a graphics card can greatly enhance your gaming experience, offering improved performance, enhanced visual quality, and the ability to run mods and resource packs smoothly. Throughout this guide, we have explored various steps to help you optimize Minecraft for your graphics card. From checking compatibility and updating drivers to allocating more RAM and adjusting graphic settings, these actions can significantly enhance your gameplay.
Remember to always prioritize the compatibility and requirements of your system. Check if your graphics card meets the necessary specifications and ensure that your drivers are up to date. Allocating more RAM to Minecraft can provide the game with additional resources, while adjusting graphic settings allows you to strike a balance between performance and visual quality. Consider overclocking your graphics card only if you have advanced knowledge and take necessary precautions.
If you encounter any issues, troubleshoot by addressing common problems such as crashing, graphical glitches, low FPS, or compatibility issues with mods or resource packs. Engage with the Minecraft community or seek technical support for further assistance.
By following these guidelines, you can optimize Minecraft’s performance on your graphics card and immerse yourself in the rich and enchanting virtual world of Minecraft.