Introduction
Projector screens are an essential component for creating an immersive cinematic experience or delivering impactful presentations. However, there may come a time when you need to flip the projector screen to achieve the optimal setup. Whether you’re changing the layout of your room or adjusting the screen due to ceiling height limitations, knowing how to successfully flip a projector screen is a valuable skill.
In this article, we will guide you through the process of flipping a projector screen, step by step. From understanding the different types of projector screens to properly mounting the screen back onto the wall or ceiling, we’ll cover all the necessary details to ensure a smooth and successful flip.
Before we dive into the specifics, it’s important to note that flipping a projector screen should be approached with caution and precision. Always refer to the manufacturer’s instructions and consult with a professional if you are unsure about any steps in the process.
Now, let’s explore the various aspects of flipping a projector screen to help you achieve your desired setup with ease and confidence.
Understanding the different types of projector screens
Before embarking on the task of flipping a projector screen, it’s crucial to understand the different types of projector screens available in the market. Each type has its unique features and installation methods.
1. Fixed-frame screens: These screens are permanently fixed to a frame and are ideal for dedicated home theaters or professional settings. They provide a flat, taut surface for a seamless viewing experience.
2. Motorized screens: These screens are equipped with an electric motor that allows for automated raising and lowering. They are often used in rooms where convenience and ease of use are key considerations.
3. Manual pull-down screens: These screens are operated manually by pulling them down from a housing mounted on the wall or ceiling. They are versatile, cost-effective, and widely used in various settings.
4. Fixed-angled screens: Designed to accommodate ceiling installations, fixed-angled screens have a specific tilt angle to ensure proper alignment and optimal viewing angles.
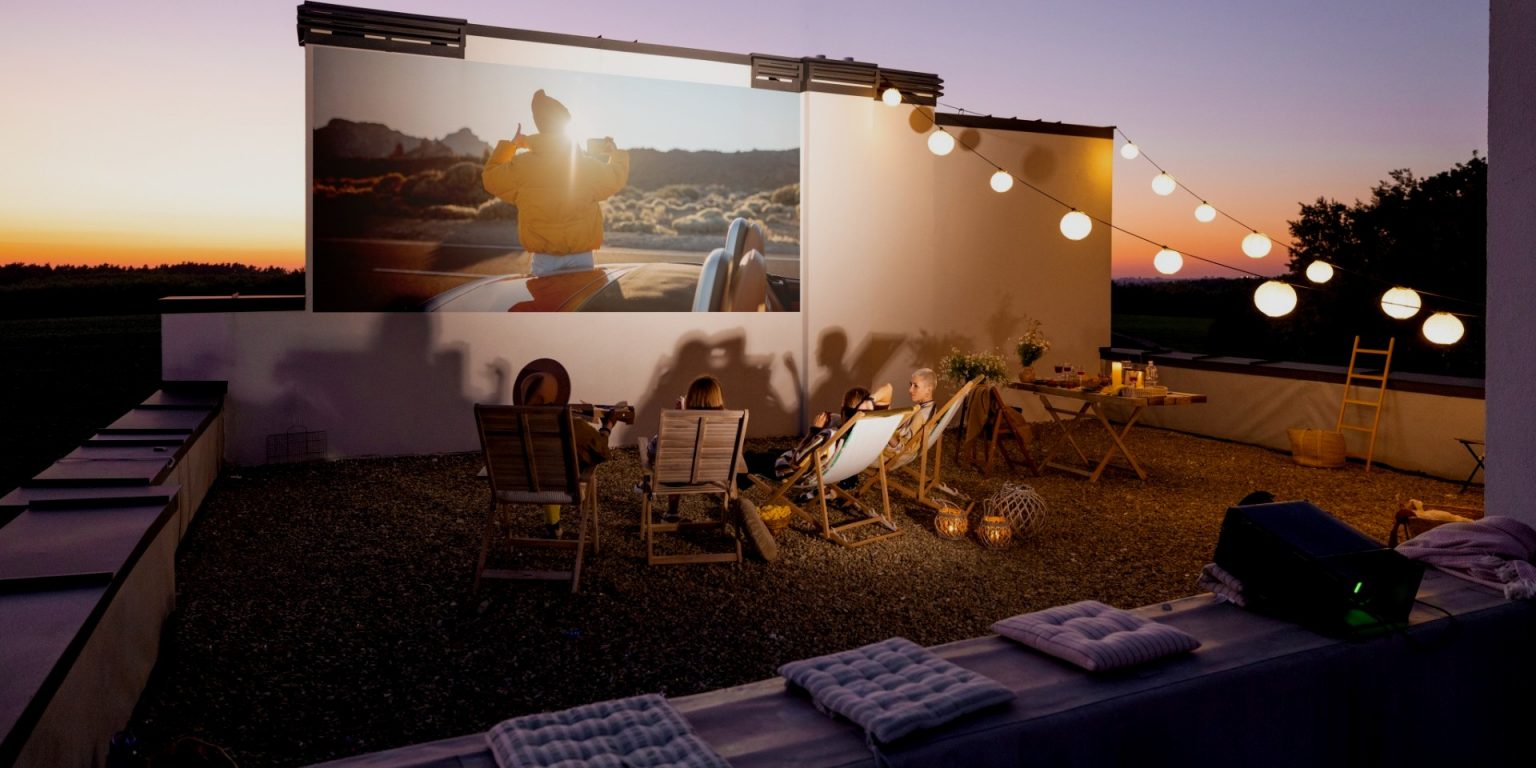
5. Portable screens: These screens are lightweight and easy to transport. They are suitable for on-the-go presentations, outdoor movie nights, or temporary setups.
It’s important to note that the process of flipping a projector screen may vary depending on the type of screen you have. Motorized screens may require additional steps to disconnect the motor, while manual pull-down screens may simply need to be unmounted and reversed. Understanding the specific requirements of your screen type will ensure a successful flip.
Now that we have a basic understanding of the different types of projector screens, let’s move on to the next steps in the process: preparing for the flip.
Preparing for the flip
Before you start flipping your projector screen, it’s essential to take some preliminary steps to ensure a smooth transition. These preparations will help minimize any potential damage to the screen or the mounting mechanism.
1. Gather the necessary tools: Before beginning the flip, gather the tools you will need. These may include a screwdriver, wrench, measuring tape, and a step ladder or stepladder for accessing higher areas.
2. Read the manufacturer’s instructions: Consult the manufacturer’s instructions that came with your projector screen. Every screen model may have unique installation and flipping instructions. Familiarize yourself with the specific guidelines and safety precautions.
3. Clean the screen: It’s a good idea to clean the screen before flipping it. Gently remove any dust, smudges, or fingerprints on the screen surface using a soft, lint-free cloth. This will ensure optimal picture quality and prevent any debris from causing issues during the flip.
4. Assess the mounting mechanism: Examine the mounting mechanism of your projector screen. Take note of how it is attached to the wall or ceiling. Look for any screws, brackets, or locks that may need to be loosened or removed during the flipping process.
5. Measure the dimensions: Measure the dimensions of your room and the screen to ensure a suitable location for the flipped screen. Consider factors such as ceiling height, projector placement, and distance from seating areas. This will help you determine the ideal orientation and position for the screen after the flip.
By completing these preparation steps, you’ll be ready to proceed with flipping your projector screen. Taking the time to gather the necessary tools and understand the process will help ensure a successful flip without any unnecessary complications.
Removing the screen from the wall or ceiling
Once you have completed the necessary preparations, it’s time to remove the projector screen from its current position on the wall or ceiling. This step requires caution and attention to detail to avoid any damage to the screen or surrounding areas.
Follow these steps to safely remove the screen:
- Disconnect any power source: If your screen is motorized, ensure that it is disconnected from any power source or electrical outlet. This will prevent any accidental activation during the removal process.
- Locate the mounting brackets: Identify the mounting brackets that secure the screen to the wall or ceiling. These brackets may be located at the top, bottom, or sides of the screen housing.
- Loosen or remove the mounting brackets: Using the appropriate tools, gently loosen or remove the mounting brackets that hold the screen in place. Take note of the number and location of the brackets to ensure proper reinstallation later.
- Support the screen: While removing the brackets, it’s important to support the weight of the screen to prevent it from falling or getting damaged. Enlist the help of a partner if needed to safely hold the screen as you remove the brackets.
- Carefully detach the screen: Once the brackets are removed, carefully detach the screen from the wall or ceiling. Slowly lower it down, ensuring that there is no strain on the wiring or any other components.
- Inspect for any damage: Before proceeding with the flip, inspect the screen for any signs of damage or wear. Rectify any issues or seek professional assistance if necessary.
By following these steps, you will successfully remove the projector screen from the wall or ceiling, preparing it for the flip. Remember to handle the screen with care and enlist the help of a partner if required to ensure a safe and smooth removal process.
Flipping the screen for proper orientation
Now that you have successfully removed the projector screen from the wall or ceiling, it’s time to flip it to the desired orientation. This step is crucial to ensure optimal projection and a satisfying viewing experience.
Follow these steps to flip the screen:
- Determine the desired orientation: Decide whether you want to flip the screen horizontally or vertically based on your room setup and projector placement. Refer to your measurements and desired viewing angles.
- Rotate the screen: Carefully rotate the screen to the desired orientation. Pay attention to the screen edges and ensure that it aligns perfectly with the desired position for optimal image projection.
- Check the screen tension: Depending on the type of screen you have, there may be tension adjustments required. If the screen appears loose or sagging, refer to the manufacturer’s instructions to adjust the tension properly.
- Inspect the screen surface: While flipping the screen, take a moment to inspect the surface for any smudges, scratches, or dust particles. Clean the screen surface if necessary to maintain optimal picture quality.
- Ensure smooth screen operation: Once the screen is flipped, test its operation by gently raising and lowering it if it’s a motorized screen or pulling it down and retracting it if it’s a manual pull-down screen. Ensure that it moves smoothly and locks into position without any issues.
By following these steps, you will successfully flip the projector screen to the desired orientation. Pay attention to the details and ensure proper alignment for the best viewing experience.
Adjusting the tension and alignment
Once you have flipped the projector screen to the desired orientation, it’s important to ensure that the screen’s tension and alignment are properly adjusted. This step will help optimize the screen’s flatness and picture quality for a seamless viewing experience.
Follow these steps to adjust the tension and alignment:
- Tension adjustment: If your projector screen has tension adjustment features, refer to the manufacturer’s instructions to adjust the tension properly. Use the recommended tools or mechanisms provided with the screen to tighten or loosen the tension as needed. Ensure that the screen fabric is stretched taut and free from any wrinkles or waves.
- Alignment adjustment: Check the alignment of the screen to ensure that it is straight and level. Use a level tool to ensure that the top edge of the screen is horizontally aligned. If adjustments are needed, make slight adjustments to the mounting brackets or frame until the screen is properly aligned.
- Test the screen movement: If the screen is motorized, test its movement to ensure that it raises and lowers smoothly without any obstructions or hesitations. If it’s a manual pull-down screen, test the retraction and extension to make sure it operates smoothly.
- Inspect the screen surface: Take a moment to inspect the screen surface for any imperfections or blemishes. Wipe away any dust or smudges with a soft, lint-free cloth. This will help maintain optimal picture quality during projection.
By following these steps, you will be able to adjust the tension and alignment of your flipped projector screen appropriately. Pay attention to the details, ensuring that the screen is flat, aligned, and operates smoothly for an immersive viewing experience.
Mounting the screen back onto the wall or ceiling
After flipping and adjusting the tension and alignment of your projector screen, it’s time to mount it back onto the wall or ceiling. Proper installation is crucial to ensure stability and longevity of the screen, as well as to maintain optimal viewing angles.
Follow these steps to mount the screen back onto the wall or ceiling:
- Prepare the mounting area: Clear the area on the wall or ceiling where the screen will be mounted. Remove any debris or obstructions that may hinder the installation process.
- Locate the mounting holes: Identify the mounting holes on the screen housing or frame. These holes will align with the corresponding brackets or screws on the wall or ceiling.
- Secure the mounting brackets: Using the appropriate tools, securely attach the mounting brackets to the wall or ceiling. Make sure they are level and properly aligned, based on the measurements taken earlier.
- Align and attach the screen: With the help of a partner, carefully align the mounting holes on the screen with the brackets or screws on the wall or ceiling. Slide the screen into place and ensure it is firmly secured.
- Tighten the screws or locks: Using the appropriate tools, tighten the screws or locks on the mounting brackets to securely hold the screen in place. Be cautious not to overtighten, as this may damage the screen or affect its operation.
- Double-check the alignment: Once the screen is mounted, double-check the alignment and levelness. Make any necessary adjustments to ensure the screen is straight and properly positioned.
After successfully mounting the screen back onto the wall or ceiling, give it a gentle tug to confirm that it is securely attached. Test the screen operation one final time to ensure it raises and lowers smoothly without any issues.
With the screen securely mounted, you are now ready to move on to the final step: testing the flipped projector screen.
Testing the flipped projector screen
Once you have successfully mounted the projector screen back onto the wall or ceiling, it is essential to test its functionality and performance. This final step ensures that the screen is operating correctly and ready to provide an optimal viewing experience.
Follow these steps to test the flipped projector screen:
- Connect the power: If your projector screen is motorized, ensure that it is safely connected to the power source or electrical outlet before testing. Double-check that the screen’s power switch is in the “on” position.
- Operate the screen: Use the screen’s designated control system, whether it be a remote control or wall switch, to lower and raise the screen. Pay attention to any unusual noises or hesitations during the operation.
- Observe the screen surface: Watch the screen closely as it lowers and extends. Ensure that the fabric is smooth and flat throughout the operation. Check for any wrinkles, creases, or waves that may affect the image quality.
- Test multiple positions: If your projector screen offers different stop positions, test each one to ensure that the screen stops at the desired height without any issues. This will allow you to adjust the screen to match your preferred viewing angle and screen size.
- Check for proper retraction: For manual pull-down screens, retract the screen back into its housing and ensure that it fully retracts without any difficulties or obstructions.
- Verify the image projection: If you have a projector connected to the screen, project an image or video onto the screen to ensure that the projected image is clear, sharp, and properly aligned with the screen’s surface.
If you encounter any problems or notice any issues during the testing phase, refer to the manufacturer’s instructions for troubleshooting guidance. If the issue persists, consider reaching out to technical support for further assistance.
By carefully testing the flipped projector screen, you can ensure that it functions properly and delivers an optimal viewing experience. Take the time to observe and address any issues before concluding the process.
Conclusion
Flipping a projector screen may seem like a daunting task, but with the right guidance and preparation, it can be accomplished successfully. By understanding the different types of projector screens, preparing for the flip, removing the screen from the wall or ceiling, flipping it for proper orientation, adjusting the tension and alignment, mounting it back onto the wall or ceiling, and testing its functionality, you can ensure a smooth and seamless process.
Remember to refer to the manufacturer’s instructions and consult with professionals if needed. Take the necessary precautions to handle the screen with care, especially while removing and mounting it. Pay close attention to ensuring proper tension, alignment, and secure installation for the best viewing experience.
With your flipped projector screen in its optimal position, you can now enjoy enhanced cinematic experiences or deliver impactful presentations with ease and confidence. So go ahead, grab some popcorn, dim the lights, and immerse yourself in the incredible world that your properly flipped projector screen will bring to life.


