Introduction
Welcome to this guide on how to edit an invoice in QuickBooks. As a small business owner or an accounting professional, you may find yourself needing to make changes to an invoice after it has been created. Whether you need to correct a mistake, update payment details, or add new items, QuickBooks makes it easy to edit invoices and ensure accuracy in your financial records.
QuickBooks is a popular accounting software that offers a range of features to help businesses streamline their financial processes. With its user-friendly interface and robust invoicing capabilities, you can easily create and manage invoices with QuickBooks. And when the need arises to make modifications to an existing invoice, QuickBooks provides a simple and efficient editing process.
In this guide, we will walk you through the step-by-step process of accessing and editing invoices in QuickBooks. Whether you are using QuickBooks Online or QuickBooks Desktop, you will learn how to locate the invoice you wish to edit, make the necessary changes, and save the updated information. We will also cover the options for printing or sending the edited invoice to your customers.
By following this guide, you’ll gain the knowledge and skills to confidently edit invoices in QuickBooks, ensuring that your financial records are accurate and up to date. So let’s get started with the first step: accessing the invoices in QuickBooks.
Step 1: Accessing the Invoices in QuickBooks
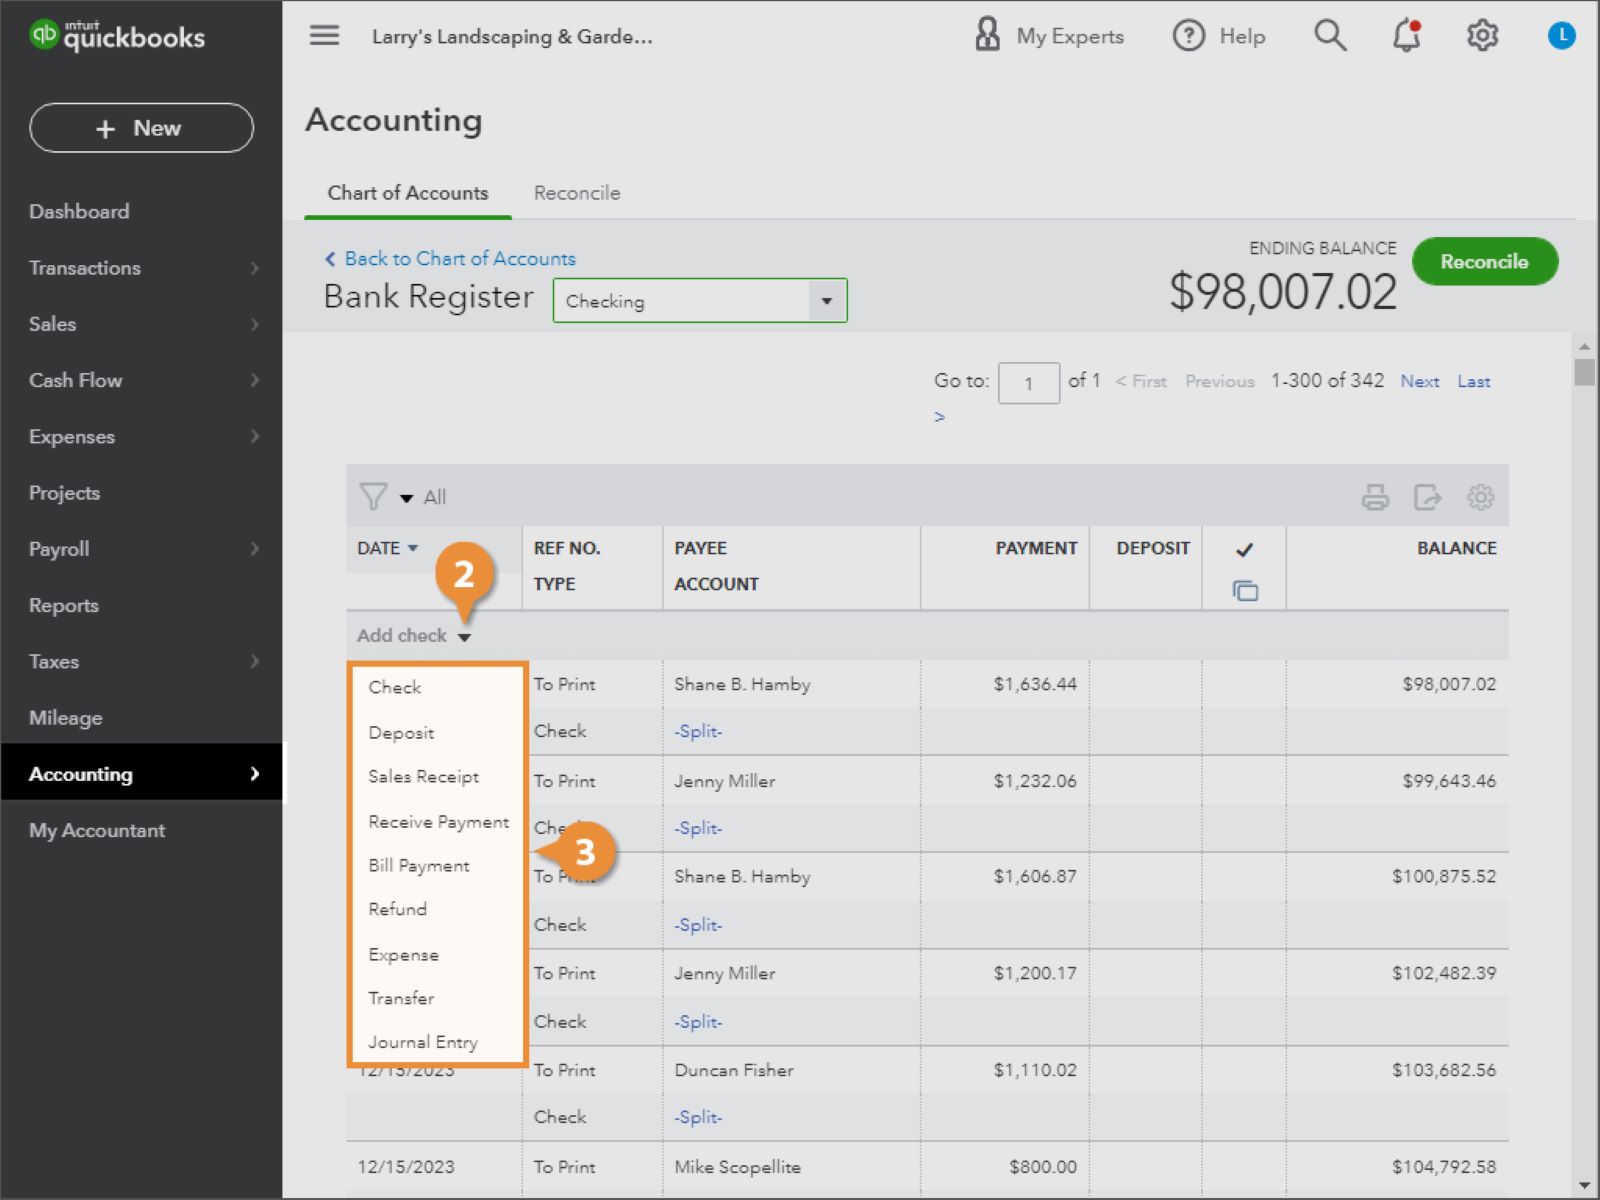
Before you can edit an invoice in QuickBooks, you need to access the invoices section in the software. The steps to access invoices may vary slightly depending on whether you are using QuickBooks Online or QuickBooks Desktop. Let’s explore both scenarios:
If you are using QuickBooks Online, follow these steps:
- Login to your QuickBooks Online account using your credentials.
- Once logged in, navigate to the “Invoicing” or “Sales” tab, usually located in the main navigation menu.
- From the drop-down menu, select “Invoices” or “All Sales” to view a list of all your invoices.
On the other hand, if you are using QuickBooks Desktop, here’s what you need to do:
- Launch QuickBooks Desktop and open your company file.
- In the top menu bar, click on “Customers” and then select “Create Invoices” or “Invoice.” Alternatively, you can use the keyboard shortcut “Ctrl + I” to directly access the invoice creation screen.
Once you have followed these steps, you should now have access to the invoices section in QuickBooks. Proceed to the next step to learn how to locate the invoice you want to edit.
Step 2: Locating the Invoice to Edit
After accessing the invoices section in QuickBooks, the next step is to locate the specific invoice that you want to edit. QuickBooks provides several methods to help you find the invoice you need:
- Search by invoice number: If you know the invoice number, you can enter it in the search bar located at the top of the invoices list. QuickBooks will filter the list and display the invoice corresponding to the entered number.
- Filter by customer: You can filter the invoice list by customer to narrow down the search. Look for the customer name or account number associated with the invoice you want to edit, and then select the customer from the drop-down menu or search bar.
- Sort by date: Another way to locate an invoice is by sorting the list by date. QuickBooks allows you to sort invoices in ascending or descending order, making it easier to find the one you need based on the date it was created.
Using these search and filtering options, you should be able to locate the invoice you want to edit quickly. Once you have identified the correct invoice, proceed to the next step to open it for editing.
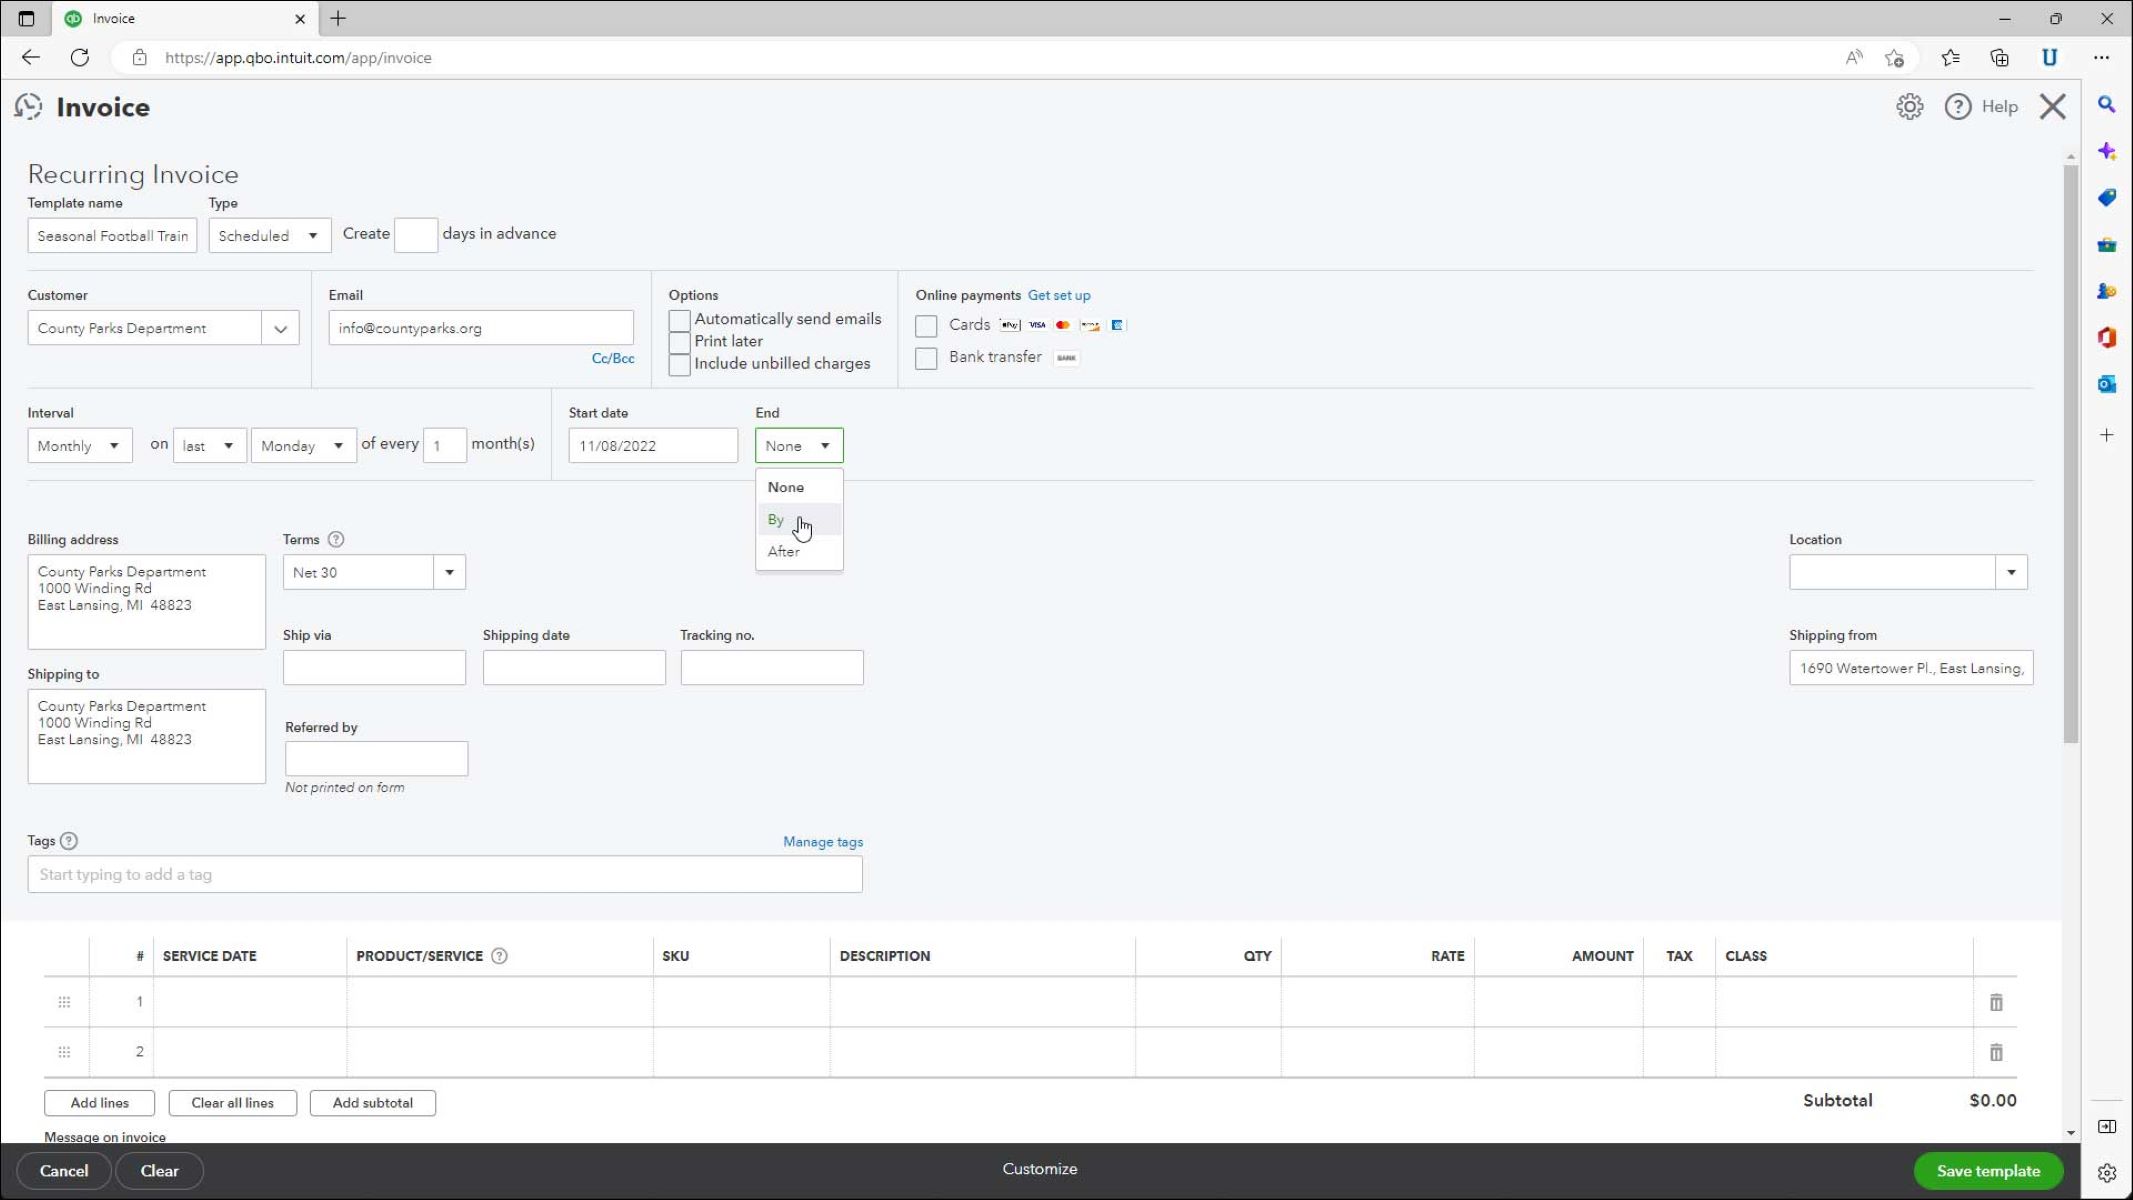
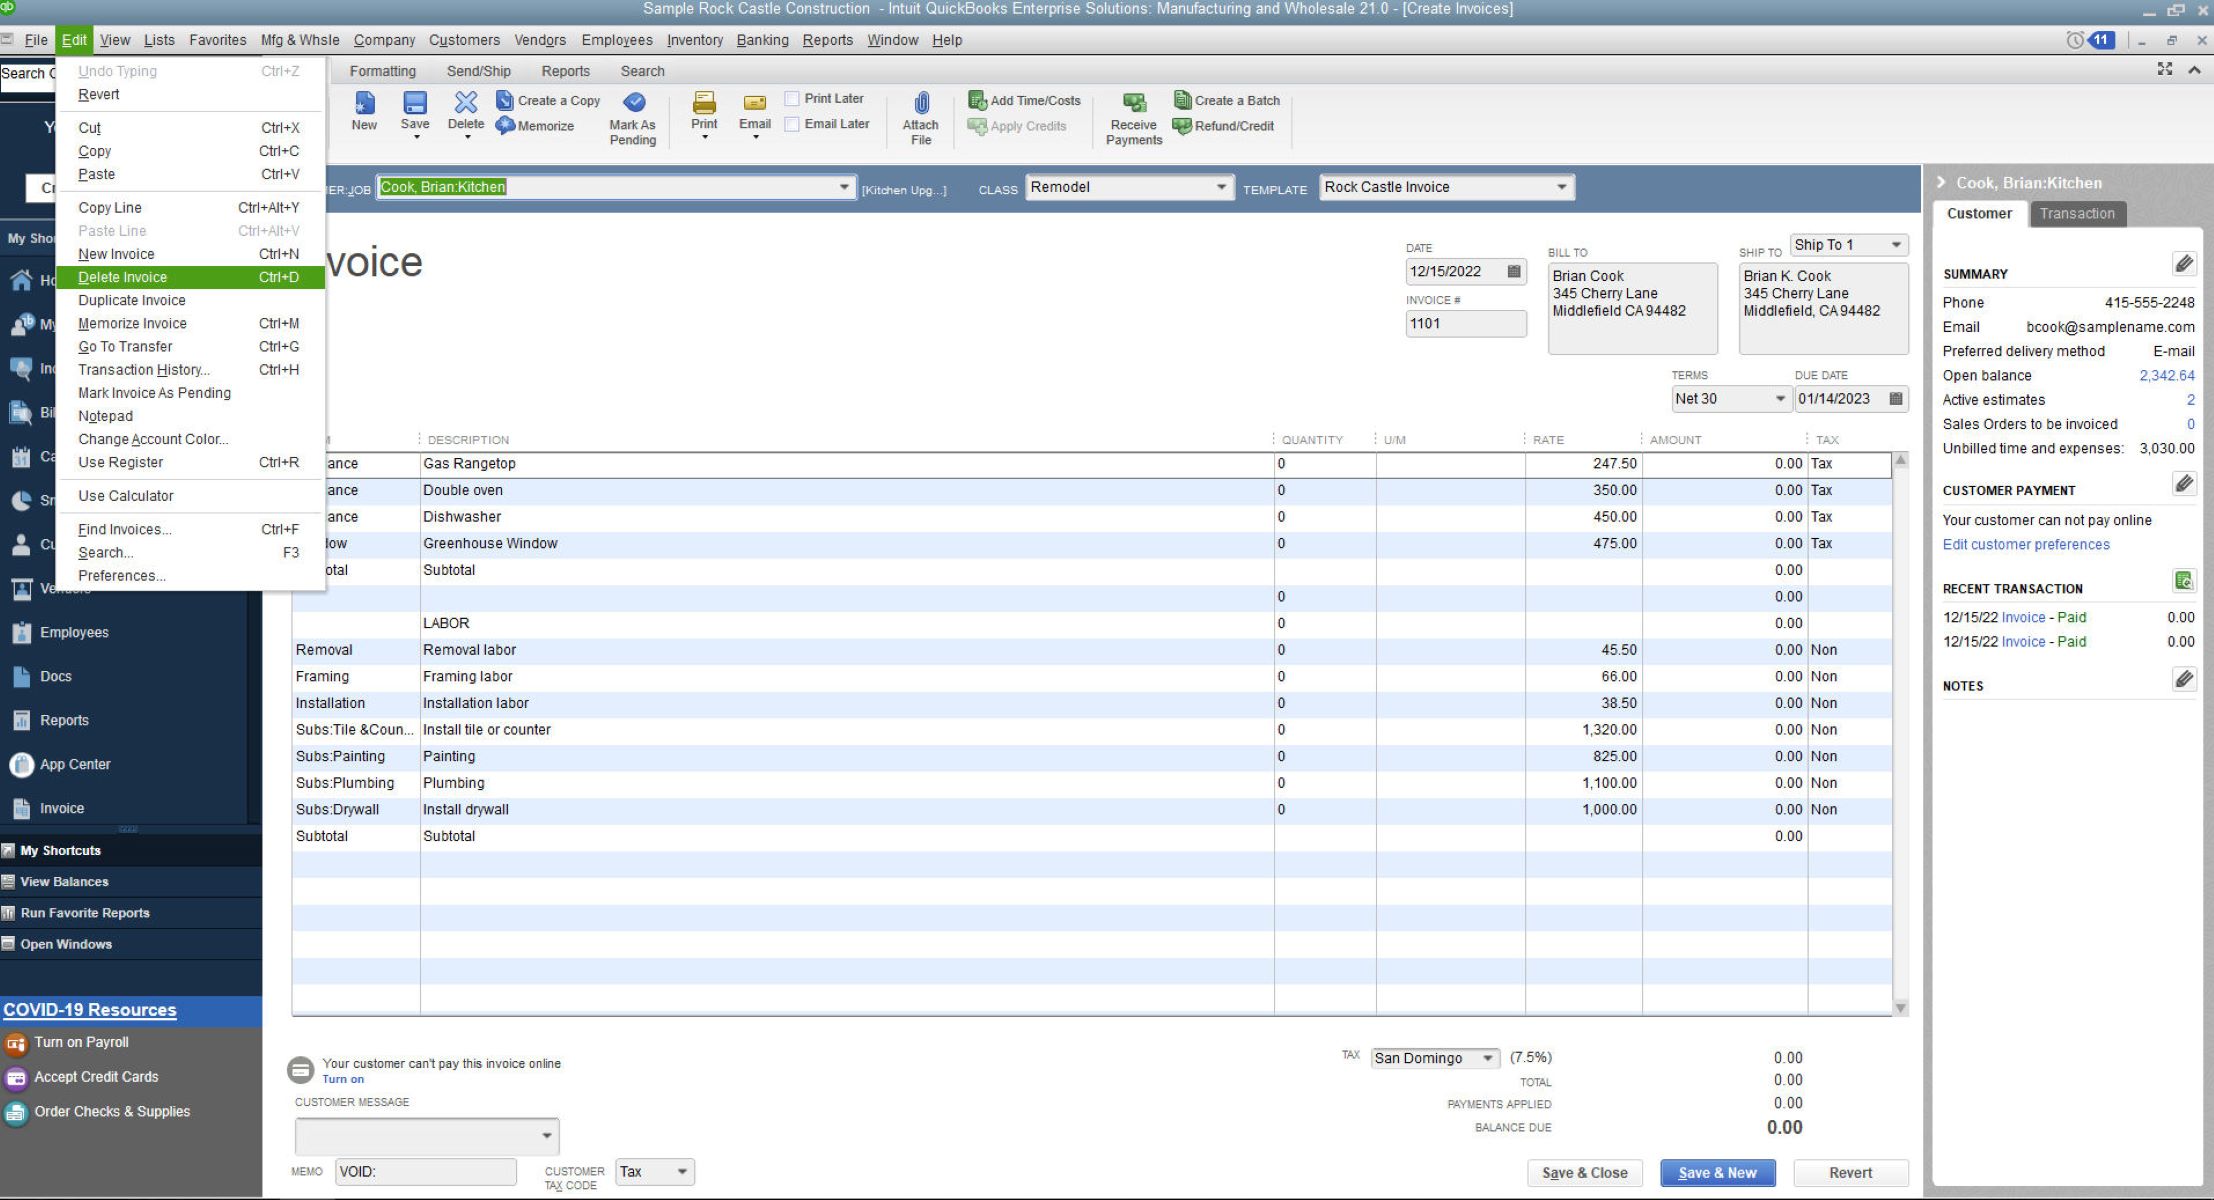
Step 3: Opening the Invoice for Editing
Now that you have located the invoice you want to edit in QuickBooks, it’s time to open it for editing. Follow these steps to access the editing interface:
- In the list of invoices, find the specific invoice you wish to edit and click on it. This will open the invoice details page.
- Once the invoice details page is open, you will see the full information associated with the invoice, including the customer details, itemized charges, and payment terms.
- Look for the “Edit” button or the pencil icon, usually located at the top right corner of the invoice details page.
- Click on the “Edit” button or the pencil icon to enter the editing mode for the invoice.
Once you have followed these steps, you will now have the invoice open in the editing interface of QuickBooks. This interface allows you to make changes to various aspects of the invoice, such as the customer details, billing address, line items, quantities, prices, and more.
It’s important to note that while you can edit most fields on the invoice, certain fields may be locked depending on the payment status or workflow setup in QuickBooks. For example, if the invoice has already been marked as paid, you may not be able to change the payment details.
Continue to the next step to learn how to make changes to the invoice details.
Step 4: Making Changes to the Invoice Details
Once you have opened the invoice in the editing interface of QuickBooks, you can start making changes to the invoice details. Here are some key areas where you can make modifications:
- Customer Information: If you need to update the customer’s name, address, or any other contact details, you can make changes in the customer information section.
- Line Items: To modify the products or services included in the invoice, you can edit the line items. You can add new items, update quantities, change prices, or remove items as needed.
- Tax and Discounts: If applicable, you can modify the tax rate or discount applied to the invoice. QuickBooks allows you to customize these options based on your business requirements.
- Payment Terms: You can adjust the payment terms for the invoice, such as the due date, payment method, or payment terms message.
- Notes and Messages: QuickBooks provides a section where you can include additional notes or messages on the invoice. You can make changes to these sections to provide updated information to your customers.
As you make changes to the invoice details, QuickBooks will automatically update the invoice summary and totals to reflect the modifications. This ensures that your invoice remains accurate and up to date.
Remember to review all the changes carefully to ensure their accuracy before proceeding to the next step. Once you are satisfied with the modifications, you can move on to the next step to review and save your changes.
Step 5: Reviewing and Saving the Changes
After making the necessary modifications to the invoice details in QuickBooks, it is crucial to review the changes before finalizing them. This step ensures that all the changes are accurate and reflect the desired updates. Here’s what you should do:
- Carefully go through all the fields and information on the invoice to verify that the changes you made are correct. Check for any typos, incorrect pricing, or missing details.
- Double-check the calculations, including the subtotal, tax, discounts, and total amounts. Make sure they align with your expectations and match the agreed-upon values with your customer.
- Verify that the customer information and billing details are accurate and up to date. This includes the customer’s name, address, email, phone number, and any other relevant contact information.
- If you have added or removed any line items, ensure that the products or services listed are correct and complete.
- Review any additional notes or messages you have included and edit them if necessary. Ensure they are clear and informative for your customer.
Once you have thoroughly reviewed the changes and are confident that everything is correct, it’s time to save them. Depending on the version of QuickBooks you are using, the specific steps to save the changes may vary slightly. Here’s a general guideline:
- Look for the “Save” or “Save Changes” button, usually located at the top or bottom of the editing interface.
- Click on the “Save” button to save the changes to the invoice. QuickBooks will automatically update the invoice with the modified details.
By saving the changes, you ensure that all the edits you made are applied to the invoice. The invoice will now reflect the updated information, allowing you to proceed to the next step: printing or sending the edited invoice.
Step 6: Printing or Sending the Edited Invoice
Now that you have successfully edited and saved the changes to the invoice in QuickBooks, you have the option to either print a physical copy or send the edited invoice to your customer electronically. Here’s how you can do it:
If you prefer to print a physical copy of the edited invoice:
- Ensure you have a compatible printer connected to your computer or network.
- On the invoice details page, locate the print icon or look for the “Print” option in the top menu.
- Click on the print icon or select the “Print” option. QuickBooks will open the print settings page.
- Customize the print settings as needed, such as selecting the appropriate printer, paper size, layout, and number of copies.
- Once you have configured the print settings, click on the “Print” button to initiate the printing process.
If you prefer to send the edited invoice electronically:
- In the invoice details page, locate the send icon or look for the “Send” option in the top menu.
- Click on the send icon or select the “Send” option. QuickBooks will open the sending options.
- Choose the desired method of sending, such as email or online delivery through QuickBooks Online.
- Enter the recipient’s email address and any additional message or instructions.
- Review the email and attachments to ensure everything is accurate and as intended.
- Click on the “Send” button to send the edited invoice to your customer.
By either printing a physical copy or sending the edited invoice electronically, you can provide your customer with the updated invoice reflecting the changes you made. This final step completes the process of editing and delivering the modified invoice in QuickBooks.
Conclusion
Editing an invoice in QuickBooks is a straightforward process that allows you to make modifications to your existing invoices with ease. By following the steps outlined in this guide, you can access and locate the invoice you wish to edit, open it for editing, make changes to the invoice details, review and save the changes, and finally, print or send the edited invoice to your customer.
QuickBooks provides a user-friendly interface and intuitive features that make the editing process efficient and accurate. Whether you need to update customer information, adjust line items, modify payment terms, or add additional notes, QuickBooks offers the flexibility to accommodate your specific needs.
Remember to carefully review all the changes you made before saving them to ensure the accuracy of your invoice. Check for any errors or omissions that may impact the invoice’s clarity or correctness. By taking the time to review and verify the changes, you can maintain professionalism and ensure a positive and accurate communication with your customers.
Additionally, QuickBooks allows you to choose between printing a physical copy of the edited invoice or sending it electronically. This gives you the flexibility to meet the preferences of your customers and adapt to their preferred communication methods.
By following the steps outlined in this guide, you can confidently edit invoices in QuickBooks, keeping your financial records accurate and up to date. This helps you maintain strong customer relationships, streamline your invoicing process, and ensure the smooth operation of your business.
With the knowledge gained from this guide, you are now equipped to confidently navigate QuickBooks and make any necessary edits to your invoices whenever needed.