Introduction
Welcome to the world of QuickBooks, where managing your finances becomes seamless and efficient. As a business owner or accounting professional, you know the importance of accurately tracking and maintaining records of your transactions. One key aspect of financial management is handling credit memos.
In this guide, we will walk you through the process of creating a credit memo in QuickBooks. Whether you need to issue a refund, provide a credit to a customer’s account, or correct an invoice error, QuickBooks offers a user-friendly system to generate credit memos effortlessly.
A credit memo is a transaction that represents a credit to a customer’s account. It can be issued for various reasons, such as returned merchandise, discounts, or pricing adjustments. By creating a credit memo, you can keep track of your outstanding credits and ensure the accuracy of your financial records.
QuickBooks provides a streamlined process to create and apply credit memos, helping you efficiently manage customer accounts and maintain a clear audit trail. Within a few simple steps, you can issue credit memos and apply them to specific invoices or customer balances.
This guide will walk you through each step, providing clear instructions on how to access the sales receipts window, select the customer, set the credit memo date, choose the correct credit memo type, enter the product or service details, apply the credit memo to an invoice or customer balance, and review and save the credit memo. By the end of this guide, you will confidently be able to create credit memos in QuickBooks, enhancing your financial management capabilities.
Step 1: Access the Sales Receipts Window
To begin creating a credit memo in QuickBooks, you first need to access the Sales Receipts window. This window serves as the starting point for entering various types of transactions, including credit memos.
Here’s how you can access the Sales Receipts window:
- Launch QuickBooks on your computer and log in to your account.
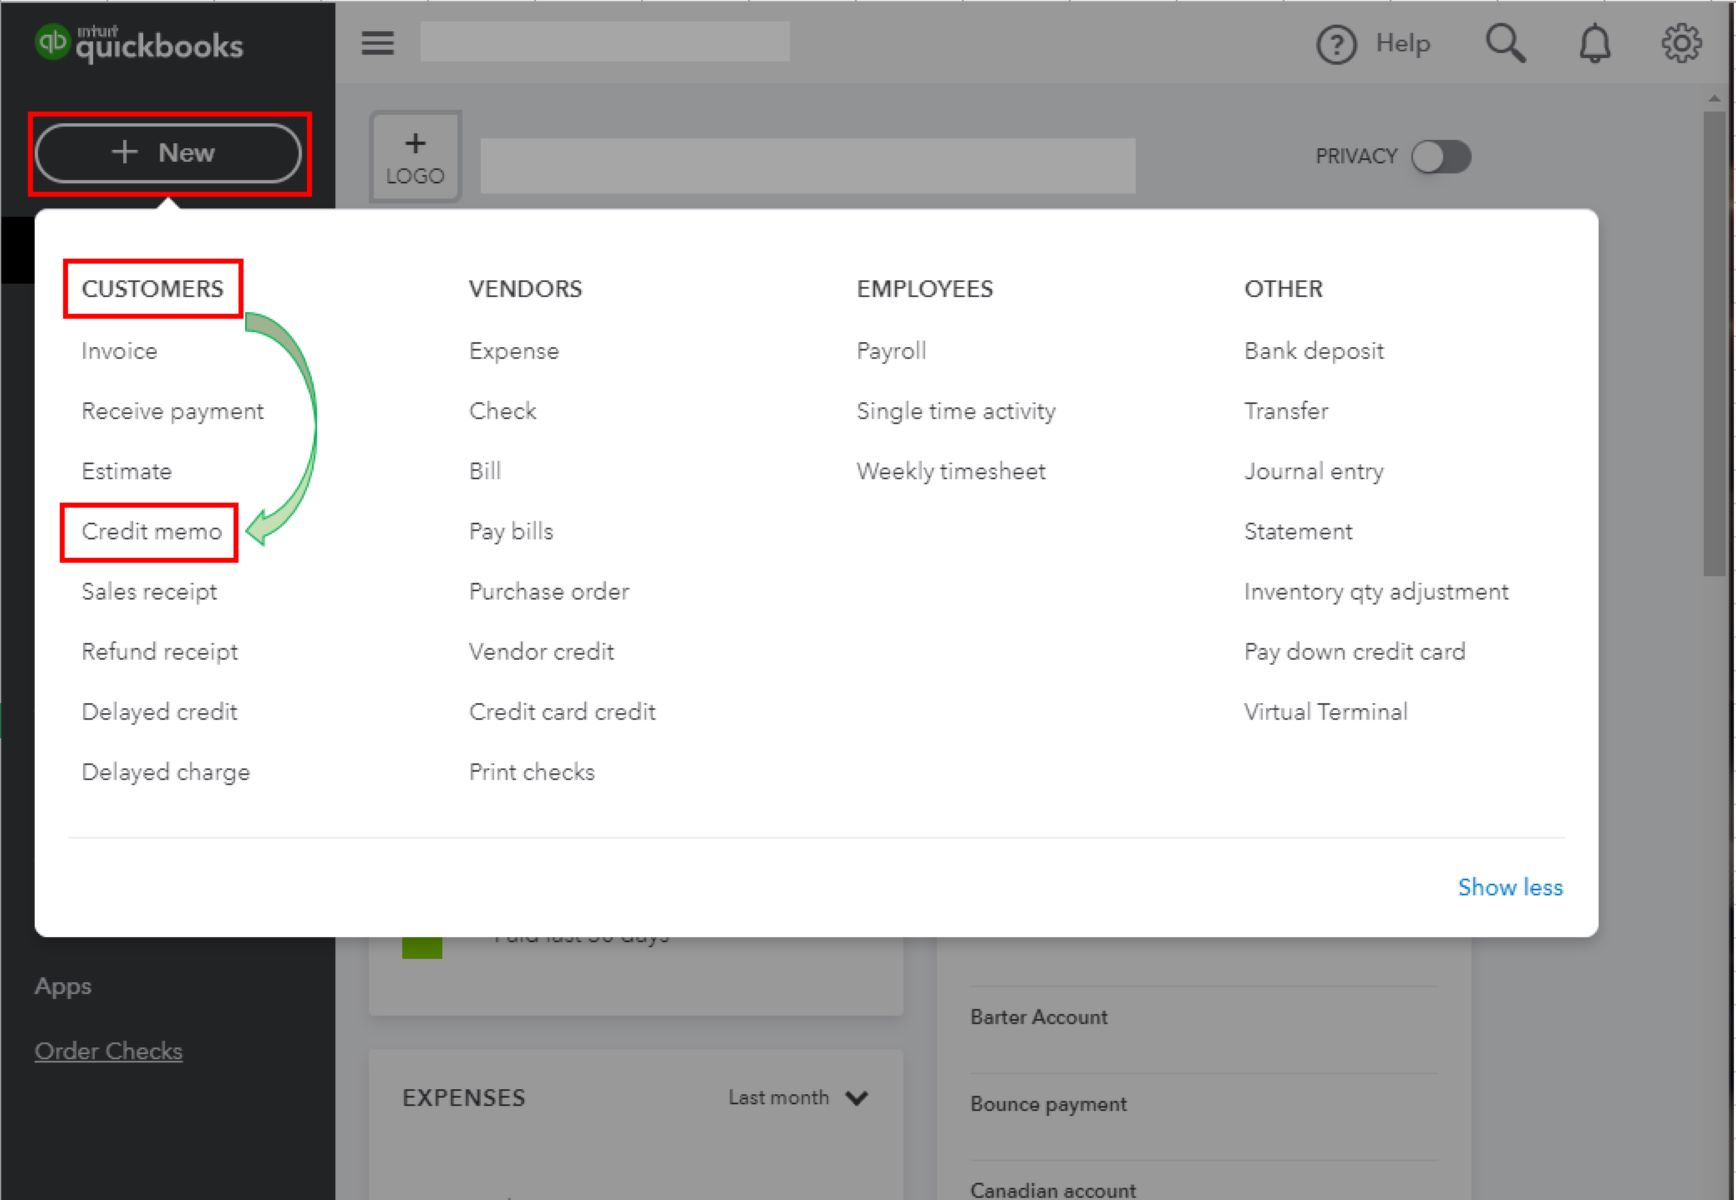
- From the main menu, navigate to the Customers tab and select Create Sales Receipt.
- The Sales Receipts window will open, displaying a form where you can input the necessary details for the credit memo.
Once you have successfully accessed the Sales Receipts window, you are ready to move on to the next step in the credit memo creation process.
It’s important to note that the steps mentioned above may vary slightly depending on the version and edition of QuickBooks you are using. However, the general process remains the same, and you should be able to locate the Sales Receipts window following the guidance provided.
With the Sales Receipts window in front of you, you are now one step closer to generating a credit memo. In the next section, we will guide you through selecting the customer and setting the credit memo date, so you can proceed with creating an accurate and professional credit memo in QuickBooks.
Step 2: Select the Customer and Set the Credit Memo Date
After accessing the Sales Receipts window in QuickBooks, the next step is to select the customer for whom you are creating the credit memo and set the appropriate credit memo date. This information helps to identify the specific customer account and ensures the accuracy of your records.
Here’s how you can select the customer and set the credit memo date:
- In the Sales Receipts window, look for the Customer field or dropdown menu. Click on it to reveal a list of your customers.
- Choose the customer from the list for whom you are creating the credit memo. If the customer’s name is not on the list, you can add a new customer by selecting the Add New option.
- After selecting the customer, proceed to the Date field. This field allows you to set the credit memo date. By default, QuickBooks will populate the current date, but you can modify it as needed.
By selecting the appropriate customer and setting the credit memo date, you ensure that the credit memo is linked to the correct customer account and reflects the accurate timeline of the transaction.
Remember, maintaining accurate and up-to-date customer information is crucial for your financial records, and QuickBooks makes it easy to modify customer details or add new customers when necessary.
With the customer selected and the credit memo date set, you are now ready to move on to the next step in creating your credit memo. In the following section, we will guide you through choosing the correct credit memo type to accurately represent the transaction.
Step 3: Choose the Correct Credit Memo Type
Once you have selected the customer and set the credit memo date, the next step in creating a credit memo in QuickBooks is to choose the correct credit memo type. QuickBooks provides various credit memo types to accommodate different scenarios and transaction purposes.
Here’s how you can choose the correct credit memo type:
- In the Sales Receipts window, locate the Credit Memo field or dropdown menu.
- Click on the Credit Memo field to reveal a list of credit memo types available in QuickBooks.
- Select the credit memo type that best matches the reason for issuing the credit memo. Some common credit memo types include Return for Credit, Pricing Adjustment, or Customer Overpayment.
Choosing the correct credit memo type is important as it helps to categorize the credit memo accurately and ensures that it reflects the nature of the transaction. By selecting the appropriate credit memo type, you can provide clear documentation for future reference and maintain the integrity of your financial records.
If you find that the available credit memo types do not exactly match your specific scenario, you can select a generic credit memo type or consult with your accounting professional for guidance on which option to choose.
With the correct credit memo type selected, you are now ready to proceed with entering the product or service details in the credit memo. In the next section, we will walk you through this crucial step to accurately capture the details of the transaction.
Step 4: Enter the Product or Service Details
After choosing the correct credit memo type, it is time to enter the product or service details for the transaction in QuickBooks. This step allows you to specify the items or services related to the credit memo and their corresponding quantities and prices.
Here’s how you can enter the product or service details in the credit memo:
- In the Sales Receipts window, look for the Product/Service column or field.
- Click on the field to select the desired item or service from your QuickBooks inventory. If the item or service is not listed, you can add it by selecting the Add New option.
- Specify the quantity or amount of the item or service being credited in the Quantity or Amount column.
- Enter the appropriate price or rate for the item or service in the Rate column. QuickBooks will automatically calculate the total amount based on the quantity and rate.
By accurately entering the product or service details, you ensure that the credit memo reflects the correct items and their corresponding values. This helps in maintaining detailed records and provides clarity for both you and your customer.
QuickBooks allows you to add multiple items or services to a single credit memo, making it convenient to handle situations where multiple products or services are involved. Simply repeat the steps above for each item or service you need to include on the credit memo.
With the product or service details entered, you are now ready to move on to the next step in the credit memo creation process. In the following section, we will guide you through applying the credit memo to an invoice or customer balance for proper account reconciliation.
Step 5: Apply the Credit Memo to an Invoice or Customer Balance
After entering the product or service details in the credit memo, the next step is to apply the credit memo to an invoice or customer balance in QuickBooks. This ensures that the credit is appropriately deducted from the customer’s outstanding balance or applied to a specific invoice.
Here’s how you can apply the credit memo to an invoice or customer balance:
- In the Sales Receipts window, locate the Apply Credit field or checkbox.
- Click on the field or checkbox to open a list of outstanding customer invoices or balances.
- Select the specific invoice or customer balance to which the credit memo should be applied. If the credit memo covers multiple invoices or balances, you can allocate the credit across them accordingly.
Applying the credit memo to an invoice or customer balance ensures accurate account reconciliation and reduces the customer’s outstanding balance by the appropriate amount. QuickBooks will automatically adjust the invoice or customer balance once the credit memo is applied, simplifying the process for you and maintaining accurate records.
Remember to review the selections carefully before applying the credit memo, ensuring that it is allocated correctly and matched to the appropriate invoice or customer balance.
With the credit memo successfully applied to the invoice or customer balance, you are ready to move on to the final step of reviewing and saving the credit memo. In the next section, we will guide you through this essential step to ensure the accuracy of your records.
Step 6: Review and Save the Credit Memo
Once you have applied the credit memo to the appropriate invoice or customer balance, it is crucial to review the credit memo and double-check all the details for accuracy. This final step ensures that the credit memo is complete and reflects the intended transaction in QuickBooks.
Here’s how you can review and save the credit memo:
- Take a moment to review the credit memo in the Sales Receipts window.
- Check the customer information, credit memo type, product or service details, and the application of the credit to ensure everything is entered correctly.
- If any changes are needed, make the necessary adjustments before proceeding.
- Once you are satisfied with the credit memo, click on the Save button to save the transaction in QuickBooks.
Reviewing the credit memo before saving it helps to prevent any errors or inaccuracies in your financial records. It ensures that the credit memo reflects your intentions accurately and provides a clear and concise record of the transaction.
After saving the credit memo, QuickBooks will generate a transaction number or reference that you can use for future reference or inquiries. Make a note of this reference or print a copy of the credit memo for your records, ensuring that you have proper documentation of the transaction.
By following this step-by-step process and carefully reviewing the credit memo before saving it, you can confidently create accurate credit memos in QuickBooks. This enables you to effectively manage customer accounts, maintain clear financial records, and ensure proper reconciliation of accounts.
Now that you have successfully reviewed and saved the credit memo, you have completed the entire process of creating a credit memo in QuickBooks. Congratulations! You can now utilize this powerful tool to manage refunds, credits, and invoice corrections with ease and efficiency.
Conclusion
Creating credit memos in QuickBooks is vital for accurate record-keeping and efficient financial management. By following the step-by-step process outlined in this guide, you can easily generate credit memos that reflect the specific transactions you need to record.
Remember, the key steps in creating a credit memo include accessing the Sales Receipts window, selecting the customer and setting the credit memo date, choosing the correct credit memo type, entering the product or service details, applying the credit memo to an invoice or customer balance, and reviewing and saving the credit memo.
By carefully following these steps, you ensure that your credit memos are accurate, properly applied, and linked to the appropriate customer accounts and invoices. This helps maintain clear financial records and facilitates easy reconciliation of customer balances.
Additionally, QuickBooks provides the flexibility to customize and modify credit memos based on your specific needs. Depending on the situation, you can choose from various credit memo types, add multiple items or services, allocate credits to specific invoices or customer balances, and review and adjust the credit memo details before saving.
Managing credit memos effectively not only benefits your financial processes but also contributes to customer satisfaction. By promptly issuing credit memos for returns or adjustments, you demonstrate transparency and professionalism to your customers.
Now that you have a comprehensive understanding of how to create credit memos in QuickBooks, you can confidently utilize this feature to streamline your financial workflows. Remember to regularly review and reconcile your credit memos to maintain accurate customer accounts and ensure the accuracy of your financial records.
By mastering the creation of credit memos in QuickBooks, you are empowering yourself to efficiently manage your business’s finances, track credits and refunds, and ensure the accuracy of your accounting processes.


