Introduction
Welcome to our guide on how to enter a journal entry in QuickBooks Online. Journal entries are an essential part of bookkeeping, allowing you to record financial transactions that don’t fit into the standard day-to-day operations. Whether you need to record an adjusting entry, transfer funds between accounts, or record depreciation, QuickBooks Online provides a user-friendly platform to make this process smooth and efficient.
Mastering the art of entering journal entries in QuickBooks Online is crucial for maintaining accurate financial records and ensuring the overall health of your business. In this step-by-step guide, we will walk you through the process of entering a journal entry in QuickBooks Online, from accessing the Chart of Accounts to saving the entry.
Before we dive into the steps, it’s important to note that while journal entries are a powerful tool, they should be used with caution. Be sure to consult with your accountant or bookkeeper if you are unsure about when and how to use journal entries in QuickBooks Online.
Now, let’s get started with step one, where we’ll show you how to select the company for which you want to enter a journal entry in QuickBooks Online.
Step 1: Select the Company
The first step in entering a journal entry in QuickBooks Online is to select the company for which you want to enter the entry. If you have multiple companies set up in your QuickBooks Online account, you’ll need to choose the specific company you want to work with before proceeding.
To select the company, log in to your QuickBooks Online account and click on the company name or logo in the upper right corner. This will open a drop-down menu where you can see the list of companies associated with your account. Simply click on the company you want to work with, and QuickBooks Online will switch to that company’s dashboard.
It’s important to ensure that you select the correct company before entering any journal entries, as the entries will be specific to the chosen company. This is especially crucial if you’re managing bookkeeping for multiple businesses or clients within your QuickBooks Online account.
Once you have successfully selected the company, you’re ready to move on to the next step: accessing the Chart of Accounts.
Step 2: Access the Chart of Accounts
In order to enter a journal entry in QuickBooks Online, you need to access the Chart of Accounts, where all your accounts are listed. The Chart of Accounts provides a detailed record of your business’s financial transactions, including assets, liabilities, equity, income, and expenses.
To access the Chart of Accounts, start by navigating to the left-hand menu in QuickBooks Online. You will see a gear icon labeled “Settings”. Click on this icon, and a drop-down menu will appear. Scroll down and select “Chart of Accounts” from the “Your Company” section.
Once you’re on the Chart of Accounts page, you’ll see a list of all your accounts organized by category. Each account will have a name, account type, and balance. This is where you can add, edit, or manage your accounts, as well as view the current balances.
When entering a journal entry, you’ll need to refer to specific accounts in the Chart of Accounts. This can include accounts such as cash, accounts receivable, accounts payable, or any other accounts relevant to your transaction. It’s important to know the account names and types you’ll be using before proceeding to the next step.
Now that you have accessed the Chart of Accounts, it’s time to move on to step three: choosing the journal entry form.
Step 3: Choose the Journal Entry
After accessing the Chart of Accounts in QuickBooks Online, the next step is to choose the journal entry form. The journal entry form allows you to enter the details of your transaction, such as the accounts involved, the amounts, and any additional information.
To choose the journal entry form, navigate to the top right corner of the Chart of Accounts page and click on the “New” button. This will open a drop-down menu with various options. Scroll down and select “Journal Entry” under the “Other” section.
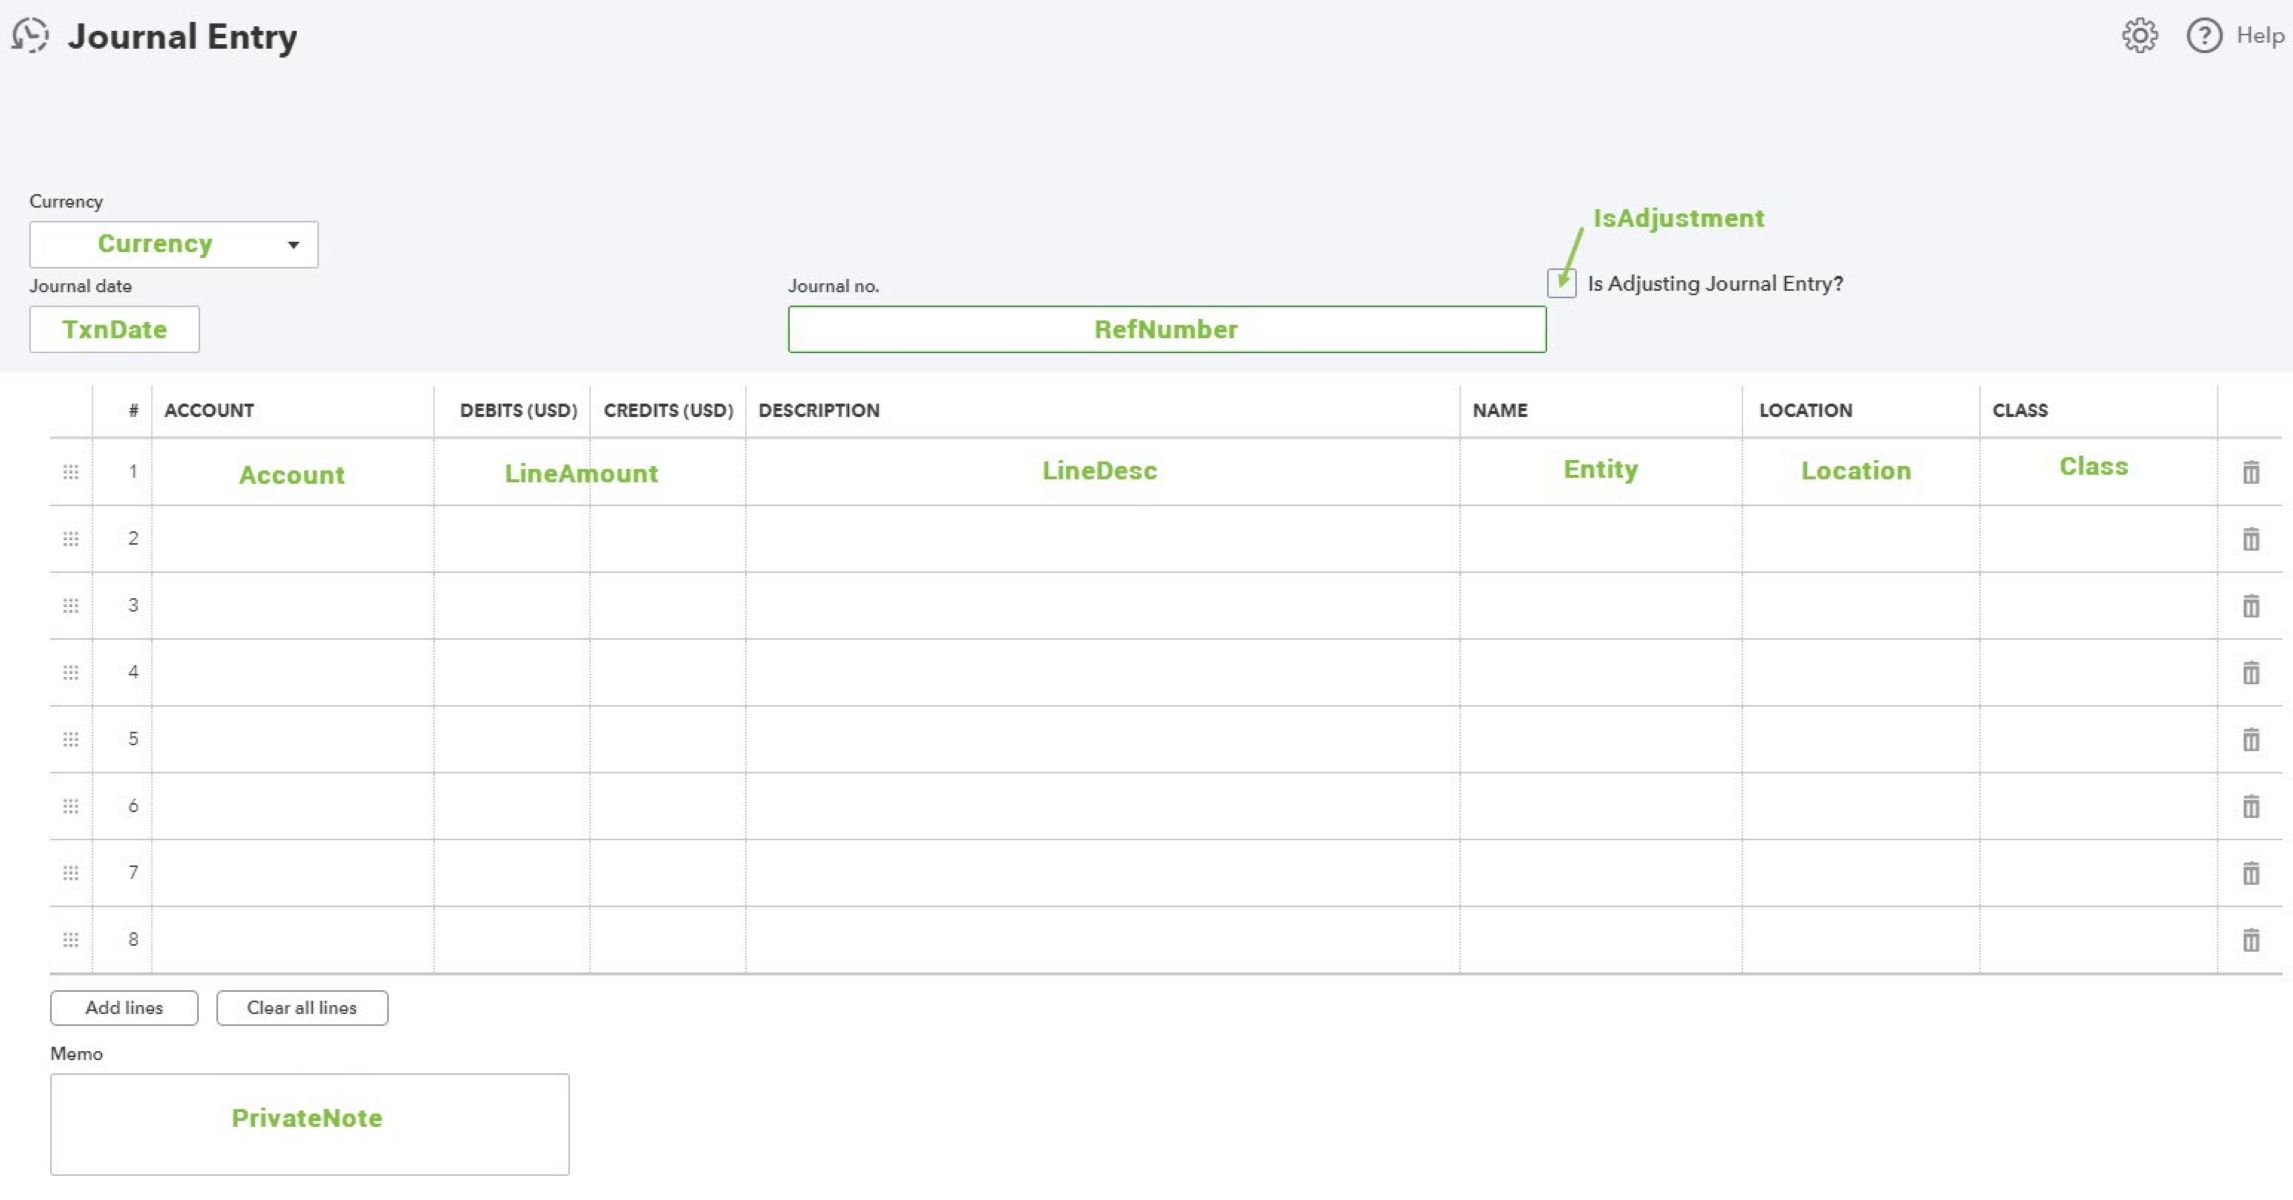
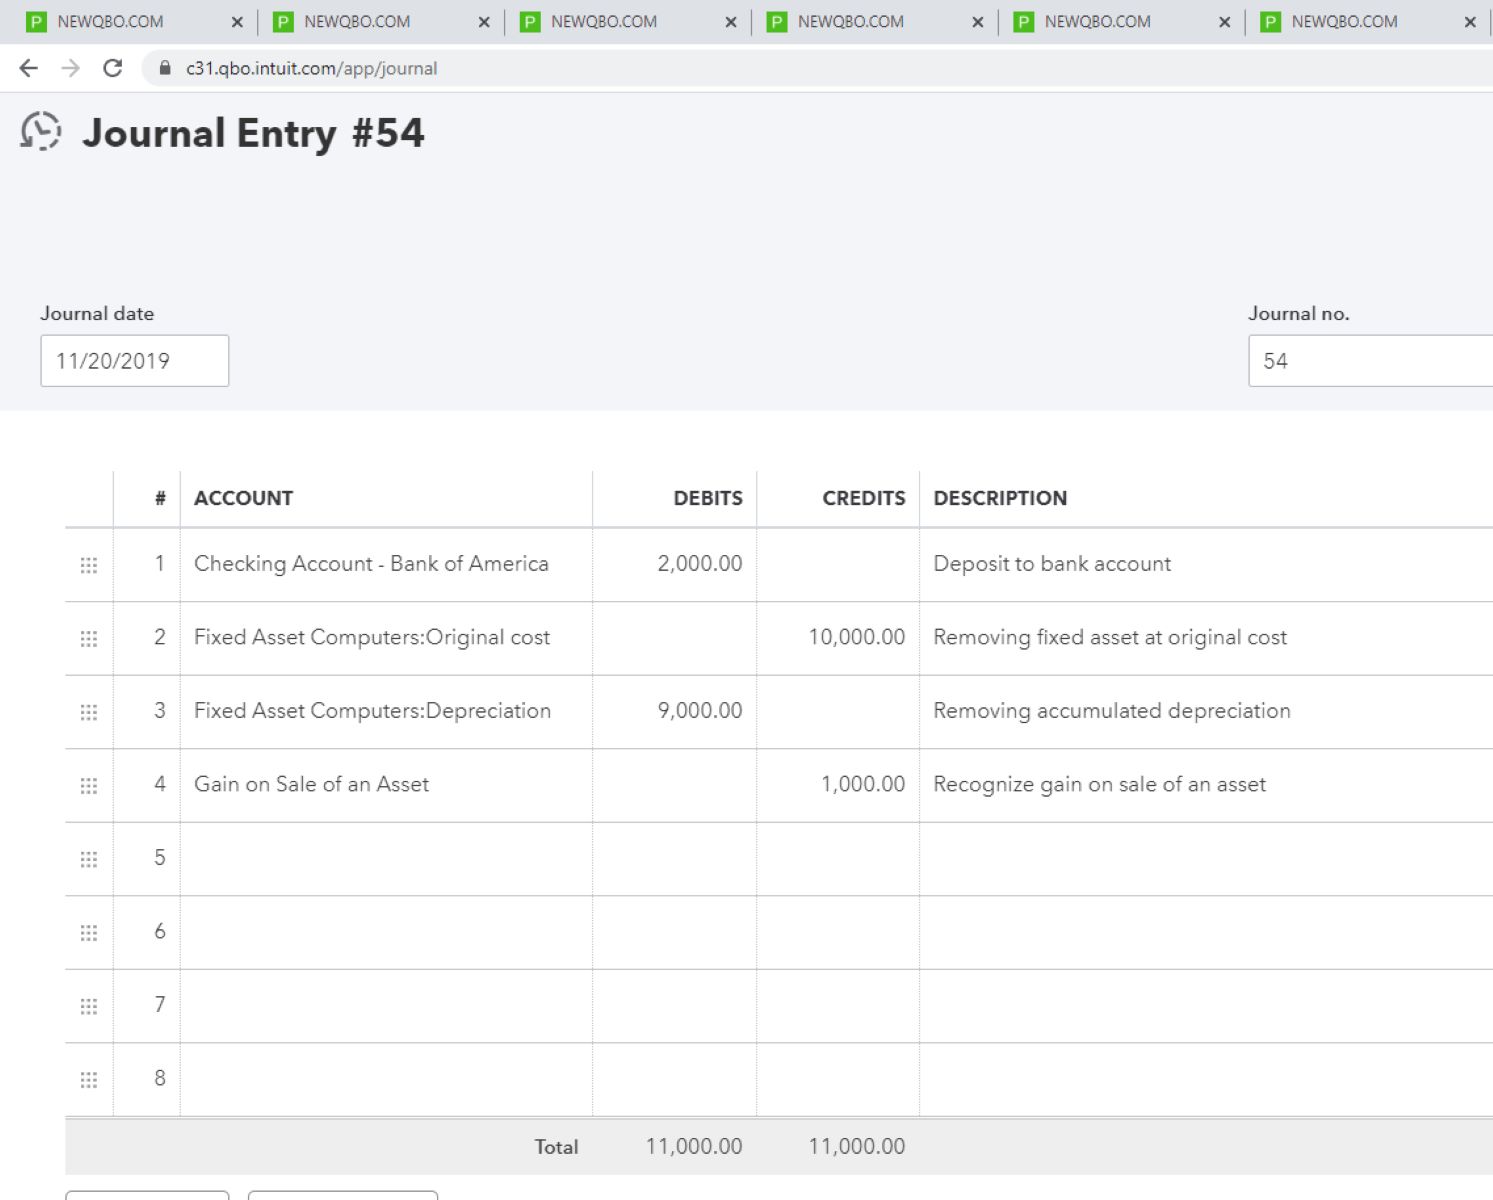
Once you’ve selected the Journal Entry option, a new window will open, presenting you with the blank journal entry form. This form will include fields where you can enter the necessary information for your transaction.
At the top of the journal entry form, you’ll find fields for the entry number, date, and memo. The entry number field is automatically filled in by QuickBooks Online, but you can manually edit it if needed. The date field is where you’ll enter the date of the journal entry, which should correspond to the date of the transaction.
The memo field allows you to provide a brief description or note about the journal entry. This can be helpful for future reference or if you need to explain the purpose of the entry.
Below the header section, you’ll find two columns: “Accounts” and “Amounts”. In the “Accounts” column, you’ll need to select the appropriate accounts from the Chart of Accounts that are relevant to your transaction. You can start typing the account names to quickly locate and select them.
Once you’ve selected the accounts, enter the respective debit or credit amounts in the “Amounts” column. A debit amount represents an increase in an asset account or a decrease in a liability or equity account, while a credit amount represents a decrease in an asset account or an increase in a liability or equity account.
If you need to add more lines to the journal entry form, simply click on the “+” button located at the right-hand side of the last line.
Now that you’ve chosen the journal entry form and understand its components, it’s time to move on to step four: entering the transaction details.
Step 4: Enter Transaction Details
Entering transaction details is a crucial step when creating a journal entry in QuickBooks Online. This is where you’ll provide specific information about the transaction, including the accounts involved, amounts, and any additional details that are relevant.
On the journal entry form, you’ll see multiple rows with columns for accounts and amounts. Let’s break down the process of entering transaction details:
- Choose the accounts: In the “Accounts” column of each row, select the appropriate accounts from the Chart of Accounts that are relevant to your transaction. Start typing the account name to quickly locate and select it. Remember to select accounts that correspond to the debit and credit side of the transaction.
- Enter amounts: In the “Amounts” column, enter the respective debit or credit amounts for each account. Ensure that the total debits and credits are equal, as journal entries must balance. QuickBooks Online will automatically calculate and display the total at the bottom of the journal entry form.
- Add additional details: If you need to provide additional details or explanations for the journal entry, you can do so in the “Memo” column. This can be helpful for future reference or for providing context to others who may review the entry.
- Attach documents: QuickBooks Online allows you to attach supporting documents to your journal entry. If you have any relevant documents, such as receipts or invoices, click on the paperclip icon in the “Attachments” column and follow the prompts to upload the files.
Remember to carefully review the entered transaction details to ensure accuracy. Double-check the account selections, amounts, and any additional information provided. It’s a good practice to have another set of eyes review the journal entry before saving it to avoid any potential errors.
Once you’ve entered all the transaction details and confirmed their accuracy, it’s time to move on to the final step: saving the journal entry.
Step 5: Save the Journal Entry
After entering and reviewing the transaction details in the journal entry form in QuickBooks Online, the final step is to save the journal entry. Saving the entry ensures that it’s recorded in your company’s financial records and can be easily accessed and referenced in the future.
Before saving the journal entry, it’s important to review the information one last time to ensure its accuracy. Check that the accounts, amounts, and any additional details provided are correct. If any changes are needed, make the necessary adjustments before proceeding.
To save the journal entry, click on the green “Save” button located at the bottom of the journal entry form. QuickBooks Online will then process and save the entry in your company’s books. You’ll receive a confirmation message indicating that the entry has been successfully saved.
Once saved, the journal entry will be recorded in the general ledger and will impact the account balances accordingly. You can view and access the journal entry at any time by going back to the Chart of Accounts and locating the respective entry.
It’s important to note that once a journal entry is saved, it can’t be deleted or edited. However, if you need to make changes or corrections to a previously saved entry, you can create a new entry to reverse or adjust the transaction.
Remember to keep a record of the saved journal entry for your own records and for any future audits or financial reporting requirements. It’s a good practice to maintain organized documentation for all your journal entries to ensure proper bookkeeping and compliance.
Congratulations! You have successfully entered and saved a journal entry in QuickBooks Online. By following these steps, you can ensure accurate and efficient record-keeping for your business’s financial transactions.
Conclusion
In this guide, you have learned how to enter a journal entry in QuickBooks Online, a vital process for maintaining accurate financial records for your business. By following the step-by-step instructions, you can effectively record transactions that don’t fit into your day-to-day operations within the platform.
We started by selecting the company for which the journal entry needs to be entered. Then, we accessed the Chart of Accounts to ensure we have the necessary account information for the entry. After that, we chose the journal entry form and entered the transaction details, carefully selecting the appropriate accounts and ensuring the debits and credits balance. Lastly, we saved the journal entry, ensuring that it is properly recorded in the company’s financial records.
Remember, journal entries should be approached with caution and used appropriately. It’s important to consult with your accountant or bookkeeper for guidance, especially if you are unsure about when and how to use journal entries in QuickBooks Online.
By mastering the process of entering journal entries in QuickBooks Online, you can maintain accurate financial records, make informed business decisions, and ensure compliance with accounting standards. Regularly reviewing and reconciling your journal entries will also help identify any discrepancies or potential errors, allowing you to take corrective action in a timely manner.
Continue to leverage the power of QuickBooks Online to streamline your bookkeeping processes and keep your business finances on track. With a clear understanding of how to enter journal entries, you can confidently manage and maintain your company’s financial health.
Now that you have a solid foundation in entering journal entries in QuickBooks Online, put your knowledge into practice and elevate your bookkeeping game!