Introduction
QuickBooks Online is a popular and user-friendly accounting software that offers a wide range of features to help businesses streamline their financial management processes. One of the key functions of QuickBooks Online is the ability to create journal entries, which are used to record various financial transactions. However, there may be instances where you need to delete a journal entry due to errors or changes in your financial records.
Deleting journal entries in QuickBooks Online is a straightforward process, but it’s important to proceed with caution. Before deleting any journal entry, it’s crucial to review and verify the information to ensure accuracy and avoid any unintended consequences. In this article, we will guide you through the steps of deleting journal entries in QuickBooks Online, ensuring that you can easily maintain the integrity of your financial records.
By following the steps outlined in this guide, you’ll be able to confidently delete journal entries in QuickBooks Online, whether it’s a single entry or multiple entries. With the ability to eliminate errors and outdated records, you can keep your financial statements accurate and up-to-date, providing you with a clear and reliable picture of your business’s financial health.
So, if you’re ready to learn how to delete journal entries in QuickBooks Online, let’s dive into the step-by-step process. Remember, it’s always recommended to create backups of your data before making any significant changes to your financial records. This way, you can restore your data if needed and ensure the security of your financial information.
Step 1: Access the Journal Entry List
Before you can delete a journal entry in QuickBooks Online, you must first access the Journal Entry list. Here’s how to do it:
1. Log in to your QuickBooks Online account using your credentials.
2. From the main dashboard, navigate to the left-hand menu and click on “Accounting” or “Invoices” (depending on your version of QuickBooks).
3. In the drop-down menu that appears, click on “Chart of Accounts.”
4. You will now see a list of your accounts. Locate and click on the account that corresponds to the journal entry you want to delete.
5. After opening the account, look for the “Journal Entries” tab at the top of the page and click on it. This will take you to the Journal Entry list.
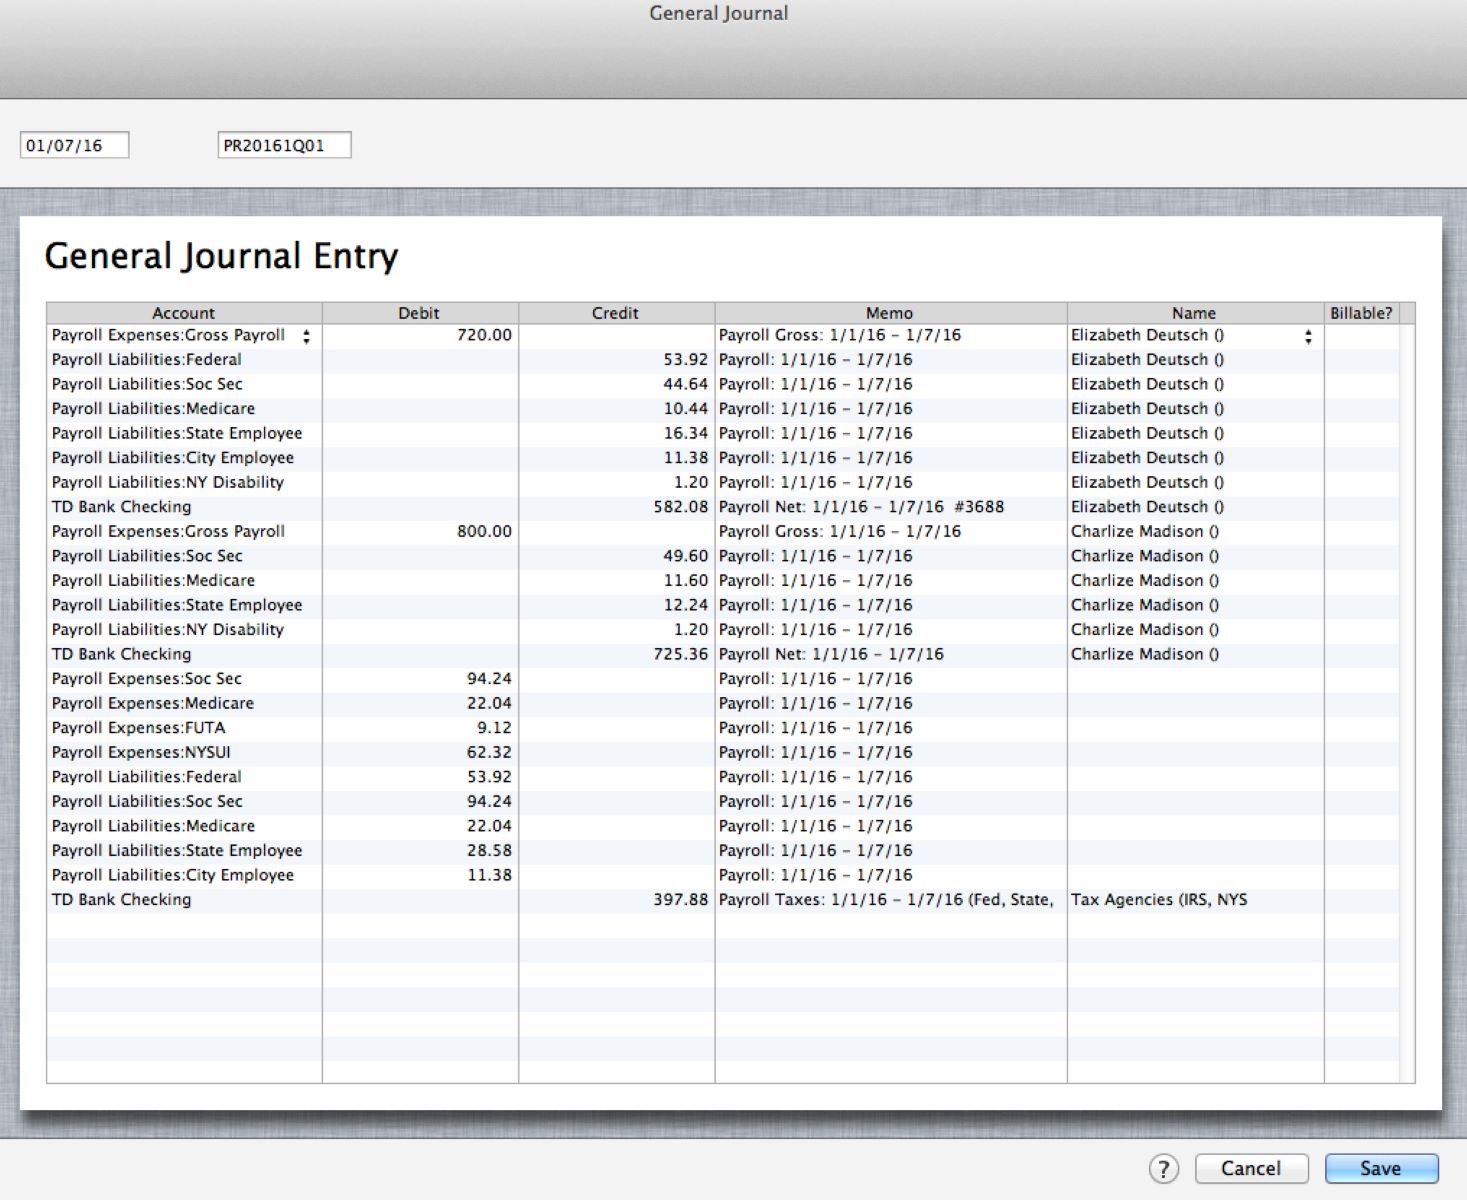
6. Once you are on the Journal Entry list page, you will see a table displaying all the journal entries associated with the selected account. The entries are listed in reverse chronological order, with the most recent entry at the top.
Accessing the Journal Entry list allows you to view and manage all the journal entries associated with a specific account. This is where you can easily identify the entry you want to delete and proceed with the deletion process. It’s important to double-check the entry before deleting it to ensure that you are removing the correct one.
Step 2: Select and Review the Journal Entry to Delete
Once you have accessed the Journal Entry list in QuickBooks Online, it’s time to locate the specific journal entry you want to delete. Here’s how to select and review the entry:
1. Scan through the Journal Entry list to find the entry you wish to delete. You can use the search bar or navigate through the pages if you have multiple entries.
2. Carefully review the details of the journal entry. Take note of the date, description, and accounts involved to ensure you are deleting the correct entry. It’s essential to verify the accuracy of the information and confirm that it is no longer needed in your financial records.
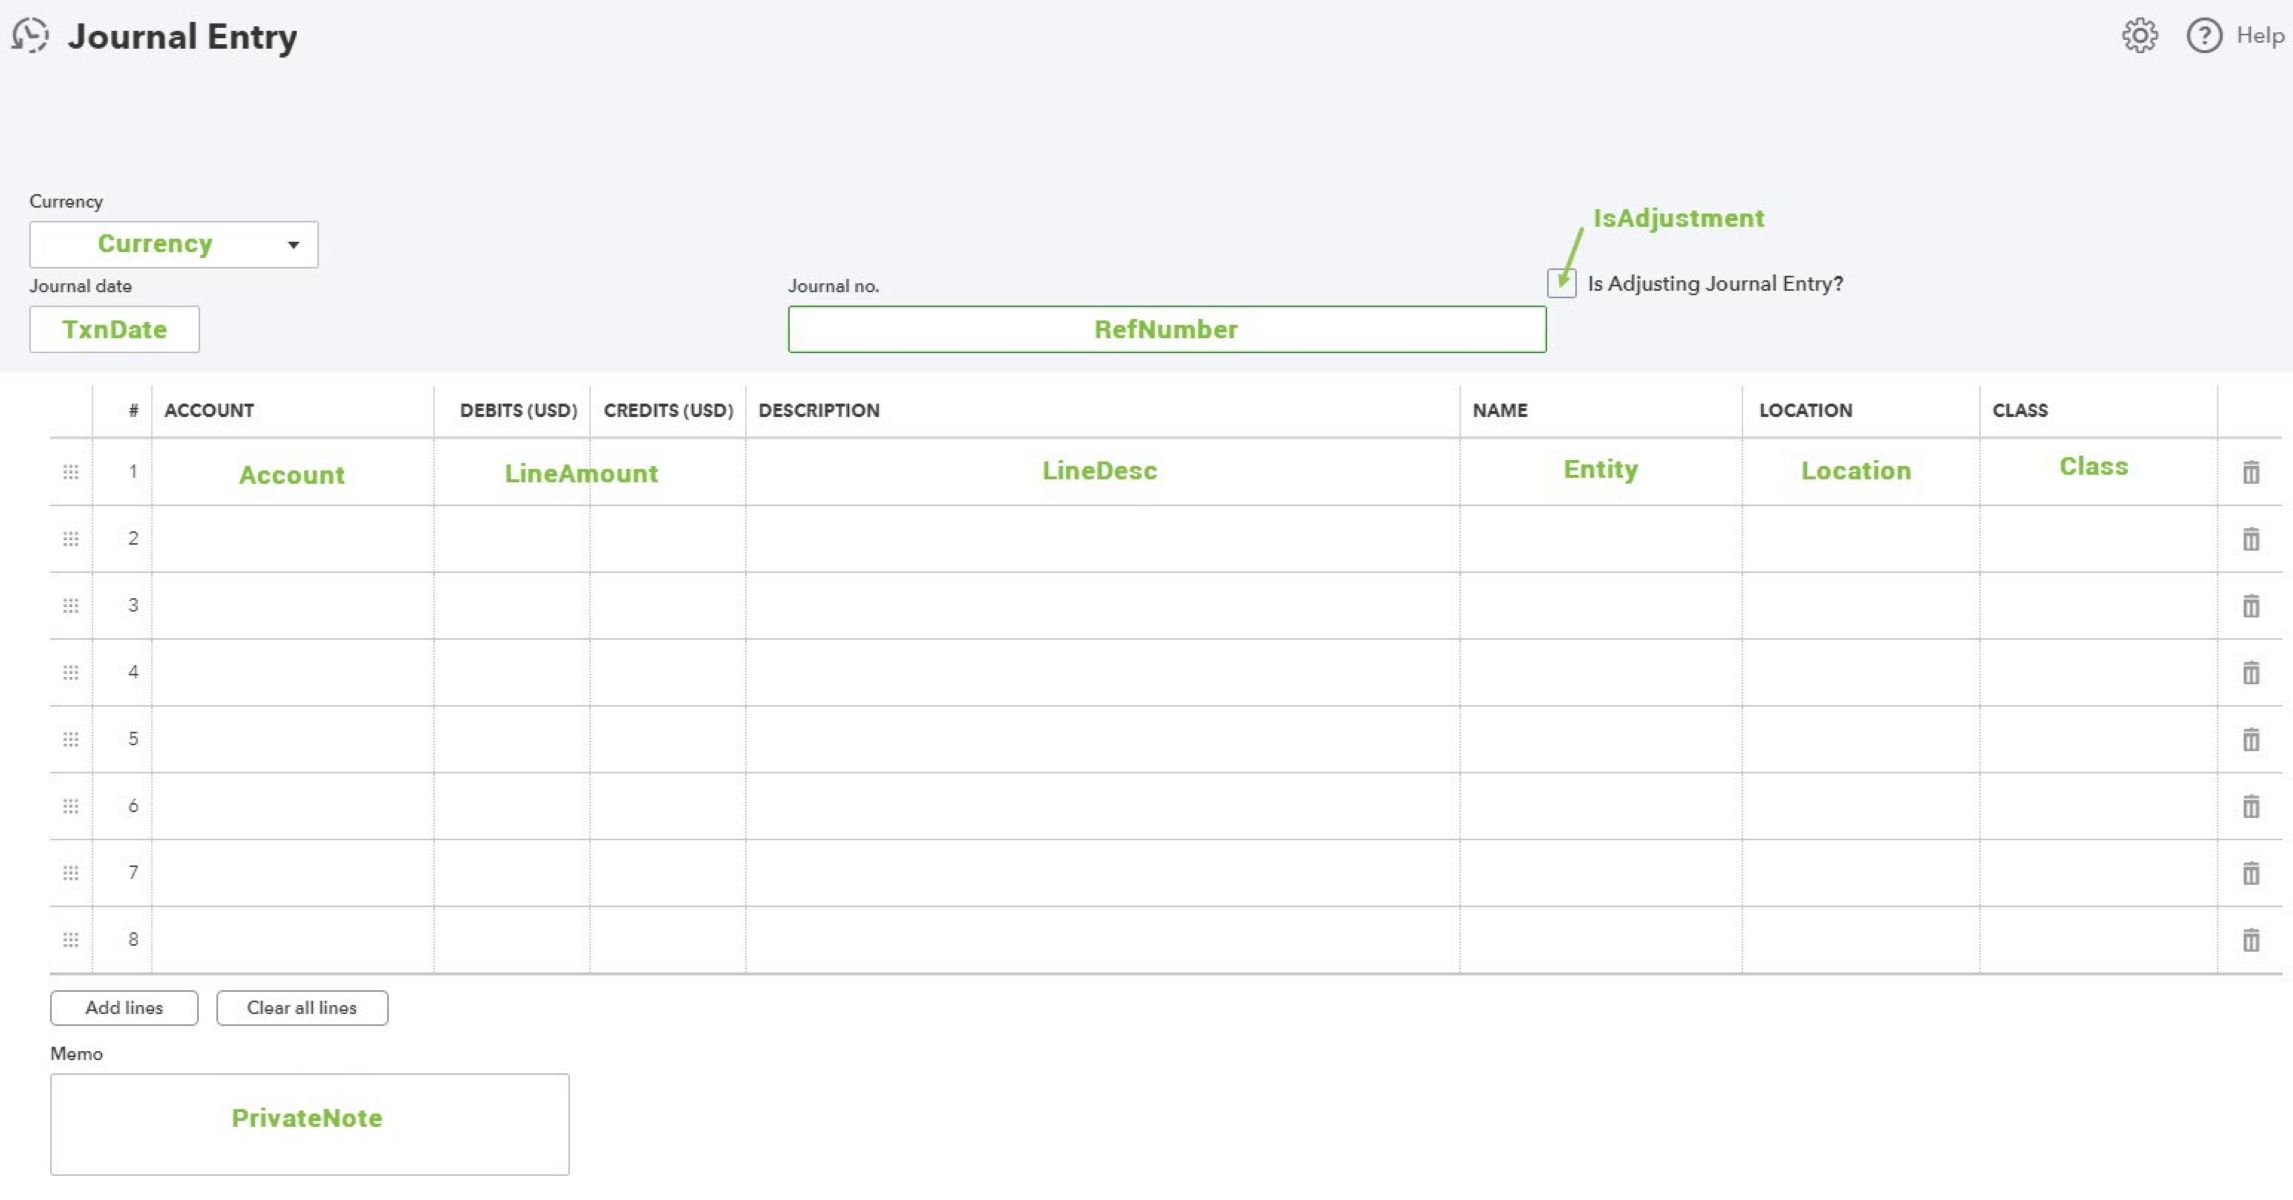
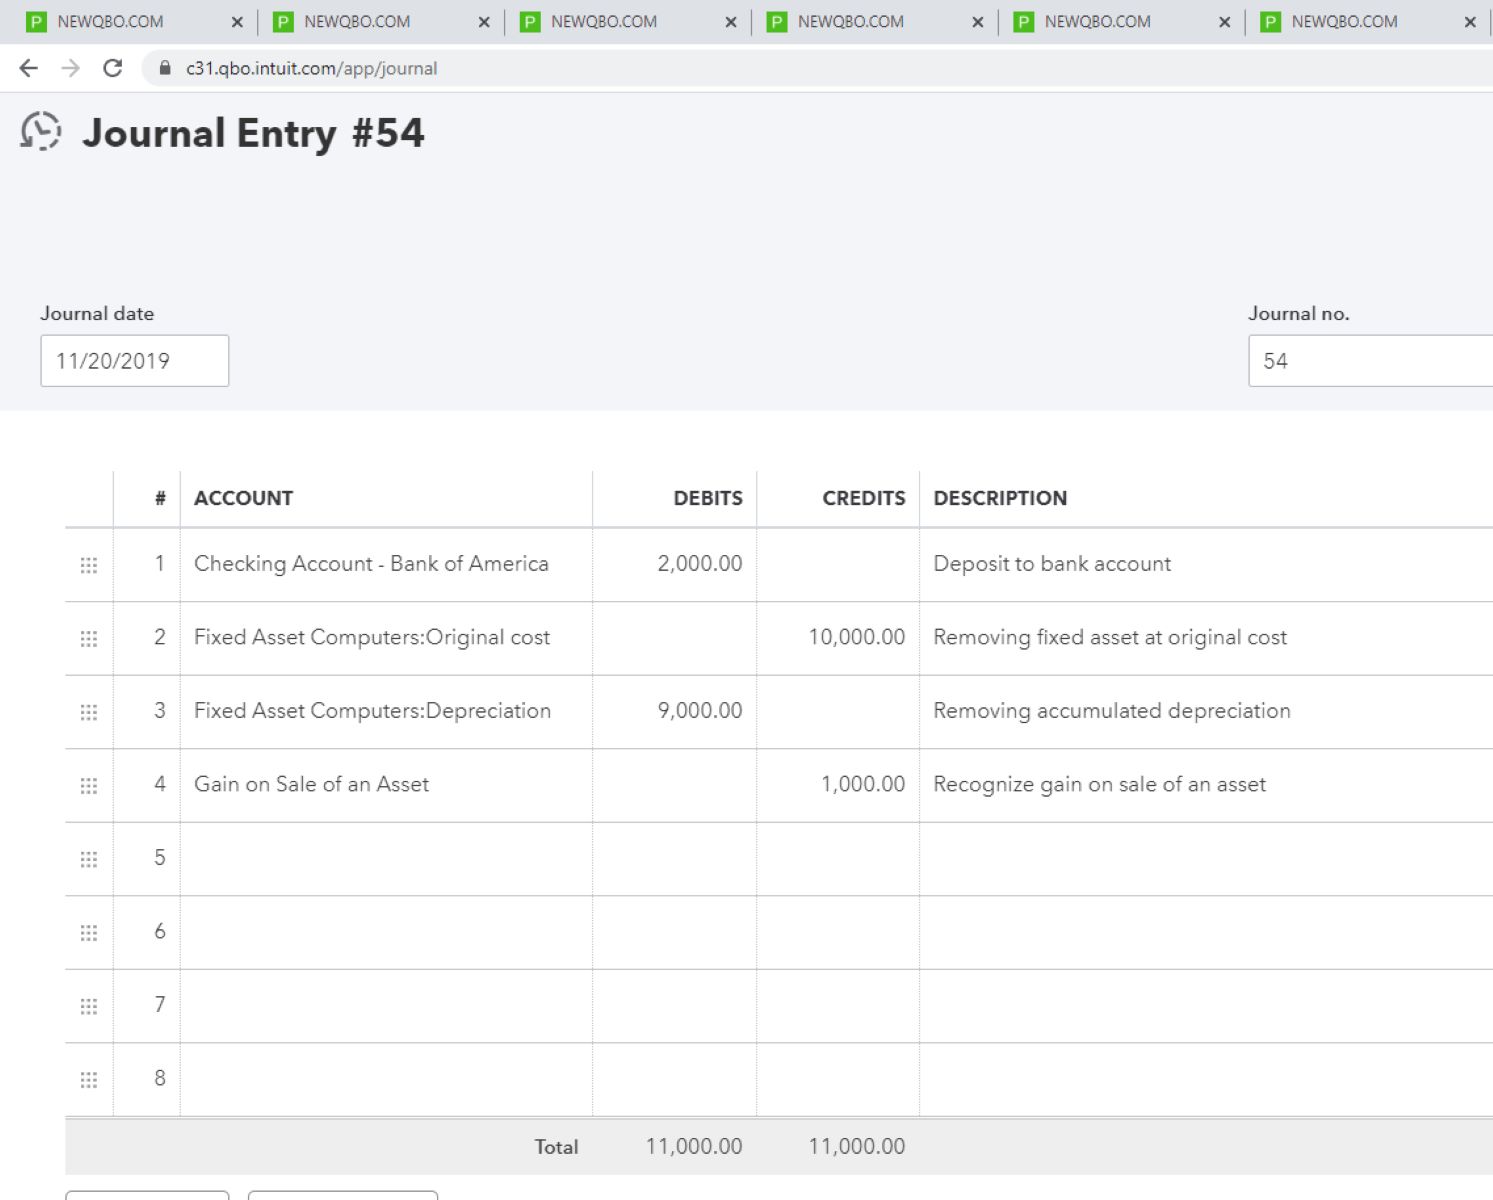
3. If you need to view the journal entry in more detail, click on the entry’s transaction number or reference. This will open a new window with the full details of the entry, including the debits, credits, and any attached documents or notes.
4. Compare the information within the journal entry with other relevant documents or records to ensure its accuracy. This step is particularly important if the entry has been reconciled or affects other financial reports.
By carefully reviewing the journal entry, you can identify any discrepancies or potential issues that may occur if the entry is deleted. This includes understanding the impact on account balances, financial statements, and any related transactions. It’s crucial to confirm that deleting the entry will not cause any disruptions or inaccuracies in your financial records.
If you are confident that the journal entry can be safely deleted and it is no longer needed, you can proceed to the next step to remove it from your QuickBooks Online account. However, it’s essential to exercise caution and consult with a financial professional if you have any doubts or concerns about deleting a particular entry.
Step 3: Delete the Journal Entry
Now that you have selected and reviewed the journal entry you want to delete, it’s time to remove it from your QuickBooks Online account. Follow these steps to delete the entry:
1. On the Journal Entry list page, locate the specific entry you wish to delete.
2. Look for the “More” or “Edit” button associated with the entry and click on it. This will open a drop-down menu with additional options.
3. From the drop-down menu, select “Delete.” You may be prompted to confirm the deletion or provide a reason for deleting the entry. Follow the on-screen instructions accordingly.
4. Once you have confirmed the deletion, QuickBooks Online will remove the journal entry from your account. The entry will no longer appear in your Journal Entry list.
5. It is important to note that deleting a journal entry will also impact any accounts or reports affected by the entry. Make sure to review the account balances and relevant financial reports to ensure everything reflects the correct information after deleting the entry.
Deleting the journal entry in QuickBooks Online permanently removes it from your accounting records. However, it’s crucial to understand that this action cannot be undone. Therefore, it’s always recommended to create a backup of your data before deleting any significant entries. By doing so, you can safeguard your financial information and restore it if necessary.
Remember, exercise care when deleting journal entries, as they can have far-reaching consequences on your financial records. If you have any doubts or concerns about deleting a particular entry or need assistance in analyzing the impact of the deletion, it’s advisable to consult with a financial advisor or accountant.
Step 4: Confirm the Deletion
After deleting a journal entry in QuickBooks Online, it’s essential to confirm that the deletion was successful and that the entry has been permanently removed from your account. Here’s how you can verify the deletion:
1. Return to the Journal Entry list page in QuickBooks Online.
2. Use the search bar or navigate through the pages to locate the deleted journal entry.
3. Confirm that the entry is no longer visible in the list. If you can no longer find the entry, it indicates that the deletion was successful.
4. To double-check that the entry has been removed, you can also review the account balances and financial reports affected by the entry. Check if the balances and reports reflect the absence of the deleted entry.
5. It’s a good practice to reconcile your accounts and run necessary reports to ensure that your financial records accurately reflect the deleted entry.
By confirming the deletion of the journal entry, you can ensure that it no longer affects your financial statements and that your records remain accurate. This step is crucial to maintain the integrity of your financial data and ensure that your QuickBooks Online account reflects the most up-to-date information.
If you encounter any issues during the confirmation process or notice any unexpected changes in your financial records, it’s advisable to reach out to QuickBooks Online support or consult with a financial professional. They can provide guidance and assistance in resolving any concerns or discrepancies that may arise from the deletion of the entry.
Remember, the deletion process is irreversible, so it’s important to exercise caution and carefully review the entry before confirming its removal. By following the steps outlined in this guide, you can confidently delete journal entries in QuickBooks Online, helping you maintain accurate and reliable financial records.
Conclusion
Deleting journal entries in QuickBooks Online is a straightforward process that allows you to remove unnecessary or erroneous transactions from your financial records. By following the steps outlined in this guide, you can confidently delete journal entries and maintain accurate and reliable financial statements.
Remember, before deleting any journal entry, it’s crucial to access the Journal Entry list, select and review the entry, confirm its accuracy, and understand the potential impacts of the deletion on your accounts and financial reports. Taking these precautions will help you avoid any unintended consequences and ensure the integrity of your financial data.
Throughout the deletion process, it’s advisable to create backups of your data to safeguard your information and allow for restoration if needed. Additionally, consulting with a financial professional or accountant can provide peace of mind and guidance when dealing with complex or sensitive entries.
By regularly reviewing and removing outdated or incorrect journal entries, you can keep your QuickBooks Online account clean and maintain accurate financial records. This will improve the reliability of your reports and provide you with a clearer understanding of your business’s financial health.
As you become more familiar with deleting journal entries in QuickBooks Online, it’s important to stay organized and document any changes made to your financial records. This will aid in keeping comprehensive audit trails and enable you to track the progress of your financial management.
In conclusion, deleting journal entries in QuickBooks Online is a valuable skill that allows you to maintain accurate financial records. By following the steps outlined in this guide and exercising caution throughout the process, you can confidently delete journal entries and ensure the integrity of your financial statements.