Overview
Are you having trouble finding journal entries in QuickBooks? As a business owner or accountant, tracking your financial transactions through journal entries is essential for accurate record-keeping. However, with the vast amount of data stored in QuickBooks, it can sometimes be challenging to locate specific journal entries.
In this article, we will provide you with various methods to help you efficiently find journal entries in QuickBooks. Whether you’re looking to review past entries, make adjustments, or reconcile accounts, these methods will streamline your workflow.
QuickBooks, a widely used accounting software, offers several powerful tools and features to help you navigate through your financial data effectively. By familiarizing yourself with these methods, you’ll be able to locate journal entries quickly and easily.
We understand the importance of finding accurate and up-to-date information in QuickBooks for making informed financial decisions. Therefore, read on to discover efficient ways to track down your journal entries and optimize your QuickBooks experience.
Introduction
QuickBooks is a powerful accounting software that helps businesses manage their finances efficiently. One essential aspect of maintaining accurate financial records is tracking journal entries. Journal entries record the day-to-day transactions of a business, such as sales, expenses, and other financial activities.
However, locating specific journal entries can be a daunting task, especially when dealing with a large volume of data. The search for journal entries becomes crucial when you need to review or edit past transactions, reconcile accounts, or generate reports.
In this article, we will explore various methods to help you find journal entries in QuickBooks. These methods will save you time and effort by providing efficient ways to navigate through your financial data and access the specific journal entries you need.
Whether you’re a business owner managing your own books or an accountant working with multiple clients, understanding how to locate journal entries in QuickBooks is essential. By mastering these techniques, you’ll be able to streamline your financial management and make informed decisions based on accurate data.
Our goal is to empower you with the knowledge and skills to efficiently search for journal entries in QuickBooks, simplifying your accounting and improving your overall productivity. From using the search bar to generating reports and accessing the account register, we will cover various methods that cater to different needs and preferences.
So, let’s dive in and discover the most effective ways to find journal entries in QuickBooks. With these techniques at your disposal, you’ll be able to navigate through your financial data with ease and confidence.
Understanding Journal Entries in QuickBooks
Before we delve into the methods of finding journal entries in QuickBooks, it’s important to understand what journal entries are and how they function within the software.
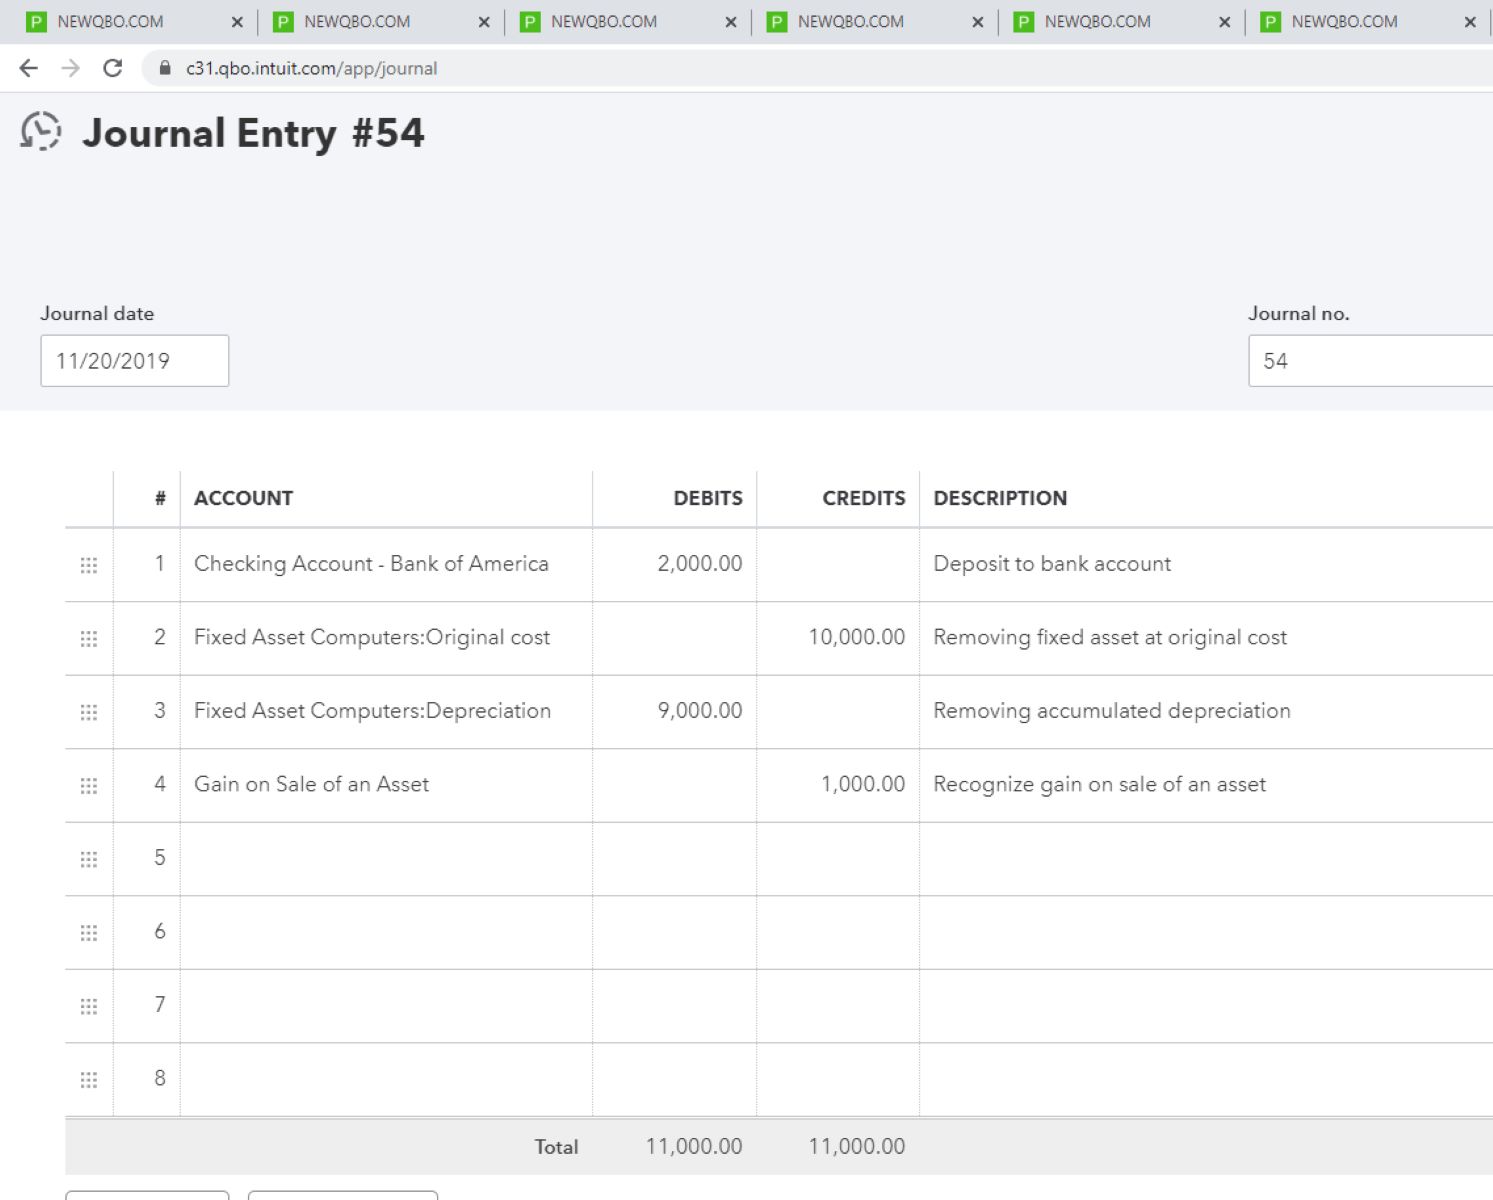
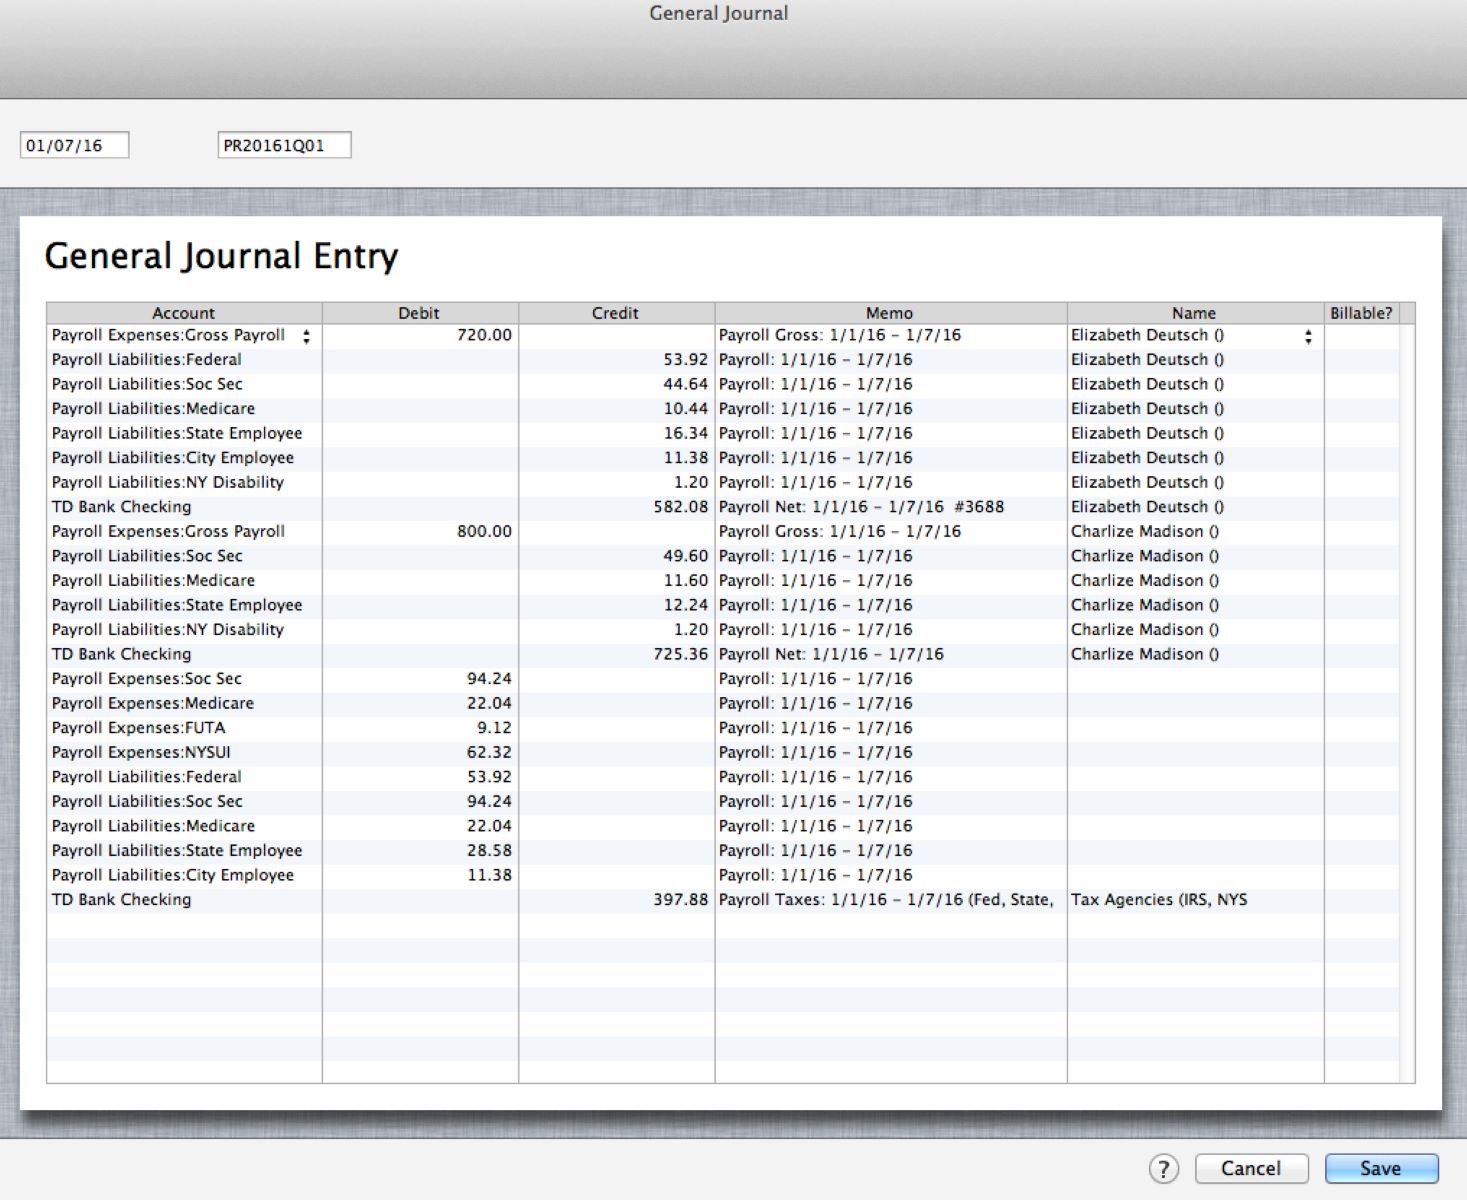
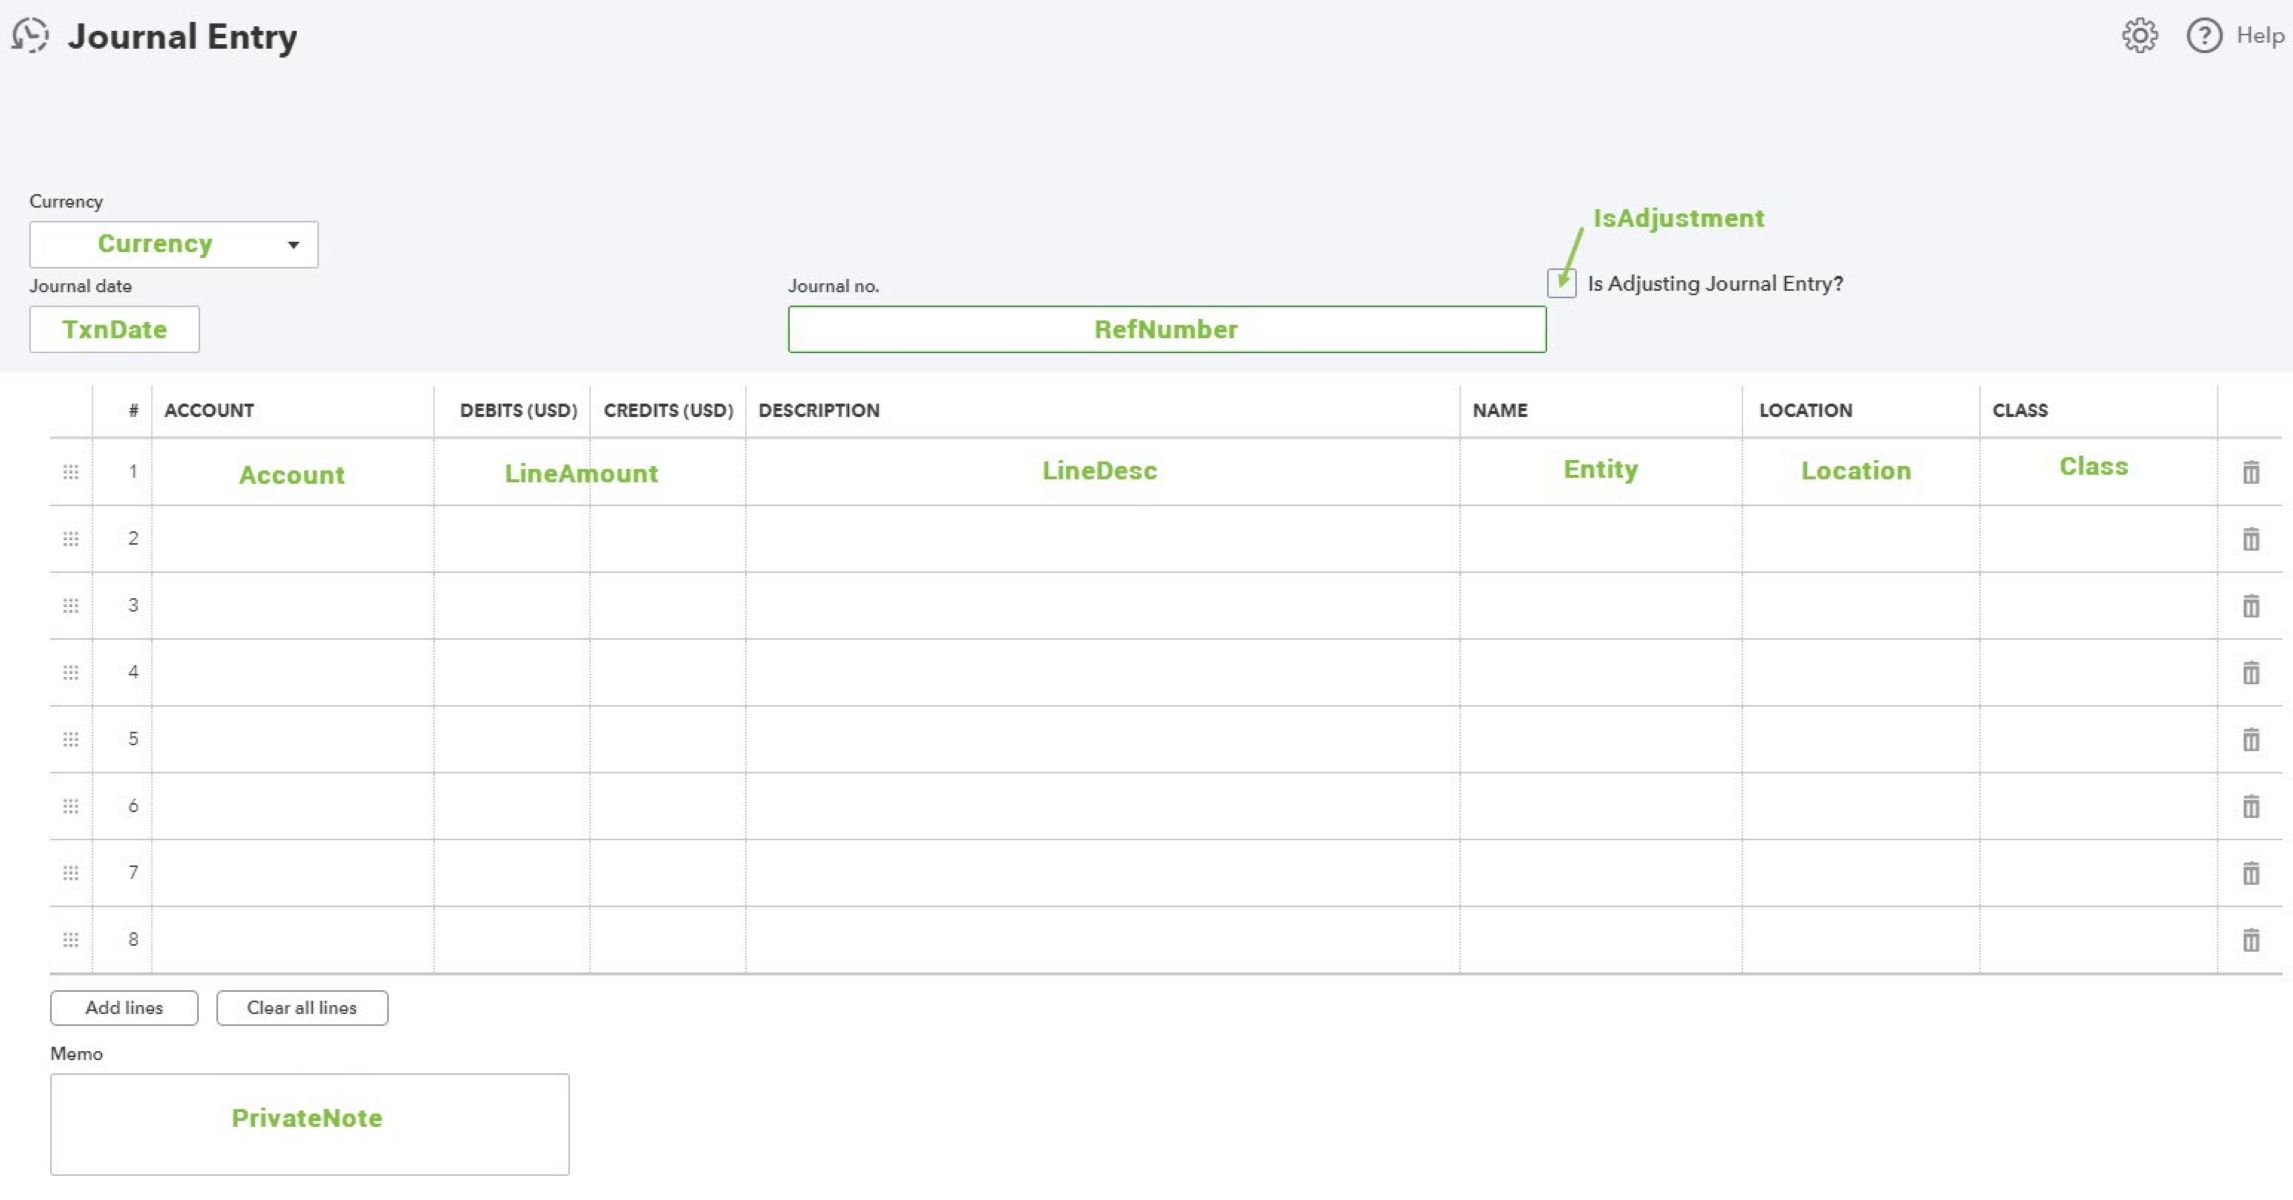
In accounting, a journal entry is a record of a financial transaction that affects the balances of two or more accounts. It includes details such as the date of the transaction, the accounts affected, and the corresponding debit and credit amounts. Journal entries are used to adjust account balances, record accruals and deferrals, and correct errors.
In QuickBooks, journal entries can be created manually or generated automatically through various transactions such as invoices, bills, or payments. Manual journal entries are typically used when making adjustments or correcting errors that are not associated with specific transactions.
QuickBooks uses a double-entry bookkeeping system, which means that for every debit entry, there must be a corresponding credit entry of the same amount. This system ensures that the accounting equation (Assets = Liabilities + Equity) remains balanced.
Understanding the basics of journal entries in QuickBooks is crucial for effective financial management. It allows you to maintain accurate records, make necessary adjustments, and produce reliable financial reports.
Now that we have a clear understanding of journal entries in QuickBooks, let’s explore various methods to search for and locate these entries within the software. By mastering these methods, you’ll be able to efficiently manage your financial transactions and maintain accurate records in QuickBooks.
Searching for Journal Entries in QuickBooks
Searching for journal entries in QuickBooks doesn’t have to be a cumbersome process. With the right tools and techniques, you can quickly locate specific entries and access the information you need. Let’s explore five methods that will help you efficiently search for and find journal entries in QuickBooks.
Method 1: Using the Search Bar
The search bar in QuickBooks is a powerful tool for locating journal entries. Simply navigate to the search bar at the top right corner of the QuickBooks window and enter relevant keywords or transaction details. QuickBooks will display a list of results matching your search criteria, making it easy to find the desired journal entry.
Method 2: Using the Find Window
The Find window in QuickBooks provides another way to search for journal entries. To access it, go to the Edit menu and select Find. In the Find window, you can specify the criteria for your search, such as date range, account, or transaction type. QuickBooks will narrow down the results based on your specifications, helping you locate the desired journal entry.
Method 3: Using the Reports Feature
QuickBooks offers a wide range of reports that can assist you in finding journal entries. The General Ledger report, for example, provides a comprehensive overview of all transactions, including journal entries. By customizing the report settings to include the desired date range and accounts, you can extract specific journal entries quickly.
Method 4: Using the Account Register
The Account Register feature in QuickBooks allows you to view and search for journal entries within specific accounts. Simply select the desired account from the Chart of Accounts, and QuickBooks will display a register with all the transactions, including journal entries, associated with that account. This method is particularly useful when you’re looking for entries within a specific account.
Method 5: Using the Trial Balance Report
The Trial Balance report in QuickBooks provides a summary of all accounts and their balances, including journal entries. By running a Trial Balance report and customizing it to include the desired date range, you can easily identify and review specific journal entries. This method gives you a comprehensive view of your financial transactions and their impact on account balances.
By utilizing these five methods, you can efficiently search for and locate journal entries in QuickBooks. Whether you prefer using the search bar, the Find window, reports, the account register, or the Trial Balance report, these techniques will streamline your workflow and allow you to access the information you need with ease.
Method 1: Using the Search Bar
One of the easiest and quickest ways to find journal entries in QuickBooks is by using the search bar. The search bar is conveniently located at the top right corner of the QuickBooks window, making it easily accessible.
To search for a journal entry, simply click on the search bar and enter relevant keywords or transaction details. You can search by entering specific account names, words from the transaction description, or even the transaction amount. QuickBooks will display a list of results matching your search criteria.
Once the results appear, you can review the entries and click on the desired journal entry to view its details. The search results will provide you with the transaction date, account details, and other relevant information, enabling you to locate the specific journal entry you’re looking for.
The search bar in QuickBooks is incredibly powerful, as it not only searches for journal entries but also scans through other transactions, customer and vendor information, reports, and more. This flexibility allows you to quickly locate any desired entry, even if you don’t have specific details or account names.
By using the search bar effectively, you can save time and effort in finding specific journal entries. Whether you have a specific transaction in mind or need to locate multiple entries within a specific date range, the search bar simplifies the process and provides you with a streamlined way to access the desired information.
Remember to use relevant keywords when utilizing the search bar. Consider using account names, transaction types, transaction dates, customer or vendor names, or any specific details associated with the journal entry you’re searching for. This will help narrow down the search results, making it easier for you to find the exact entry you need.
The search bar is an invaluable tool in QuickBooks that can significantly streamline your workflow and improve your efficiency in locating journal entries. Whether you’re managing your own books or assisting clients as an accountant, mastering the search bar will enhance your ability to access vital financial information with ease.
Method 2: Using the Find Window
Another effective method for finding journal entries in QuickBooks is by using the Find window. This feature allows you to specify search criteria and filters to locate the desired journal entry.
To access the Find window, go to the Edit menu in QuickBooks and select Find. The Find window will appear, providing you with various options to customize your search.
In the Find window, you can specify search criteria such as the transaction date range, account name, transaction type, or even specific amounts. You can also choose to search for specific keywords or phrases within the transaction description.
Once you’ve set your search criteria, click the Find button to initiate the search. QuickBooks will then display a list of journal entries that match your specified criteria. You can review the entries and select the desired journal entry to view its details.
The Find window in QuickBooks is a powerful tool that allows you to narrow down your search and locate specific journal entries with precision. Whether you’re searching for entries within a specific time period, related to a particular account, or having specific transaction types, the Find window simplifies the process and saves you time.
By utilizing the Find window effectively, you can efficiently locate specific journal entries without the need to manually sift through a large volume of transactions. This method is particularly useful when you have specific search criteria and want to focus on finding entries that meet those criteria.
Remember to utilize the various options available in the Find window to refine your search. By specifying multiple criteria and using filters, you can narrow down the search results to only display the journal entries that are most relevant to your needs.
Overall, the Find window in QuickBooks provides a convenient and efficient way to search for journal entries. Whether you’re an accountant assisting clients or a business owner managing your own books, mastering this method will enable you to quickly access and review the specific financial transactions you require.
Method 3: Using the Reports Feature
The Reports feature in QuickBooks offers a comprehensive way to find journal entries by generating specialized reports. These reports provide an organized overview of your financial activities and can be customized to include the specific journal entries you’re looking for.
One useful report for locating journal entries is the General Ledger report. To access this report, go to the Reports menu, select Accountant & Taxes, and then choose General Ledger. This report provides a detailed summary of all transactions, including journal entries, in your QuickBooks company file.
When generating the General Ledger report, you can customize the settings to include the desired date range and accounts. This allows you to focus on specific periods or specific accounts where you suspect the journal entries may be located.
Once you have set the report parameters, QuickBooks will create the General Ledger report, displaying the journal entries that match your specified criteria. You can review the report to identify and access the specific journal entries you need.
Another useful report for finding journal entries is the Transaction Detail by Account report. This report provides a detailed breakdown of transactions by account, including journal entries. Similar to the General Ledger report, you can customize the report settings to include the relevant date range and accounts you want to focus on.
By utilizing these and other reports in QuickBooks, you can effectively search for and locate journal entries. Reports offer a structured and organized view of your financial data, allowing you to review and access specific journal entries with ease.
Additionally, reports can be exported to Excel or PDF formats, enabling you to save, print, or share the information as needed. This flexibility enhances your ability to work with the journal entries and share them with others, such as clients or colleagues.
Using the Reports feature in QuickBooks provides an efficient method for finding journal entries. By customizing and generating specialized reports like the General Ledger or Transaction Detail by Account, you can navigate through your financial data in a meaningful and organized manner.
Remember to tailor the report settings to your specific needs when using the Reports feature. By refining the date range and account selection, you can narrow down the results and focus only on the journal entries that are relevant to your search.
Overall, leveraging the power of reports in QuickBooks allows you to efficiently search for and locate journal entries, making it easier to manage your financial transactions and maintain accurate records.
Method 4: Using the Account Register
Another effective method for locating journal entries in QuickBooks is by utilizing the Account Register feature. The Account Register allows you to view and search for transactions, including journal entries, within a specific account.
To access the Account Register, go to the Chart of Accounts in QuickBooks and select the desired account. Once you open the account, you’ll see a register that displays all the transactions associated with that account, including journal entries.
Within the Account Register, you can use the search function to narrow down your results. Enter relevant keywords, transaction dates, or even specific amounts to search for the desired journal entry within that account.
When the search results appear, you can review the entries and select the specific journal entry you’re looking for to view its details. The Account Register provides a clear and organized view of the transactions within the selected account, making it easier to find and access the desired journal entry.
This method is particularly useful when you’re searching for journal entries within a specific account or when you have information about the account associated with the entry you’re trying to find.
Using the Account Register allows you to streamline your search process by focusing only on the transactions within a specific account, reducing the time spent searching through unrelated transactions. This method provides a targeted approach to finding journal entries, enhancing your efficiency in accessing the necessary financial information.
Remember to utilize keywords or specific details that are relevant to the journal entry you’re searching for when using the Account Register. This will help narrow down the search results and locate the exact entry you need.
Overall, the Account Register feature in QuickBooks provides a convenient and efficient way to search for and locate journal entries within specific accounts. Whether you’re a business owner managing your own books or an accountant working with multiple clients, mastering this method will help you efficiently navigate through your financial data.
Method 5: Using the Trial Balance Report
A valuable tool for finding journal entries in QuickBooks is the Trial Balance report. This report provides a summary of all accounts and their balances, including journal entries. By utilizing the Trial Balance report, you can efficiently locate and review specific journal entries within your QuickBooks company file.
To generate the Trial Balance report, go to the Reports menu in QuickBooks and select Accountant & Taxes. Choose the Trial Balance report from the available options. The Trial Balance report will display a list of all accounts and their balances, including the impact of journal entries.
Customizing the Trial Balance report allows you to focus on specific accounts or date ranges. By selecting the desired accounts and specifying the appropriate date range, you can narrow down the report results to include only the journal entries that you’re interested in.
Once you have set the report parameters, QuickBooks will generate the Trial Balance report, displaying the accounts and their balances, along with the corresponding journal entries. This report provides a comprehensive view of your financial transactions and allows you to review specific journal entries in the context of your overall account balances.
By reviewing the Trial Balance report, you can easily identify any discrepancies, adjust balances, or locate specific journal entries. This report is particularly helpful when you need to review the impact of journal entries on specific accounts or when you’re searching for entries within a specific date range.
Remember to utilize the customization options available when generating the Trial Balance report. By selecting the relevant accounts and narrowing down the date range, you can focus on the specific journal entries you’re searching for, making it easier to locate and review the desired information.
In summary, the Trial Balance report in QuickBooks is a powerful tool for finding and reviewing journal entries. By customizing the report parameters, you can generate a comprehensive summary of accounts and their balances, along with the specific journal entries that impact those balances.
Mastering the use of the Trial Balance report will enhance your ability to locate and review journal entries, enabling you to maintain accurate financial records and make informed decisions based on your account balances and transaction history.
Tips for Efficiently Finding Journal Entries in QuickBooks
Locating specific journal entries in QuickBooks can sometimes be a time-consuming task, especially when dealing with a large volume of data. However, by following these tips, you can streamline the process and efficiently find the journal entries you need:
1. Organize your accounts:
Ensure that your accounts in QuickBooks are properly categorized and organized. This will make it easier to locate specific journal entries by narrowing down your search to specific accounts.
2. Utilize accurate transaction descriptions:
When entering transactions in QuickBooks, provide clear and descriptive details. This will help you later when searching for specific journal entries using keywords or phrases that match the transaction description.
3. Keep track of transaction dates:
Maintain a record of key transaction dates outside of QuickBooks. This will help you easily narrow down your search to specific time periods when looking for journal entries.
4. Regularly reconcile your accounts:
Perform regular account reconciliations to ensure that your balances are accurate. This will help you identify and correct any discrepancies, making it easier to locate specific journal entries during the reconciliation process.
5. Take advantage of QuickBooks’ search and filter tools:
Make full use of QuickBooks’ search bar, Find window, reports, Account Register, and Trial Balance report features. These tools provide various options to help you search, filter, and narrow down your results to find specific journal entries efficiently.
6. Use advanced search options:
Explore advanced search options within QuickBooks to refine your search further. This may include customizing the search by transaction type, amount range, or other specific criteria that are relevant to the journal entry you’re looking for.
7. Maintain detailed documentation:
Keep comprehensive records externally to QuickBooks. This can include maintaining separate spreadsheets or files that provide additional details or explanations for specific journal entries. This documentation can be invaluable when searching for specific entries in the future.
By implementing these tips, you can efficiently find journal entries in QuickBooks, saving time and effort. Remember to stay organized, utilize accurate descriptions, reconcile accounts regularly, and leverage the search and filter tools provided by QuickBooks. With these practices in place, you’ll be able to access specific journal entries quickly and effectively.
Conclusion
Locating journal entries in QuickBooks is essential for accurate financial management. Whether you’re a business owner managing your own books or an accountant working with multiple clients, efficiently finding journal entries is crucial to maintaining accurate records and making informed decisions.
In this article, we explored various methods to help you search for and locate journal entries in QuickBooks. By utilizing the search bar, Find window, reports, Account Register, and Trial Balance report, you can streamline your workflow and access the specific journal entries you need.
Each method offers its own advantages, allowing you to choose the approach that suits your preferences and search criteria. Whether you prefer a keyword-based search using the search bar or a more customized search using the Find window or reports, QuickBooks provides you with the tools to efficiently navigate through your financial data.
Remember to leverage the customization options available within QuickBooks to refine your searches. By specifying date ranges, account names, or other relevant criteria, you can narrow down the results and focus on finding the specific journal entries you require.
In addition to the methods discussed, implementing tips such as organizing your accounts, maintaining detailed transaction descriptions, and regularly reconciling your accounts will further enhance your efficiency in finding journal entries.
By mastering these methods and incorporating the suggested tips into your QuickBooks workflow, you’ll be able to navigate through your financial data with ease and confidence. Effective journal entry management will ultimately optimize your accounting processes, provide accurate financial records, and enable better decision-making for your business.
So, take the time to familiarize yourself with the various methods and apply the tips provided. With practice and experience, you’ll become proficient at efficiently finding journal entries in QuickBooks, ensuring your financial records are accurate and up-to-date.


