Introduction:
So you have a Chromebook and you’re ready to embark on a journey of unlimited music enjoyment. But wait, how do you download music on a Chromebook? Don’t worry, we’ve got you covered!
In this guide, we will walk you through the step-by-step process of downloading music on a Chromebook, so you can listen to your favorite tracks offline, whether you’re on a road trip, relaxing at the beach, or simply want to save on your data plan. With the Chrome OS and a few simple steps, you can turn your Chromebook into a music paradise.
Before we dive into the specifics, it’s important to note that the availability of offline music downloads may vary depending on the music streaming service you use. However, the general process remains similar across most popular platforms. So, let’s get started!
Disclaimer: Downloading copyrighted music without proper authorization is illegal. This guide is intended for educational purposes only. Make sure to download music from legal sources and respect intellectual property rights.
Step 1: Choose a music streaming service
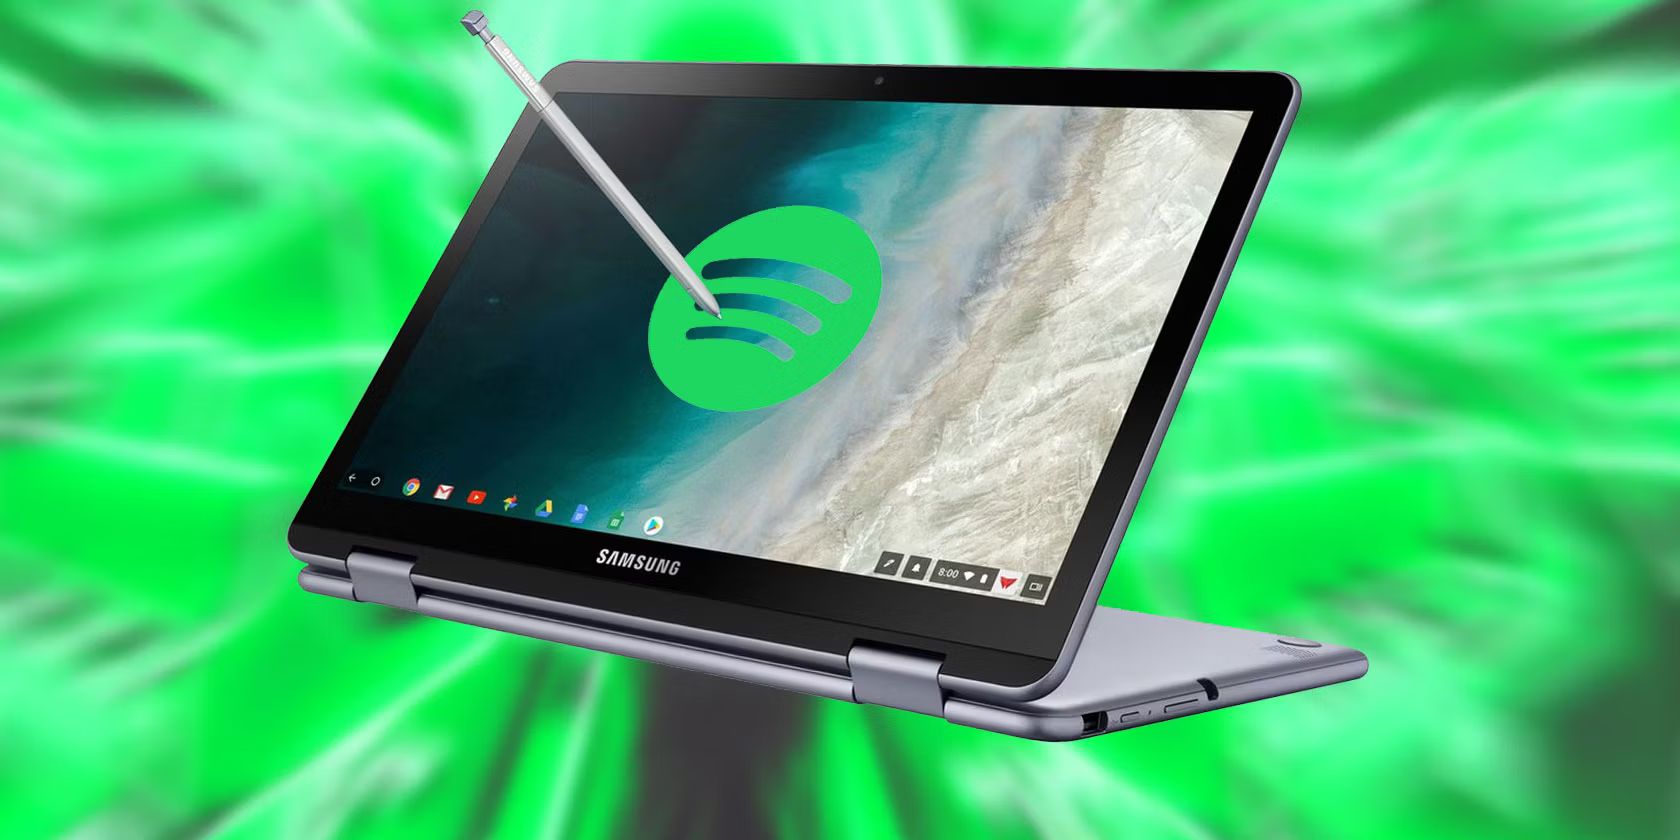
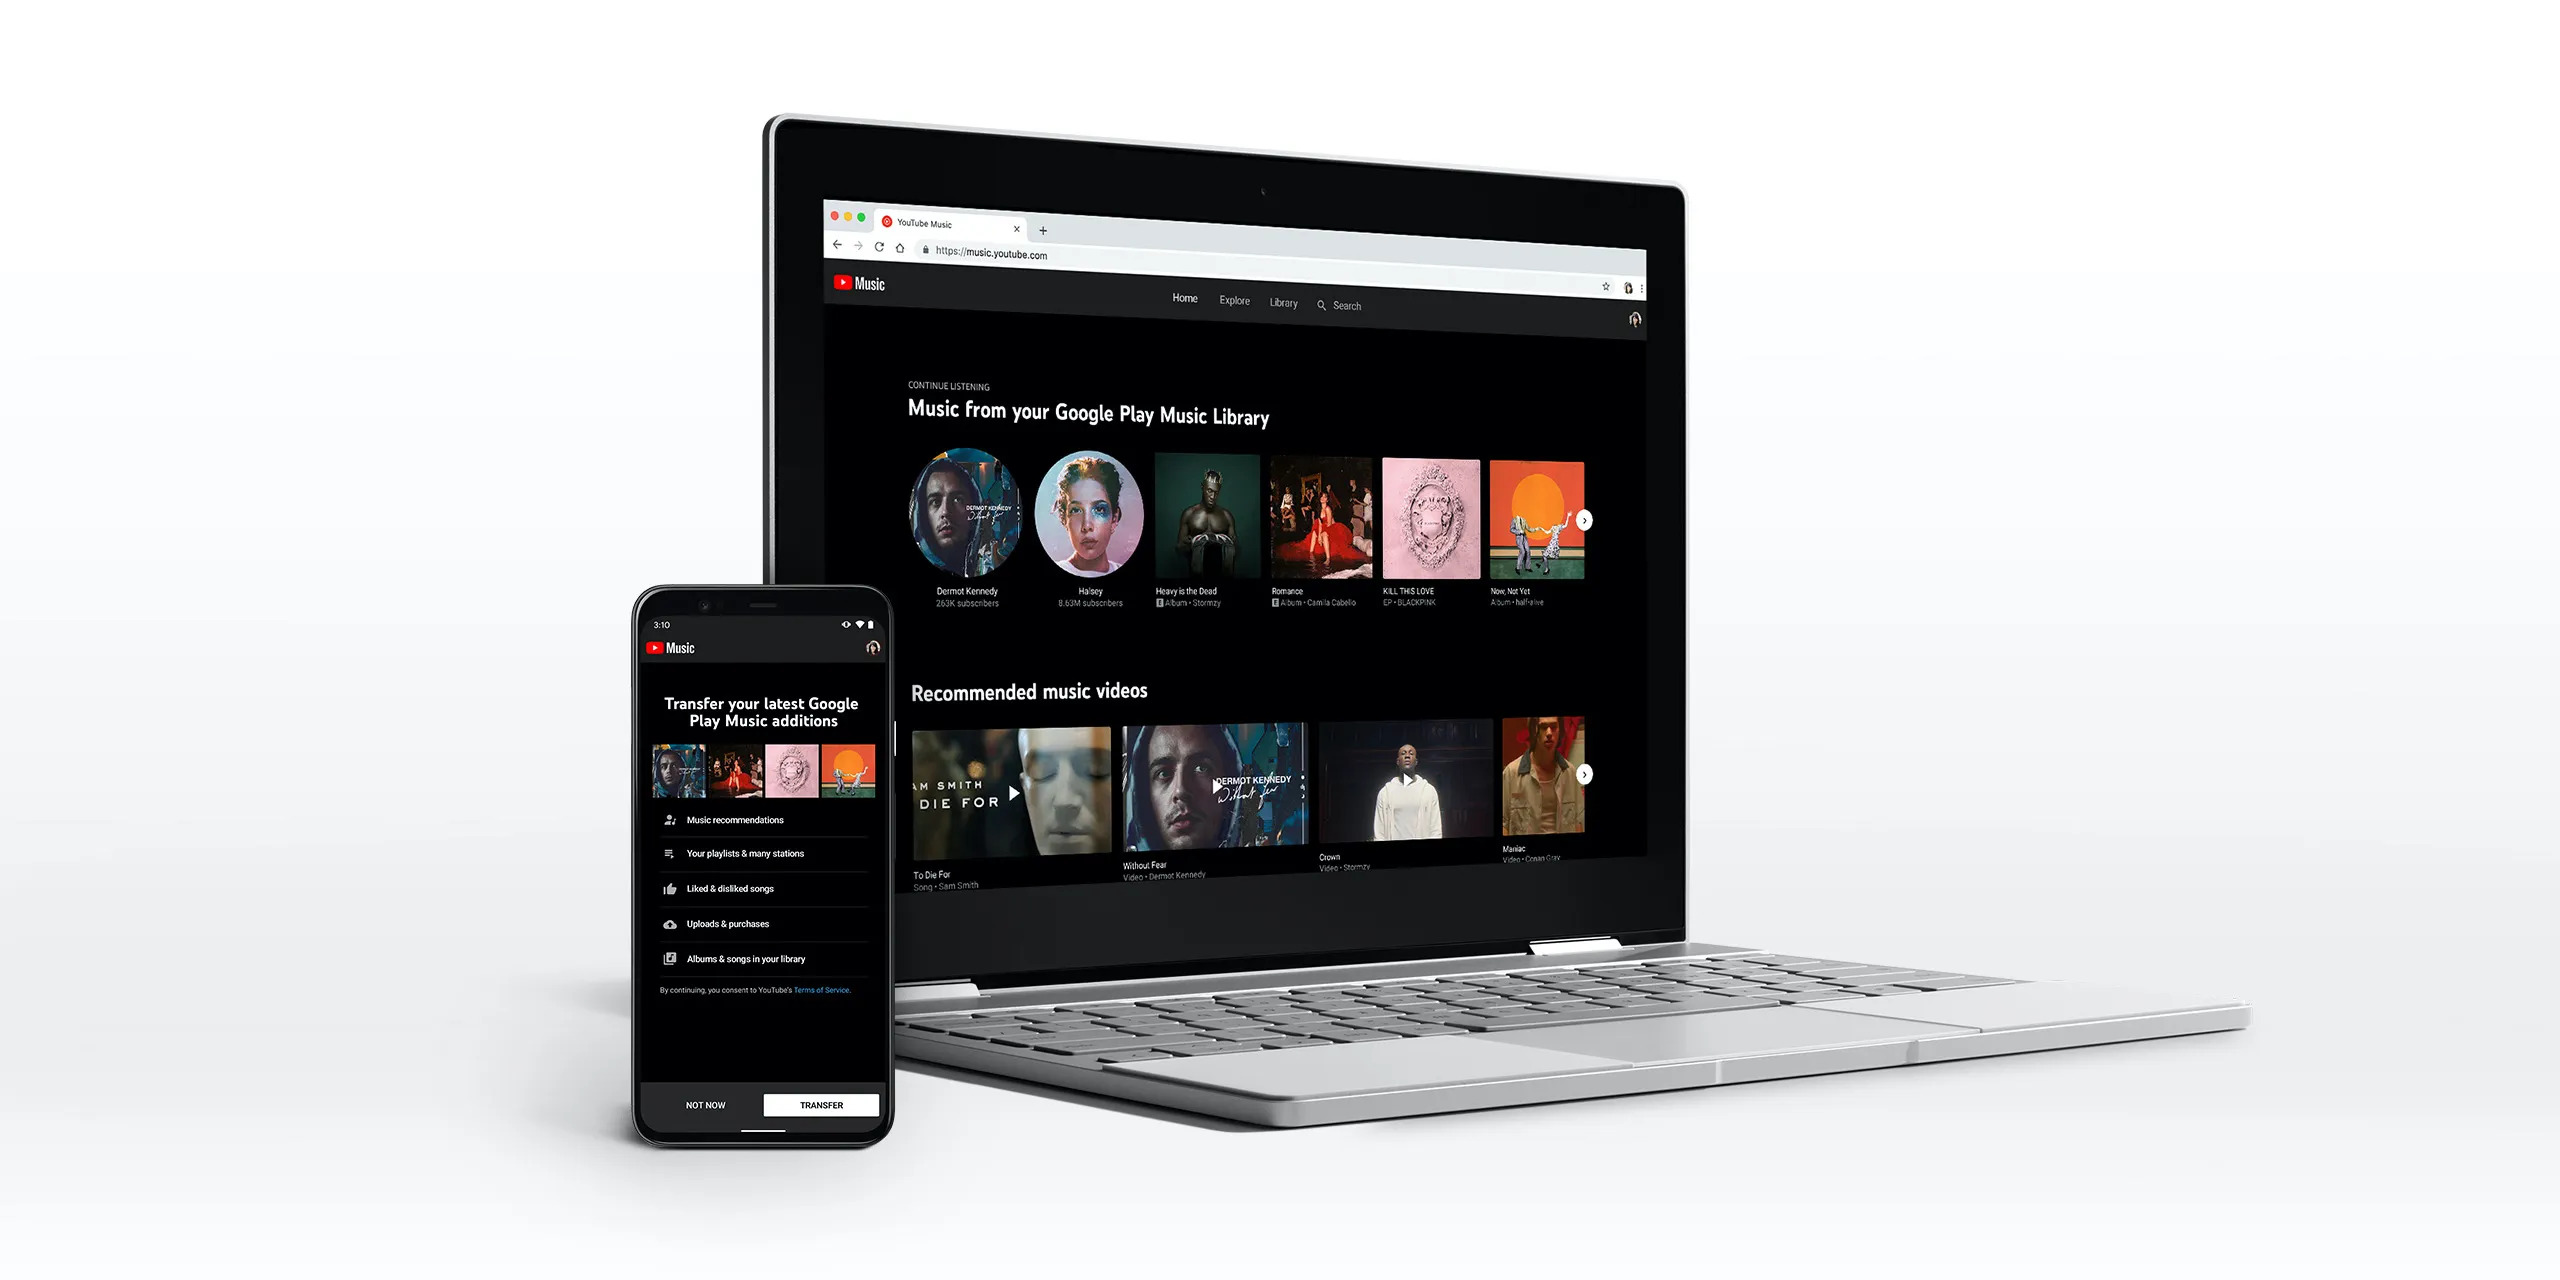
The first step in downloading music on your Chromebook is selecting a music streaming service that offers offline music downloads. There are several popular options to consider, including Spotify, Apple Music, YouTube Music, and Amazon Music.
Each streaming service has its own unique features and music library, so it’s important to choose one that aligns with your musical preferences. Take some time to explore the different platforms and consider factors such as cost, available playlists, personalized recommendations, and offline listening capabilities.
Once you have decided on a music streaming service, visit their website or download their app from the Chrome Web Store. Look for the service’s official app to ensure a safe and reliable experience.
Pro tip: Many music streaming services offer free trials, so take advantage of these offers to test out different platforms and determine which one suits your needs best.
After selecting a music streaming service, you’re one step closer to enjoying your favorite tunes offline on your Chromebook. In the next step, we’ll show you how to install the music streaming app from the Chrome Web Store.
Step 2: Install the music streaming app from the Chrome Web Store
Once you have chosen your preferred music streaming service, the next step is to install the app from the Chrome Web Store. Here’s how:
- Open the Chrome browser on your Chromebook and navigate to the Chrome Web Store.
- In the search bar, type in the name of the music streaming service you have selected.
- From the search results, click on the official app of the music streaming service.
- On the app’s page, click the “Add to Chrome” or “Install” button to start the installation process.
- Wait for the app to download and install on your Chromebook. Depending on the size of the app and your internet connection speed, this may take a few moments.
- Once the installation is complete, you will see the app icon in your app launcher or on the shelf at the bottom of your Chromebook’s screen.
- Click on the app icon to launch the music streaming service.
By installing the music streaming app from the Chrome Web Store, you can access all the features and functionalities of the service directly from your Chromebook. This makes it convenient to search for and play your favorite music without the need to visit the website every time.
Now that you have successfully installed the music streaming app on your Chromebook, it’s time to move on to the next step: signing in to your music streaming account.
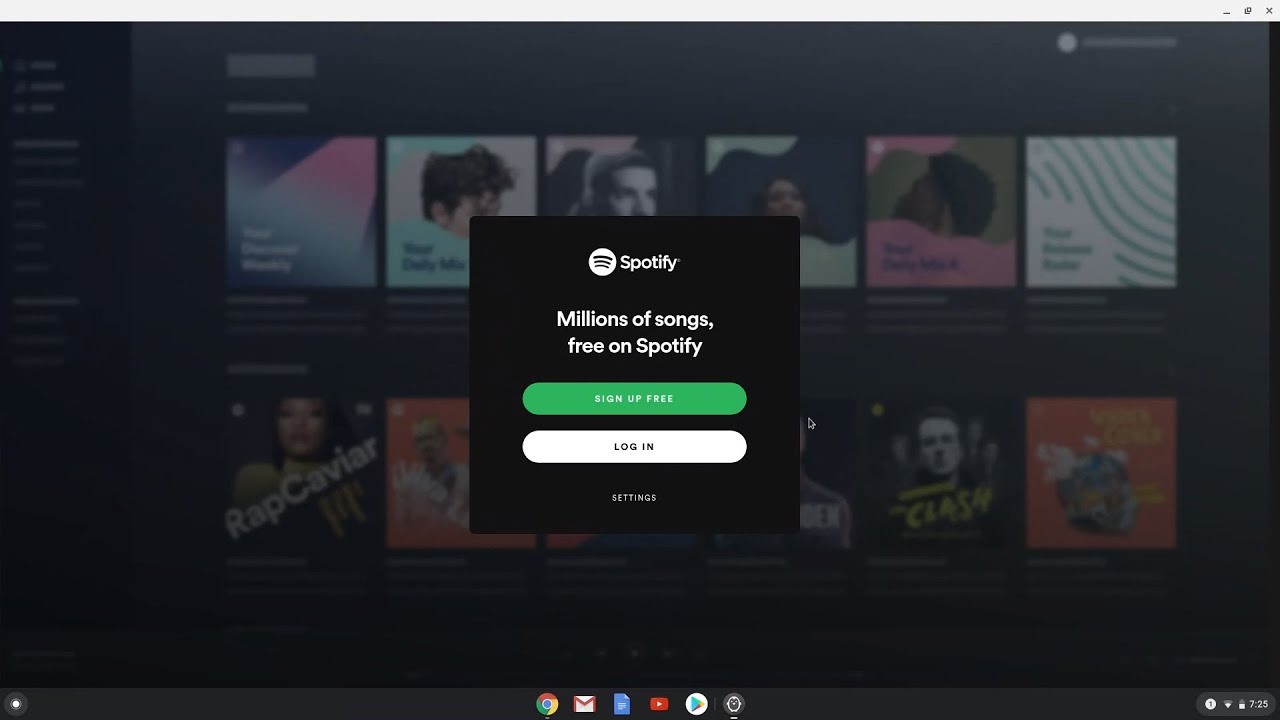
Step 3: Sign in to your music streaming account
After installing the music streaming app on your Chromebook, it’s time to sign in to your account. Here’s how:
- Locate the app icon on your Chromebook’s app launcher or shelf.
- Click on the app icon to open the music streaming service.
- You will be presented with a login screen, where you need to enter your login credentials.
- Enter your username or email address and password associated with your music streaming account.
- Click on the “Sign In” or “Log In” button to proceed.
Once you have successfully signed in to your music streaming account, you will have access to your personalized library, playlists, and recommended tracks. This allows you to explore and discover music that suits your taste.
If you don’t have an existing account, most music streaming services provide an option to create a new account directly from the app. Simply click on the “Sign Up” or “Create Account” button and follow the on-screen instructions to set up your new account.
Signing in to your music streaming account is essential as it allows the app to sync your preferences, playlists, and offline downloads across different devices. This means that any songs you download on your Chromebook will also be available on your smartphone, tablet, or other devices where you have the same music streaming app installed.
Now that you are signed in to your music streaming account, it’s time to move on to the next step: downloading songs for offline listening.
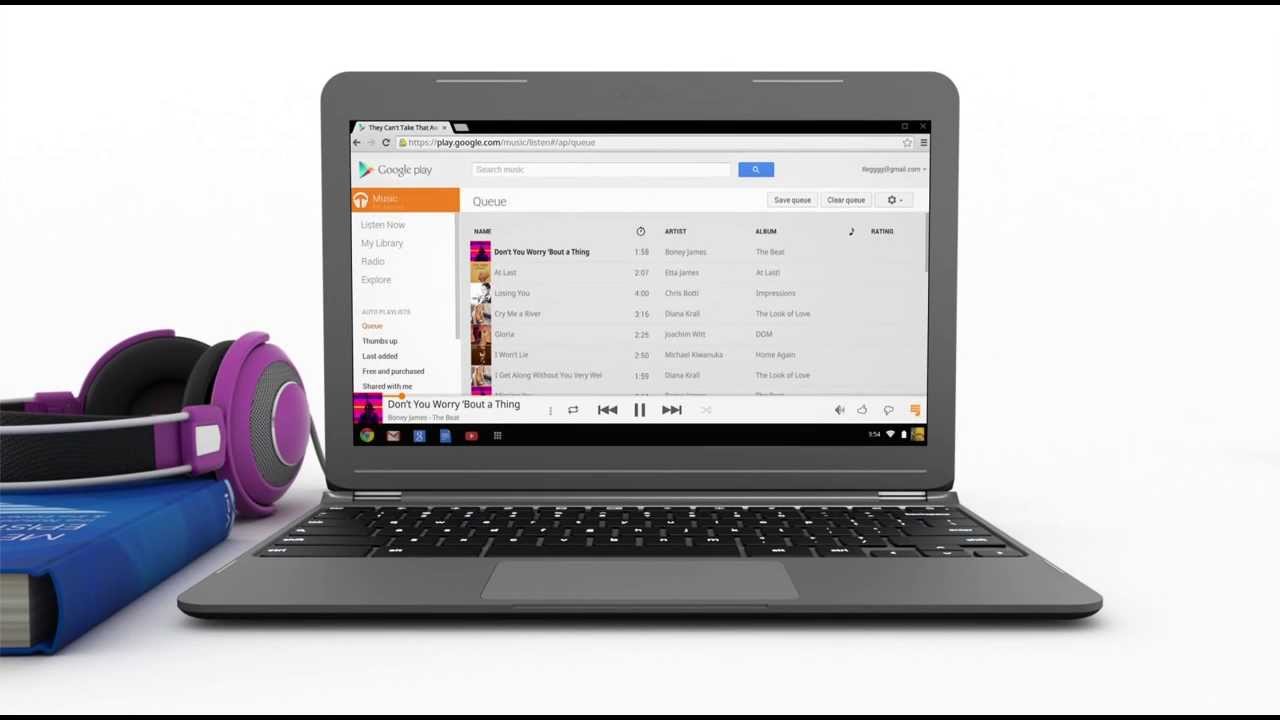
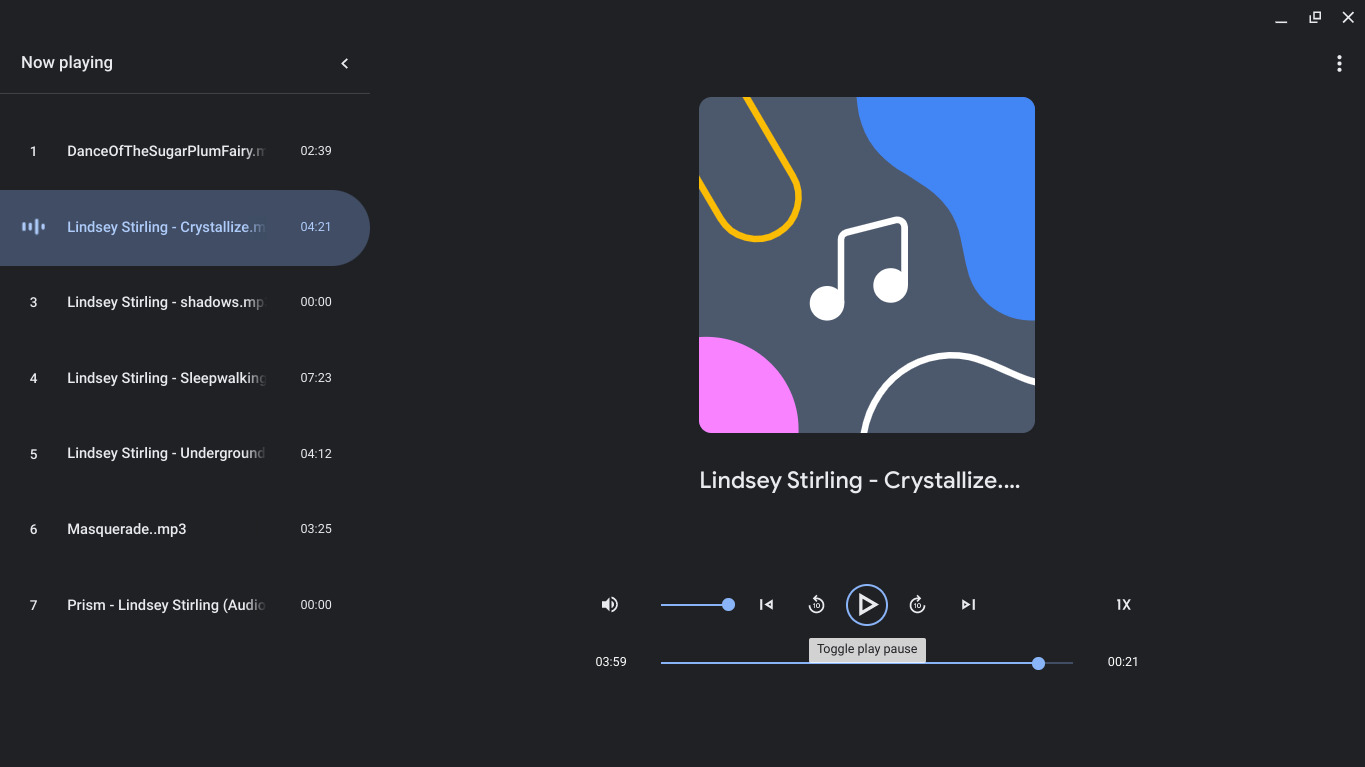
Step 4: Download songs for offline listening
Now that you are signed in to your music streaming account, you can start downloading songs for offline listening on your Chromebook. Here’s how:
- Open the music streaming app on your Chromebook.
- Navigate to the song, album, or playlist that you want to download for offline listening.
- Look for the download or save icon next to the song, album, or playlist. This icon is usually represented by an arrow pointing downwards.
- Click on the download or save icon to initiate the download process. The app will start downloading the selected songs or playlists, and a progress indicator will appear.
- Wait for the download to complete. The time it takes to download songs may vary depending on your internet connection speed and the size of the songs.
- Once the download is finished, the songs or playlists will be available in your library or your designated offline section within the app.
Downloading songs for offline listening allows you to enjoy your favorite tracks even when you don’t have an internet connection. This is particularly useful when you’re traveling, in areas with limited connectivity, or want to conserve your data usage.
Please note that not all music streaming services allow you to download songs for offline listening with their free subscription tier. Some services require a premium subscription to access this feature. Make sure to check the specific terms and conditions of the service you are using.
Now that you have successfully downloaded songs for offline listening on your Chromebook, it’s time to move on to the final step: accessing your downloaded songs.
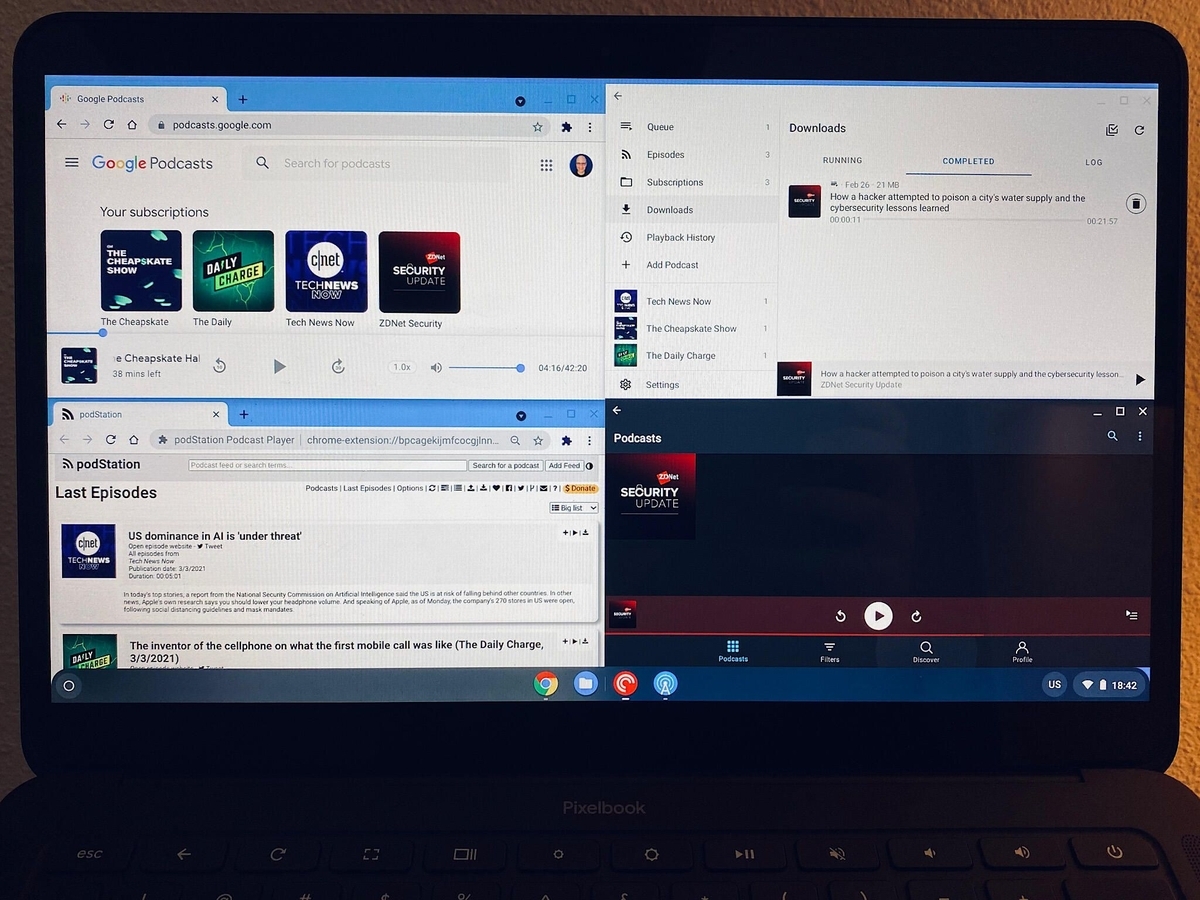
Step 5: Access your downloaded songs
Once you have downloaded songs or playlists for offline listening on your Chromebook, it’s time to access and enjoy them. Here’s how:
- Open the music streaming app on your Chromebook.
- Look for the “Library” or “Downloads” section within the app. This is where your downloaded songs or playlists are usually stored.
- Click on the “Library” or “Downloads” section to view your downloaded content.
- You will see a list of all the songs or playlists you have downloaded for offline listening. You can organize them by albums, artists, or custom playlists, depending on the features provided by the app.
- To play the downloaded songs, simply click on the song or playlist you want to listen to. The app will start playing the songs from your device’s local storage, without the need for an internet connection.
Accessing your downloaded songs is easy and convenient. You can enjoy your favorite tracks anytime, anywhere, without worrying about internet connectivity or data usage.
Remember that the availability of your downloaded songs may depend on the music streaming service’s policy. Some services may require you to periodically connect your device to the internet to refresh the license or validate your subscription.
Pro tip: If you no longer need a song or playlist for offline listening, you can also remove it from your downloaded content. This will free up storage space on your Chromebook.
Congratulations! You have now successfully accessed your downloaded songs on your Chromebook. You can enjoy your favorite music on the go, whether you’re traveling, relaxing, or simply want to listen offline.
With these simple steps, you can make the most out of your Chromebook and turn it into a portable music player. Happy listening!
Conclusion:
Downloading music on a Chromebook has never been easier! By following the steps outlined in this guide, you can enjoy your favorite songs offline and turn your Chromebook into a portable music player. Here’s a quick recap of the steps:
- Choose a music streaming service that offers offline downloads.
- Install the official app from the Chrome Web Store for your chosen music streaming service.
- Sign in to your music streaming account within the app.
- Download songs or playlists for offline listening.
- Access your downloaded songs within the app’s library or downloads section.
Remember to always download music from legal sources and respect intellectual property rights. Downloading copyrighted music without proper authorization is illegal.
Whether you’re on a road trip, relaxing at home, or simply want to save on your data plan, having the ability to listen to music offline on your Chromebook is a game-changer. You can enjoy your favorite tracks anytime, anywhere, without the need for an internet connection.
Keep in mind that the availability of offline downloads may vary depending on the music streaming service you choose. Some services may require a premium subscription to access this feature.
So, start exploring the vast library of music, create personalized playlists, and groove to the beats on your Chromebook. Happy listening!