Introduction
Welcome to this step-by-step guide on how to download Amazon Music to Windows Media Player. If you’re a music enthusiast and prefer using Windows Media Player as your go-to music player, you’ll be glad to know that you can easily add and enjoy your favorite songs from Amazon Music in just a few simple steps.
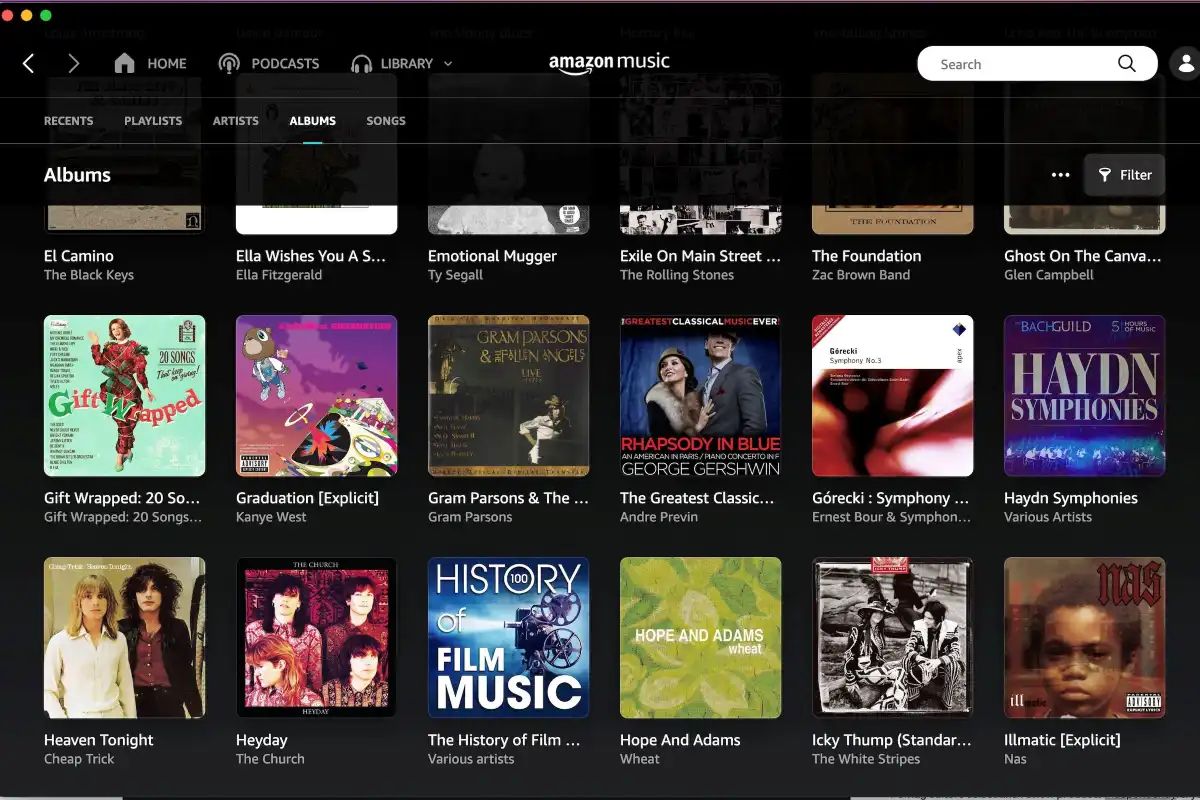
Amazon Music offers a vast library of millions of songs across various genres. Whether you’re a fan of the latest chart-toppers, classic hits, or niche genres, you’ll find an extensive collection to choose from. By downloading your favorite tracks from Amazon Music and importing them directly into Windows Media Player, you can organize and listen to your music seamlessly on your computer.
In this guide, we’ll walk you through each step of the process, from opening Windows Media Player to accessing your downloaded songs. From beginners to seasoned users, we aim to provide clear instructions that anyone can follow, ensuring a smooth experience throughout.
So, if you’re ready to enhance your music library and enjoy your favorite tunes offline using Windows Media Player, let’s dive into the step-by-step process together. Prepare your computer, open Windows Media Player, and let’s get started on downloading your favorite songs from Amazon Music.
Step 1: Open Windows Media Player
Before we can begin downloading Amazon Music to Windows Media Player, the first step is to launch the Windows Media Player application on your computer. Here’s how to do it:
1. Click on the “Start” button located at the bottom left corner of your screen.
2. In the search bar, type in “Windows Media Player” and press Enter. You can also find it by navigating to the “Windows Accessories” folder in the “Start” menu.
3. Windows Media Player will open, and you will be greeted with the familiar interface.
Windows Media Player is a built-in program for Windows operating systems, so you should have it pre-installed on your machine. However, if you find that you don’t have it or need to update it, you can go to the Microsoft website and download the latest version for free.
Once you have Windows Media Player up and running, you’re ready to move on to the next step and sign in to your Amazon Music account. Make sure you have your Amazon login credentials handy, as you’ll need them to access your music library and download songs from Amazon Music.
By opening Windows Media Player, you’re taking the first step towards enjoying your favorite songs from Amazon Music on your computer. In the next step, we’ll guide you through the process of signing in to your Amazon Music account.
Step 2: Sign in to Amazon Music
To download and access your favorite songs from Amazon Music, you’ll need to sign in to your Amazon account. If you don’t have an account yet, you can easily create one on the Amazon website. Once you have your Amazon login credentials ready, follow these steps to sign in to Amazon Music:
1. Launch Windows Media Player on your computer.
2. Click on the “Switch to Library” tab at the top of the player to access the library view.
3. In the left-hand navigation pane, click on “Online Stores” and select “Amazon Music” from the drop-down menu.
4. A login window will appear. Enter your Amazon account email and password in the respective fields.
5. Click on the “Sign In” button to continue.
If you have successfully signed in to your Amazon Music account, you will be able to access your personal library, playlists, and recommendations. This will allow you to browse and select the songs you want to download directly to your computer.
Signing in to Amazon Music is essential to ensure that you have access to your purchased music and Prime Music content. Additionally, signing in allows you to explore and stream unlimited music, create playlists, and utilize personalized recommendations based on your preferences.
Now that you have signed in to Amazon Music, let’s move on to the next step and learn how to browse and select songs for download.
Step 3: Browse and Select Songs for Download
Now that you are signed in to your Amazon Music account through Windows Media Player, it’s time to browse the vast collection of songs and select the ones you want to download. Follow these steps to browse and select songs from Amazon Music:
1. In the left-hand navigation pane of Windows Media Player, under “Online Stores,” click on “Amazon Music.”
2. You will be redirected to the Amazon Music interface within Windows Media Player, where you can access your personal library and browse available songs.
3. Use the search field at the top to enter the name of the artist, album, or song you want to download. Alternatively, you can explore the curated playlists, genres, and recommendations provided by Amazon Music.
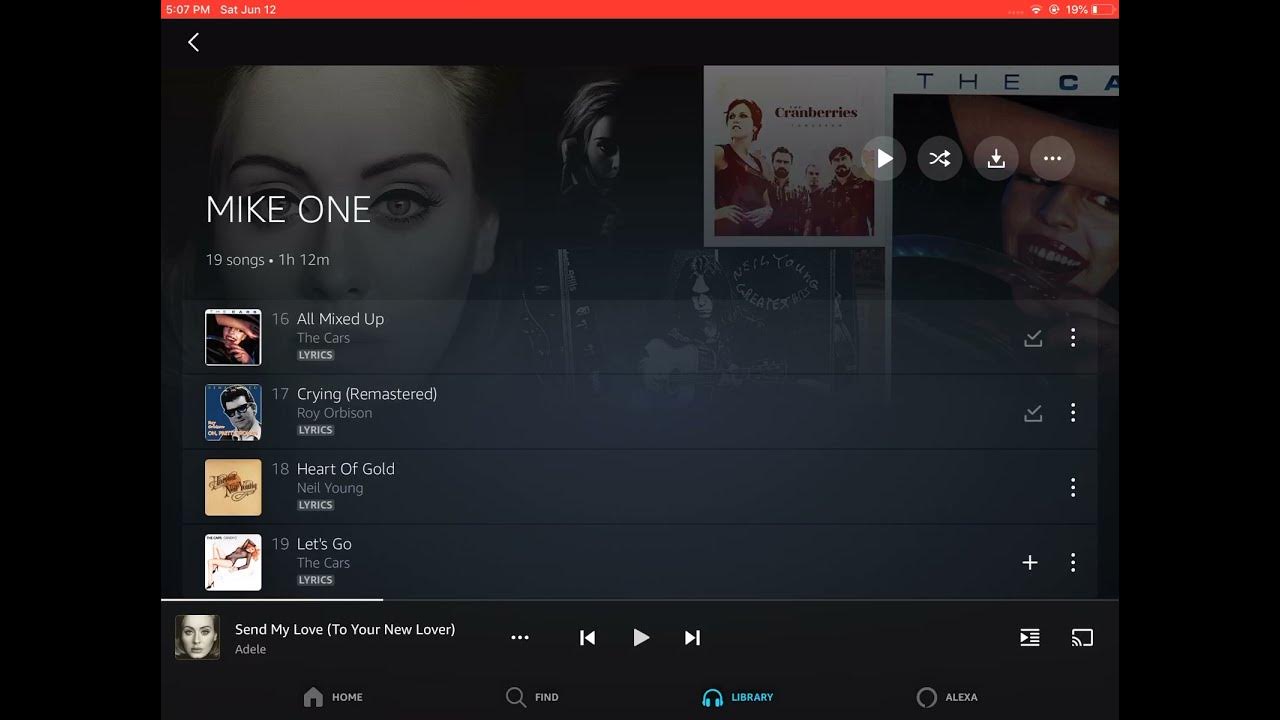
4. Once you find a song you want to download, click on it to view more details, such as the artist, album, and track duration.
5. If you want to download the entire album, click on the “Download Album” button. If you prefer to download individual songs, click on the “Download” button next to the desired track. You may see a price listed if the song or album needs to be purchased.
6. Repeat this process for all the songs you want to download.
Browsing and selecting songs from Amazon Music is an exciting process, as you have access to a vast collection of music from various artists, genres, and eras. Take your time to explore different playlists and discover new songs that resonate with your musical taste.
By selecting and downloading your favorite songs, you can build your own personalized music library within Windows Media Player, making it easier to access and enjoy your music offline. Now that you have selected the songs you want to download, let’s proceed to the next step and add them to your Amazon Music library.
Step 4: Add Songs to Your Amazon Music Library
Once you have selected the songs you want to download from Amazon Music, the next step is to add them to your Amazon Music library. By doing this, you can easily access and manage your downloaded songs within Windows Media Player. Follow these steps to add songs to your Amazon Music library:
1. After selecting a song or album for download, a progress window will appear, showing the download process. Wait for the download to complete successfully.
2. Once the download is complete, the songs or albums will automatically be added to your Amazon Music library.
3. To verify if the songs are added to your library, go to “Switch to Library” on the top of Windows Media Player and click on “Songs” in the left-hand navigation pane.
4. Scroll through the list of songs to find the newly added downloads.
Adding songs to your Amazon Music library ensures that they are easily accessible within Windows Media Player, providing a seamless experience for managing and playing your downloaded music.
It’s worth noting that any songs you download from Amazon Music will be saved to your computer’s local storage, allowing you to listen to them even when you are offline. This makes it convenient for enjoying your favorite music without requiring an active internet connection.
Now that you have successfully added the downloaded songs to your Amazon Music library, let’s move on to the next step and learn how to download the songs to your computer’s local storage.
Step 5: Download Songs to Your Computer
Now that you have added the songs to your Amazon Music library, it’s time to download them to your computer’s local storage. By downloading the songs, you can listen to them offline using Windows Media Player. Follow these steps to download your songs from Amazon Music:
1. In Windows Media Player, go to the “Switch to Library” tab at the top of the player.
2. In the left-hand navigation pane, click on “Online Stores,” and then select “Amazon Music.”
3. You will be directed to your Amazon Music library within Windows Media Player.
4. Find the songs or albums you want to download in your library. They will be marked with a cloud download icon.
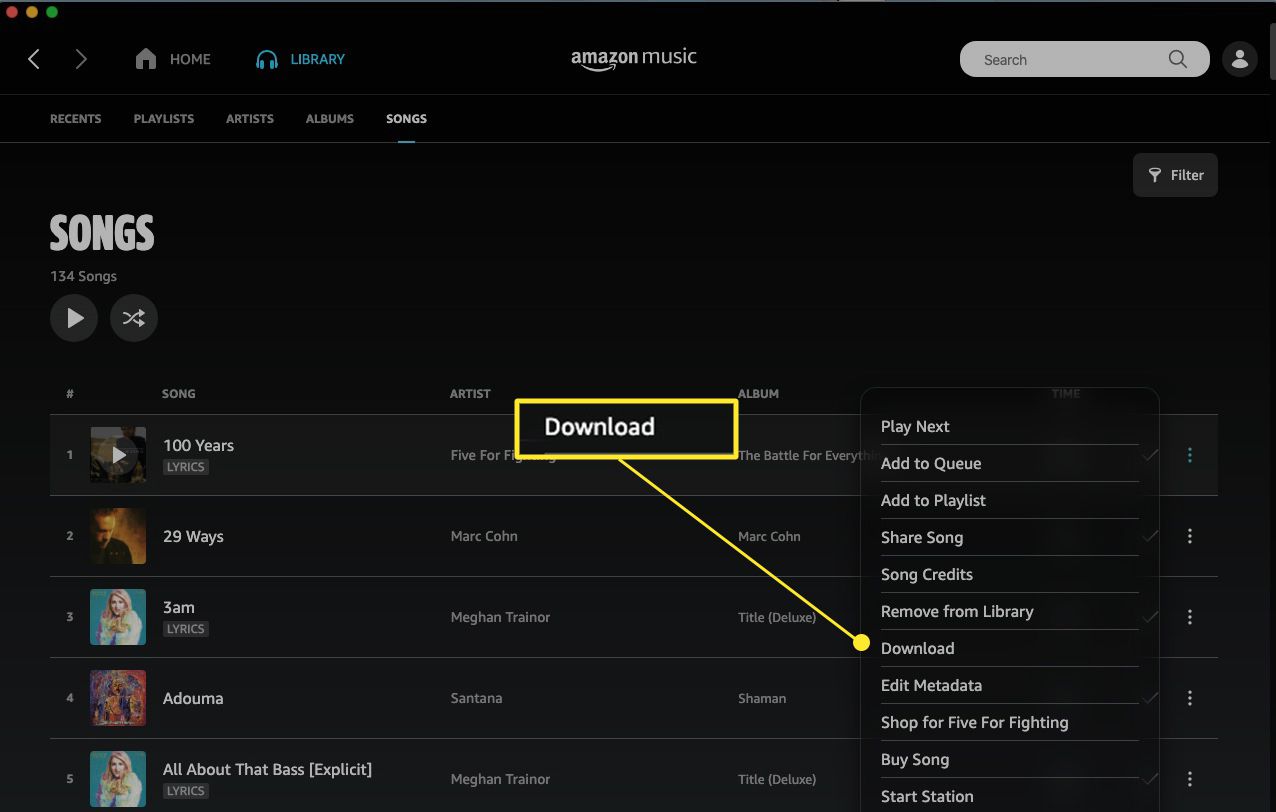
5. To download individual songs, right-click on the song and select “Download.” To download entire albums, right-click on the album and select “Download Album.”
6. The songs will now begin downloading to your computer’s local storage. The progress will be displayed in the download status window.
Downloading the songs to your computer allows you to enjoy them offline, regardless of your internet connection. It provides the flexibility to listen to your favorite tracks anytime and anywhere, without relying on a stable internet connection.
Once the download is complete, the songs will be available for playback in Windows Media Player, giving you full control over your music library. Now that you have successfully downloaded the songs to your computer, let’s move on to the final step of accessing them in Windows Media Player.
Step 6: Access Downloaded Songs in Windows Media Player
Congratulations! You have successfully downloaded your favorite songs from Amazon Music to your computer. Now, it’s time to access and enjoy your downloaded music within Windows Media Player. Follow these steps to access your downloaded songs:
1. Open Windows Media Player on your computer.
2. Click on the “Switch to Library” tab at the top of the player.
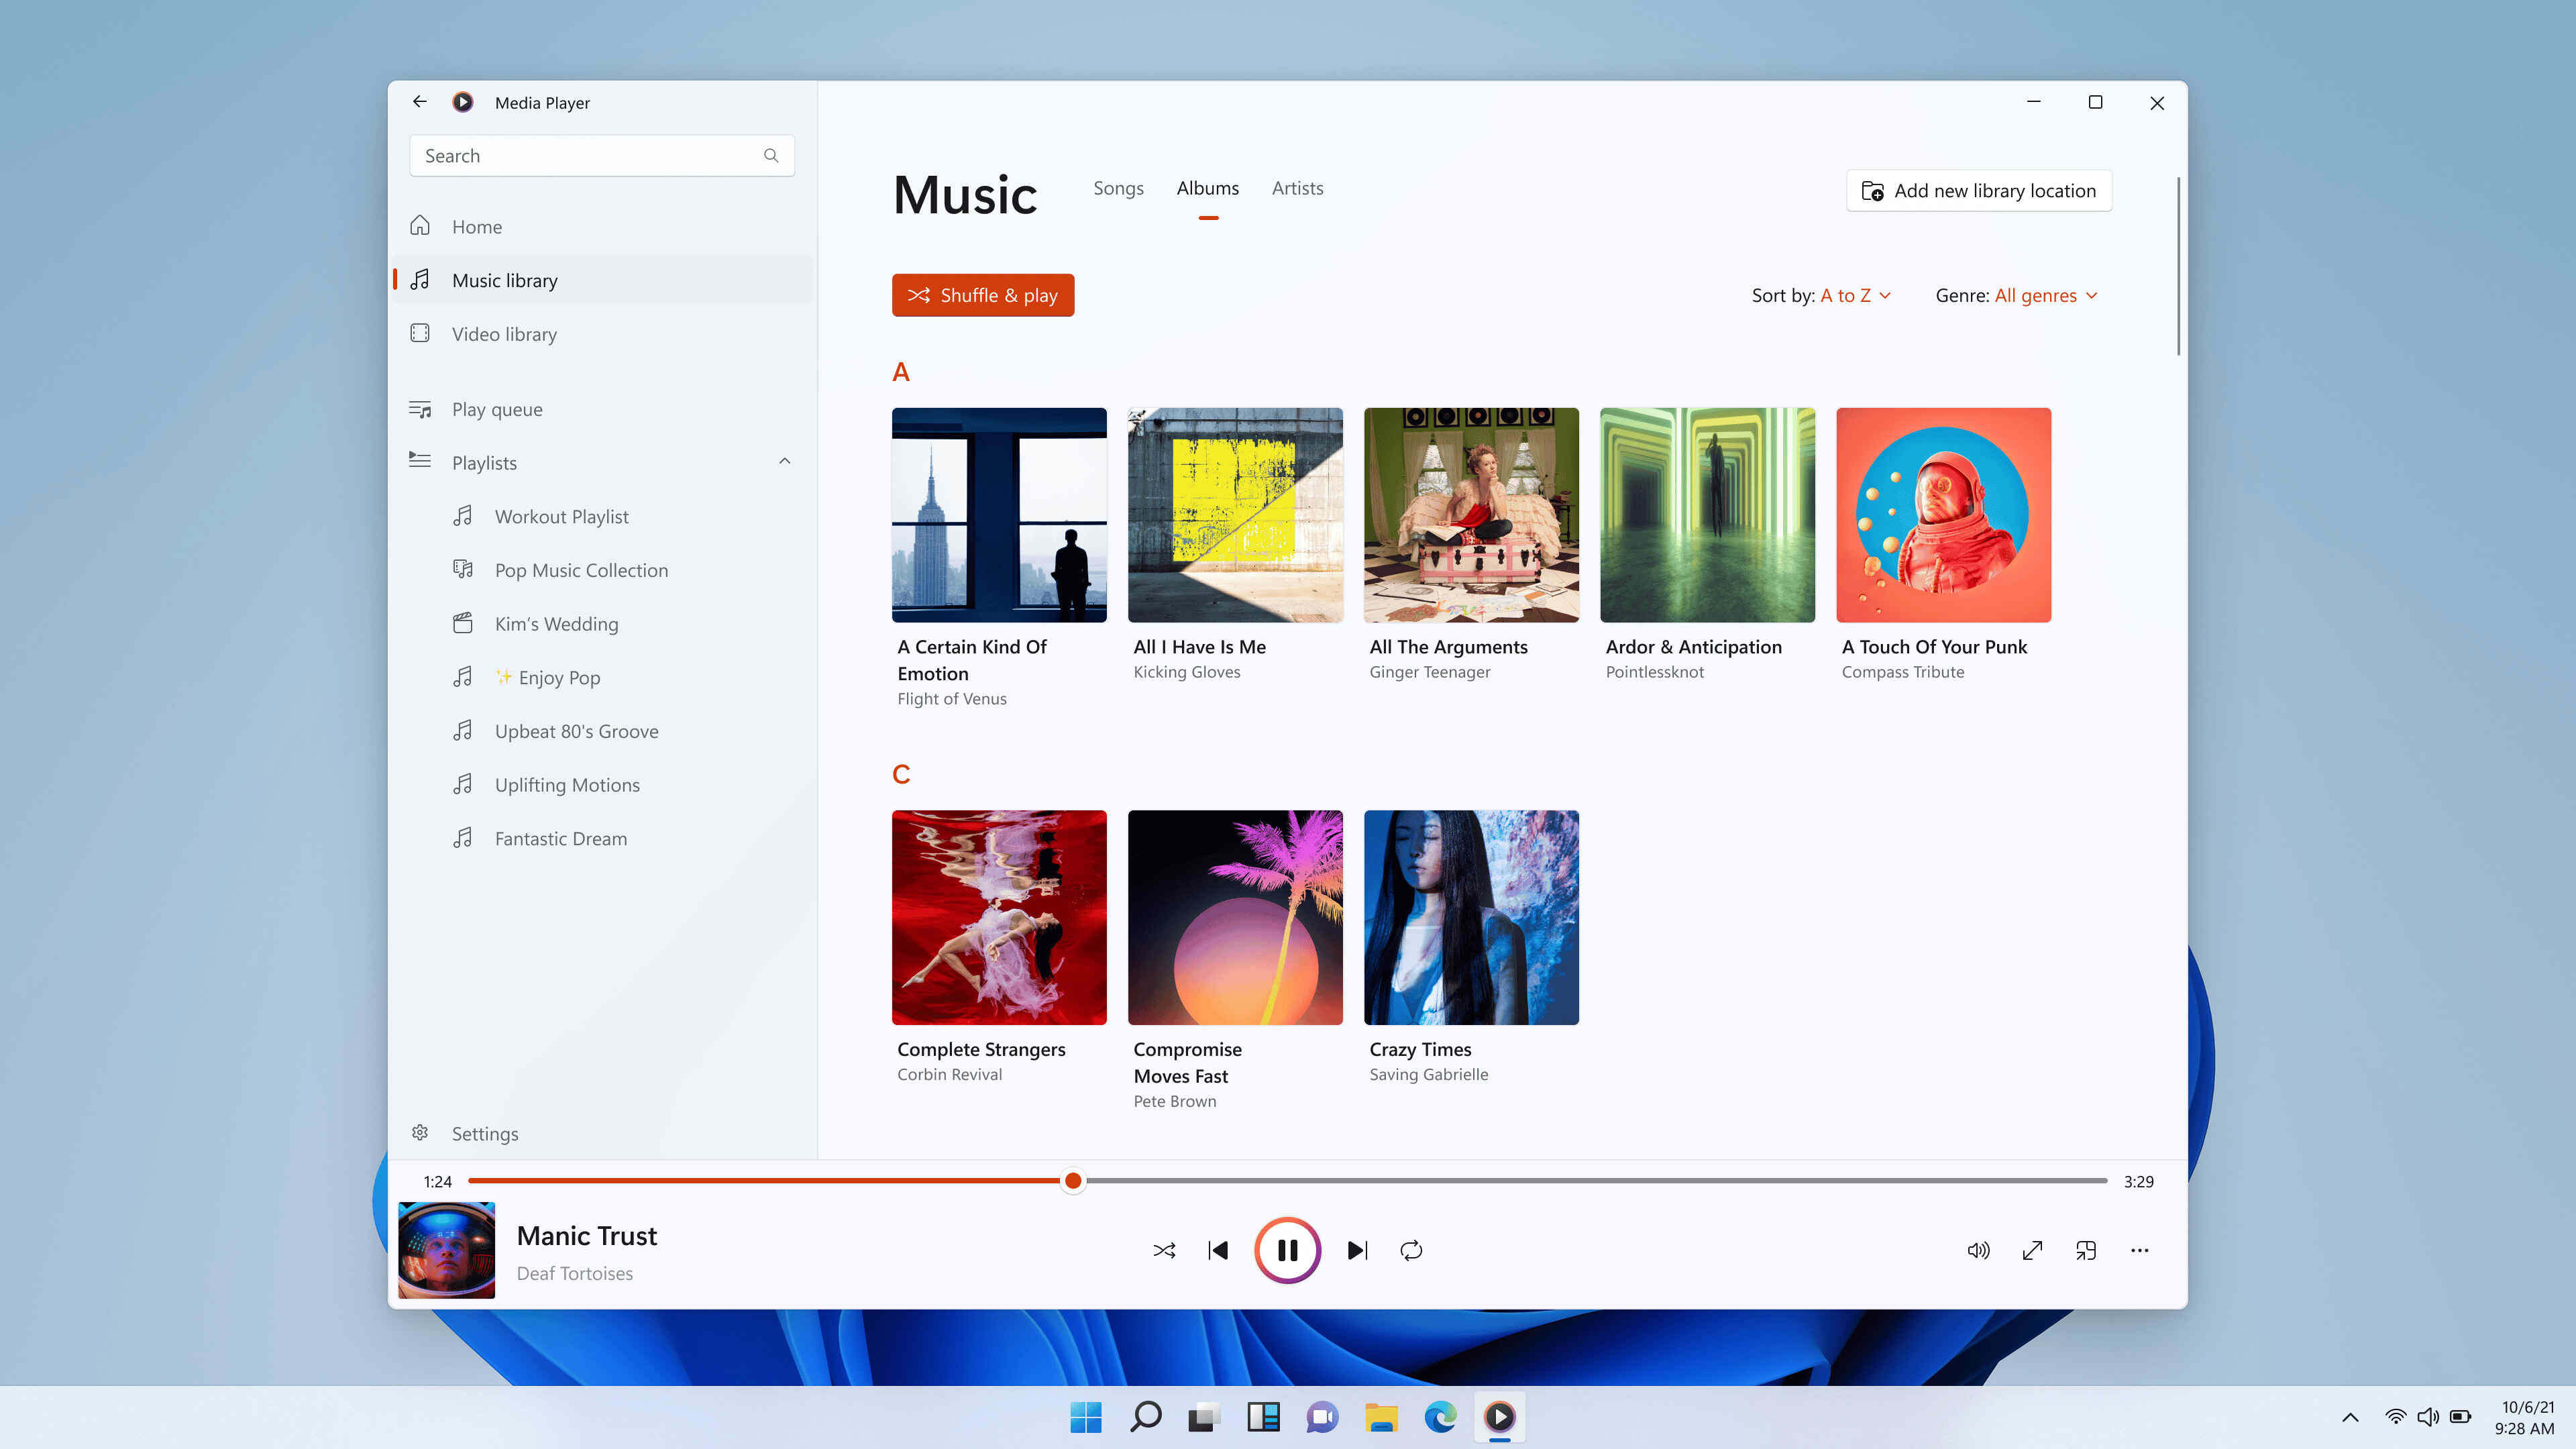
3. In the left-hand navigation pane, click on “Songs” to view all the songs in your library.
4. Scroll through the list to find the downloaded songs. They will be marked with a green checkmark icon, indicating that they are available for offline playback.
5. Double-click on a song to start playing it, or create playlists to organize your music and enhance your listening experience.
Windows Media Player provides a user-friendly interface for managing and playing your downloaded music. You can create playlists, sort your songs by various criteria, and easily navigate through your library to find the songs you want to listen to.
With your downloaded songs accessible in Windows Media Player, you can enjoy your favorite tracks at any time, without relying on an internet connection. Whether you’re working, relaxing, or on the go, Windows Media Player allows you to immerse yourself in your personalized music collection.
Now that you have successfully accessed your downloaded songs in Windows Media Player, you’re all set to enjoy your favorite music offline. Feel free to explore more features of Windows Media Player to enhance your music listening experience.
Conclusion
Congratulations! You have completed the step-by-step guide on how to download Amazon Music to Windows Media Player. By following these instructions, you can now enjoy your favorite songs offline, organize your music library, and have a seamless music listening experience on your computer.
Throughout this guide, we walked you through each step, from opening Windows Media Player to accessing your downloaded songs. We highlighted the importance of signing in to your Amazon Music account, browsing and selecting songs, adding them to your library, and finally downloading them to your computer for offline playback.
Windows Media Player provides a convenient platform for managing and playing your downloaded music. With its user-friendly interface, you can navigate through your library, create playlists, and enjoy your favorite songs at any time, even without an internet connection.
Remember, the process outlined in this guide is applicable for Windows users who prefer using Windows Media Player as their primary music player. By leveraging the features of Windows Media Player and the vast collection of songs available on Amazon Music, you have the freedom to curate your own music library and enjoy a personalized music listening experience.
We hope this guide has been helpful in assisting you with downloading Amazon Music to Windows Media Player. Now, it’s time to enjoy your favorite tunes and immerse yourself in the world of music.
Thank you for following this guide, and happy listening!