Introduction
Welcome to the world of music downloading! With the advancements in technology, it has become easier than ever to enjoy your favorite tunes on-the-go. Windows Media Player, a popular media player application, can be your gateway to accessing and organizing your music library seamlessly. Whether you’re a music enthusiast or a casual listener, this guide will walk you through the process of downloading music to Windows Media Player, so you can enjoy your favorite tracks anytime, anywhere.
Before we dive into the details, it’s important to note that downloading copyrighted music without proper authorization is illegal. Always ensure that you are obtaining music from legitimate sources and respecting the rights of the artists and content creators. With that in mind, let’s explore the steps involved in downloading and managing your music collection with Windows Media Player.
In this guide, we will cover everything from choosing a reliable music download site to getting your music files into Windows Media Player and organizing them effectively. We’ll also delve into creating playlists, syncing music to portable devices, and troubleshooting common issues that may arise. So, let’s get started on this exciting journey into the world of music downloads!
Choosing a Music Download Site
When it comes to downloading music, it’s crucial to choose a reputable and legal music download site. With countless options available online, it’s important to consider a few key factors before making your choice.
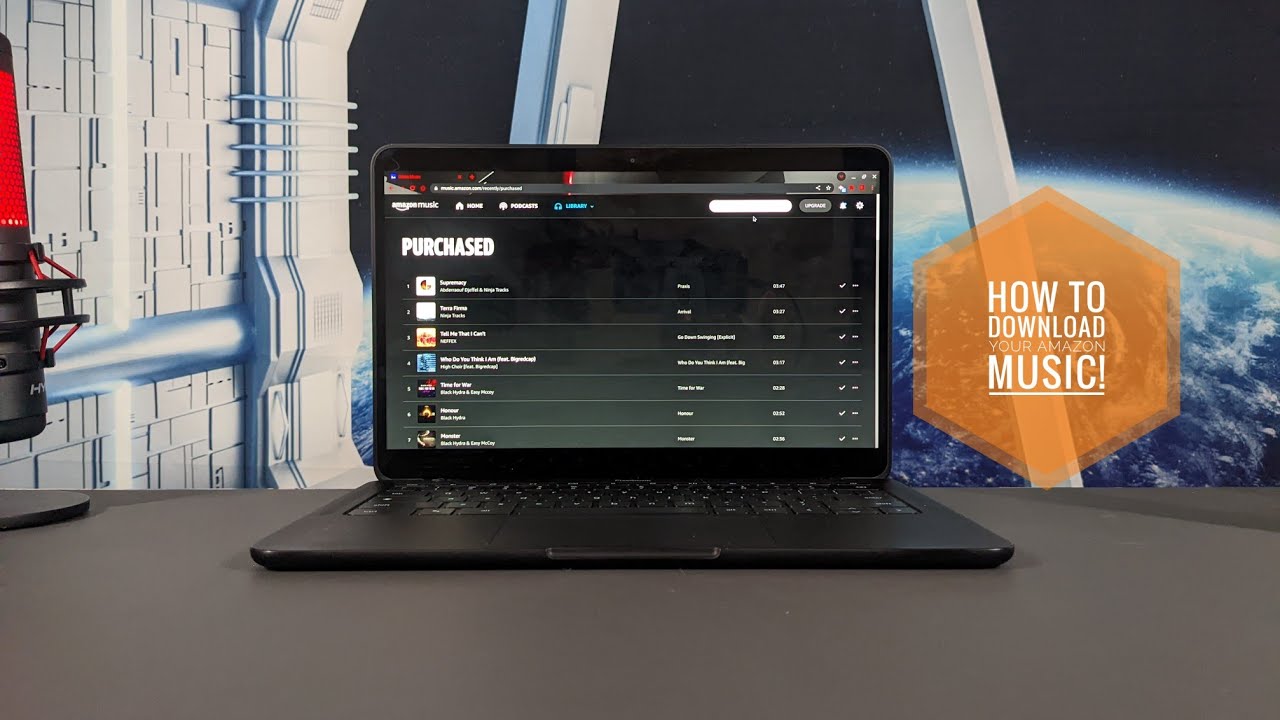
First and foremost, ensure that the site you choose is authorized to distribute music. Look for well-known platforms like iTunes, Amazon Music, or Google Play Music. These sites have extensive music libraries and offer a wide variety of genres to suit your preferences.
Another aspect to consider is the file format options provided by the download site. Most music download sites offer files in popular formats such as MP3 or AAC. Make sure that the site you choose offers compatible file formats that can be played on Windows Media Player.
Furthermore, take into account the user interface and ease of navigation on the site. A user-friendly interface will save you time and make the downloading process more enjoyable. Look for sites that provide clear instructions and have a smooth, organized layout.
Alongside the user experience, consider the pricing and payment options available. Some music download sites offer individual song purchases, while others offer monthly subscription plans for unlimited access to their music library. Choose an option that suits your budget and downloading needs.
Lastly, it’s important to read reviews and check the reputation of the music download site before making your final decision. Look for feedback from other users regarding the quality of downloads, customer support, and any potential issues with viruses or malware. This will help you make an informed choice and ensure a safe and reliable downloading experience.
By taking these factors into consideration and investing a little time in research, you can confidently choose a music download site that provides a wide range of high-quality music options and a seamless downloading process. Now that you’ve identified the right download platform, let’s move on to the next step: actually downloading music files.
Downloading Music Files
Now that you’ve selected a reliable music download site, it’s time to start downloading your favorite tunes. Here are the basic steps to follow:
- Browse the music library: Use the search bar or browse through categories and genres to find the songs you want to download. Many sites offer recommendations and popular charts to help you discover new music.
- Select the songs: Once you’ve found a song you want to download, click on it to view more details. Check if it’s available for download and select the desired format (e.g., MP3) if applicable. Some sites may also offer different quality options.
- Add songs to your cart or library: Depending on the site, you may need to add the selected songs to your cart or directly to your library. If you’re purchasing individual songs, proceed to the checkout process and complete the payment.
- Download the songs: After completing the necessary steps, you should be able to initiate the download. Click on the download button or link, and select a location on your computer to save the file. Windows Media Player can usually detect and import the downloaded files automatically.
- Monitor the download progress: Depending on your internet connection and the file size, the download process may take a few seconds or several minutes. Keep an eye on the download progress to ensure it completes successfully.
- Repeat for additional songs: If you plan to download multiple songs, go back to step one and repeat the process until you have all the desired tracks in your library.
It’s worth noting that some music download sites may require you to install special software or plugins to facilitate the downloading process. Follow the instructions provided by the site and ensure that you’re following secure practices to protect your computer from any potential threats.
Remember, downloading copyrighted material from unauthorized sources is illegal and unethical. Stick to reputable music download sites and respect the rights of the artists and creators. With your music files downloaded and ready to go, it’s time to learn how to import and organize them in Windows Media Player, which we’ll cover in the next section.
Getting Music into Windows Media Player
Once you have downloaded your favorite songs to your computer, the next step is to import them into Windows Media Player for easy access and playback. Follow these simple steps:
- Launch Windows Media Player: Open the application by either clicking on the desktop icon or searching for it in the Start menu.
- Access the library: In the top menu, click on the “Library” tab to access your music library within Windows Media Player.
- Add files to the library: There are a few different ways to add music files to your library:
- Drag and drop: Open the folder where your downloaded music files are located. Select the desired songs and drag them into the Windows Media Player library window. The files should automatically be added to your library.
- Use the “Add to library” option: In the top menu of Windows Media Player, click on “Organize” and select “Manage libraries”. Choose “Music” and then click on “Add” to browse your computer for the downloaded music files. Select the files and click “Add” to import them into your library.
- Monitor the import process: Depending on the number of files being imported and their size, it may take some time for Windows Media Player to add them to your library. Monitor the progress to ensure that all files are imported successfully.
Once the music files are imported into Windows Media Player, they will be organized by metadata such as artist, album, and song title. Windows Media Player also retrieves album artwork automatically for a visually appealing library.
It’s important to keep your music library organized to easily find and play your favorite songs. Take advantage of Windows Media Player’s features such as creating playlists and using the search function to quickly locate specific tracks. With your music safely imported into Windows Media Player, let’s explore how to organize your music library effectively in the next section.
Organizing Your Music Library
Having a well-organized music library in Windows Media Player can make it effortless to find and enjoy your favorite songs. Here are some tips to help you keep your music collection neatly organized:
- Edit metadata: Windows Media Player automatically retrieves metadata such as artist, album, and song title. However, sometimes the metadata may be incomplete or inaccurate. To edit the metadata of a song, right-click on it in the library and select “Find album info”. Follow the prompts to search for the correct information or manually enter it.
- Create custom playlists: Playlists are a great way to group songs based on a specific theme or mood. To create a playlist, click on the “Create playlist” button in the Windows Media Player library. Give your playlist a name, then drag and drop songs from your library into the playlist. You can also right-click on a song or album and select “Add to” > “Playlists” to add songs to an existing playlist.
- Use the search function: If you have a large music library, finding a specific song can be time-consuming. Take advantage of the search function in Windows Media Player to quickly locate songs based on the artist, album, or song title. Simply type your search query into the search bar at the top right corner of the player.
- Organize into folders: If you prefer to organize your music files into folders on your computer, Windows Media Player allows you to monitor these folders and automatically update the library when new files are added. To do this, click on “Organize” > “Manage libraries” > “Music”. Click on “Monitor Folders” and select the folders where your music files are stored.
- Sort and arrange: Windows Media Player offers various sorting and arranging options to customize the view of your library. You can sort your library by artist, album, genre, or year. Right-click on the column headers in the library window and select the desired sorting option.
- Backup your library: It’s always a good idea to back up your music library to avoid any loss of files. Consider creating a backup on an external hard drive or using cloud storage services to keep your music collection safe.
By following these organizational techniques, you can maintain a structured and easily accessible music library in Windows Media Player. With your music files organized, let’s move on to creating playlists to enhance your music listening experience.
Creating Playlists
Playlists are a fantastic way to curate a collection of songs for specific moods, occasions, or genres. Windows Media Player makes it easy to create and manage playlists to suit your musical preferences. Here’s how you can create playlists:
- Open Windows Media Player: Launch the application by clicking on the desktop icon or searching for it in the Start menu.
- Access the library: Click on the “Library” tab at the top of the player to view your music library.
- Create a new playlist: In the left-hand pane of the library, click on “Create playlist” and give it a name that represents the playlist’s theme or purpose.
- Add songs to the playlist: There are several ways to add songs to your playlist:
- Drag and drop: Simply drag and drop songs from your library into the playlist pane on the right side of the player.
- Right-click menu: Right-click on a song, album, or artist and select “Add to” > “Playlists” > [Your playlist name].
- Organize playlist: Rearrange the songs in your playlist by dragging and dropping them into the desired order.
- Modify or delete playlists: To make changes to an existing playlist, right-click on its name in the left-hand pane and select “Edit” or “Delete.” You can add or remove songs, change the order, or rename the playlist as desired.
Creating playlists allows you to have a personalized selection of songs that cater to your specific listening preferences. You can create playlists for different activities like workouts, road trips, or relaxing evenings at home. The possibilities are endless!
Now that you have mastered the art of creating playlists, it’s time to explore the process of syncing music to your portable devices using Windows Media Player. We’ll cover this in the next section.
Syncing Music to Portable Devices
One of the great features of Windows Media Player is the ability to sync your music library with portable devices, such as smartphones, MP3 players, or tablets. This enables you to enjoy your favorite songs on-the-go, without the need for an internet connection. Here’s how you can sync music to your portable devices:
- Connect your device: Connect your portable device to your computer using a USB cable or a compatible wireless connection. Ensure that your device is recognized and appears in the “Sync” tab within Windows Media Player.
- Select music for syncing: In the “Sync” tab, you’ll see your portable device listed on the left side. Click on it to display its available storage space and options. To add music to your device, navigate to your library and select the songs or playlists you want to sync by dragging and dropping them to the “Sync” tab. Alternatively, you can right-click on the selection and choose “Add to” > [Your device name].
- Start the sync process: Once you have chosen the music you want to sync, click on the “Start sync” button at the bottom of the “Sync” tab. Windows Media Player will begin transferring the selected music files to your portable device. You can monitor the progress in the sync status window.
- Eject your device: After the sync process is complete, safely eject your portable device from your computer. Follow the recommended steps to disconnect the device to avoid any data corruption.
It’s important to ensure that your portable device is compatible with Windows Media Player and supports the file formats of the music files you want to sync. Some devices may require additional software or drivers to be installed for seamless syncing.
By syncing your music library with your portable device, you can take your favorite songs with you wherever you go. Whether you’re commuting, exercising, or traveling, you’ll always have your personal soundtrack ready to enhance your experience.
In the next section, we will address some common troubleshooting issues that you may encounter while using Windows Media Player. Let’s get ready to troubleshoot!
Troubleshooting Common Issues
While Windows Media Player is generally a reliable application, you may encounter some common issues along the way. Here are a few troubleshooting tips to help you address these problems:
- Playback issues: If you’re experiencing difficulties playing music files in Windows Media Player, first ensure that your computer’s audio drivers are up to date. You can usually find the latest drivers on the manufacturer’s website. Additionally, check that the volume is turned up, and there are no external factors muting or interfering with the audio output.
- Library not updating: If Windows Media Player is not detecting new music files added to your computer, there may be an issue with the library monitoring settings. Go to “Organize” > “Manage libraries” > “Music” and click on “Monitor Folders”. Ensure that the folders containing your music files are selected for monitoring.
- Syncing problems: If you encounter difficulties while syncing music to your portable device, first make sure that the device is properly connected to your computer. Check the cable connections or ensure that your wireless connection is stable. Additionally, check the device’s storage capacity to ensure there is enough space for the music files you’re trying to sync.
- Metadata errors: If the metadata for your music files is incorrect or missing, you can manually edit the information within Windows Media Player. Right-click on the song, select “Find album info”, and follow the prompts to search for the correct metadata or enter it manually.
- Unsupported file formats: Windows Media Player supports various audio file formats, but it may not be compatible with certain uncommon or specialized formats. If you’re encountering issues playing specific files, consider converting them to a supported format using a dedicated audio conversion tool.
- Crashes or freezes: If Windows Media Player crashes or freezes frequently, ensure that you have the latest updates installed for both the application and your operating system. You can usually find updates through the Windows Update feature. Additionally, check for any conflicting software or plugins that may be causing conflicts with Windows Media Player.
If you continue to experience issues with Windows Media Player, you can consult the Microsoft support website or seek assistance from the Windows community forums for further troubleshooting steps and solutions.
Now that you’re equipped with troubleshooting strategies, you can overcome common issues and enjoy a seamless music experience with Windows Media Player.
Conclusion
Congratulations! You’ve made it through this guide on downloading music to Windows Media Player. By following the steps outlined in this article, you can start building your own music library and enjoy your favorite songs anytime, anywhere.
Remember to choose reputable and legal music download sites to obtain your music files. Make sure to respect the rights of the artists and creators and avoid downloading from unauthorized sources.
Once you have downloaded your music files, use Windows Media Player to import and organize them effectively. Take advantage of features such as editing metadata, creating playlists, and utilizing the search function to easily locate and enjoy your music collection.
If you want to take your music on the go, syncing your music library with your portable devices is a convenient option. Connect and transfer your favorite songs to your devices using Windows Media Player’s syncing capabilities.
In the event that you encounter any issues, refer to the troubleshooting tips provided in this guide to help resolve common problems related to playback, library syncing, metadata, file formats, and more.
Now that you’re well-equipped with the knowledge and strategies to download, organize, and enjoy your music with Windows Media Player, it’s time to embark on your musical journey. Start creating your personalized playlists, syncing your favorite tracks, and immersing yourself in the wonderful world of music!
Happy listening!