Introduction
With its vast music library and user-friendly interface, Spotify has become one of the most popular music streaming platforms in the world. Whether you’re creating a playlist for a workout session, a road trip, or just to set the mood, it’s easy to curate your own personalized collection of songs. However, there may come a time when you want to remove a particular song from your Spotify playlist. This could be due to changes in your musical preferences, updating the playlist flow, or simply wanting to keep your collection fresh.
In this article, we will guide you through the process of deleting a song from your Spotify playlist. Don’t worry – it’s a simple and straightforward process that can be done in just a few steps. Whether you’re using Spotify on your desktop or mobile device, we’ve got you covered.
So, if you’re ready to tidy up your playlist and remove that one song that’s not quite hitting the right note, let’s dive into the step-by-step instructions.
Step 1: Open Spotify
The first step in deleting a song from your Spotify playlist is to open the Spotify app on your device. Whether you’re using a computer, smartphone, or tablet, make sure you have the Spotify application installed and sign in with your account credentials.
If you’re using a computer, you can open Spotify by clicking on the desktop icon or searching for it in the Start menu or applications folder. For mobile devices, locate the Spotify app on your home screen or in your app drawer and tap to open it.
Once the app is open, you will be prompted to sign in or use your existing account if you haven’t already done so. Enter your username and password and click or tap “Log In” to proceed to the app’s main interface.
It’s essential to have a working internet connection to use Spotify. Make sure you’re connected to a stable Wi-Fi network or have a sufficient mobile data connection to ensure a smooth experience while deleting songs from your playlist.
Now that you have opened Spotify and signed in to your account let’s move on to the next step: navigating to your playlist.
Step 2: Navigate to Your Playlist
Once you have opened the Spotify app and logged in to your account, it’s time to navigate to the playlist from which you want to delete a song. Whether you have created the playlist or are managing someone else’s playlist, the process remains the same.
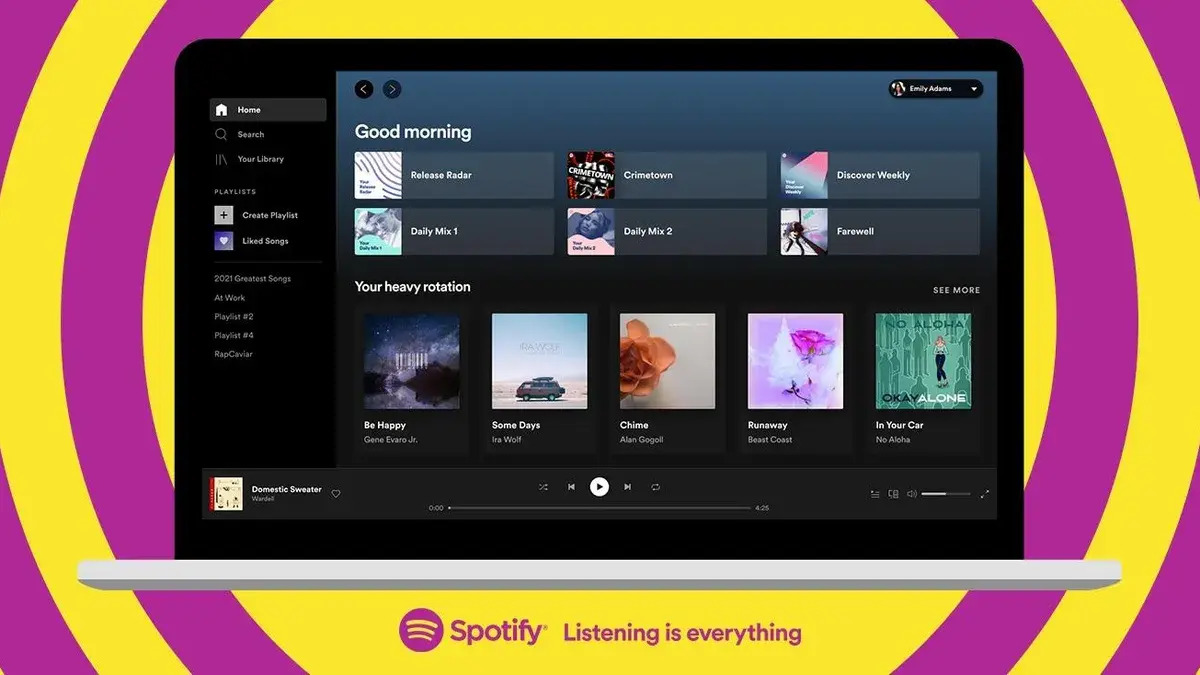
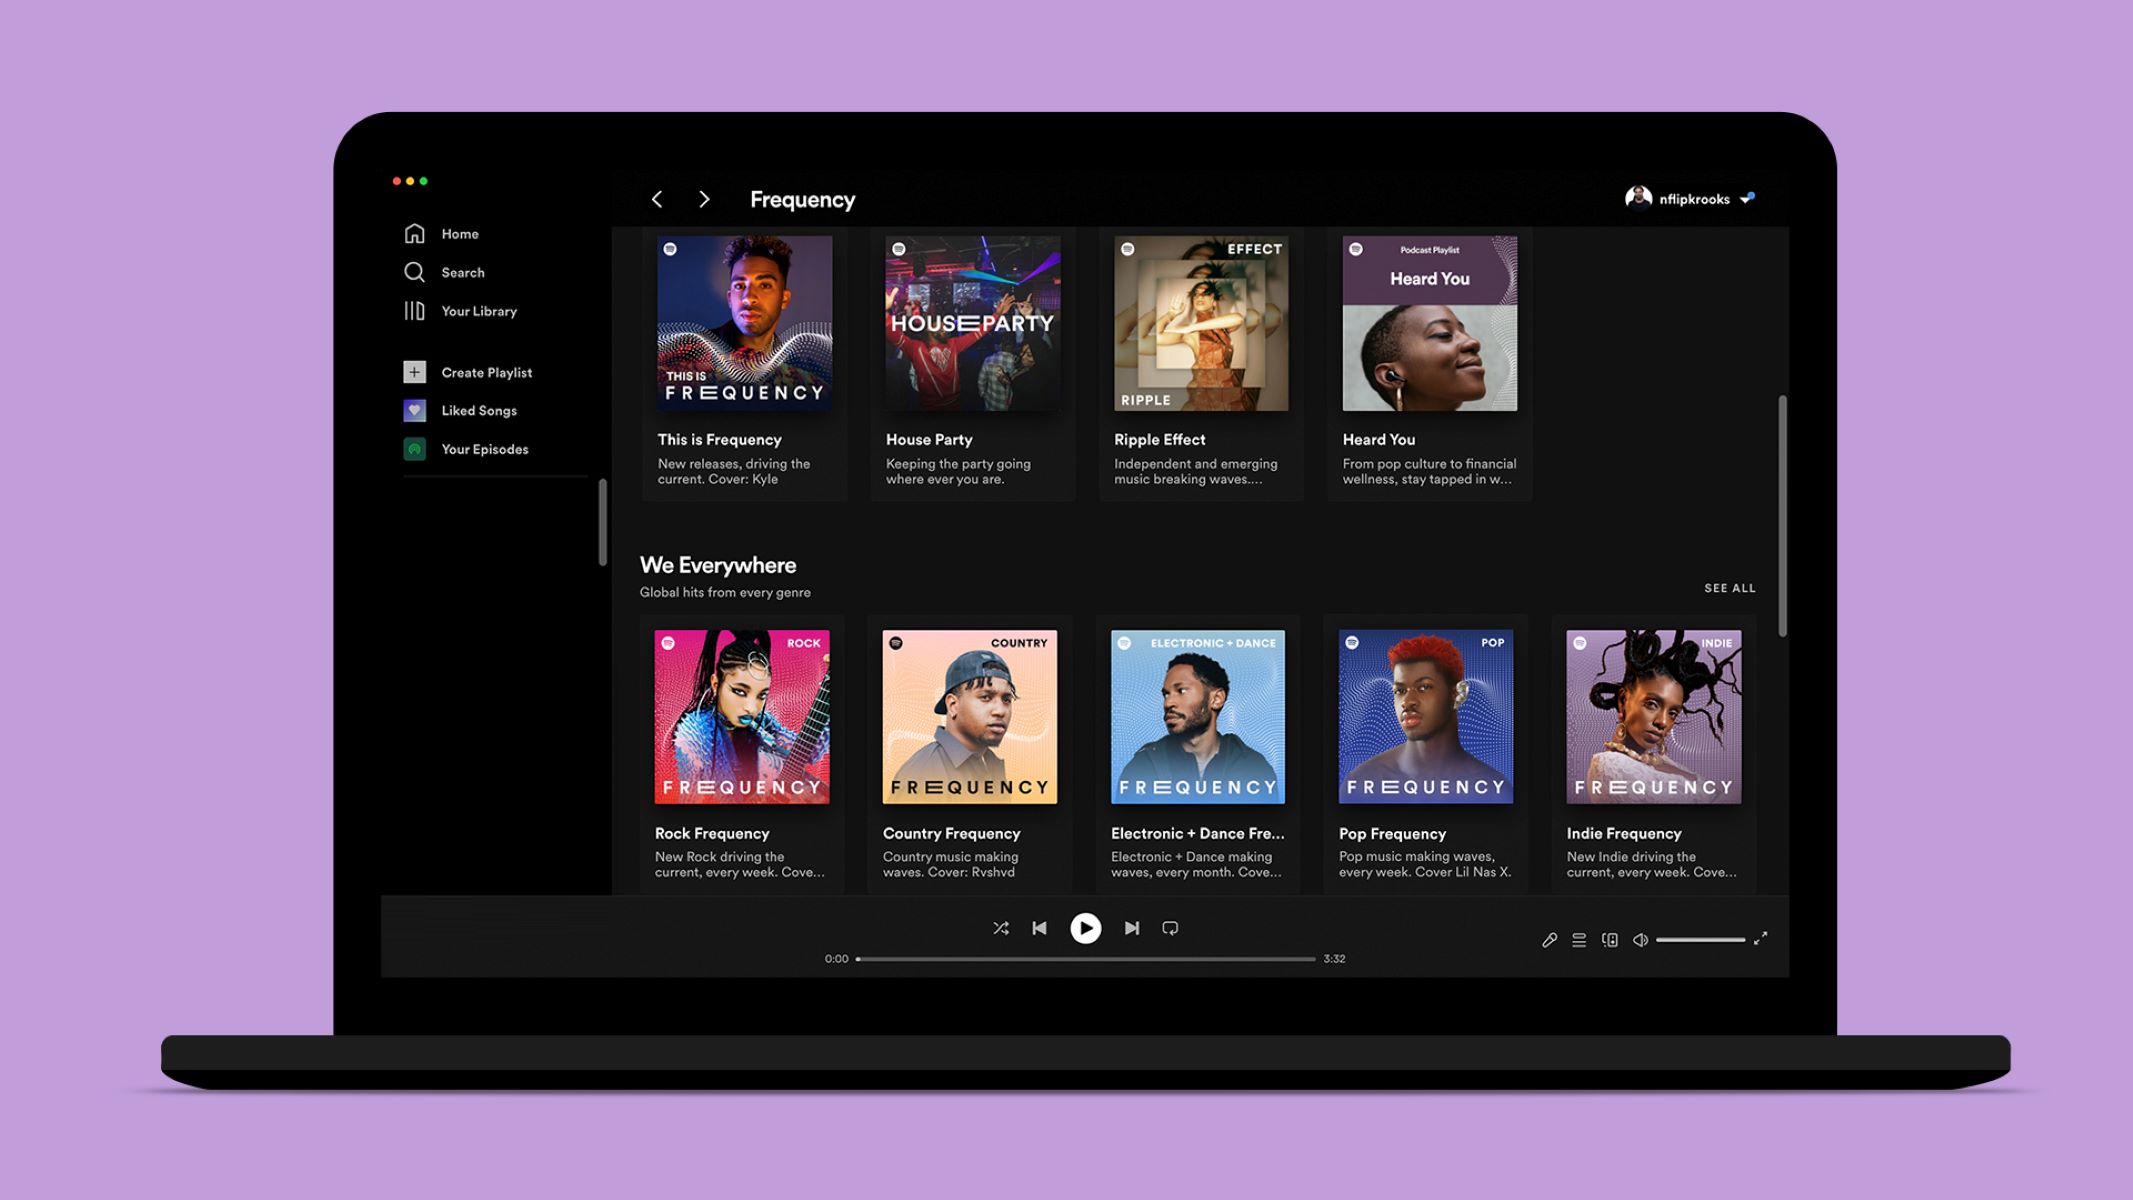
To find your playlist, look for the “Your Library” option in the navigation menu. On the desktop app, you can usually find it on the left-hand side of the screen. On mobile devices, it may be located in the bottom menu or accessible by tapping on the “Library” tab.
Click or tap on “Your Library” to access your collection of playlists and saved songs. From there, you should see a list of all the playlists associated with your account. Scroll through the list until you find the specific playlist you want to remove a song from.
If you have a large collection of playlists and are having trouble locating the right one, you can use the search bar within the “Your Library” section to search for the playlist by name. Simply type in the name or a keyword related to the playlist, and Spotify will display the search results.
Once you have found the desired playlist, click or tap on its name to open it. Congratulations! You are now ready to proceed to the next step and select the song you want to delete from your playlist.
Step 3: Select the Song to Delete
Now that you have navigated to your playlist in Spotify, it’s time to select the song you want to delete. This step is crucial to ensure that you remove the correct song from your playlist.
On both the desktop and mobile versions of Spotify, you’ll see a list of songs displayed within the selected playlist. Scroll through the list to find the specific song you want to delete. If you have a long playlist, you may need to use the search bar within the playlist to quickly locate the song.
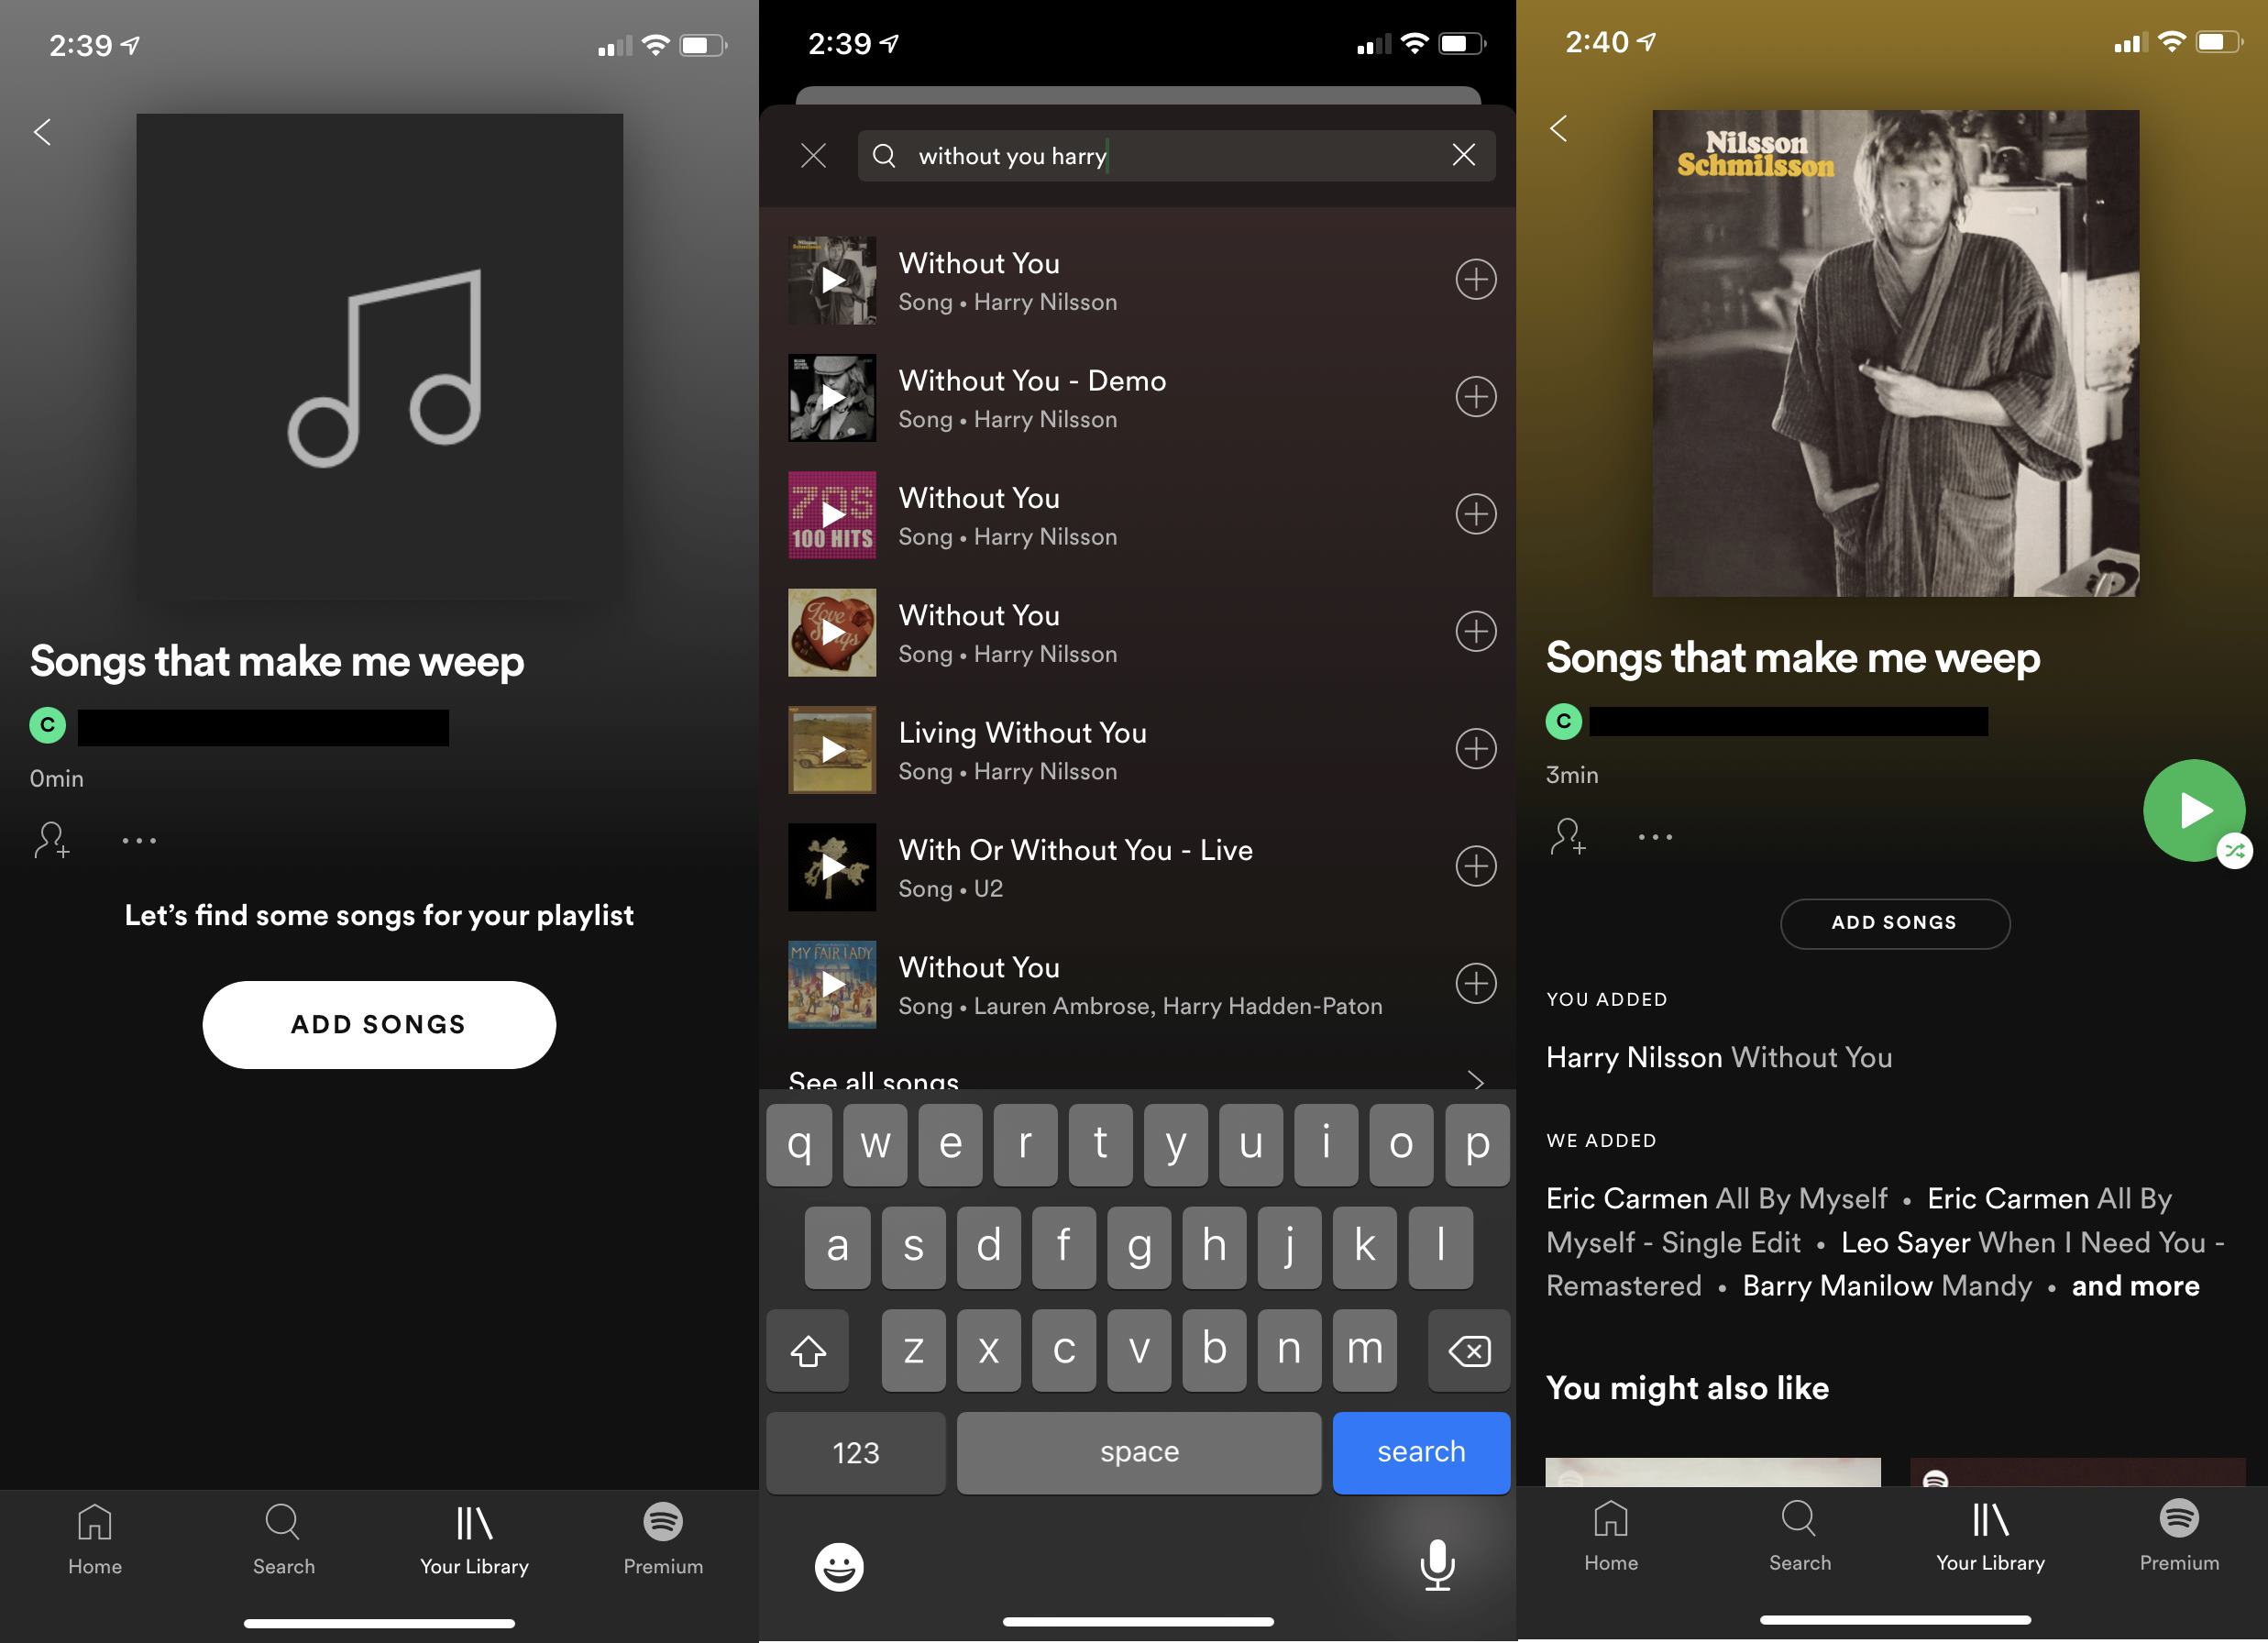
As you scroll, you can typically see important information about each song, such as the title, artist, and album cover. This can help you identify the desired song more easily. If you’re having trouble finding the song visually, you can try using the search function within the playlist by clicking or tapping on the magnifying glass icon and entering the song’s name or artist.
Once you have located the song you want to delete, it’s time to move on to the next step, where we will guide you through the process of removing the song from your playlist.
Step 4: Click on the Three Dots
After selecting the song you want to delete from your Spotify playlist, it’s time to access the options for managing the song. To do this, you need to click on the “Three Dots” icon located next to the song.
On the desktop app, you can usually find the “Three Dots” icon displayed when you hover your mouse cursor over the song’s title. Alternatively, you can right-click on the song to bring up a context menu, where you’ll find the options for managing the song.
On mobile devices, the “Three Dots” icon is typically located on the right-hand side of the song information, represented by vertical dots. Tap on this icon to access the song management options.
Clicking or tapping on the “Three Dots” icon will open a pop-up menu that contains various actions and settings related to the selected song. This menu serves as a hub for customizing the song within your playlist.
In the next step, we will explain how to use the options within this menu to remove the selected song from your Spotify playlist.
Step 5: Choose “Remove from Playlist”
Once you have clicked on the “Three Dots” icon next to the song you want to delete, a menu will appear with various options. To remove the selected song from your Spotify playlist, you need to choose the “Remove from Playlist” option.
In the menu that appears after clicking on the “Three Dots” icon, you will typically see several options such as “Add to Queue,” “Save to Your Library,” and “Share.” However, for this step, you specifically want to select the option that says “Remove from Playlist.”
In the desktop app, you can usually find the “Remove from Playlist” option within the context menu that appears when you click on the “Three Dots” icon. Simply hover your mouse cursor over the option and click to remove the song.
On mobile devices, the “Remove from Playlist” option is typically located near the top of the menu that appears after tapping on the “Three Dots” icon. Simply tap on the option to initiate the song removal process.
Once you have selected the “Remove from Playlist” option, the selected song will be removed from your Spotify playlist. However, keep in mind that this action is permanent and cannot be undone.
Now that you have successfully chosen the “Remove from Playlist” option, let’s move on to the next step to confirm the deletion of the song.
Step 6: Confirm the Deletion
After selecting the “Remove from Playlist” option for the song you wish to delete from your Spotify playlist, a confirmation prompt will typically appear to ensure that you intended to remove the song.
This step is important as it gives you a final opportunity to confirm the deletion and avoid any accidental removal of songs from your playlist.
In the confirmation prompt, Spotify usually displays a message asking if you are sure you want to remove the song from the playlist. It may also provide additional information, such as the song title and artist, to help you verify that you are deleting the correct song.
Take a moment to double-check the details of the song in question to ensure that it matches the one you intended to delete. This is especially important if you have multiple songs with similar titles or artists in your playlist.
If you are certain that you want to proceed with the deletion, simply click or tap on the “Confirm” or “Yes” button within the confirmation prompt. This will finalize the removal of the song from your Spotify playlist.
Once you have confirmed the deletion, the song will be permanently removed from your playlist. It will no longer be visible or available for playback in the playlist. However, do note that the song itself is not deleted from Spotify’s library — it is only removed from your specific playlist.
Now that you have successfully confirmed the deletion of the song, let’s move on to the final step where we’ll acknowledge the successful removal.
Step 7: Song Successfully Deleted
Congratulations! You have successfully deleted the unwanted song from your Spotify playlist. The song will no longer appear in your playlist, providing you with a cleaner and more refined collection of music.
Once the song is deleted, you can verify its removal by reviewing your playlist. Scroll through the playlist or use the search function to confirm that the song is no longer listed.
It’s important to note that deleting a song from your playlist does not affect any other playlists or saved songs in your Spotify library. The song will only be removed from the specific playlist you selected.
If you ever change your mind or want to add the song back to your playlist, you can always search for it within Spotify and add it again.
Deleting songs from your Spotify playlist allows you to curate and fine-tune your music collection to suit your current preferences and mood. It’s a simple and effective way to keep your playlists organized and tailored to your liking.
Now that you have successfully completed the process of deleting a song from your Spotify playlist, feel free to repeat these steps as needed for any additional songs you wish to remove.
Enjoy managing and customizing your Spotify playlists, and happy listening!
Conclusion
Deleting a song from your Spotify playlist is an easy and straightforward process that allows you to customize and refine your music collection. By following the step-by-step instructions outlined in this guide, you can easily remove unwanted songs from your playlist, ensuring that you have a playlist that aligns with your current musical preferences.
Opening Spotify, navigating to your playlist, and selecting the specific song you want to delete are the initial steps to begin the removal process. Clicking on the “Three Dots” icon provides access to the song management options, where you can choose the “Remove from Playlist” option to initiate the deletion.
Before the song is permanently removed, a confirmation prompt ensures that you intended to delete the selected song. Confirming the deletion will remove the song from your playlist, leaving you with a curated collection of your favorite tunes.
Remember that deleting a song from your playlist does not affect the song’s availability in Spotify’s library; it is only removed from your specific playlist. If you change your mind in the future, you can always search for and re-add the song to your playlist.
Take advantage of this simple yet powerful feature to maintain well-organized and personalized Spotify playlists. By constantly refining your playlist based on your evolving tastes and preferences, you can create a music collection that truly resonates with you.
So, whether you’re looking to revamp your workout playlist, create a mood-enhancing mix, or simply streamline your music choices, deleting songs from your Spotify playlist is an essential skill to have. Embrace the flexibility and customization options offered by Spotify, and enjoy a seamless and enjoyable music listening experience.
Now that you’re equipped with the knowledge to delete songs from your Spotify playlist, it’s time to put that knowledge into practice and start perfecting your playlists.


