Introduction
Spotify, one of the world’s leading music streaming platforms, has revolutionized the way we listen to music. With millions of songs at our fingertips, it’s easy to create personalized playlists for different moods, activities, and occasions. However, as our music collections grow, it becomes increasingly important to organize our Spotify playlists effectively.
Organizing your Spotify playlists not only makes it easier to find the songs you love but also enhances your overall listening experience. Whether you’re a music enthusiast, a party planner, or simply someone who enjoys discovering new tunes, having well-organized playlists can save you time and elevate your Spotify journey to new heights.
In this article, we’ll explore the various features and techniques that Spotify offers to help you organize your playlists like a pro. From creating new playlists and adding songs to rearranging tracks and managing folders, we will cover everything you need to know to streamline your music collection and maximize your enjoyment of Spotify.
So, if you’re ready to take control of your Spotify playlists and unlock the full potential of this incredible music streaming service, let’s dive in and discover how to organize your playlists effectively!
Why Organizing Spotify Playlists is Important
With an endless sea of music available on Spotify, having well-organized playlists can greatly enhance your music streaming experience. Here are a few key reasons why organizing your Spotify playlists is important:
- Efficient Music Discovery: By carefully curating and categorizing your playlists, you can easily find the right songs for any mood or occasion. Whether you’re in the mood for some upbeat tracks to boost your energy or soothing melodies for a relaxing evening, organized playlists allow you to quickly navigate through your music library and find the perfect tunes.
- Personalized Listening Experience: Organizing your playlists based on genres, artists, or themes allows you to create a tailored listening experience. You can create playlists for different activities such as working out, studying, or driving, ensuring that you have the right music playlist for every moment.
- Effortless Playlist Management: With a growing number of playlists, it can be overwhelming to manage them all. Organizing your playlists makes it easier to add, delete, and rearrange songs. It also enables you to update your playlists regularly with new releases or remove outdated tracks, keeping your music collection fresh and relevant.
- Sharing and Collaborating: Spotify makes it incredibly easy to share your playlists with friends, family, or even the global Spotify community. Organized playlists make it straightforward for others to discover and enjoy your carefully curated music selections. Additionally, you can collaborate with others on playlists, allowing you to create collaborative playlists for events or group projects.
- Simplified Navigation: When your playlists are well-organized, navigating through your music library becomes effortless. Instead of scrolling through long lists of songs, you can locate specific playlists and songs quickly. This saves time and frustration, allowing you to focus on enjoying your music rather than searching for it.
By recognizing the importance of organizing your Spotify playlists, you can optimize your listening experience and fully immerse yourself in the world of music. So let’s move on to the next section and explore how to create a new playlist on Spotify!
How to Create a New Playlist
Creating a new playlist on Spotify is a simple and straightforward process. Here’s a step-by-step guide to help you create your own personalized playlist:
- Open the Spotify app on your device or visit the Spotify website on your computer.
- Log in to your Spotify account. If you don’t have an account, you can easily sign up for free.
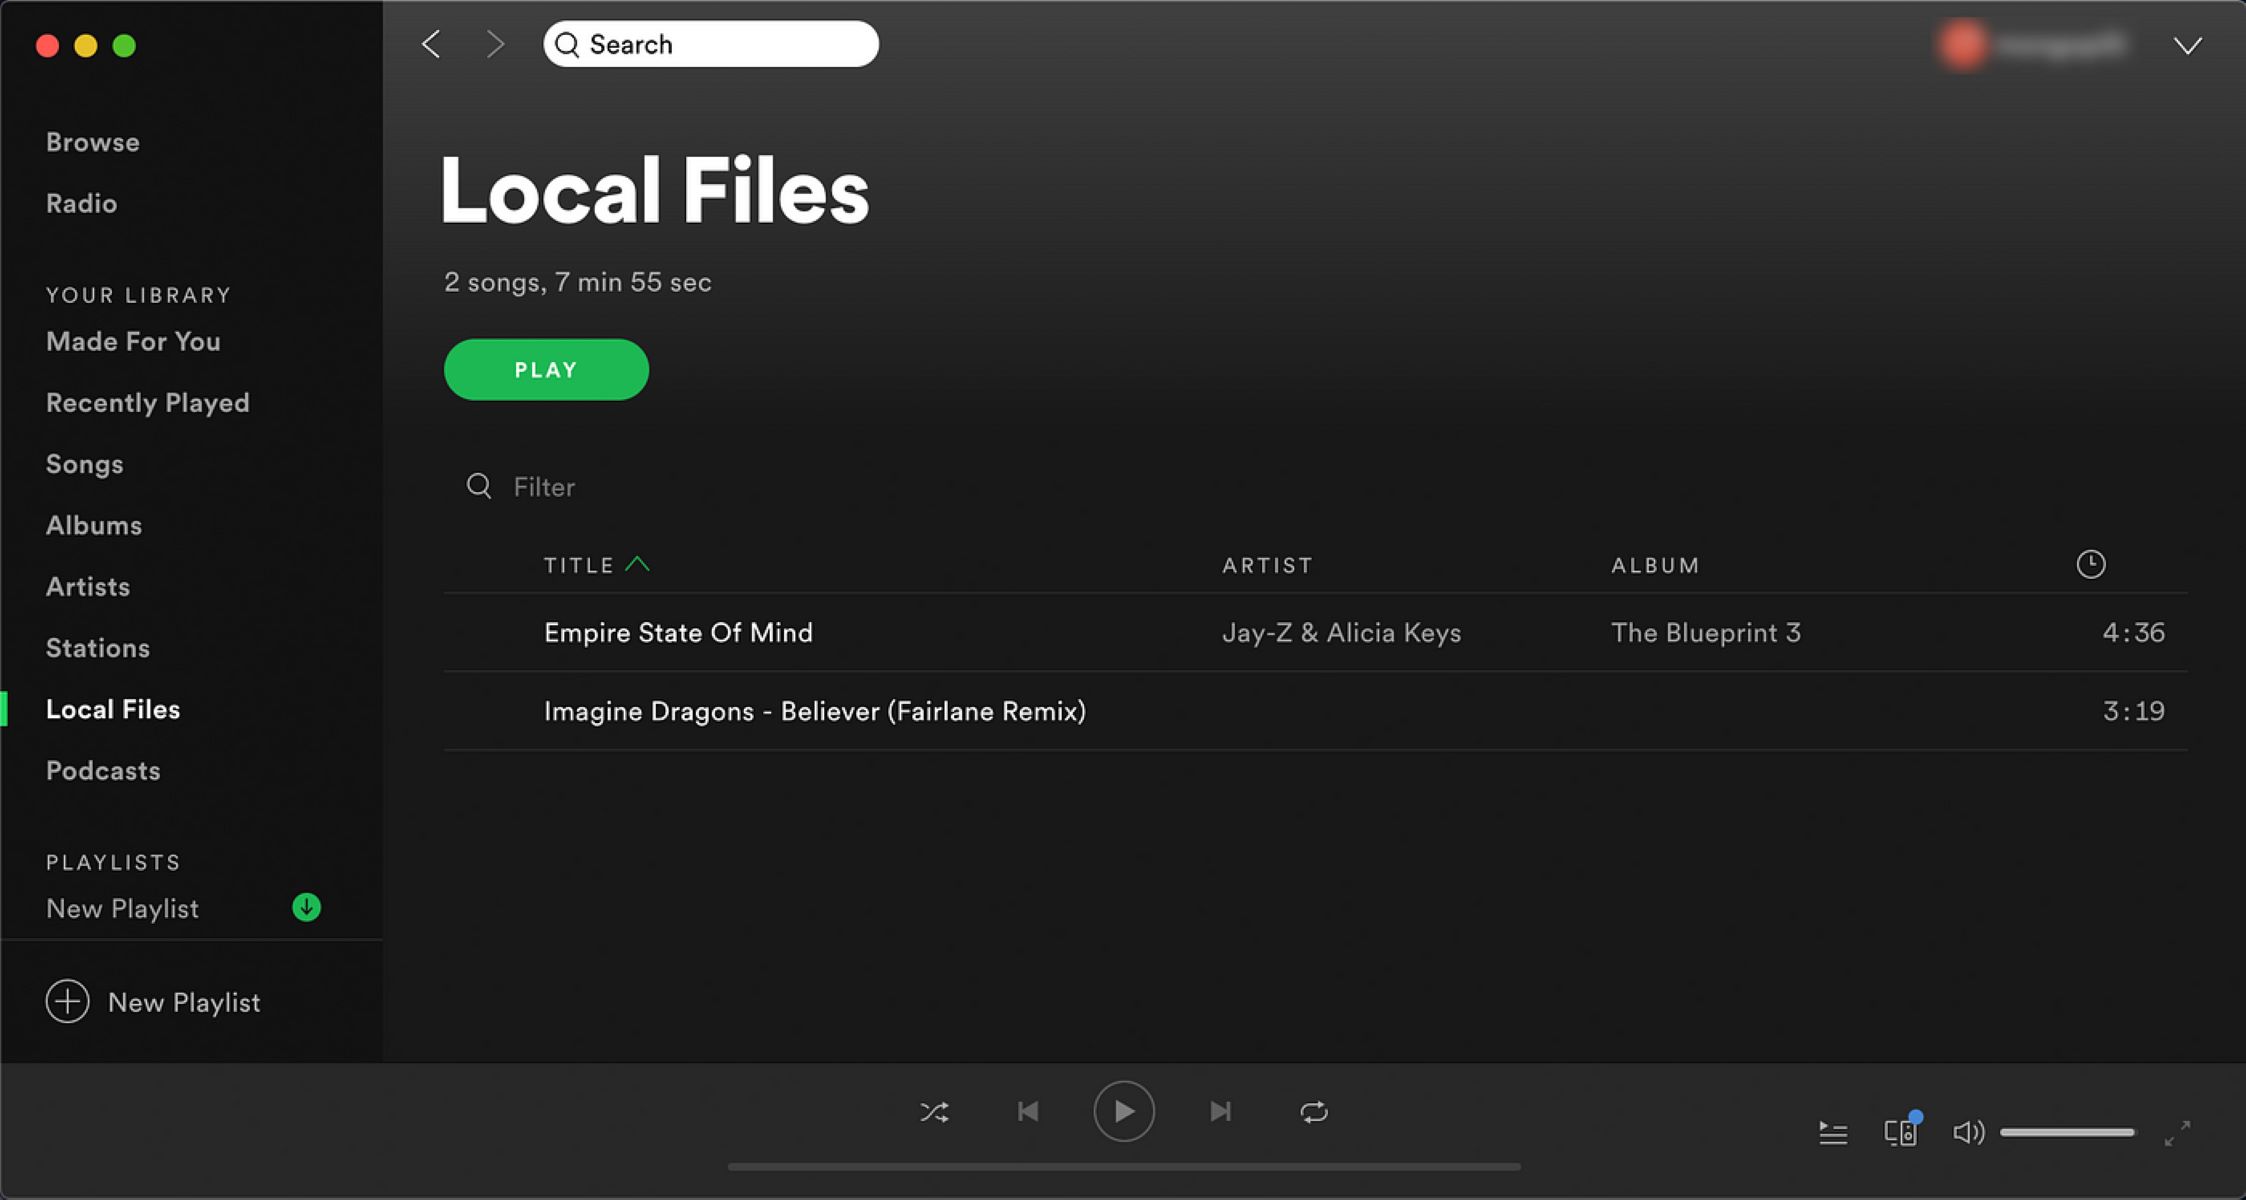
- In the Spotify homepage, navigate to the left sidebar and locate the “Your Library” section. Click on it to access your music library.
- Once inside your library, select the “Playlists” tab at the top of the page. Here, you’ll see all the playlists you’ve created.
- To create a new playlist, click on the “Create Playlist” button. It should be located near the top right corner of the playlists page.
- A pop-up window will appear, prompting you to enter a name for your playlist. Choose a descriptive name that reflects the theme or mood of the playlist.
- Optionally, you can also add a playlist description to provide more context about the playlist’s content.
- Click on the “Create” button to finalize your new playlist.
- Your new playlist will now appear in your playlists library. You can start adding songs to it right away.
That’s it! You’ve successfully created a new playlist on Spotify. You can repeat these steps to create as many playlists as you like, allowing you to organize your music collection according to your preferences.
Keep in mind that your playlists can be private or public. By default, when you create a new playlist, it is set to private. This means only you can access and listen to it. However, you can choose to make your playlist public so that others can discover and enjoy it.
Now that we’ve learned how to create a new playlist, let’s move on to the next section and explore how to add songs to a playlist.
How to Add Songs to a Playlist
Once you’ve created a playlist on Spotify, you can start adding songs to it. Here’s a step-by-step guide to help you add songs to your playlist:
- Open the Spotify app on your device or visit the Spotify website on your computer.
- Log in to your Spotify account if you haven’t already.
- Navigate to the “Your Library” section by clicking on it in the left sidebar.
- Click on the “Playlists” tab at the top of the page to access your playlists.
- Select the playlist to which you want to add songs.
- In the playlist view, you’ll see a search bar at the top. Use it to search for the songs you want to add to your playlist.
- Once you find a song you want to add, simply click on the three dots next to the song title.
- A drop-down menu will appear. Click on the “Add to Playlist” option.
- A list of your playlists will pop up. Choose the playlist you want to add the song to by clicking on it.
- The selected song will now be added to your chosen playlist.
- Repeat steps 6 to 10 for each song you want to add to your playlist.
It’s important to note that you can add songs to your playlist from different sources, such as your own music library, Spotify’s extensive catalog, or even other Spotify playlists. This flexibility allows you to create dynamic and diverse playlists that truly reflect your musical taste.
In addition to adding individual songs, you can also add entire albums or even entire playlists to your own playlists. This makes it even easier to curate your collection and discover new music to enjoy.
Now that you know how to add songs to your playlist, let’s move on to the next section where we’ll explore how to rearrange songs within a playlist.
How to Rearrange Songs in a Playlist
One of the great features of Spotify is the ability to rearrange the order of songs within a playlist. This gives you full control over the flow and sequence of your music. Here’s how you can rearrange songs in a playlist:
- Open the Spotify app on your device or visit the Spotify website on your computer.
- Log in to your Spotify account and navigate to the playlist you want to rearrange.
- In the playlist view, you’ll see a list of songs in the current order.
- To rearrange a song, hover your cursor over it to reveal the three horizontal lines on the left side of the song.
- Click and hold the three horizontal lines, then drag the song to the desired position within the playlist.
- Release the mouse button to drop the song into the new position.
- Repeat steps 4 to 6 to rearrange other songs in the playlist.
With this simple drag-and-drop functionality, you can easily customize the order of songs to suit your preferences. Whether you want to start with an energizing track, build up to a climactic moment, or create a seamless transition between songs, rearranging the order allows you to craft the perfect playlist experience.
In addition to rearranging songs within a playlist, Spotify also offers the option to sort the songs by various criteria, such as artist, album, or release date. This can be helpful if you want to organize your playlist in a specific way or quickly locate a particular song.
Now that you know how to rearrange songs in a playlist, let’s move on to the next section where we’ll explore how to rename a playlist on Spotify.
How to Rename a Playlist
Renaming a playlist on Spotify is a simple process that allows you to update the name of a playlist to better reflect its content or purpose. Here’s how you can rename a playlist:
- Open the Spotify app on your device or visit the Spotify website on your computer.
- Log in to your Spotify account and navigate to the playlist you want to rename.
- In the playlist view, locate the name of the playlist at the top.
- Click on the current playlist name to select it. You can also click on the pencil icon next to the name.
- Type in the new desired name for your playlist.
- Hit Enter or click outside the text box to save the new name.
That’s it! The playlist will now be updated with the new name you’ve chosen. It’s important to note that the new name will be reflected not just for you but for anyone who has access to the playlist, including those you share it with.
Renaming a playlist can be useful in various scenarios. You may decide to change the name of a playlist to better represent its genre, mood, or theme. Alternatively, you might want to update the name to reflect a specific event or occasion for which the playlist was created.
Remember that you can rename your playlist as many times as you like, allowing you to refine and fine-tune the playlist’s identity over time.
Now that you know how to rename a playlist, let’s move on to the next section where we’ll explore how to delete a playlist on Spotify.
How to Delete a Playlist
If you no longer need a playlist on Spotify or simply want a fresh start, you can easily delete it. Here’s how you can delete a playlist on Spotify:
- Open the Spotify app on your device or visit the Spotify website on your computer.
- Log in to your Spotify account and navigate to the playlist you want to delete.
- In the playlist view, locate the three dots (…) next to the playlist name.
- Click on the three dots to reveal a dropdown menu with various options.
- From the dropdown menu, select the “Delete” or “Remove” option, depending on your device or platform.
- A confirmation message will appear, asking if you’re sure you want to delete the playlist. Confirm your action by clicking “Yes” or “Delete”.
Once you confirm the deletion, the playlist will be permanently removed from your Spotify account. It’s important to note that this action cannot be undone, so make sure you want to delete the playlist before proceeding.
Deleting a playlist is useful when you want to declutter your collection or remove playlists that are no longer relevant to your preferences or activities. However, it’s worth considering if there are any shared or collaborative playlists that others may still be using or contributing to, as deleting those playlists will also remove them for everyone involved.
Now that you know how to delete a playlist on Spotify, let’s move on to the next section where we’ll explore how to create folders to organize your playlists.
How to Create Folders to Organize Playlists
If you have a large number of playlists on Spotify, organizing them into folders can help you maintain a neat and structured music library. Here’s how you can create folders to organize your playlists:
- Open the Spotify app on your device or visit the Spotify website on your computer.
- Log in to your Spotify account and navigate to the “Your Library” section.
- In the left sidebar, locate the “+ New Playlist” button and click on it. A dropdown menu will appear.
- From the dropdown menu, select the “Create Folder” option.
- A pop-up window will appear, prompting you to enter a name for your folder. Type in a descriptive name that represents the category or theme of the playlists you will store in the folder.
- Click on the “Create” button to create the new folder.
- The folder will appear in the left sidebar under the “Playlists” section.
- To add playlists to the folder, simply drag and drop them onto the folder label in the left sidebar.
You can create as many folders as you like and place playlists within them according to your desired organization system. For example, you can have folders for different genres, moods, activities, or even specific time periods.
Creating folders makes it easier to navigate through your playlists and find the ones you’re looking for. This streamlined organization allows you to maintain a clear overview of your music library and access the right playlist for any occasion with just a few clicks.
Now that you know how to create folders to organize your playlists, let’s move on to the next section where we’ll explore how to add a playlist to a folder.
How to Add a Playlist to a Folder
Once you have created folders to organize your Spotify playlists, you may want to add existing playlists into those folders. Here’s how you can add a playlist to a folder:
- Open the Spotify app on your device or visit the Spotify website on your computer.
- Log in to your Spotify account and locate the playlist you want to add to a folder.
- In the left sidebar under the “Playlists” section, find the folder where you want to add the playlist.
- Click and hold the playlist you want to move, and drag it over the folder label.
- Drop the playlist onto the folder label to add it to the folder.
By following these simple steps, you can efficiently organize your playlists into folders that suit your preferred categorization system. Adding playlists to folders helps to reduce clutter and provides a more streamlined and visually pleasing music library.
Note that you can add a playlist to multiple folders if it fits into multiple categories. This gives you the flexibility to create a hierarchical organization structure that best reflects your unique music collection.
Now that you know how to add a playlist to a folder, let’s move on to the next section where we’ll explore how to remove a playlist from a folder.
How to Remove a Playlist from a Folder
If you want to reorganize your Spotify playlists or simply remove a playlist from a folder, you can easily do so. Here’s how you can remove a playlist from a folder:
- Open the Spotify app on your device or visit the Spotify website on your computer.
- Log in to your Spotify account and navigate to the folder that contains the playlist you want to remove.
- In the folder view, find the playlist you wish to remove.
- Click and hold the playlist, and drag it outside of the folder.
- Release the mouse button to drop the playlist outside of the folder.
Following these simple steps will remove the selected playlist from the folder, but it will still remain in your music library as an individual playlist.
Removing a playlist from a folder is useful if you want to reorganize your playlists or if a particular playlist no longer fits within the theme or category of the folder. It gives you the flexibility to make changes to your organization system and adapt it to your evolving music preferences.
Keep in mind that removing a playlist from a folder does not delete the playlist itself. The playlist will still be accessible in your music library, whether you decide to place it in another folder or leave it as a standalone playlist.
Now that you know how to remove a playlist from a folder, let’s move on to the next section where we’ll provide some tips for organizing your playlists efficiently.
Tips for Organizing Playlists Efficiently
Organizing your Spotify playlists efficiently can help you make the most of your music library. Here are some tips to help you keep your playlists well-organized and easily accessible:
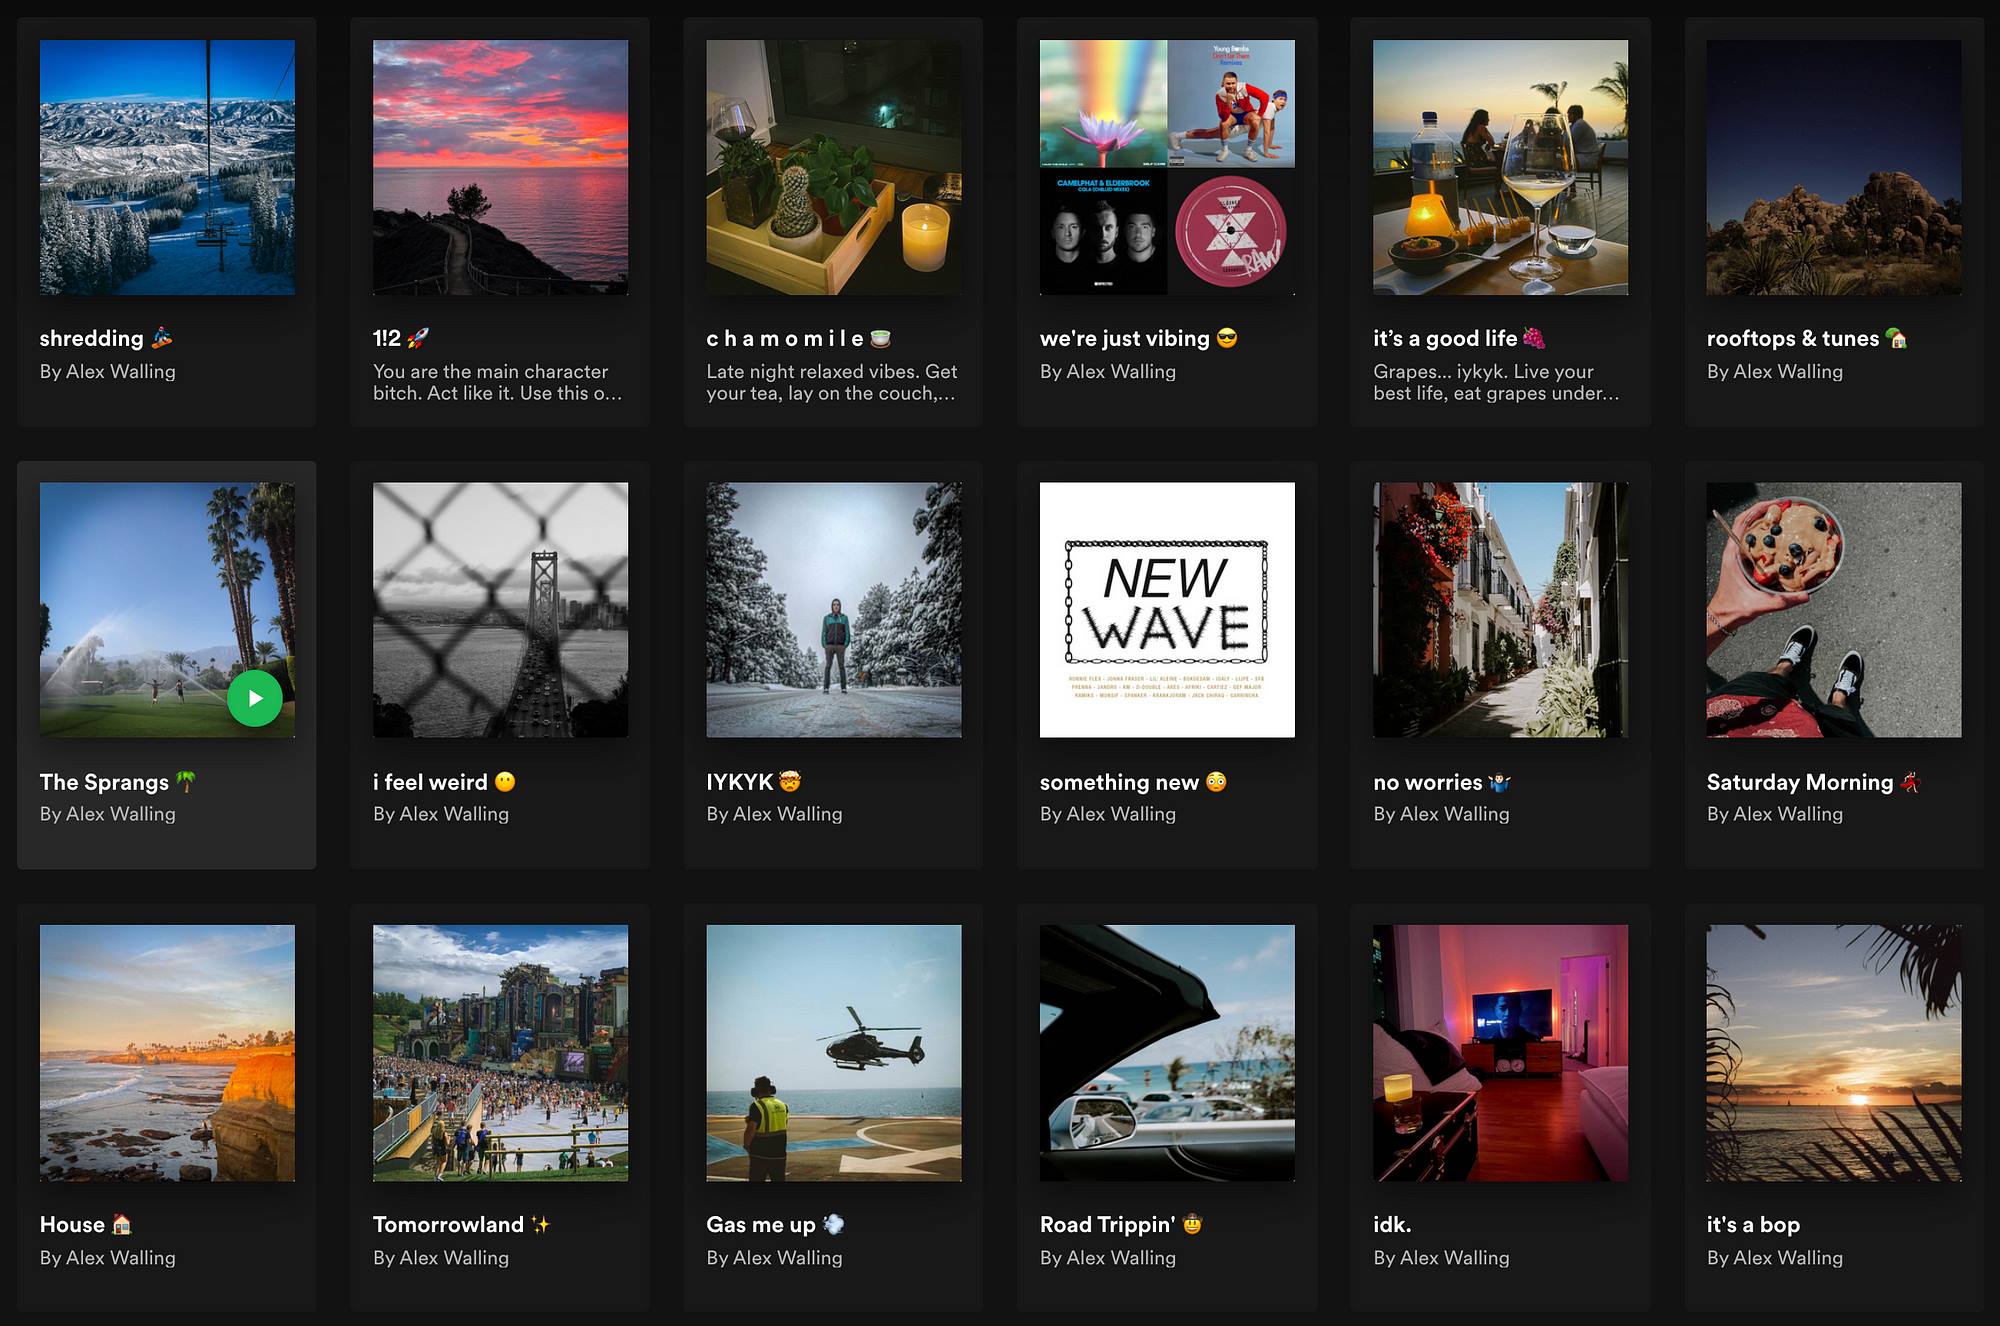
- Use Descriptive Names: When creating playlists, choose names that accurately reflect the theme, genre, or mood of the playlist. This will make it easier to identify and find the right playlist quickly.
- Create Logical Categories: Consider creating folders to group similar playlists together. Whether it’s by genre, activity, or any other criteria that makes sense to you, using folders can streamline your playlist organization and provide a systematic structure.
- Regularly Update and Maintain: Regularly review your playlists to remove any songs that no longer fit or are outdated. This helps keep your playlists fresh and ensures they reflect your evolving musical taste.
- Utilize Collaborative Playlists: Collaborative playlists allow you to create shared playlists with friends, family, or colleagues. This can be useful for parties, group projects, or simply discovering new music together.
- Add Playlist Descriptions: To provide more context for your playlists, consider adding descriptions that explain the intended mood, purpose, or theme. This enhances the listening experience for yourself and anyone who discovers your playlist.
- Sort by Various Criteria: Take advantage of Spotify’s sorting options. You can sort your playlists by title, artist, or recently added to quickly find the songs you’re looking for.
- Utilize Playlist Covers: Customize your playlist covers with visually appealing images or artwork that represents the playlist’s content. This adds a personal touch and makes your playlists visually appealing.
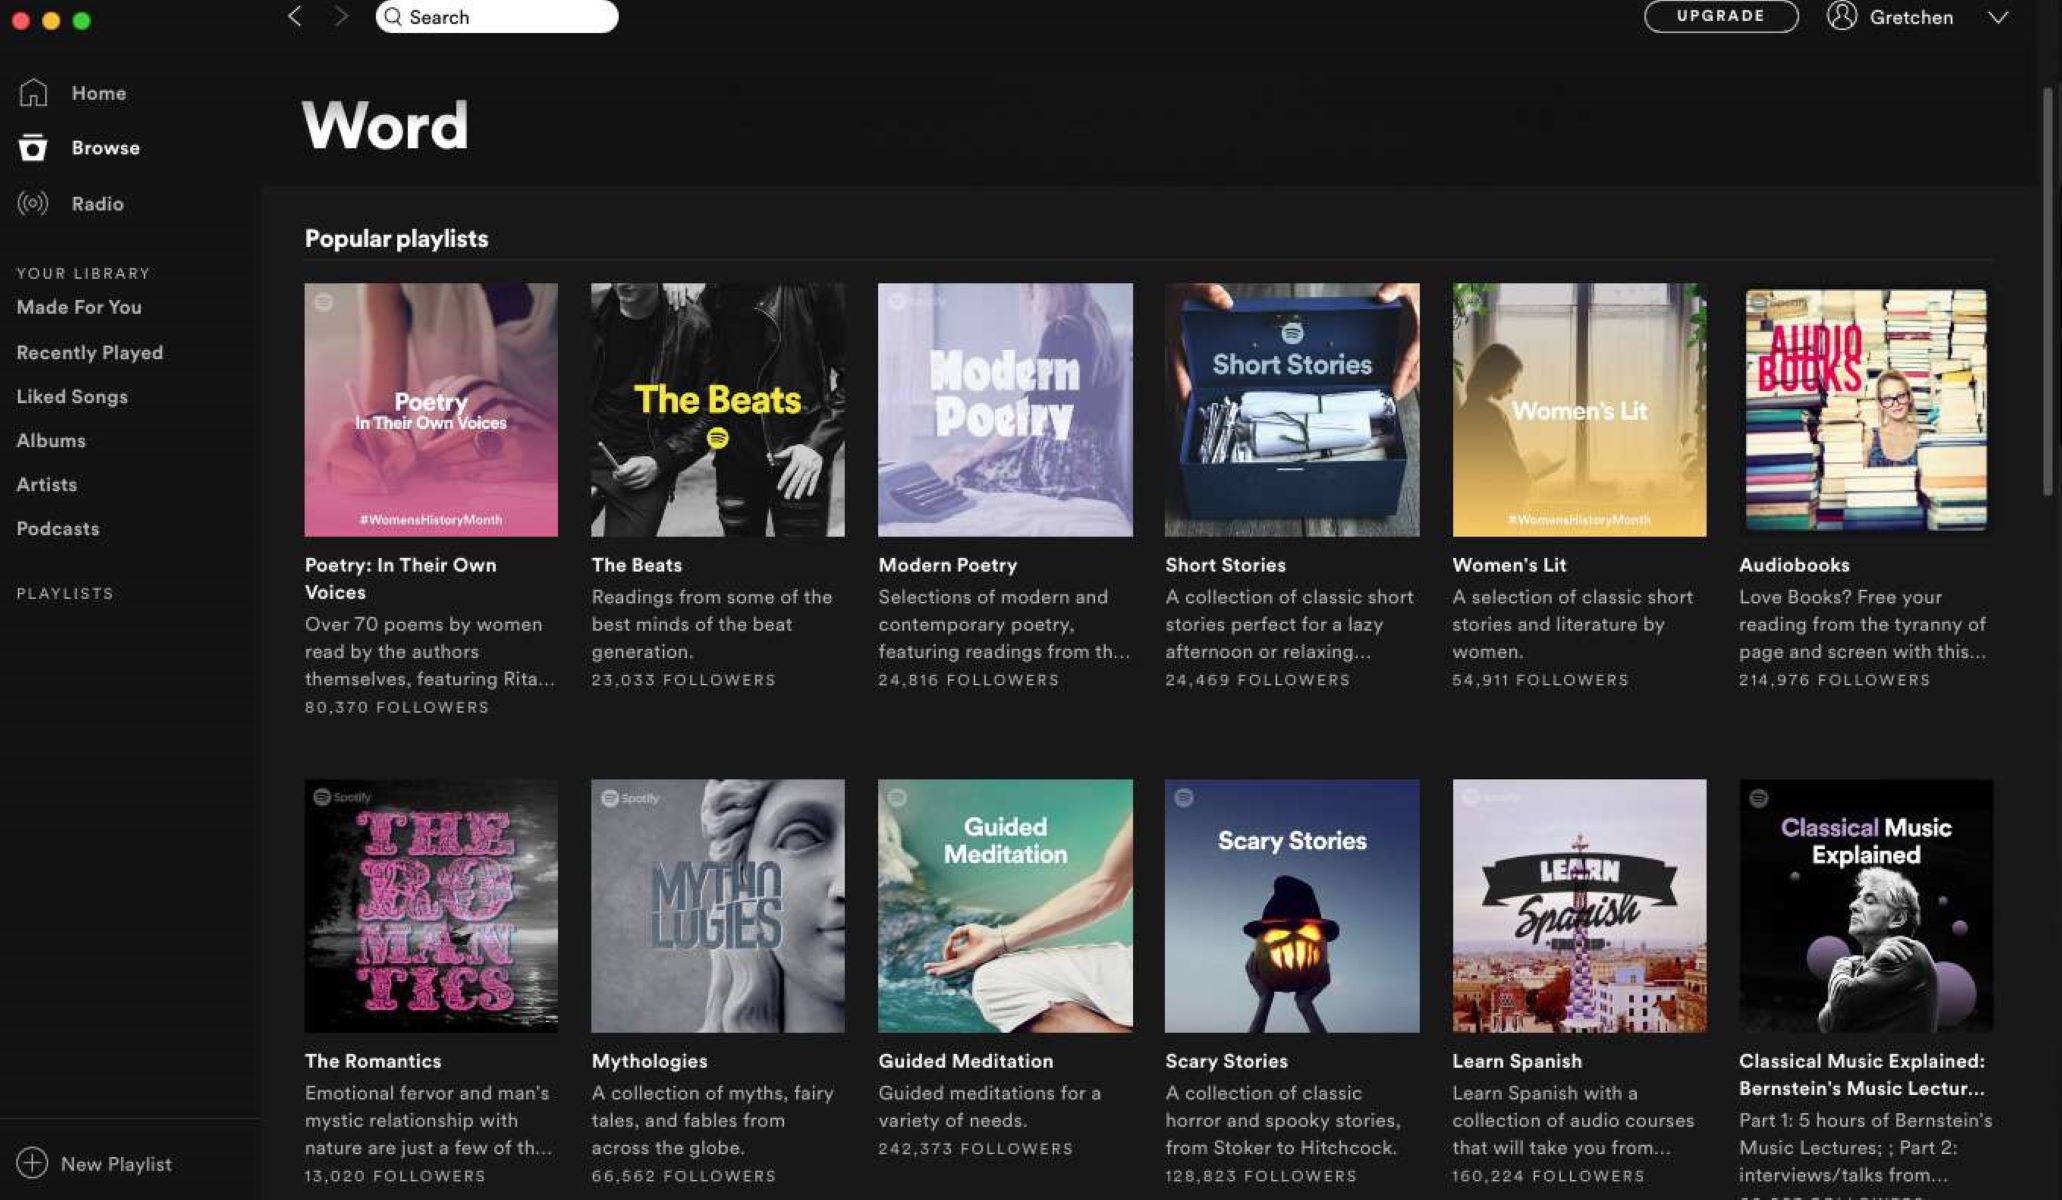
- Collaborate with Spotify’s Recommendations: Explore Spotify’s recommendations and “Discover Weekly” playlists to discover new songs and artists that align with your musical taste. Adding these recommendations to specific playlists can help with music discovery and broaden your listening experience.
- Consider Mood-Based Playlists: Create playlists for different moods or occasions, such as relaxing, upbeat, or studying. This allows you to easily switch between playlists depending on your mood or the environment.
By following these tips and incorporating them into your playlist organization routine, you can maintain a well-organized music library that enhances your overall Spotify experience.
Now that you have a set of strategies for organizing your playlists effectively, you’re ready to take control of your music collection and enjoy the diverse world of music available on Spotify.
Conclusion
Organizing your Spotify playlists is a valuable endeavor that can greatly enhance your music streaming experience. With the ability to create new playlists, add songs, rearrange tracks, rename playlists, create folders, and more, Spotify offers robust features to help you organize your music library efficiently.
By organizing your playlists, you can quickly and easily discover the right songs for any mood, activity, or occasion. Whether you’re creating a playlist for a workout, a dinner party, or a relaxing evening at home, organizing your music collection allows you to curate personalized listening experiences tailored to your unique preferences.
With the ability to collaborate, share, and explore Spotify’s extensive music catalog, organizing your playlists enables you to connect with others through the power of music. Whether you’re sharing your favorite tracks with friends, collaborating on a playlist, or discovering new songs through Spotify’s recommendations, the possibilities are endless.
Remember to employ efficient playlist management practices such as regularly updating your playlists, utilizing playlist descriptions and covers, and sorting your playlists to maintain a streamlined and enjoyable listening experience.
So, start organizing your Spotify playlists today and unlock the full potential of this incredible music streaming platform. Build the perfect soundtracks for your life, discover new artists, and embark on a musical journey like never before.