Introduction
Welcome to Spotify, the popular music streaming platform that allows you to create and share your own personalized playlists. Whether you’re a music enthusiast, a professional DJ, or just someone who loves curating your own music collection, Spotify provides a user-friendly interface to create and manage playlists with ease.
In this article, we will guide you through the process of making a playlist on Spotify, step by step. We’ll cover everything from logging into your account to customizing your playlist cover image and sharing it with others. So, grab your headphones and let’s get started!
Creating a playlist on Spotify not only allows you to organize your favorite songs but also opens up possibilities to discover new music and share your taste with friends and followers. Whether you’re looking to create a playlist for a cozy night in or a high-energy workout session, Spotify has you covered.
With millions of songs available at your fingertips, making a playlist on Spotify is a fun and creative way to curate a collection of tracks that suits your mood and preferences. You can add songs from various genres, artists, and albums, or even explore curated playlists created by Spotify’s team of music experts.
Once you’ve created your playlist, you can customize it by rearranging the songs, adding or removing tracks, and even collaborating with others to create the ultimate playlist. Whether you want to keep your playlist private or share it with the world, Spotify provides options to suit your needs.
So without further ado, let’s dive into the steps for creating your very own playlist on Spotify!
Step 1: Log into your Spotify account
The first step in creating a playlist on Spotify is to log into your account. If you’re a new user, you’ll need to sign up for a Spotify account. Once you have an account, follow these simple steps:
- Open a web browser and go to the Spotify website.
- Click on the “Log In” button located at the top-right corner of the page.
- Enter your Spotify username or email address followed by your password.
- Click on the “Log In” button to access your personal Spotify account.
If you prefer using the Spotify desktop application, you can download and install it on your computer. After installation, simply launch the application and log in using your credentials.
Logging into your Spotify account is essential to access all the features and functionalities that Spotify has to offer. It ensures that your playlists and preferences are saved and can be accessed from any device, allowing you to enjoy a seamless music streaming experience.
If you encounter any issues logging in, make sure you’ve entered the correct username or email address and password. You can also try resetting your password if you’ve forgotten it.
Now that you’re logged into your Spotify account, it’s time to move on to the next step and start creating your playlist.
Step 2: Navigate to the “Your Library” page
Once you’re logged into your Spotify account, the next step is to navigate to the “Your Library” page. This is where you’ll find all your saved music, playlists, and other personal preferences. Follow these steps to get there:
- Look for the “Home” button located in the bottom-left corner of the Spotify application or website and click on it. This will take you to the main homepage.
- In the top-left corner of the screen, you’ll see a series of options. Click on “Your Library.” This will open up your personalized library page.
In the Spotify mobile app, you can access the “Your Library” page by tapping on the “Your Library” icon, usually located at the bottom of the screen.
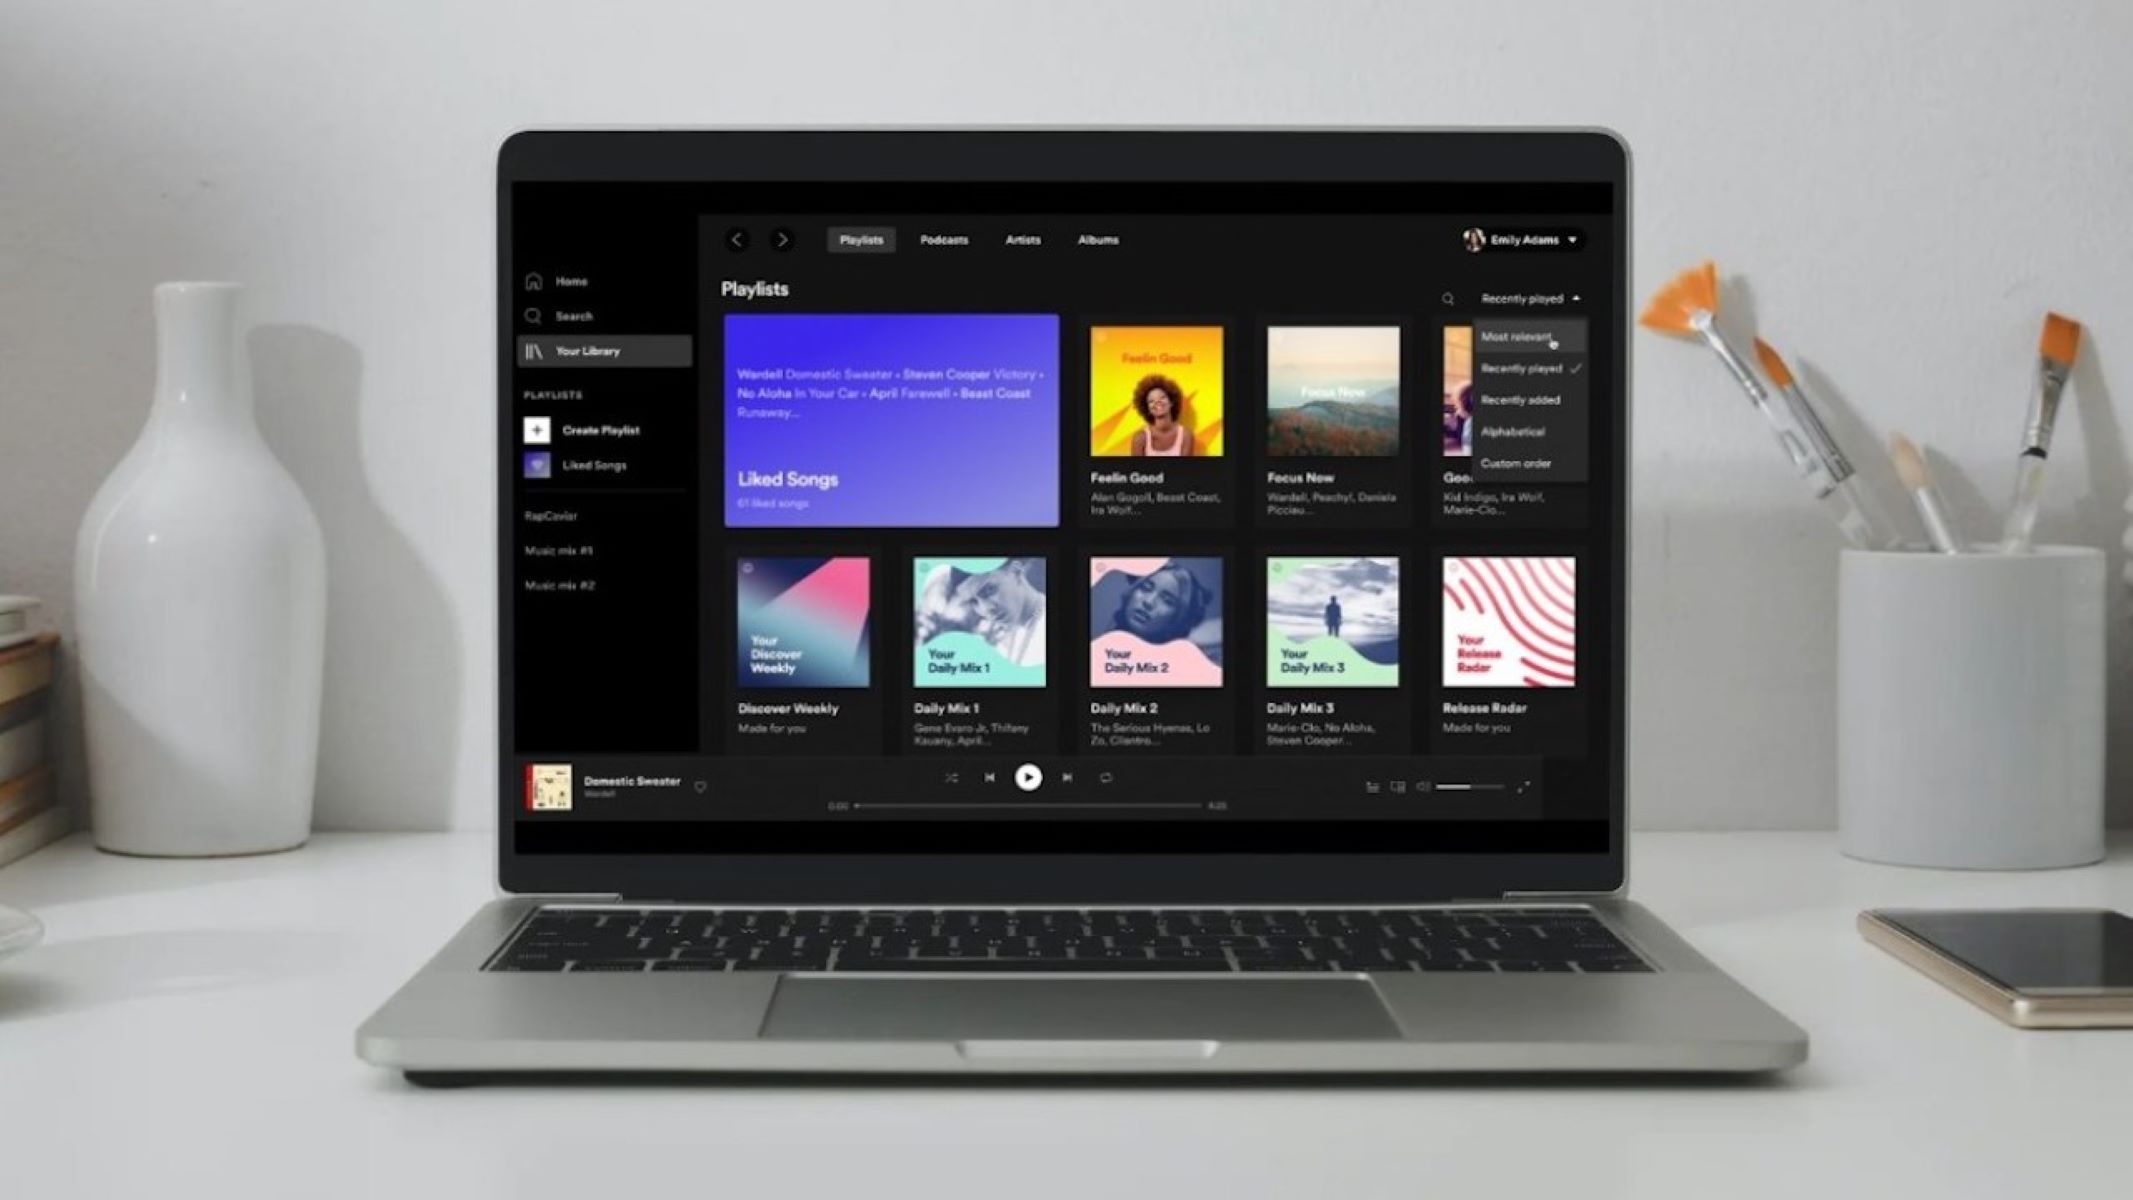
On the “Your Library” page, you’ll find different sections, including playlists, artists, albums, and songs. This is where you can manage your existing playlists, create new ones, and explore your music collection.
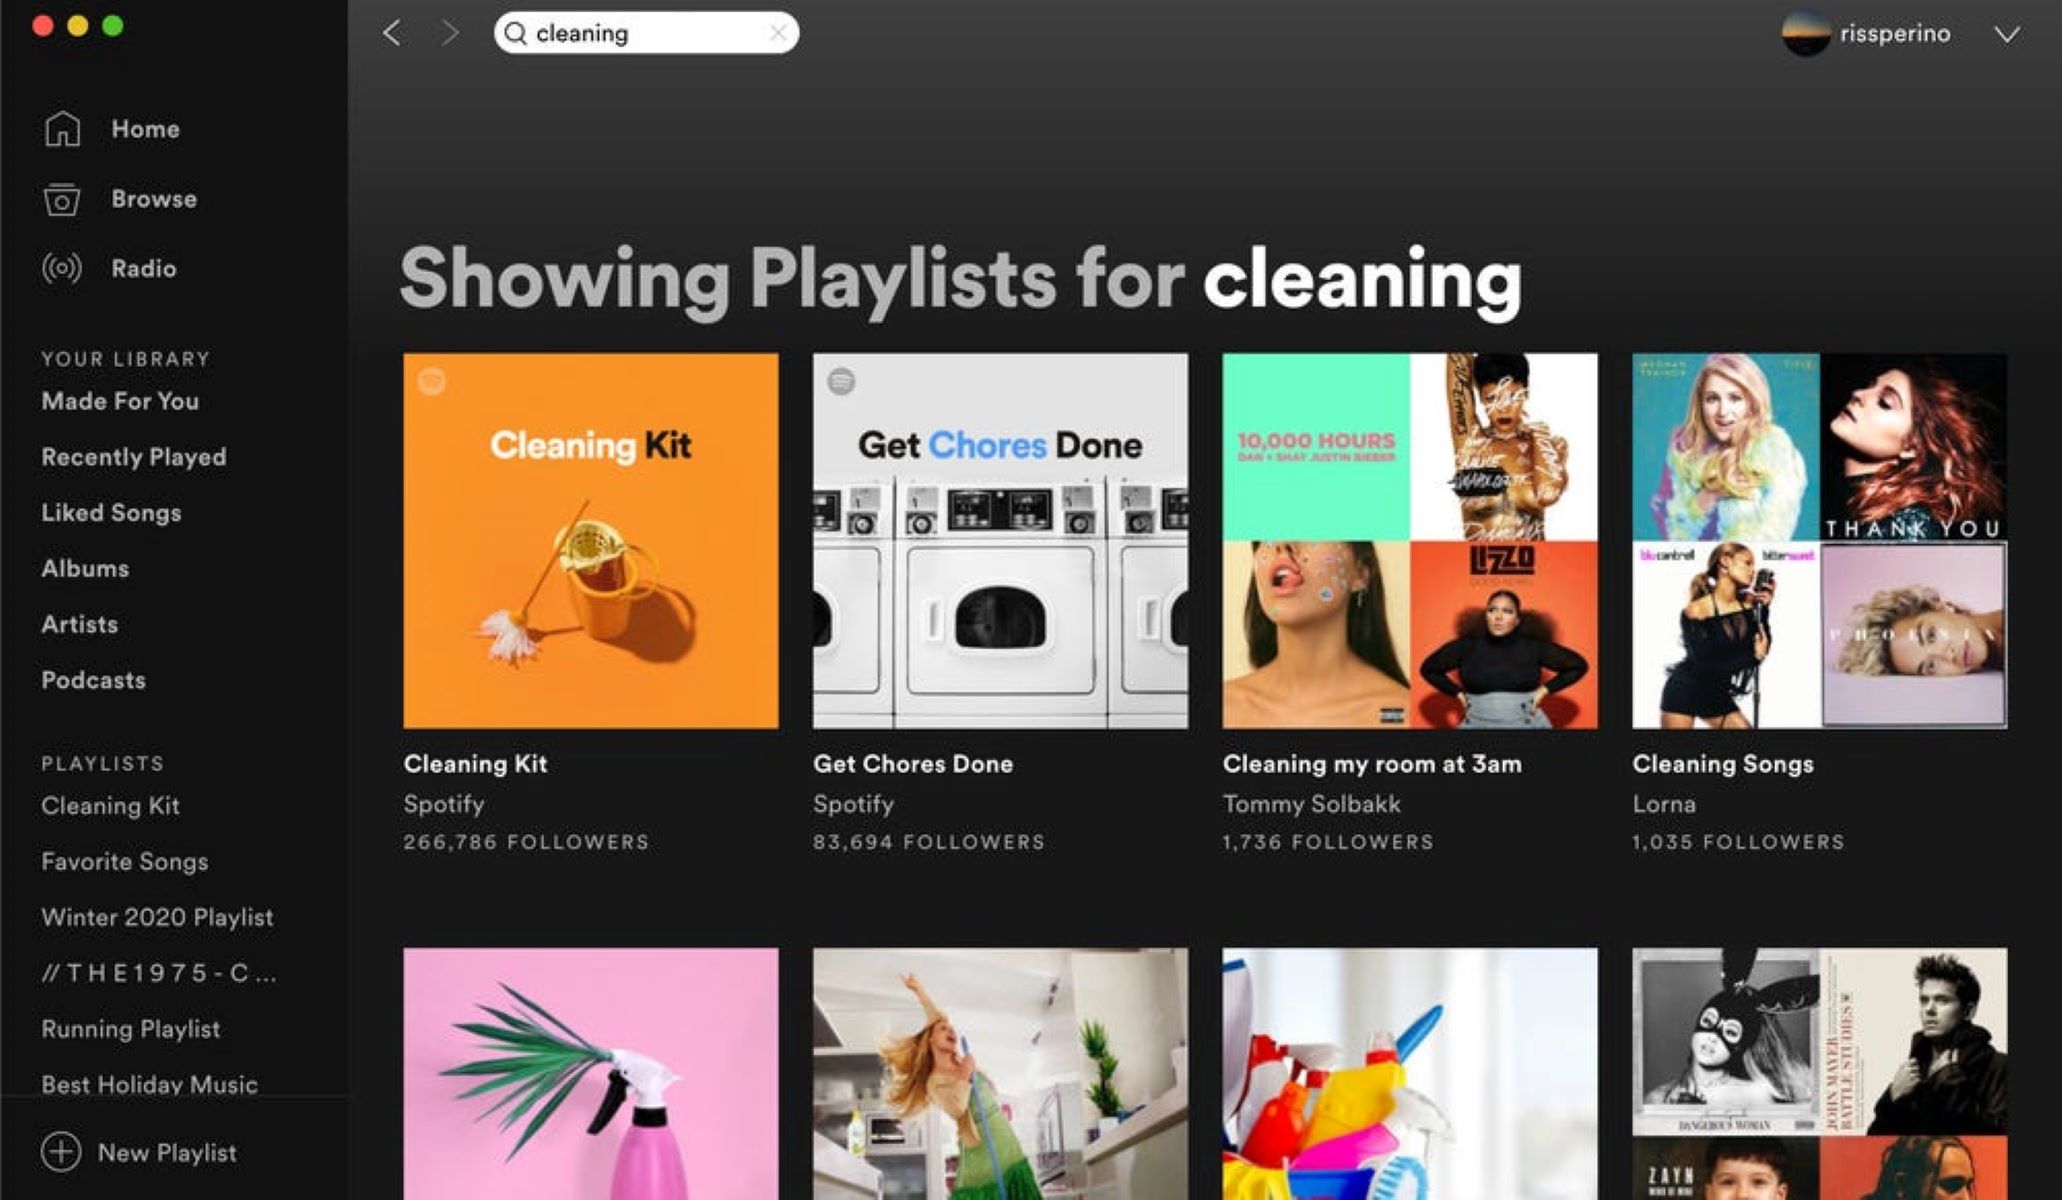
By default, Spotify will display your playlists in the “Playlists” section. You can scroll through the list or use the search bar to find a specific playlist if you have a large collection.
Now that you’re on the “Your Library” page, it’s time to move on to the next step and create a new playlist.
Step 3: Click on “Create Playlist”
Once you’ve reached the “Your Library” page on Spotify, the next step in creating a playlist is to click on the “Create Playlist” button. This will allow you to start a new playlist from scratch. Here’s how to do it:
- On the “Your Library” page, look for the “Create Playlist” button. On the desktop application, it’s usually located at the top-right corner of the page. On the mobile app, you can find it at the bottom of the screen, next to the “Your Library” icon.
- Click on the “Create Playlist” button to proceed.
After clicking on the “Create Playlist” button, you’ll be prompted to give your playlist a name.
Coming up with a creative and descriptive name for your playlist can help you organize your music and make it easier to remember the theme or mood of the playlist. For example, if you’re creating a playlist for a workout session, you could name it “Pump-Up Workout Beats.”
Once you’ve decided on a name, enter it in the provided text field and click on the “Create” or “Save” button. Congratulations! You’ve successfully created a new playlist on Spotify.
Remember, you can always edit the name of your playlist later by clicking on the playlist in your library and selecting the “Edit Details” option.
Now that you have a blank playlist, it’s time to start adding songs to it. The next step will guide you through the process of adding your favorite tracks to your newly created playlist.
Step 4: Name your playlist
After clicking on the “Create Playlist” button, you’ll be prompted to give your playlist a name. Naming your playlist not only helps you stay organized but also adds a personal touch to your collection. Follow these steps to name your playlist:
- When prompted, click on the text field where it says “Name” or “Untitled Playlist.” This will allow you to enter a custom name for your playlist.
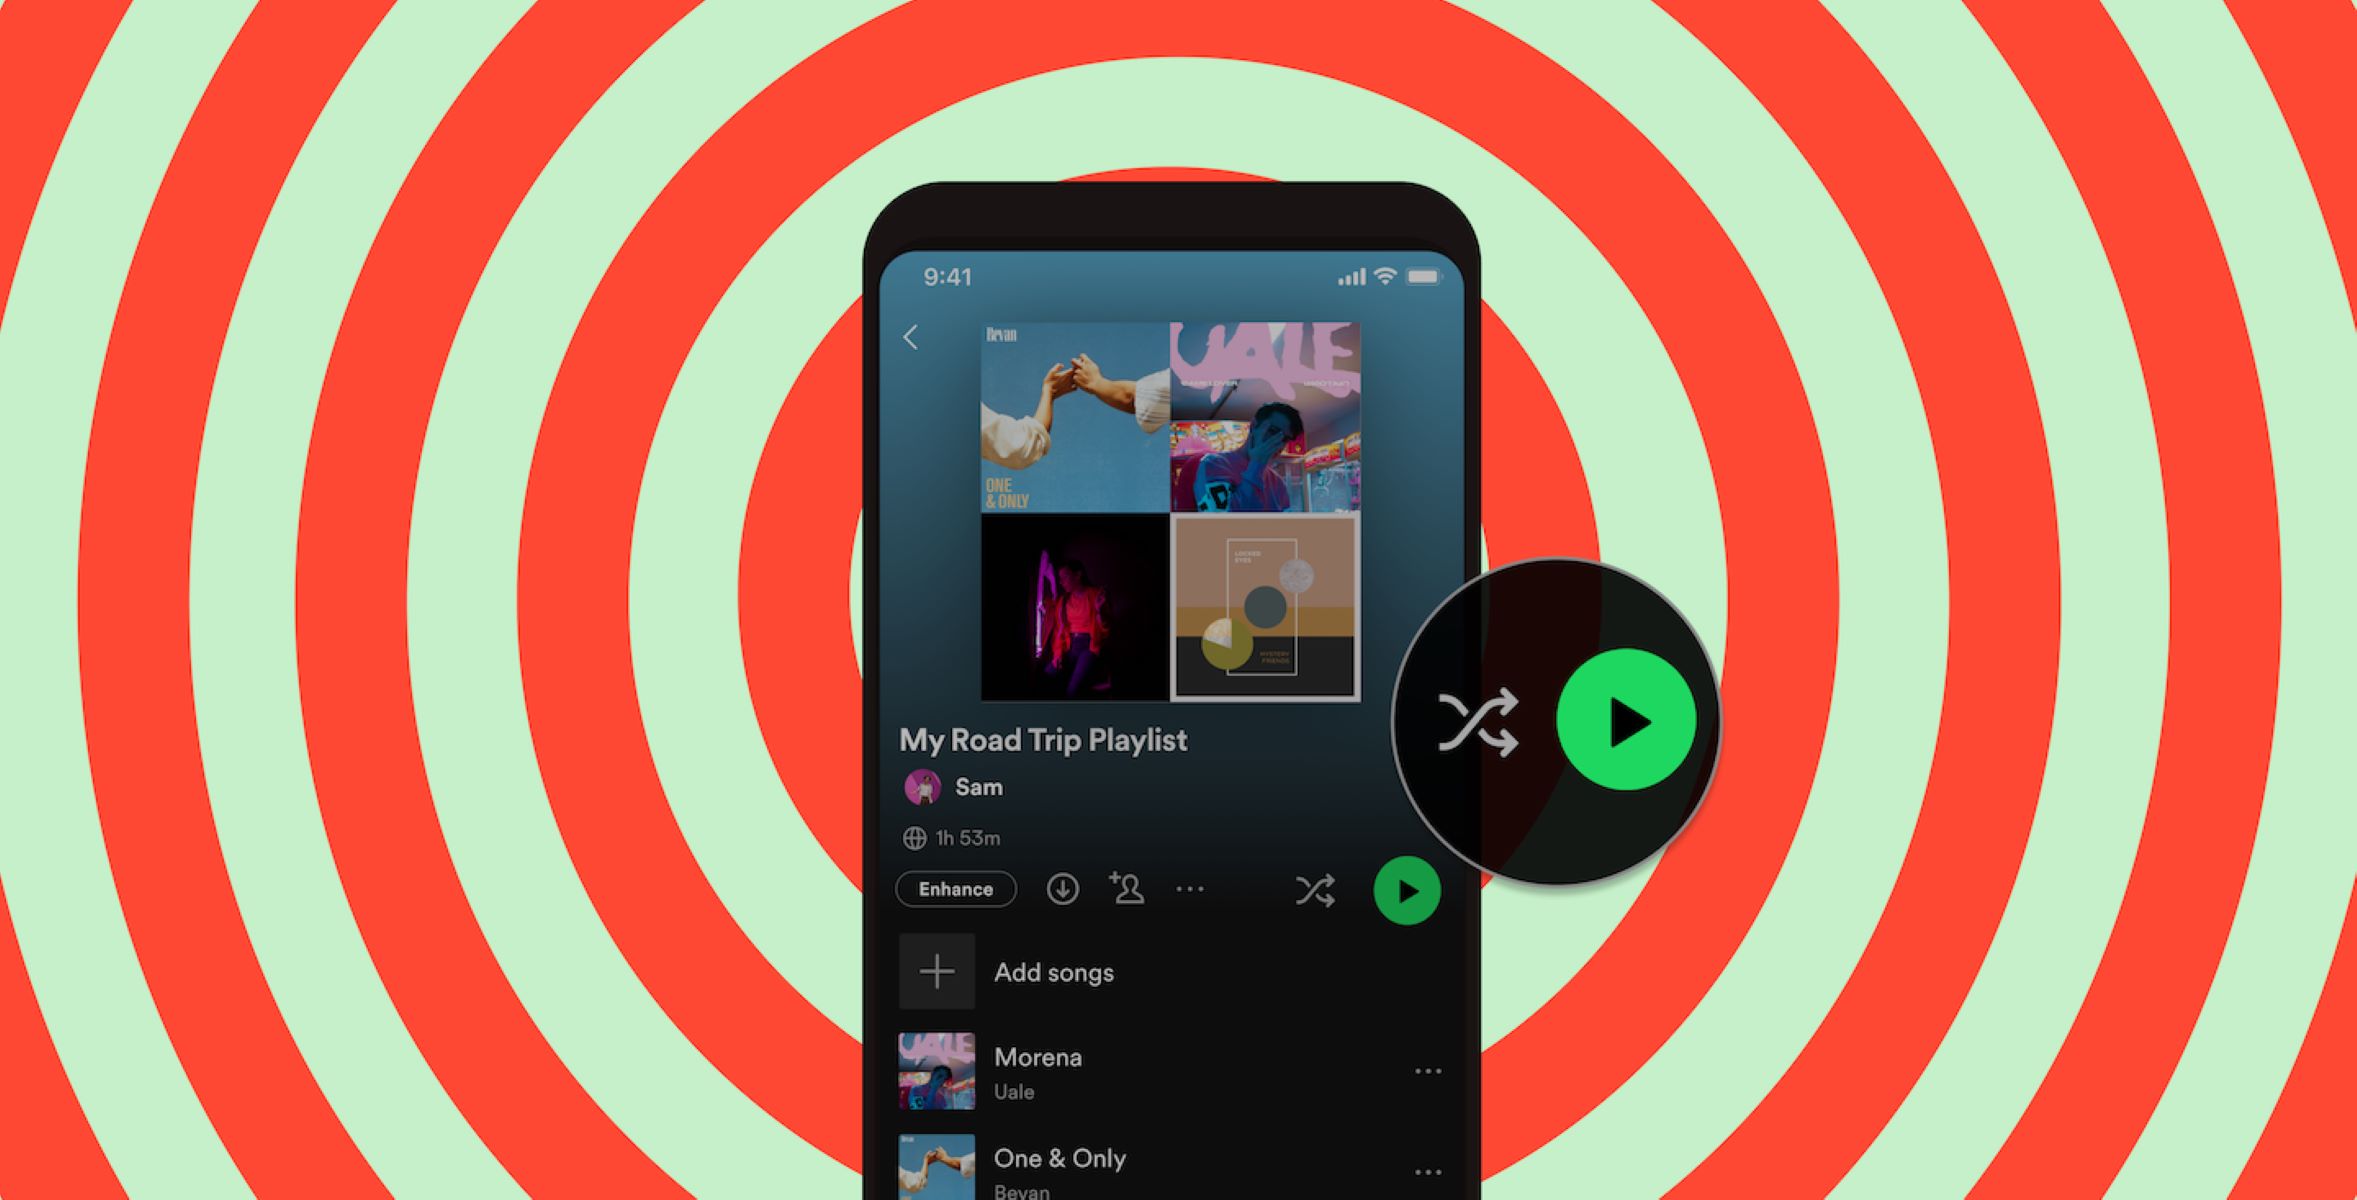
- Think of a creative and descriptive name that reflects the theme, mood, or purpose of your playlist. For example, if you’re creating a playlist for a road trip, you could name it “Ultimate Road Trip Jams.”
- Type in the desired name for your playlist.
- Once you’re satisfied with the name, click outside of the text field to save the name.
Keep in mind that your playlist’s name should be unique and distinguishable from others. It’s a good idea to choose a name that captures the essence of the music you plan to include.
If you ever want to change the name of your playlist after creating it, you can do so by locating the playlist in your library and selecting the “Edit Details” option. This allows you to update the playlist name and make any other necessary changes.
Now that you’ve named your playlist, it’s time to move on to the next step and start adding your favorite songs to it.
Step 5: Add songs to your playlist
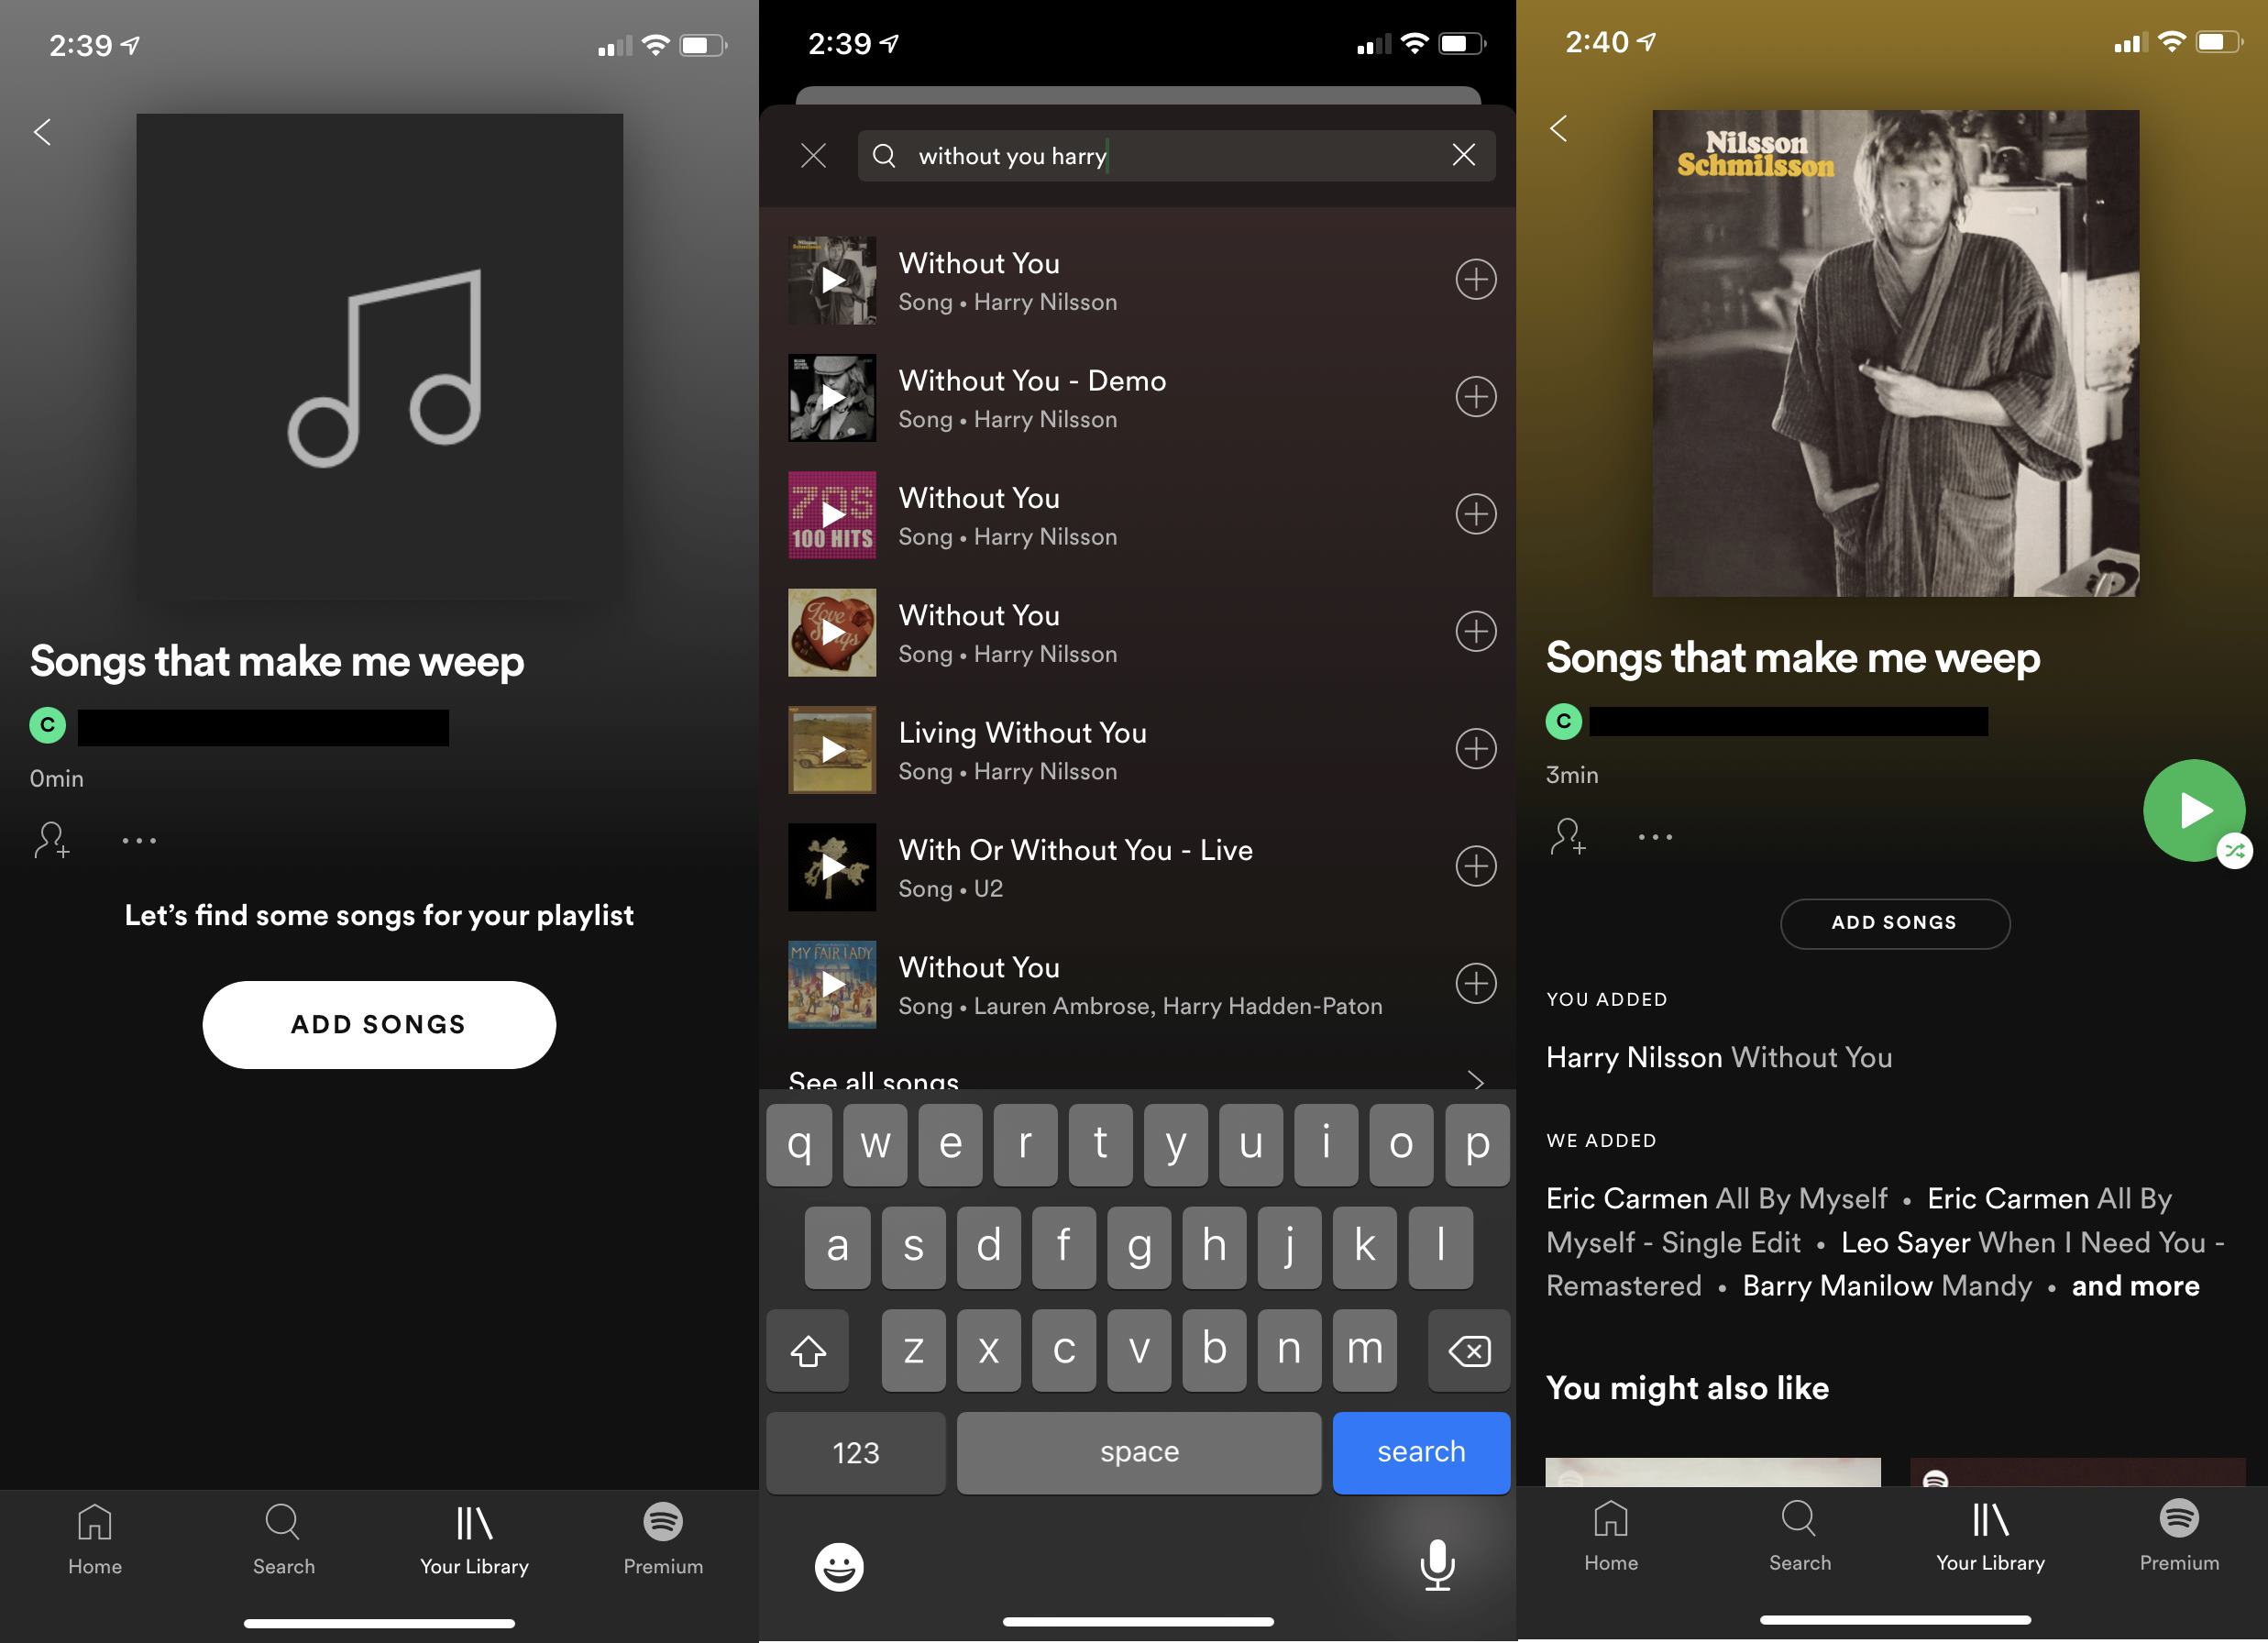
With your playlist named and ready, it’s time to start adding songs to it. Spotify offers multiple ways to add songs, including searching for specific tracks, browsing through your saved music, and exploring recommendations. Follow these steps to add songs to your playlist:
- On your playlist page, look for the search bar located at the top. You can use this to search for a specific song, artist, or album.
- Type in the name of a song, artist, or album that you want to add to your playlist.
- As you type, Spotify will display a list of relevant results. Click on the song, artist, or album you want to add to your playlist.
- Once you’ve selected a track, you’ll see a three-dot menu icon next to it. Click on the menu icon to open a dropdown menu of options.
- In the dropdown menu, select “Add to Playlist” and choose the playlist you want to add the song to. If you haven’t created a playlist yet, you can select “New Playlist” to create one on the spot.
Repeat these steps for each song you want to add to your playlist. You can also add multiple songs at once by holding down the Ctrl key (Cmd key on Mac) and clicking on the desired songs.
Keep in mind that you can add songs to your playlist from various sources, including your own saved music library, Spotify’s curated playlists, and even other users’ playlists if they’re set to public.
As you add songs to your playlist, they will appear in the order in which you added them. However, don’t worry if you want to rearrange the songs later – we’ll cover that in the next step!
Now that you’ve added some songs to your playlist, it’s time to explore how you can rearrange them to achieve the perfect sequence.
Step 6: Rearrange the songs in your playlist
Once you’ve added songs to your playlist, you may want to arrange them in a specific order to create a better flow or match a particular mood. With Spotify, rearranging songs in your playlist is a breeze. Follow these steps to rearrange the songs:
- Go to your playlist page where the songs are listed.
- Hover your mouse cursor over the song you want to move. You’ll notice that the cursor changes into a crosshair icon.
- Click and hold the left mouse button to drag the song and move it up or down the playlist.
- Position the song where you want it to be in the playlist.
- Release the mouse button to drop the song into its new position.
You can repeat these steps for each song you want to rearrange. Whether you want to start your playlist with an upbeat track or organize the songs based on their tempo or genre, Spotify gives you the freedom to curate your playlist exactly how you want.
Keep in mind that the arrangement of the songs can impact the overall listening experience. Experiment with different orders until you find the perfect sequence that suits your preferences.
Additionally, Spotify also offers a “sort playlist” option that allows you to automatically sort your songs based on various criteria, such as title, artist, or date added. This feature can be useful if you want to quickly alphabetize your playlist or organize it in chronological order.
Now that you know how to rearrange the songs in your playlist, let’s move on to the next step where we’ll learn how to remove any unwanted songs.
Step 7: Remove songs from your playlist
As you curate your playlist, you may come across songs that no longer fit the theme or mood you’re going for. In such cases, it’s important to know how to remove songs from your playlist on Spotify. Follow these steps to remove songs:
- Open the playlist from which you want to remove a song.
- Locate the song you want to remove and click on the three-dot menu icon next to it.
- In the dropdown menu that appears, select the “Remove from this Playlist” option.
This will delete the selected song from your playlist. Repeat these steps for each song you wish to remove.
If you accidentally delete a song or decide that you want it back in your playlist, don’t worry. Spotify saves your recently deleted songs in a “Recently Deleted” section, allowing you to easily restore them if needed.
To access the “Recently Deleted” section and restore a song:
- Go to the playlist from which you deleted the song.
- Scroll to the bottom of the playlist page.
- Click on the “Recently Deleted” section.
- Locate the song you want to restore and click on the three-dot menu icon next to it.
- Select the “Restore from this Playlist” option to add the song back to your playlist.
Removing songs from your playlist allows you to maintain a curated collection of tracks that best represents your musical taste and preferences. It’s a great way to refine your playlist and ensure that it stays true to its intended purpose.
Now that you know how to remove songs from your playlist, let’s move on to the next step where you’ll learn how to collaborate on a playlist with others.
Step 8: Collaborate on a playlist
One of the great features of Spotify is the ability to collaborate on a playlist with others. This means that you can invite your friends, family, or colleagues to contribute songs and help curate a playlist together. Here’s how to collaborate on a playlist:
- Open the playlist you want to collaborate on.
- Look for the “…” (three-dot) menu icon located at the top-right corner of the playlist page.
- Click on the menu icon to open a dropdown menu of options.
- In the dropdown menu, select “Collaborative Playlist.”
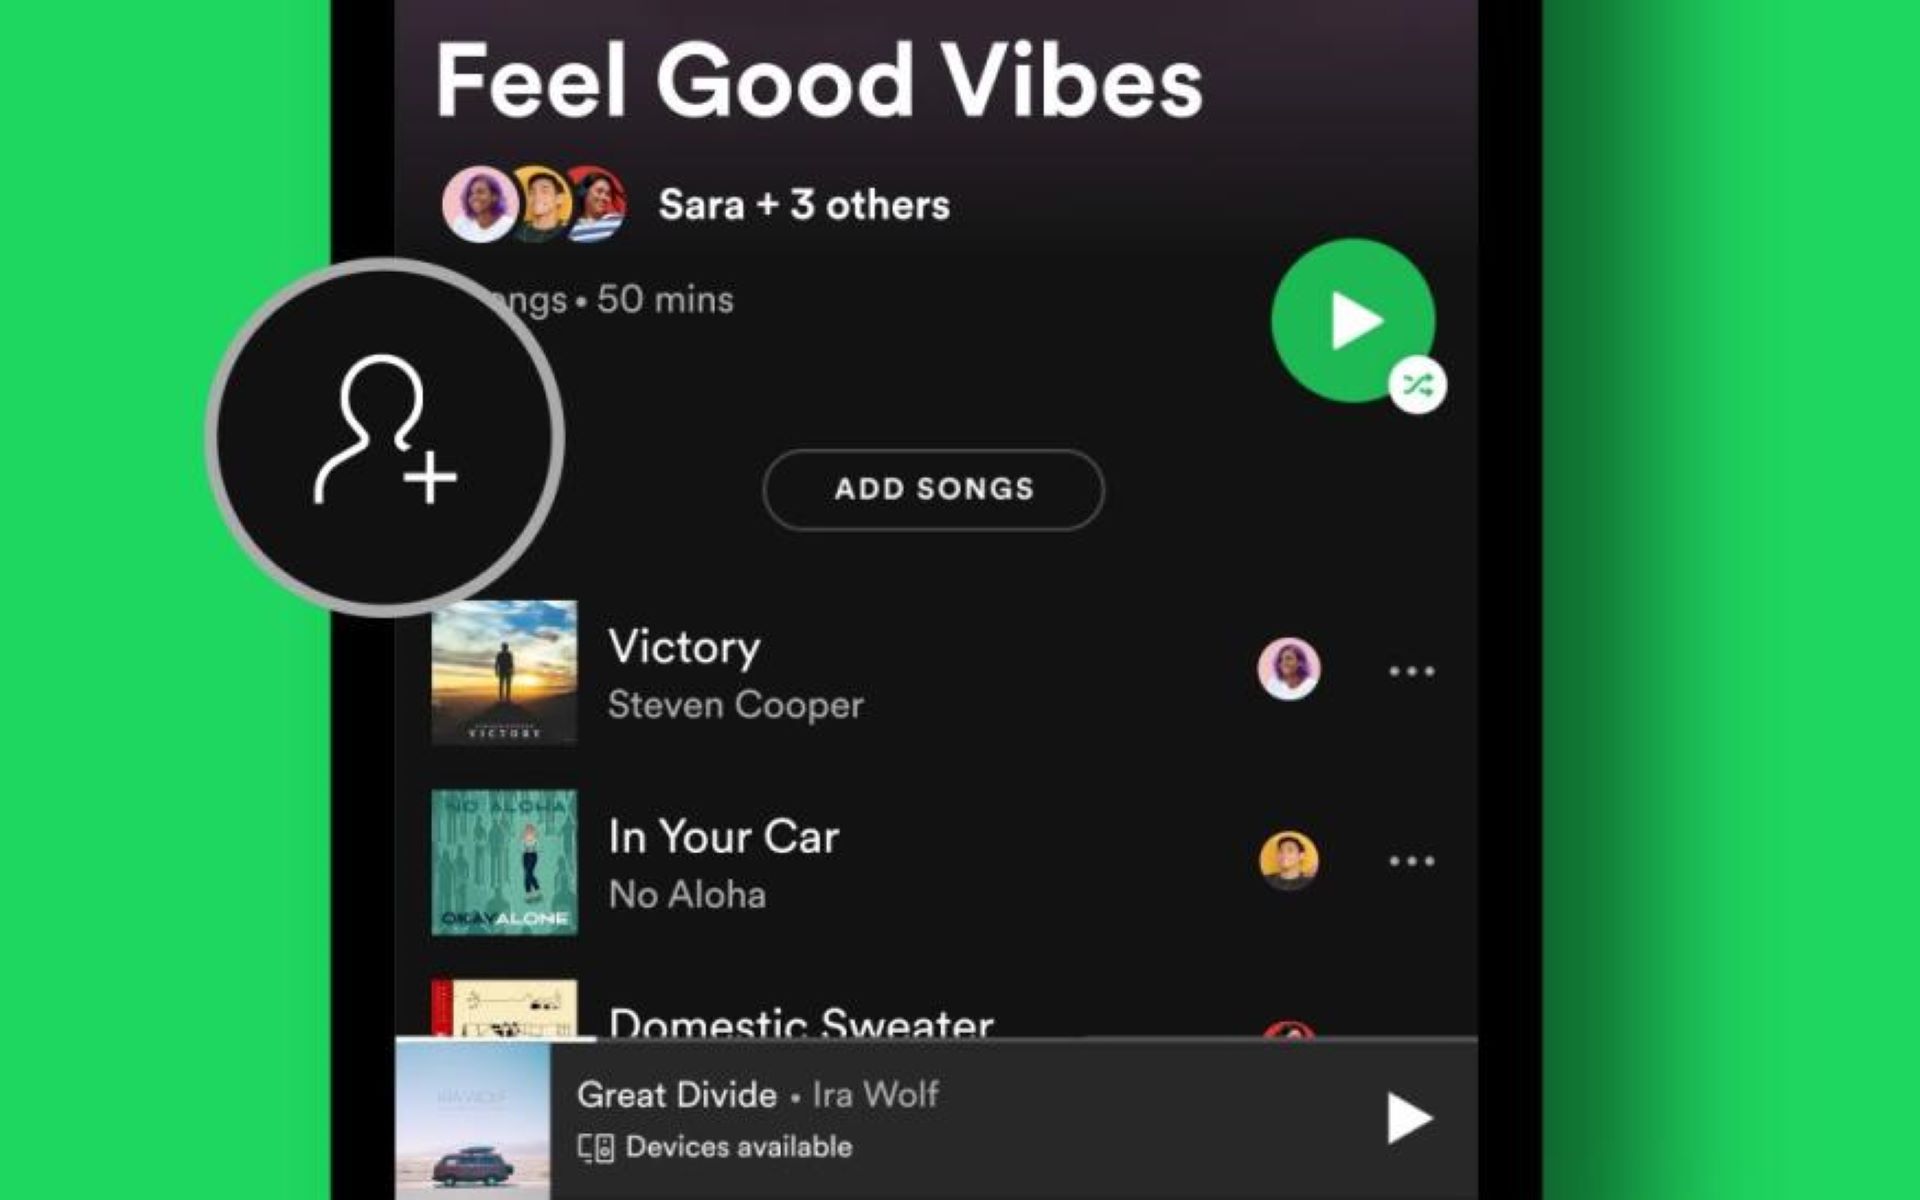
By enabling the “Collaborative Playlist” option, you allow others to add, remove, and rearrange songs in the playlist. They can also invite more people to collaborate on the playlist.
Now, you can share the playlist’s link with your friends or invite them directly from Spotify. To invite someone, follow these steps:
- Click on the “…” (three-dot) menu icon again.
- Select “Collaborative Playlist Settings.”
- On the settings page, you can copy the playlist’s link to share it or use the “Invite” button to send invitations directly from Spotify.
Once your friends or collaborators receive the invitation, they can click on the link to open the playlist and start contributing their favorite songs. They can add songs by searching for them, browsing their own library, or even adding songs from another playlist.
Collaborating on a playlist adds a social touch to your music experience and allows you to discover new songs and artists through your friends’ contributions. It’s a fun way to create a shared music collection that reflects the diverse tastes of everyone involved.
Now that you know how to collaborate on a playlist, let’s move on to the next step where you’ll learn how to customize your playlist cover image.
Step 9: Customize your playlist cover image
Customizing your playlist cover image can add a personal touch and make it visually appealing. Spotify allows you to choose a custom image or select one from its library to represent your playlist. Follow these steps to customize your playlist cover image:
- Open the playlist you want to customize.
- Click on the existing cover image, which is typically a thumbnail of the first song in your playlist.
- A menu will appear, giving you options to choose a new image.
- You can either choose a pre-existing image from Spotify’s library or upload your own image.
- If you want to select an image from Spotify’s library, browse through the available options and click on the one you like. Spotify provides a wide range of images ranging from album covers to colorful abstract designs.
- If you prefer to upload your own image, click on the “Upload Image” or “Choose Image” option. This will allow you to select an image file from your device’s storage.
- After choosing or uploading an image, Spotify will automatically update the playlist cover with your selected image.
It’s important to choose an image that represents the theme, mood, or purpose of your playlist. Whether it’s a photo of the genre’s iconic artist, an album cover, or a custom design related to the playlist’s theme, the cover image can enhance the overall appeal and make it more recognizable.
Remember that the playlist cover image will appear not only within your Spotify library but also if you share the playlist with others. So, make sure to select an image that captures the essence of your playlist and makes it visually appealing.
Now that you’ve customized your playlist’s cover image, let’s move on to the next step where you’ll learn how to make your playlist public or private.
Step 10: Make your playlist public or private
When creating a playlist on Spotify, you have the option to make it public or private. Making your playlist public allows others to discover and follow your playlist, while keeping it private ensures that only you have access to it. Here’s how to adjust the privacy settings of your playlist:
- Open the playlist you want to modify.
- Look for the “…” (three-dot) menu icon located at the top-right corner of the playlist page.
- Click on the menu icon to open a dropdown menu of options.
- In the dropdown menu, select “Make Public” to make the playlist visible to others or “Make Private” to restrict access to yourself.
If you choose to make your playlist public, it can be discovered by other Spotify users through search results, recommendations, and related playlists. They can also follow your playlist to stay updated with any changes or additions you make.
On the other hand, if you make your playlist private, it will only be visible to you. Private playlists are ideal if you want to keep your collection personal or if you’re still in the process of curating it and don’t want others to see it just yet.
It’s important to note that even if your playlist is public, other users won’t be able to make changes to it unless you’ve enabled the collaboration feature discussed earlier. The privacy settings only determine whether your playlist is visible to others or not.
Feel free to experiment with different privacy settings for different playlists based on your comfort level and intended audience. You can always change the privacy settings of your playlist at any time.
Now that you know how to adjust the privacy settings, let’s move on to the final step where you’ll learn how to share your playlist with others.
Step 11: Share your playlist with others
Sharing your playlist with others is a great way to showcase your musical taste and introduce others to the songs and artists you love. Spotify offers various methods to share your playlist with friends, family, and even on social media. Follow these steps to share your playlist:
- Open the playlist you want to share.
- Look for the “…” (three-dot) menu icon located at the top-right corner of the playlist page.
- Click on the menu icon to open a dropdown menu of options.
- From the dropdown menu, select “Share” to see sharing options.
Spotify provides several sharing options, including:
- Copy Playlist Link: This option allows you to copy the playlist’s unique URL, which you can share with others through messaging apps, emails, or any other platform of your choice.
- Share to Social Media: If you want to share your playlist on social media platforms like Facebook, Instagram, or Twitter, you can use this option to seamlessly post it on your preferred platform.
- Embed: Embedding your playlist on a website or a blog is a great way to showcase your musical taste to a wider audience and allow them to listen to the playlist directly from the embedded media player.
Choose the sharing method that suits your preferences and intended audience. You can share your playlist with individuals directly or make it visible to a broader audience through social media platforms.
Additionally, if you have collaborators on your playlist, they can also share the playlist with others using the same sharing options.
By sharing your playlist, you not only introduce others to new music but also potentially discover new songs and recommendations from the people you share it with. It’s a great way to connect with others through music.
Now that you know how to share your playlist with others, you’ve completed the final step. Congratulations! Enjoy sharing and discovering music with your friends and followers.
Conclusion
Congratulations! You have successfully learned how to create a playlist on Spotify from start to finish. By following these step-by-step instructions, you can curate personalized collections of your favorite songs, discover new music, and share your musical taste with others.
We began by logging into your Spotify account and navigating to the “Your Library” page. From there, we clicked on “Create Playlist” and named our playlist, adding songs to it and rearranging them to create the perfect sequence. We also explored how to remove songs, collaborate with others on a playlist, customize the cover image, and adjust the privacy settings. Lastly, we learned how to share our playlist with friends and followers.
Remember, as you create playlists on Spotify, make them reflect your unique style and preferences. Explore different genres, artists, and moods to create a versatile collection that suits every occasion.
Whether you’re creating a playlist for your own enjoyment, for a special event, or to share with others, Spotify provides a user-friendly platform with a vast music library at your fingertips. Get creative, have fun, and let your playlist be an expression of your personal musical journey.
So go ahead, log in to Spotify, and start creating your very own playlist. Share it with friends, collaborate with others, and enjoy the endless possibilities of music streaming.
Happy playlist making!