Introduction
Welcome to our guide on how to delete a song from your Amazon Music playlist. Amazon Music is a popular streaming service that allows users to access a vast library of songs, create personalized playlists, and enjoy music on various devices. While creating playlists is a great way to customize your listening experience, you may find that you want to remove certain songs from a playlist for various reasons.
Deleting a song from your Amazon Music playlist is a straightforward process that can be done directly from the Amazon Music app. Whether you have changed your musical preferences, want to streamline your playlist, or simply made a mistake in adding a song, we will guide you through the steps to remove a song from your playlist.
In this article, we will walk you through each step of the process, from opening the Amazon Music app to confirming the deletion of the song. If you’re ready to learn how to clean up your playlist and remove unwanted songs, let’s dive right in!
Step 1: Open the Amazon Music App
The first step in deleting a song from your Amazon Music playlist is to open the Amazon Music app on your device. Amazon Music is available on various platforms, including smartphones, tablets, and computers. Here’s how you can open the Amazon Music app:
- Locate the Amazon Music app icon on your device’s home screen or in the app drawer.
- If you cannot find the app icon, you can search for “Amazon Music” using your device’s search function.
- Tap or click on the Amazon Music app icon to open it.
- If you are not already signed in to your Amazon Music account, enter your credentials (username and password) to log in.
Once you have successfully opened the Amazon Music app and logged in to your account, you are ready to proceed to the next step in the process.
Step 2: Navigate to the Playlist
After opening the Amazon Music app, the next step is to navigate to the playlist from which you want to delete the song. Here’s how you can do it:
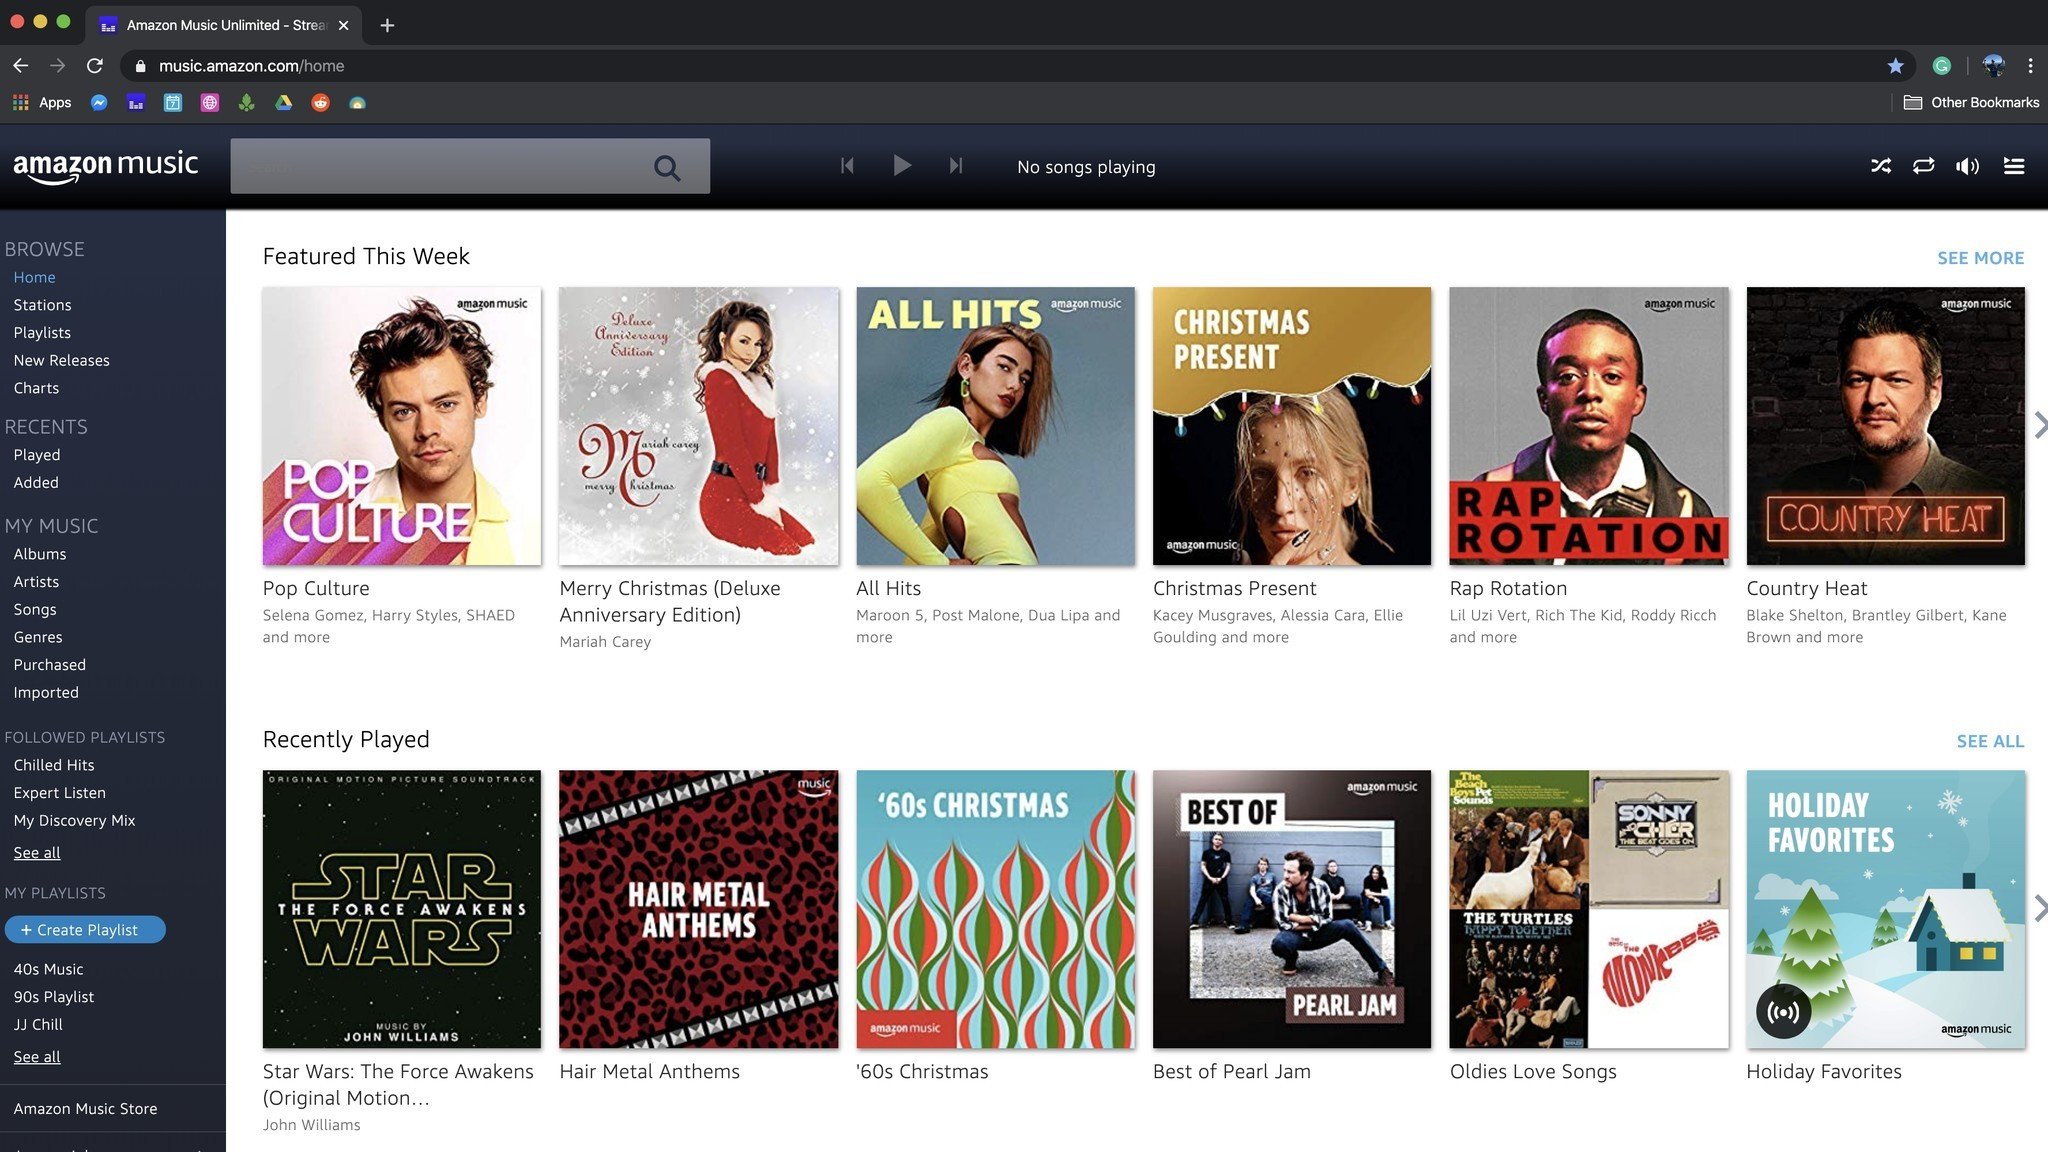
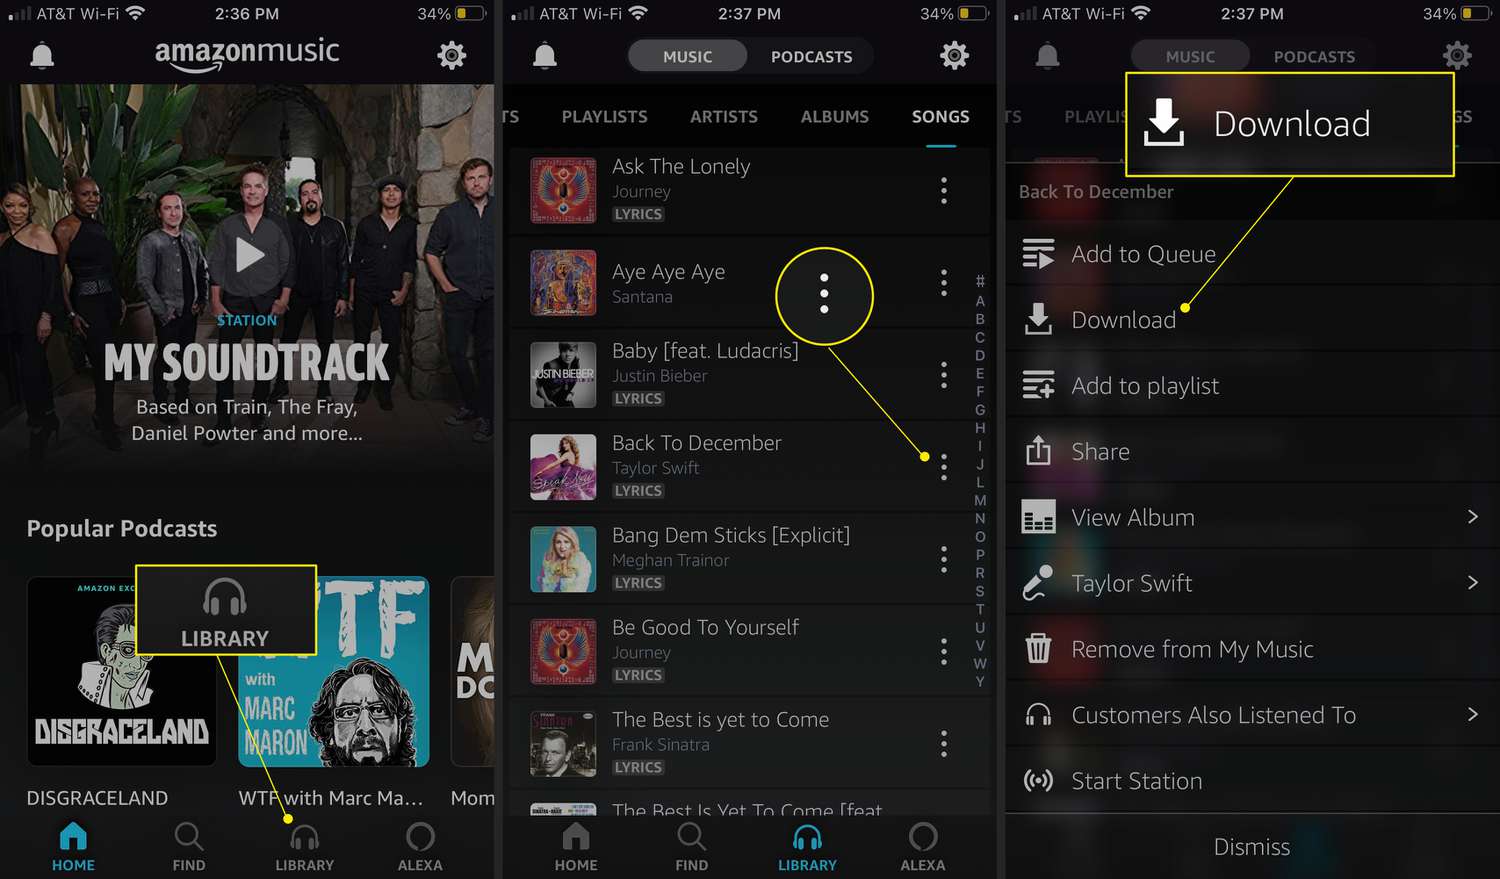
- On the app’s home screen, you will see different tabs or sections, such as “Home,” “My Music,” or “Library.” Tap or click on the appropriate tab to access your music library.
- Within your music library, you should be able to find a section labeled “Playlists” or “My Playlists.” Tap or click on this section to view all of your saved playlists.
- Scroll through the list of playlists and locate the specific playlist that contains the song you want to delete. Tap or click on the playlist to open it.
Once you have successfully navigated to the desired playlist, you can move on to the next step and select the song you want to remove.
Step 3: Select the Song
Now that you have accessed the playlist containing the song you wish to delete, it’s time to select the specific song. Follow these steps to select the song:
- Within the playlist, you will see a list of songs that are included. Scroll through the playlist until you find the song you want to remove.
- Once you locate the desired song, tap or click on it to select it. You may need to tap or click on the song title, artist name, or album cover to select the song, depending on the layout of the app.
- When the song is selected, you will typically see some visual indication, such as a checkmark, highlighting, or change in color.
By following these steps, you can easily select the song that you want to remove from the playlist.
Step 4: Remove the Song from the Playlist
Once you have selected the song that you want to remove from your playlist, it’s time to delete it. Follow these instructions to remove the song from the playlist:
- Look for an option or button that allows you to perform actions on the selected song. This option may be represented by an icon (such as three dots or a trash can) or a specific label (such as “Remove” or “Delete”).
- Tap or click on the appropriate option or button to initiate the deletion process for the selected song.
- Depending on the app’s interface, you might be asked to confirm the deletion. This is to ensure that you don’t accidentally remove a song. If prompted, review the confirmation message and proceed by confirming the deletion.
Once you have completed these steps, the song should be successfully removed from your playlist. You can repeat this process for any other songs you wish to delete.
Step 5: Confirm the Deletion
After initiating the deletion process, it is important to confirm the removal of the selected song from your playlist. Here’s how you can confirm the deletion:
- Once you have selected the song and triggered the deletion process, a confirmation message or dialog box may appear on your screen.
- Read the message carefully to ensure that you are deleting the correct song from your playlist.
- If you are sure that you want to proceed with the deletion, select the option to confirm the deletion. This option may be labeled as “Delete,” “Remove,” or similar.
- If you have changed your mind and don’t want to delete the song, select the option to cancel or go back, depending on the app’s interface.
By confirming the deletion, you are making sure that the song is permanently removed from your playlist. It is always a good practice to review your selection before confirming to avoid accidentally deleting the wrong song.
Conclusion
Congratulations! You have successfully learned how to delete a song from your Amazon Music playlist. We hope this step-by-step guide has been helpful in removing unwanted songs and keeping your playlist organized.
Deleting a song from your Amazon Music playlist is a simple process that involves opening the app, navigating to the playlist, selecting the desired song, and confirming the deletion. By following these steps, you can easily customize your playlist and ensure that it reflects your musical preferences.
Remember, removing a song from a playlist does not delete the song from your library or from your music account. It simply removes it from the selected playlist. If you wish to restore the song to a playlist in the future, you can easily add it back.
We hope you found this guide easy to follow, and that it has provided you with the knowledge you need to manage your Amazon Music playlists effectively. Now you can create a curated collection of songs that perfectly matches your taste and mood!
Thank you for reading, and happy playlist organizing!


