Introduction
Welcome to the world of Amazon Music, where you can enjoy an extensive library of music, create personalized playlists, and listen to your favorite songs on your Android device. Whether you’re a music aficionado or simply want to have a soundtrack for your everyday activities, Amazon Music has got you covered.
In this guide, we will take you through the steps to get Amazon Music on your Android device. From downloading the app to customizing your preferences, this article will provide you with all the information you need to make the most out of Amazon Music on your Android smartphone or tablet.
With its user-friendly interface and vast collection of songs, Amazon Music offers a seamless music streaming experience. Whether you’re into the latest hits, classic tunes, or discovering new artists, you’ll find a wide range of genres and playlists on the platform.
So, let’s dive in and explore how to get Amazon Music on your Android device and unlock a world of music at your fingertips!
Download the Amazon Music App
The first step to getting Amazon Music on your Android device is to download the Amazon Music app. The app is available for free on the Google Play Store, making it easily accessible for Android users.
To download the app, follow these simple steps:
- Open the Google Play Store on your Android device.
- In the search bar, type “Amazon Music” and tap on the search icon.
- From the search results, select the official Amazon Music app developed by Amazon Mobile LLC.
- Tap on the “Install” button to initiate the download and installation process.
- Once the app is successfully installed, you will see the Amazon Music icon on your home screen or app drawer.
Make sure you have a stable internet connection while downloading the app to avoid any interruptions.
Once the app is installed, you’re one step closer to enjoying your favorite music on your Android device. Now, it’s time to sign in or create an Amazon account, so you can access all the features and functionalities of Amazon Music.
Sign in or Create an Amazon Account
After downloading the Amazon Music app on your Android device, the next step is to sign in or create an Amazon account. If you already have an Amazon account, you can simply sign in using your existing credentials. If not, you can easily create a new account within the app.
Here’s how you can sign in or create an Amazon account:
- Open the Amazon Music app on your Android device.
- On the login screen, tap on the “Sign in” button.
- If you have an existing Amazon account, enter your email or mobile number and password, then tap on the “Sign in” button to proceed.
- If you don’t have an Amazon account, tap on the “Create account” button.
- Follow the on-screen instructions to create a new Amazon account. You will be asked to enter your name, email or mobile number, and create a password.
- Once you have successfully signed in or created your Amazon account, you will have access to all the features and functionalities of Amazon Music.
Signing in with your Amazon account allows you to sync your playlists, preferences, and music library across multiple devices. It also gives you access to personalized recommendations and exclusive content.
Now that you’re signed in, you’re ready to connect Amazon Music with your Android device and start enjoying your favorite music wherever you go.
Connecting Amazon Music with your Android Device
With the Amazon Music app downloaded on your Android device and your Amazon account signed in, it’s time to connect the app with your device to ensure seamless music playback and access to all the features.
Here’s how you can connect Amazon Music with your Android device:
- Launch the Amazon Music app on your Android device.
- Tap on the menu icon (usually three horizontal lines) located in the top-left corner of the screen.
- In the menu, tap on “Settings” to access the app’s settings.
- Under the “Settings” menu, tap on “Accounts & Settings.”
- Tap on “Listen On Devices” to see the list of available devices.
- You will see a list of available devices to connect to. Tap on your Android device from the list.
- Follow the on-screen prompts to complete the connection process.
Once the connection is established, your Android device will be linked to your Amazon Music account. This allows you to stream music directly from your device, control playback, and access your personalized music library.
It’s important to note that you need a reliable internet connection to stream music using Amazon Music. If you want to listen to your favorite songs offline, you can download them to your device for offline listening, which we will discuss later in this guide.
Now that you have successfully connected Amazon Music with your Android device, it’s time to personalize your music experience by setting up your preferences.
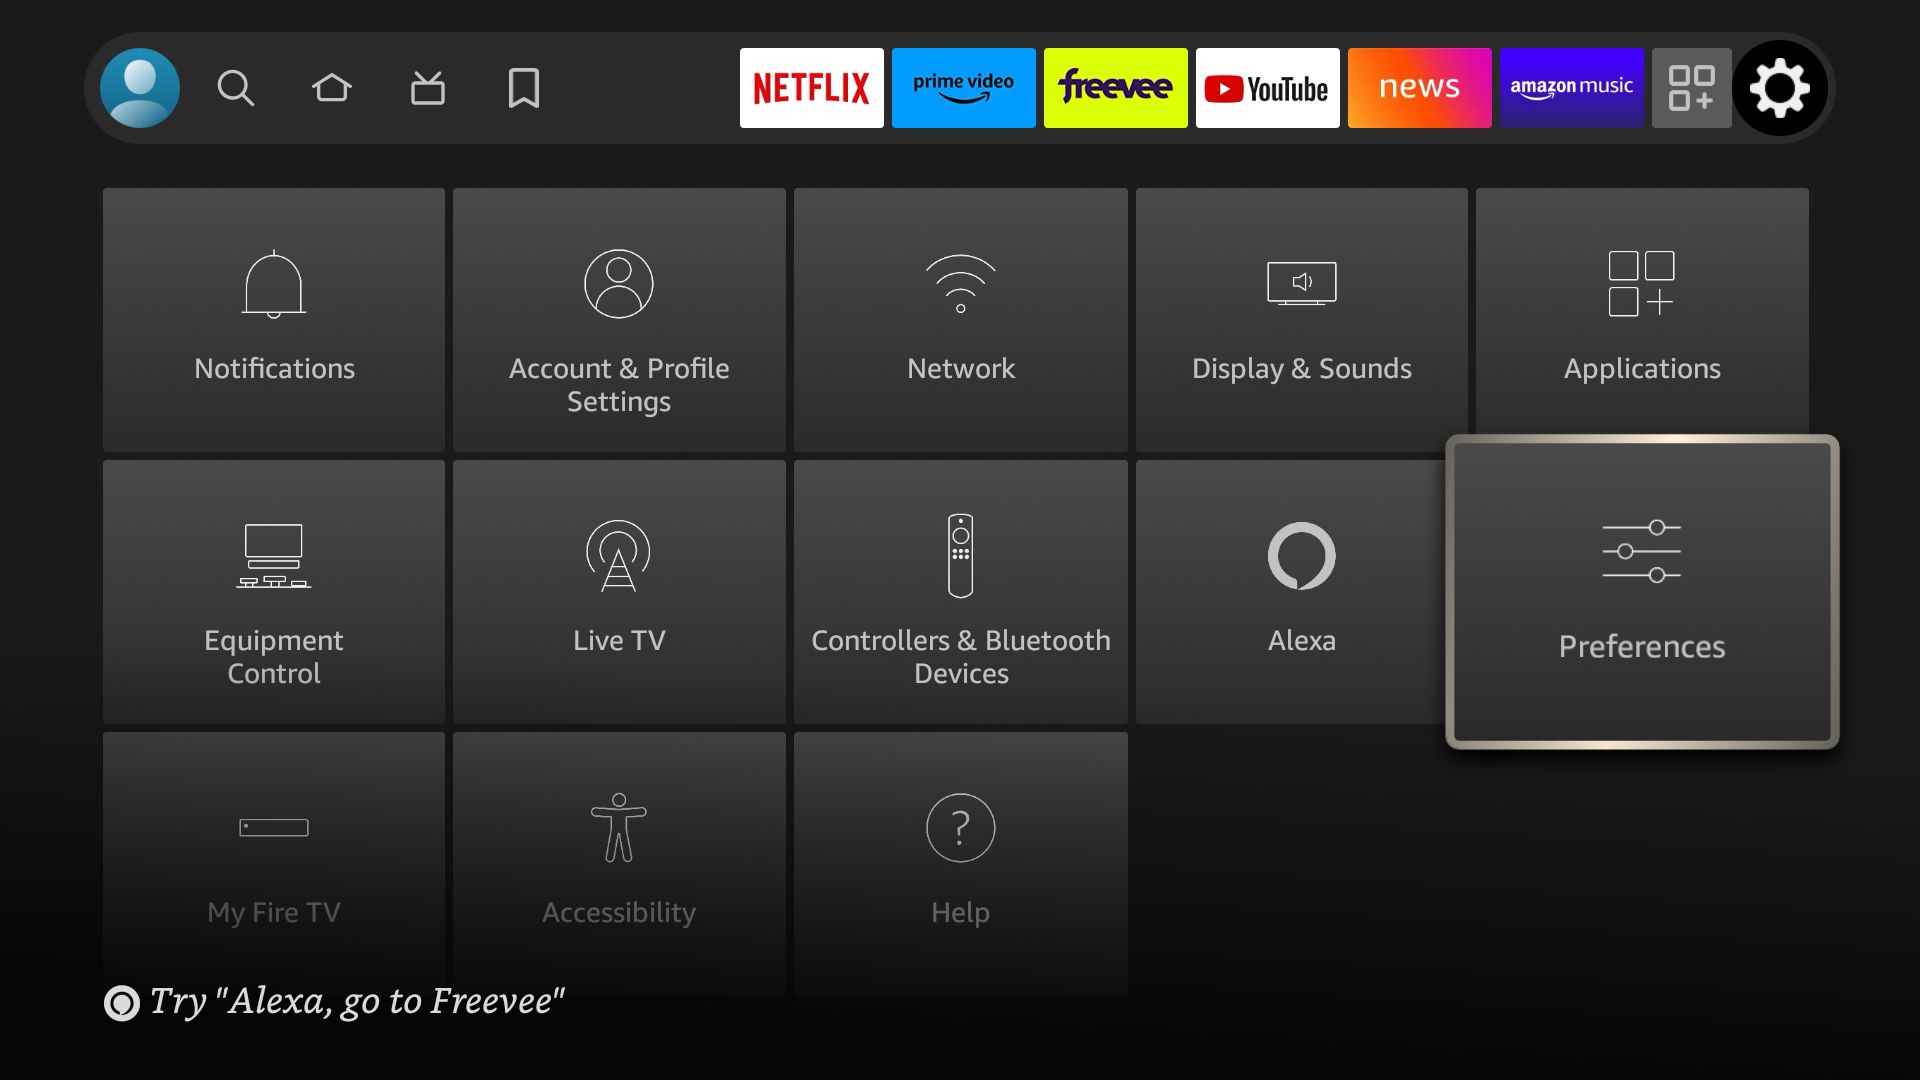
Setting Up Your Amazon Music Preferences
Now that you have connected Amazon Music with your Android device, it’s time to customize your preferences to enhance your music listening experience. Whether you want to adjust audio settings, enable autoplay, or enable notifications, Amazon Music allows you to personalize the app to suit your needs.
Here’s how you can set up your Amazon Music preferences:
- Open the Amazon Music app on your Android device.
- Tap on the menu icon (typically three horizontal lines) located at the top-left corner of the screen.
- In the menu, tap on “Settings” to access the app’s settings.
- Under the “Settings” menu, you will find various options to customize your preferences.
- Audio Settings: Tap on “Audio” to adjust playback quality, enable/disable gapless playback, and enable/disable explicit content.
- Autoplay Settings: Tap on “Autoplay” to enable/disable autoplay for similar music and offline playback.
- Notifications: Tap on “Notifications” to manage your notification settings, including song recommendations, offline download completion, and more.
- Offline Settings: Tap on “Offline Music Quality” to select the quality of music to download for offline listening.
- Language Settings: Tap on “Language Preference” to set your preferred language for Amazon Music.
By customizing these preferences, you can tailor your Amazon Music experience to meet your specific requirements and enhance your enjoyment of the app.
Now that you have set up your preferences, it’s time to dive into the Amazon Music library and explore the vast collection of songs available.
Exploring the Amazon Music Library
With Amazon Music on your Android device, you have access to a vast library of songs encompassing various genres, artists, albums, and playlists. Exploring the Amazon Music library allows you to discover new music, revisit old favorites, and find the perfect soundtrack for any mood or occasion.
Here are some tips on how you can make the most of the Amazon Music library:
- Home Screen: The home screen of the Amazon Music app provides personalized recommendations based on your listening history and preferences. Scroll through the recommendations to discover new songs and artists.
- Browse by Genre: Tap on the “Browse” tab to explore music by genre. From pop to rock, hip-hop to classical, you can find a wide range of genres to suit your taste.
- Search Functionality: The search bar at the top of the app allows you to search for specific songs, albums, artists, or playlists. Simply enter your search query and tap on the search icon to find what you’re looking for.
- Top Charts: The “Charts” section showcases the most popular songs, albums, and artists at any given time. Explore the top charts to stay updated with the latest trends in music.
- Curated Playlists: Amazon Music offers a wide selection of curated playlists for different moods, activities, and genres. From workout playlists to relaxing tunes, you’ll find a playlist for every occasion.
- Artist and Album Pages: When you come across a song you like, tap on the artist or album name to explore more of their music. You can check out their discography, popular songs, and related artists.
With these features and options, you can navigate the Amazon Music library and discover new music that resonates with your preferences. Whether you’re looking for the latest chart-toppers, timeless classics, or niche genres, Amazon Music has a vast collection to satisfy every musical taste.
Now that you’ve explored the Amazon Music library, let’s move on to creating and managing playlists to curate your own personalized music collections.
Creating and Managing Playlists
Creating and managing playlists is a great way to organize your favorite songs and create a personalized music collection on Amazon Music. With just a few taps, you can create playlists for different moods, occasions, or genres, and easily add or remove songs as your preferences change.
Here’s how you can create and manage playlists on Amazon Music:
- Open the Amazon Music app on your Android device.
- Find a song, album, or artist that you want to add to a playlist.
- Long-press on the song, album, or artist name to open a context menu.
- From the context menu, select “Add to Playlist.”
- If you have an existing playlist, you can select it to add the song, album, or artist to that playlist. If not, you can tap on “Create New Playlist” to create a new one.
- Enter a name for your playlist and tap on the “Create” button.
- Your selected song, album, or artist will be added to the playlist.
To manage your playlists, follow these steps:
- Tap on the menu icon (usually three horizontal lines) located in the top-left corner of the screen.
- In the menu, tap on “Your Library” to access your music library.
- Select “Playlists” to view all your created playlists.
- To edit a playlist, tap on the playlist name and then tap on the “Edit” button.
- From the edit screen, you can add or remove songs, change the order of songs, or update the playlist details.
- Tap on the “Save” button to save your changes.
- You can also delete a playlist by tapping on the playlist name and then tapping on the “Delete” button.
Creating and managing playlists allows you to curate your own personalized music collection, making it easy to access your favorite songs anytime, anywhere.
Now that you know how to create and manage playlists, let’s move on to downloading music for offline listening.
Downloading Music for Offline Listening
One of the convenient features of Amazon Music is the ability to download songs, albums, and playlists for offline listening. This means you can enjoy your favorite music even when you don’t have a reliable internet connection, such as during flights or in areas with poor network coverage.
Here’s how you can download music for offline listening on Amazon Music:
- Open the Amazon Music app on your Android device.
- Navigate to the song, album, or playlist you want to download.
- Tap on the three dots (ellipsis) next to the song, album, or playlist name to open a menu.
- From the menu, select “Download” or “Download Album” for albums and playlists.
- The selected music will begin downloading to your Android device.
- To access your downloaded music, tap on the menu icon and select “Your Library.”
- Tap on “Offline Music” to view all your downloaded songs, albums, and playlists.
Once you have downloaded your music, you can enjoy it offline without using your mobile data or internet connection. This is especially useful when traveling or in situations where a stable internet connection is not available.
It’s important to note that downloaded music stays within the Amazon Music app and cannot be accessed or shared outside of the app. Additionally, downloaded music is subject to certain restrictions based on your Amazon Music subscription level.
Now that you know how to download music for offline listening, let’s explore how you can adjust audio settings to enhance your listening experience.
Adjusting Audio Settings
Amazon Music allows you to adjust audio settings to optimize your listening experience on your Android device. Whether you want to enhance the audio quality, enable gapless playback, or manage explicit content, you can customize the app’s audio settings according to your preferences.
Here’s how you can adjust the audio settings on Amazon Music:
- Open the Amazon Music app on your Android device.
- Tap on the menu icon (usually three horizontal lines) located in the top-left corner of the screen.
- In the menu, tap on “Settings” to access the app’s settings.
- Under the “Settings” menu, tap on “Audio.”
- In the “Audio” settings, you will find several options to adjust the audio playback:
- Playback Quality: Choose the desired playback quality for streaming music. Higher quality options offer better audio fidelity but may consume more data.
- Gapless Playback: Enable or disable gapless playback, which eliminates gaps between songs for a seamless listening experience.
- Explicit Content: Enable or disable the playback of explicit content based on your preference.
- Make your desired audio adjustments by toggling the respective settings.
- Exit the settings menu, and your audio settings will be applied to your playback experience.
Adjusting the audio settings allows you to tailor the Amazon Music app to your liking, ensuring that you have the best audio experience based on your preferences and network conditions.
Now that you have optimized the audio settings, let’s explore how you can use voice commands to control Amazon Music hands-free.
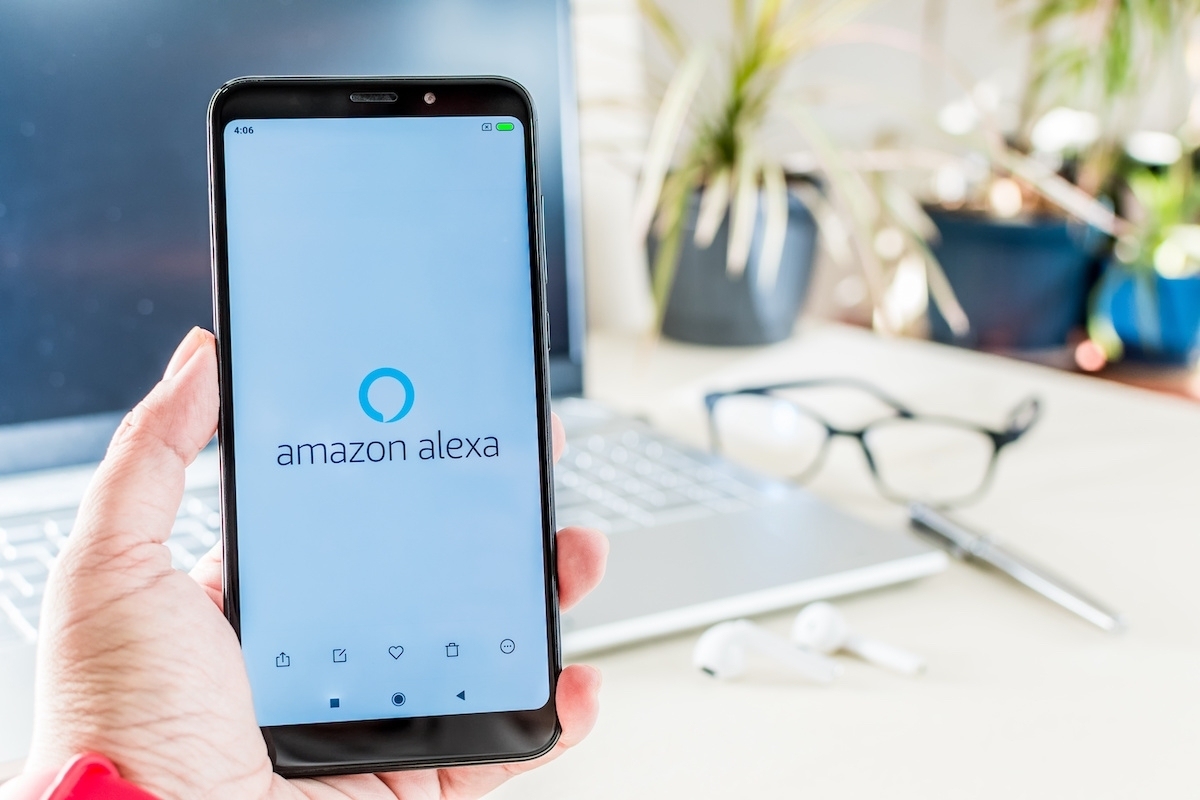
Using voice commands with Amazon Music
Amazon Music integrates seamlessly with voice-activated virtual assistants, such as Amazon Alexa, allowing you to control your music hands-free using voice commands. With voice commands, you can play specific songs, artists, albums, or playlists, change the volume, skip tracks, and more, without having to manually navigate through the app.
Here’s how you can use voice commands with Amazon Music:
- Ensure that your Android device has a virtual assistant, such as Amazon Alexa, set up and connected.
- Activate the virtual assistant by using the wake word or pressing the dedicated button on your device.
- Issue voice commands to control Amazon Music. For example:
- “Play [song/artist/album/playlist name] on Amazon Music.”
- “Pause/Resume the music.”
- “Skip to the next/previous track.”
- “Set the volume to [desired level].”
- “Shuffle the playlist.”
- “Add [song/album/playlist] to my library.”
By using voice commands, you can navigate through your music collection, control playback, and enjoy a hands-free listening experience. It’s a convenient feature when you’re busy or prefer not to manually operate your device.
Remember, voice commands with Amazon Music require a reliable internet connection and a compatible virtual assistant. Make sure you have the necessary setup and permissions to enjoy this feature.
Now that you know how to use voice commands with Amazon Music, let’s address common issues that you may encounter and how to troubleshoot them.
Troubleshooting common issues
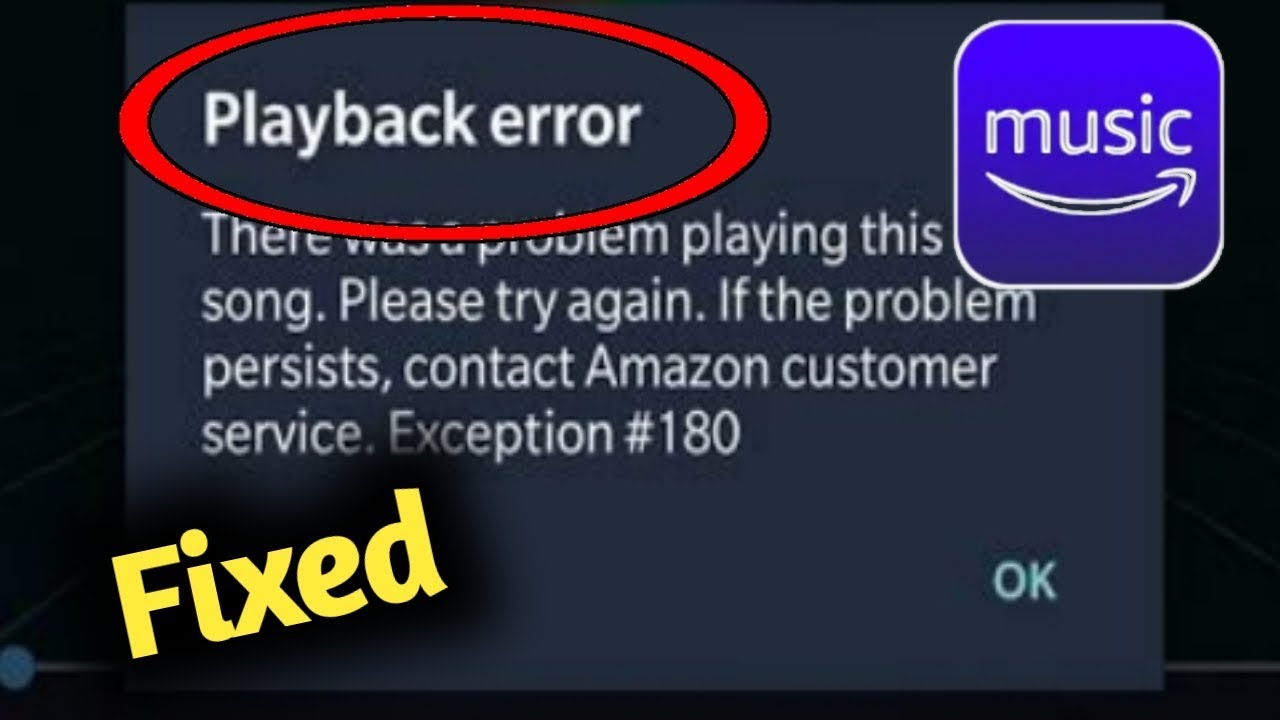
Despite the user-friendly nature of the Amazon Music app, it is not uncommon to encounter a few issues or glitches along the way. However, most of these issues can be resolved with some simple troubleshooting steps. Here are some common issues you may come across and how to troubleshoot them:
- Playback issues: If you’re experiencing issues with playback, such as songs not playing or constant buffering, try closing the app and reopening it. If the problem persists, check your internet connection and ensure it is stable. You can also try clearing the app’s cache or reinstalling the app if necessary.
- Syncing issues: If your playlists or favorites are not syncing across devices, ensure that you are signed in to the same Amazon account on all devices. You can also try manually refreshing the app or signing out and signing back in to trigger the sync process.
- Download issues: If you’re having trouble downloading songs for offline listening, make sure you have a stable internet connection. Check your storage space to ensure you have enough available storage for the downloads. If necessary, clear space by deleting unnecessary files or apps. Restart your device and try downloading again.
- Account-related issues: If you’re having trouble accessing your Amazon Music account, check your internet connection and ensure you have entered the correct login credentials. If you’ve forgotten your password, use the password recovery option provided by Amazon. Contact Amazon support if you continue to experience account-related issues.
- App performance issues: If the Amazon Music app is running slowly or crashing frequently, make sure you have the latest version of the app installed. Restart your device to clear any temporary glitches. You can also try clearing the app’s cache and data or reinstalling the app to improve performance.
If none of the troubleshooting steps resolve the issue, reach out to Amazon Music support for further assistance. They will be able to provide specific guidance tailored to your situation.
By troubleshooting common issues, you can ensure a smooth and uninterrupted Amazon Music experience on your Android device.
Now that we have covered troubleshooting, let’s summarize what we’ve learned and wrap up our guide to getting Amazon Music on your Android device.
Conclusion
Congratulations! You are now equipped with the knowledge to get Amazon Music up and running on your Android device. From downloading the app to customizing your preferences, exploring the vast music library, creating playlists, and troubleshooting common issues, you have learned the essential steps to make the most of this popular music streaming platform.
With the Amazon Music app on your Android device, you have access to an extensive collection of songs, artists, albums, and playlists that cater to all genres and moods. Whether you’re a music enthusiast, enjoy discovering new artists, or simply want to have a personalized soundtrack for your daily activities, Amazon Music has something for everyone.
By following the steps outlined in this guide, you can seamlessly integrate Amazon Music into your Android device, enabling you to enjoy your favorite music anytime, anywhere. Whether you’re streaming music online or downloading songs for offline listening, the app offers a user-friendly experience with customizable preferences and convenient features such as voice commands.
If you encounter any issues along the way, make sure to refer back to the troubleshooting section for guidance. Amazon Music support is also available to assist you with any specific problems or concerns you may have.
Now, go ahead and have a fantastic time exploring, curating your own playlists, and immersing yourself in the world of music with Amazon Music on your Android device. Let the rhythm be your companion throughout your day!