Introduction
Welcome to the fascinating world of 3D scanning! In today’s digital age, the ability to capture real-world objects and convert them into digital models has revolutionized various industries, from manufacturing and design to healthcare and entertainment. 3D scanners are powerful tools that capture the geometry and texture of objects to create detailed three-dimensional representations.
While the majority of applications involve capturing and manipulating 3D data, there are instances where you may need to convert a 3D scanner file into a 2D format. This could be for various reasons, such as simplifying the data for visualization purposes or extracting specific details for further analysis. In this article, we will guide you through the process of converting a 3D scanner file into a 2D format, providing you with the necessary knowledge and tools to accomplish this task.
Before we delve into the conversion process, let’s explore the basics of 3D scanning to ensure we have a proper understanding of the technology and its capabilities. By having a solid foundation, you’ll be better equipped to make informed decisions and achieve the desired results in your file conversion.
Throughout this article, we will introduce you to the different file formats commonly used in 3D scanning and explain their characteristics and applications. We will also provide step-by-step instructions on how to convert a 3D scanner file to 2D, including tips and tricks to ensure a successful conversion. So, whether you’re a professional in the field or just starting your journey with 3D scanning, this article will serve as a valuable resource to help you navigate the world of file conversions with confidence.
Overview of 3D Scanning
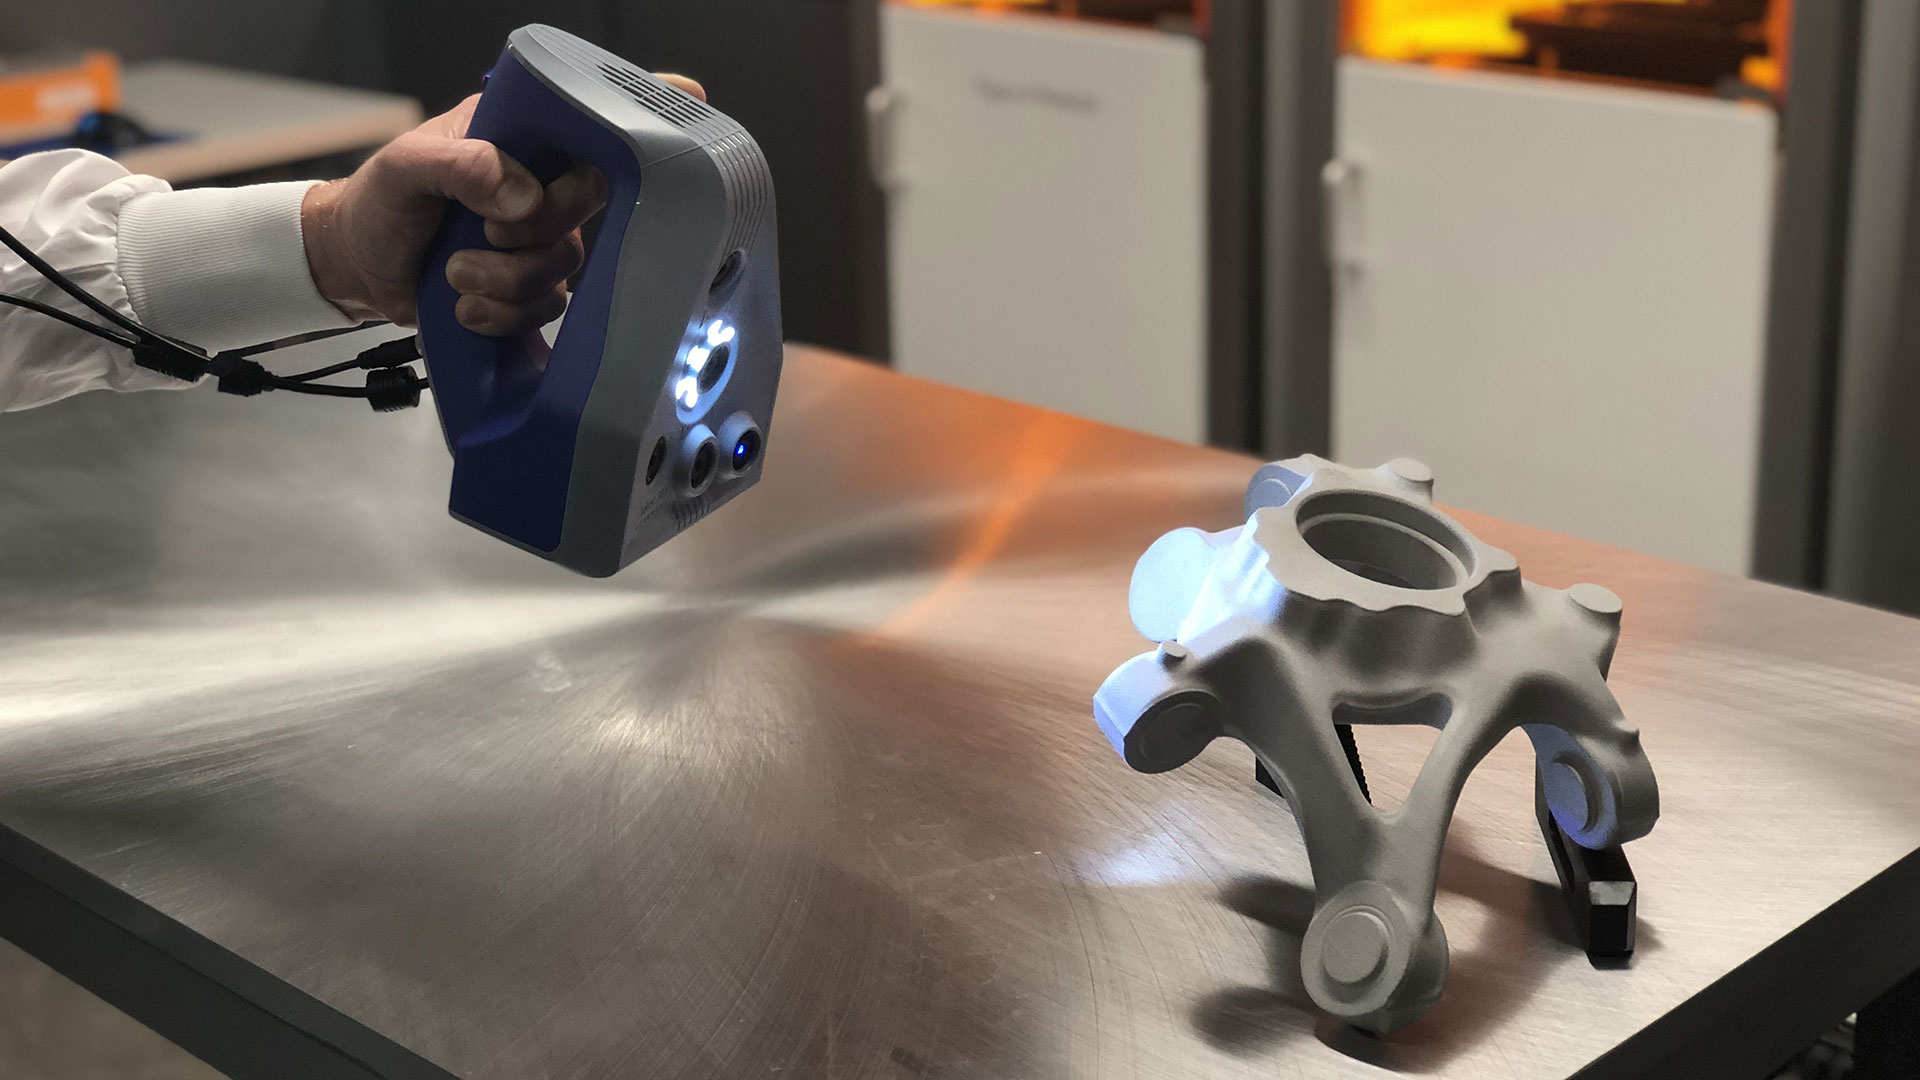
3D scanning is a process used to capture the shape, texture, and color information of real-world objects and convert them into digital models. This technology has rapidly evolved over the years, becoming more accessible and versatile. It has found applications in a wide range of fields, including architecture, engineering, reverse engineering, art and cultural preservation, and medical imaging.
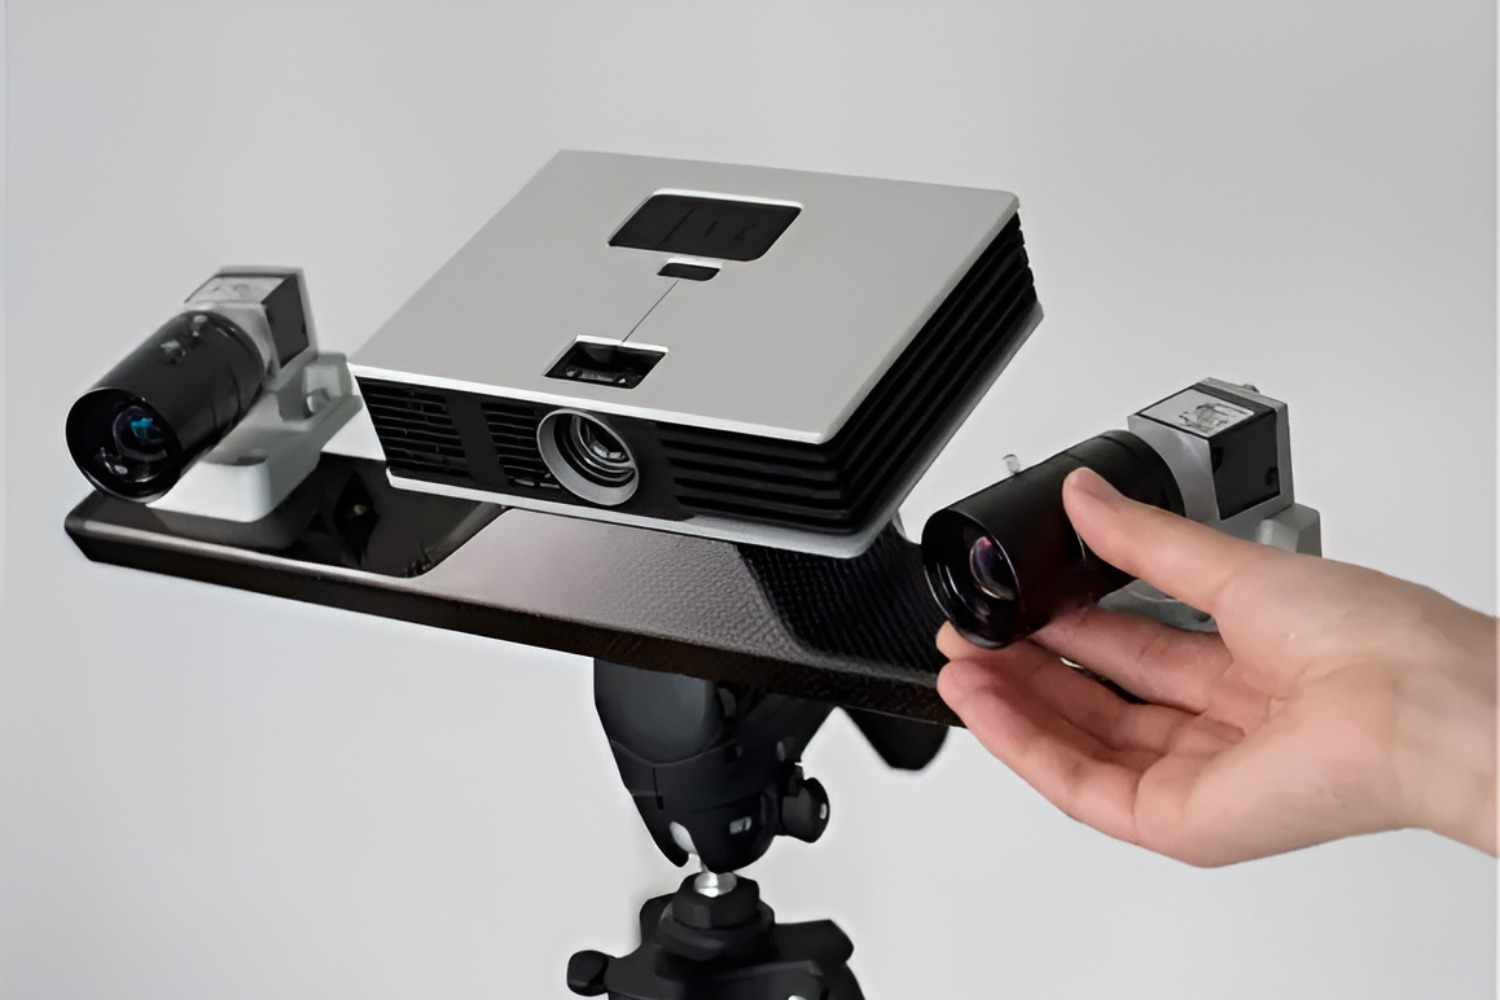
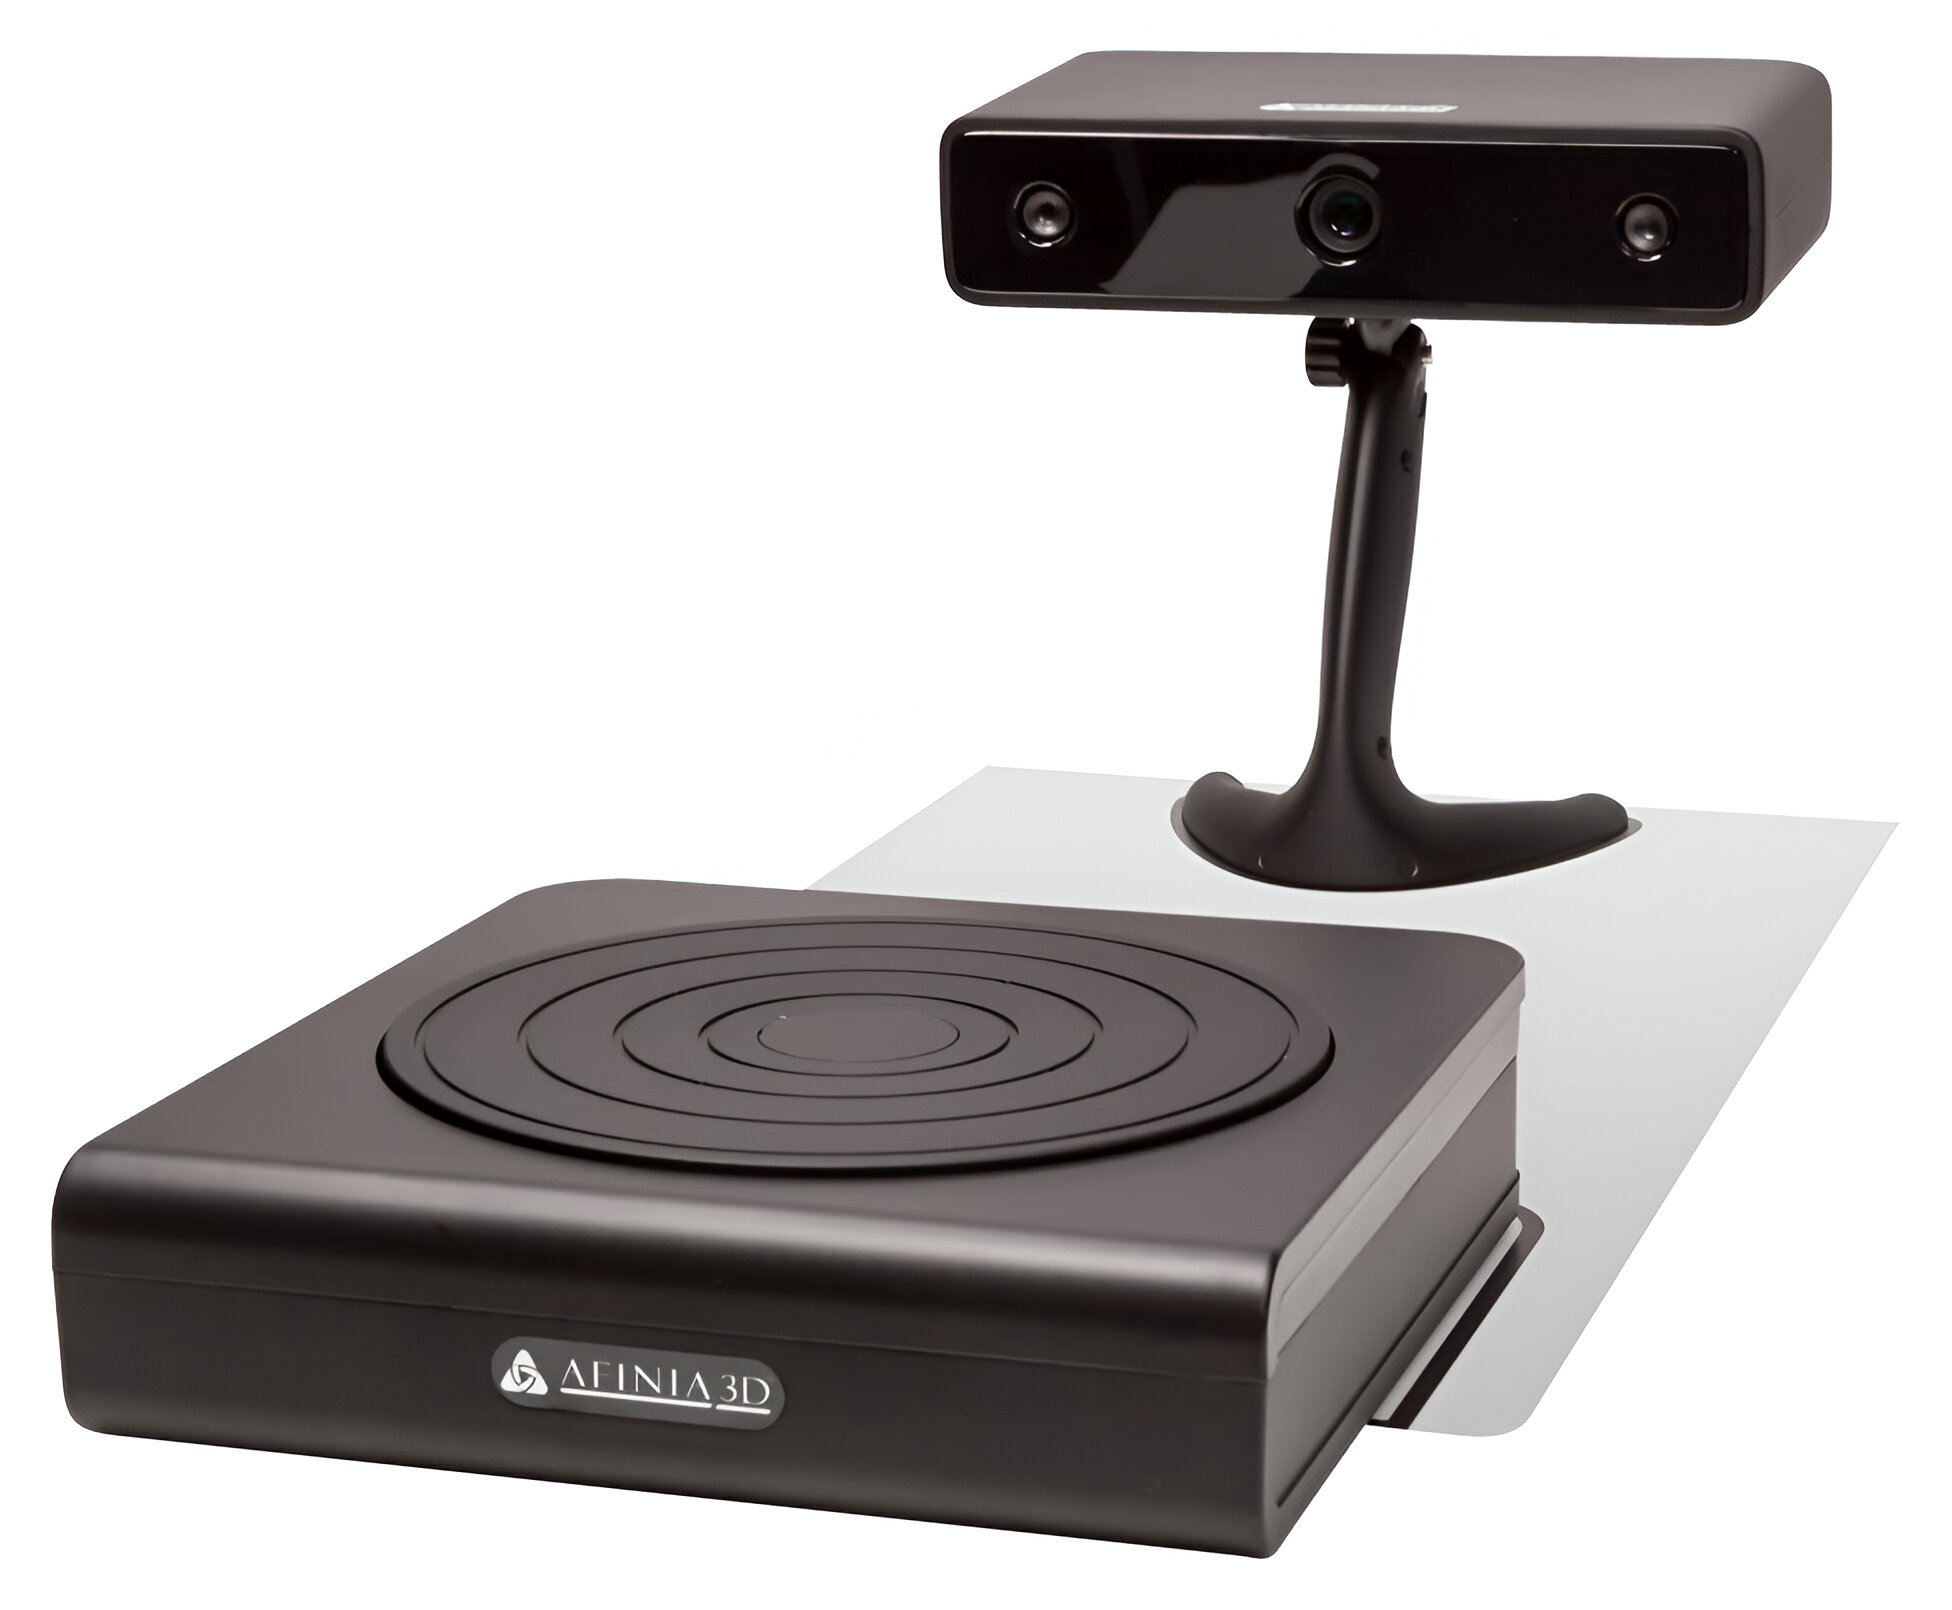
There are several methods of 3D scanning, each with its own strengths and limitations. Some common techniques include structured light scanning, laser scanning, time-of-flight scanning, and photogrammetry. These methods utilize different sensors and approaches to capture data and generate a three-dimensional representation of the object being scanned.
Structured light scanning employs the projection of patterns onto the object and analyzes the deformation of these patterns to calculate the object’s shape. Laser scanning, on the other hand, utilizes a laser beam to measure the distance between the scanner and the object’s surface, creating a point cloud of data. Time-of-flight scanning measures the time it takes for a laser or LED light to travel to the object and back, providing depth information for each point. Photogrammetry involves capturing multiple images of the object from different angles and using specialized software to reconstruct the three-dimensional model based on the correspondence between these images.
Regardless of the scanning method used, the resulting scan data is typically stored in a specific file format. These file formats vary based on factors such as the level of detail, color information, and compatibility with different software applications. Common 3D scanner file formats include STL (Standard Tessellation Language), OBJ (Wavefront Object), PLY (Polygon File Format), and FBX (Filmbox).
In the next section, we will delve deeper into the different file formats used in 3D scanning, discussing their characteristics and typical applications. Understanding these formats will be essential when it comes to choosing the right file converter and configuring the conversion settings for a successful 2D file export. So, let’s explore the world of 3D scanner file formats and unlock the possibilities of capturing the physical world in digital form.
Understanding 3D Scanner File Formats
When it comes to 3D scanning, the choice of file format plays a crucial role in the versatility and compatibility of the scanned data. Different file formats offer various functionalities and characteristics, allowing users to tailor their files based on specific requirements.
One of the most commonly used file formats in 3D scanning is STL (Standard Tessellation Language). STL files represent the surface geometry of an object using a collection of triangular facets. This format is widely supported by 3D printing software and is ideal for applications that require simple geometry representation, such as rapid prototyping and manufacturing.
Another popular file format is OBJ (Wavefront Object). OBJ files support both geometry and texture information, making them suitable for applications that require realistic and textured 3D models. They are commonly used in the fields of computer graphics, virtual reality, and game development.
For more advanced applications, the PLY (Polygon File Format) format is often used. PLY files are capable of storing not only geometry and texture information but also additional data such as color, normals, and transparency. This format is widely used in fields like medical imaging, archeology, and cultural preservation, where detailed and accurate representations are crucial.
FBX (Filmbox) is another versatile file format commonly used in the entertainment and animation industry. It supports not only 3D geometry and texture information but also animation, lighting, and camera data. This makes it suitable for applications that involve complex scenes and animations.
Understanding the characteristics and capabilities of these file formats is essential when converting a 3D scanner file into a 2D format. The file converter you choose should support the desired output format, and you’ll need to configure the conversion settings accordingly.
In the next section, we will discuss the step-by-step process of converting a 3D scanner file into a 2D format. We will explore the necessary tools and techniques, ensuring that you have all the information you need to successfully convert your files. So let’s dive into the conversion process and unlock the potential of transforming your 3D scanner files into 2D representations.
Step 1: Choosing the Right File Converter
When it comes to converting a 3D scanner file into a 2D format, the first step is to choose the right file converter. A file converter is a software tool that allows you to transform files from one format to another, ensuring compatibility and usability for your specific needs.
There are various file converters available in the market, both free and paid, each with its own set of features and functionalities. When making your choice, there are a few key factors to consider.
Supported File Formats: Make sure that the file converter supports the file format of your 3D scanner file as well as the desired output format. Compatibility is crucial to ensure seamless conversion without any loss of data or quality.
User-Friendly Interface: Look for a file converter with an intuitive and user-friendly interface. This will make the conversion process easier and more efficient, even for those who are new to file conversion.
Conversion Options: Consider the conversion options and customization features offered by the file converter. It should allow you to configure various settings such as resolution, color depth, and image format for the 2D output.
Batch Conversion: If you have multiple 3D scanner files to convert, a file converter that supports batch conversion can save you a significant amount of time and effort. This feature allows you to convert multiple files simultaneously, streamlining your workflow.
Reliability and Performance: Look for a file converter that is reliable and performs well. Reading reviews and checking the software’s reputation can give you insights into its performance and reliability.
Additional Features: Some file converters offer additional features such as editing tools, image optimization, and cloud storage integration. Consider these extras if they align with your specific requirements.
After considering these factors, choose a file converter that best meets your needs and download it onto your computer. Once you have the file converter installed, you are ready to move on to the next step of the conversion process, which is importing the 3D scanner file.
In the next section, we will guide you through the process of importing the 3D scanner file into the chosen file converter. By following these steps, you will be one step closer to successfully converting your file into a 2D format.
Step 2: Importing the 3D Scanner File
Now that you have chosen the right file converter, it’s time to import your 3D scanner file into the software. The importing process may vary depending on the specific file converter you have selected, but the general steps will remain similar.
Here is a step-by-step guide on how to import your 3D scanner file:
1. Launch the File Converter: Open the file converter software on your computer. You may find it in your applications or through a shortcut on your desktop.
2. Locate the 3D Scanner File: Navigate to the location where your 3D scanner file is stored. It could be on your local computer or on a connected external device. Select the file you want to convert.
3. Choose Import or Open: Depending on the file converter, you may have an “Import” or “Open” button that you need to click to initiate the file import process. This action will prompt the software to read and load the 3D scanner file.
4. Wait for the Import Process: The file converter will analyze the 3D scanner file and load the data into its interface. The time it takes will vary depending on the complexity and size of the file. Be patient and allow the software to complete the import process.
5. Check the Imported Data: Once the import process is complete, you should see the 3D model or point cloud representation of your scanned object within the file converter’s interface. Take a moment to inspect the imported data to ensure it matches your expectations.
If the file converter successfully imports your 3D scanner file and displays the data accurately, you can proceed to the next step of the conversion process. However, if you encounter any issues or errors during the import process, you may need to troubleshoot or consult the documentation provided by the file converter software.
In the following section, we will discuss the crucial step of configuring the conversion settings. This will determine the output format and quality of your 2D file, so it is essential to understand and adjust these settings accordingly.
Step 3: Configuring the Conversion Settings
Once you have imported your 3D scanner file into the chosen file converter, the next step is to configure the conversion settings. These settings will determine the format, resolution, color depth, and other specifications of the resulting 2D file.
The specific options and settings available for configuration may vary depending on the file converter you are using. However, here are some common settings that you may encounter:
Output Format: Choose the desired format for your 2D file. Common options include JPEG, PNG, TIFF, and BMP. Consider the compatibility and quality requirements for your intended use when making this selection.
Resolution: Set the resolution for the 2D output. Higher resolutions will result in more detailed images, but the file size will be larger. Consider the intended use of the 2D file when deciding on the resolution.
Color Depth: Determine the color depth for your 2D file. Options may include RGB (24-bit), grayscale (8-bit), or black and white (1-bit). Consider the visual requirements and file size limitations when selecting the color depth.
Image Compression: Some file converters offer options for image compression to reduce file size without compromising image quality. Consider enabling this feature if file size is a concern.
Cropping and Scaling: Depending on your needs, the file converter may allow you to adjust the framing and scale of the 2D output. This can be useful if you want to focus on specific areas or resize the image to fit certain dimensions.
Additional Settings: Depending on the file converter’s capabilities, there may be additional settings available, such as image enhancement filters, color correction, or metadata embedding. Explore these options if they align with your requirements.
It is essential to take your time in configuring the conversion settings to ensure the desired quality and compatibility of the 2D output. Review the options available, experiment with different settings if needed, and preview the output image to ensure it meets your expectations.
Once you have customized the conversion settings to your satisfaction, you are ready to proceed to the final step of the conversion process, which is exporting the 2D file. We will discuss this step in detail in the following section.
Step 4: Exporting the 2D File
After configuring the conversion settings for your 3D scanner file, the final step is to export the file as a 2D image. The export process will vary depending on the file converter you are using, but the general steps remain consistent.
Follow these steps to successfully export your 3D scanner file as a 2D image:
1. Navigate to the Export Option: Look for an “Export” or “Save As” option within the file converter interface. This is usually located in the menu bar or toolbar of the software.
2. Choose the Output Format: In the export dialog box, select the desired output format for your 2D image. This should be the format you configured in the previous step.
3. Specify the Output Location: Choose the folder or directory where you want to save the exported 2D file. Make sure to select a location that is easily accessible and organized for your future reference.
4. Enter the File Name: Provide a suitable and descriptive name for the 2D file. This will make it easier to identify and locate the file later on.
5. Adjust Additional Export Options: Depending on the file converter, there may be additional export options to consider. These could include options for quality compression, metadata embedding, or color profile selection. Adjust these options according to your specific needs.
6. Initiate the Export Process: Once you have reviewed and adjusted the export settings, click on the “Export” or “Save” button to initiate the export process. The file converter will convert your 3D scanner file into the specified 2D format and save it to the designated location.
7. Verify the Exported File: Once the export process is complete, navigate to the output location you specified earlier. Verify that the exported 2D file is saved correctly and accurately represents your 3D scanner file.
By following these steps, you have successfully converted your 3D scanner file into a 2D image. You can now use this 2D image for various applications like visualization, documentation, sharing, or further analysis.
In the next section, we will provide some helpful tips for a successful conversion process. These tips will assist you in achieving optimal results and overcoming potential challenges during the conversion of your 3D scanner files.
Tips for a Successful Conversion
To ensure a successful conversion process when converting your 3D scanner files to 2D, consider the following tips:
1. Understand Your Conversion Needs: Clearly define your goals and requirements for the 2D output. Consider factors such as resolution, color depth, and file format to ensure the converted file meets your specific needs.
2. Choose Reliable File Conversion Software: Select a reputable and reliable file converter that supports the file formats you are working with. Read reviews, check ratings, and research the capabilities of the software to avoid any potential issues during the conversion process.
3. Familiarize Yourself with the User Interface: Take the time to explore and familiarize yourself with the user interface of the file converter. Understanding the features and options available will make the conversion process more seamless and efficient.
4. Configure the Conversion Settings Carefully: Pay attention to the conversion settings and customize them based on your requirements. Consider the resolution, color depth, and output format to achieve the desired quality and compatibility of the 2D file.
5. Preview the Output: Take advantage of any preview options available in the file converter. This will allow you to preview the 2D image before saving it, ensuring that it aligns with your expectations and requirements.
6. Maintain the Aspect Ratio: When adjusting the scaling or cropping options, maintain the aspect ratio of the original image to avoid distorting the proportions of the 2D output.
7. Experiment and Iterate: Don’t be afraid to experiment with different settings and adjustments. If the initial conversion results are not satisfactory, iterate and refine the conversion process until you achieve the desired output.
8. Keep a Backup of Original Files: Before performing any conversions, make sure to keep a backup of your original 3D scanner files. This allows you to revert back to the original data if needed or perform additional conversions in the future.
9. Document the Conversion Process: Maintain documentation of the conversion settings and methods used for future reference. This will help you replicate successful conversions or troubleshoot any issues that may arise in the future.
10. Stay Updated with Software Updates: Keep your file converter software up to date by installing any available updates. Software updates often include bug fixes, performance improvements, and additional features that can enhance the conversion process.
By following these tips, you can ensure a smooth and successful conversion process for your 3D scanner files. Remember to thoroughly test and verify the converted 2D files to confirm they meet your requirements, and don’t hesitate to seek additional resources or support if needed.
With the conversion process complete, you can now enjoy the benefits of having a 2D representation of your 3D scanned object. Whether it’s for visualization, analysis, or documentation, the converted 2D file opens up a world of possibilities for further exploration and utilization.
Conclusion
Converting a 3D scanner file into a 2D format can be a valuable process that allows you to transform complex three-dimensional data into a more accessible and versatile two-dimensional representation. By following the step-by-step guidelines outlined in this article, you can successfully convert your 3D scanner files and unlock a range of possibilities for visualization, sharing, analysis, and more.
We began by introducing the world of 3D scanning, highlighting its importance in various industries and explaining the different methods and file formats commonly used. Understanding the basics of 3D scanning is crucial in ensuring a successful conversion process.
We then explored the step-by-step process of converting a 3D scanner file to 2D, from choosing the right file converter to configuring the conversion settings, and finally exporting the 2D file. Each step involved important considerations and tips to help you achieve optimal results in your conversion.
Throughout the process, we emphasized the importance of understanding your conversion needs, choosing reliable software, and taking the time to adjust the conversion settings to match your requirements. We also provided tips for a successful conversion, such as previewing the output, maintaining the aspect ratio, and keeping backups of the original files.
By following these guidelines, you can ensure that your 3D scanner files are effectively converted into high-quality 2D images. These 2D representations offer a range of advantages, from enhanced visualization and documentation to simplified sharing and analysis.
Remember to stay updated with software updates and document your conversion processes for future reference. The world of 3D scanning and file conversion is constantly evolving, and by keeping up with the latest advancements, you can ensure that your conversions are optimized and efficient.
Now that you have learned the techniques and best practices for converting 3D scanner files to 2D, you are ready to embark on your own conversion journey. Embrace the endless possibilities offered by your newly converted 2D files and explore the many applications they can be used for.
Happy converting!