Introduction
Welcome to the world of 3D scanning with the Afinia 3D Scanner! If you’re a beginner in the field of 3D scanning or looking to upgrade your current setup, you’ve come to the right place. The Afinia 3D Scanner is a powerful and user-friendly device that allows you to capture real-world objects and convert them into a digital 3D model. Whether you’re an artist, designer, engineer, or hobbyist, this scanner opens up a whole new realm of possibilities for you to explore.
In this guide, we will walk you through the step-by-step process of setting up your Afinia 3D Scanner and getting started with your first scan. We will cover everything from assembling the hardware components to installing the necessary software and calibrating the scanner for optimal results.
But before we delve into the nitty-gritty details, let’s take a moment to understand why 3D scanning is such a game-changer in various industries. Unlike traditional 2D scanning, which only captures the surface of an object, 3D scanning captures the shape, texture, and depth of an object, creating a digital replica in three dimensions.
This technology has revolutionized fields like industrial design, architecture, healthcare, and entertainment. It enables designers to create accurate 3D models for prototyping and manufacturing. Doctors can use it to create personalized prosthetics and orthotics. And artists can bring their imagination to life by digitally sculpting intricate designs.
The Afinia 3D Scanner is designed to make 3D scanning accessible to everyone. With its ease of use and affordable price point, it has become a popular choice among enthusiasts and professionals alike.
So, if you’re ready to unlock the full potential of 3D scanning and bring your ideas into the digital realm, let’s get started with setting up your Afinia 3D Scanner!
Afinia 3D Scanner: An Overview
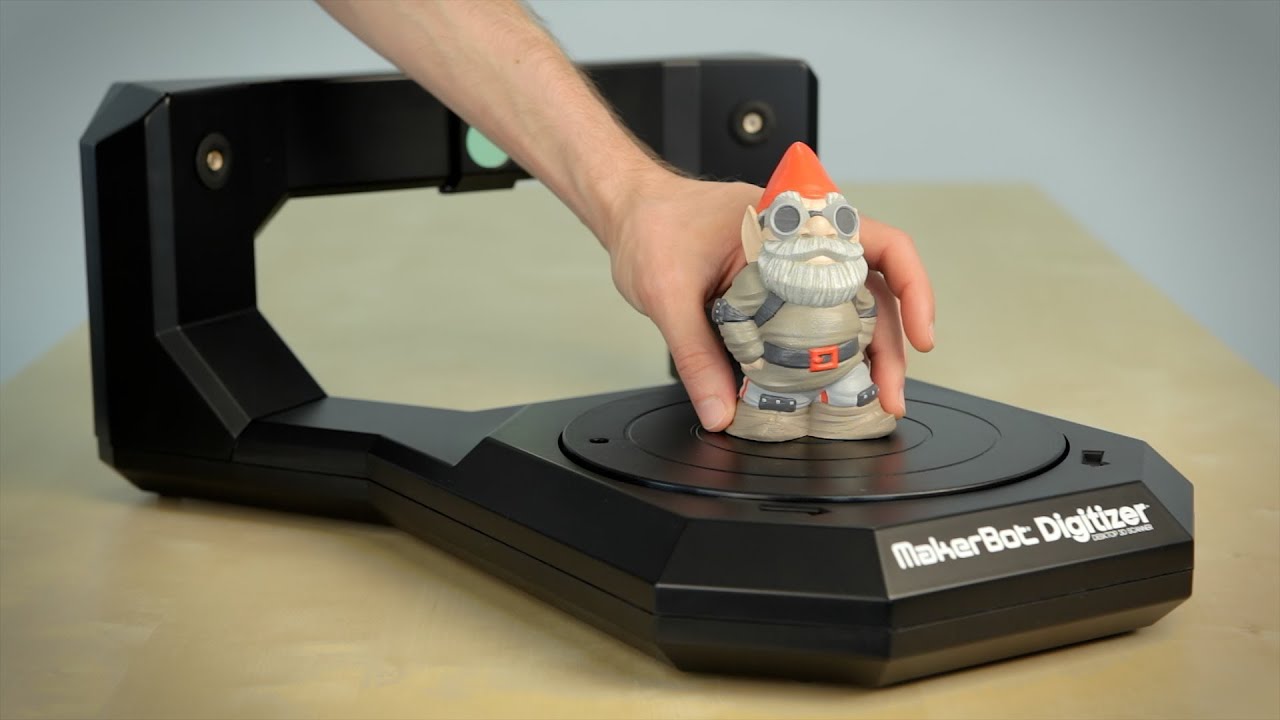
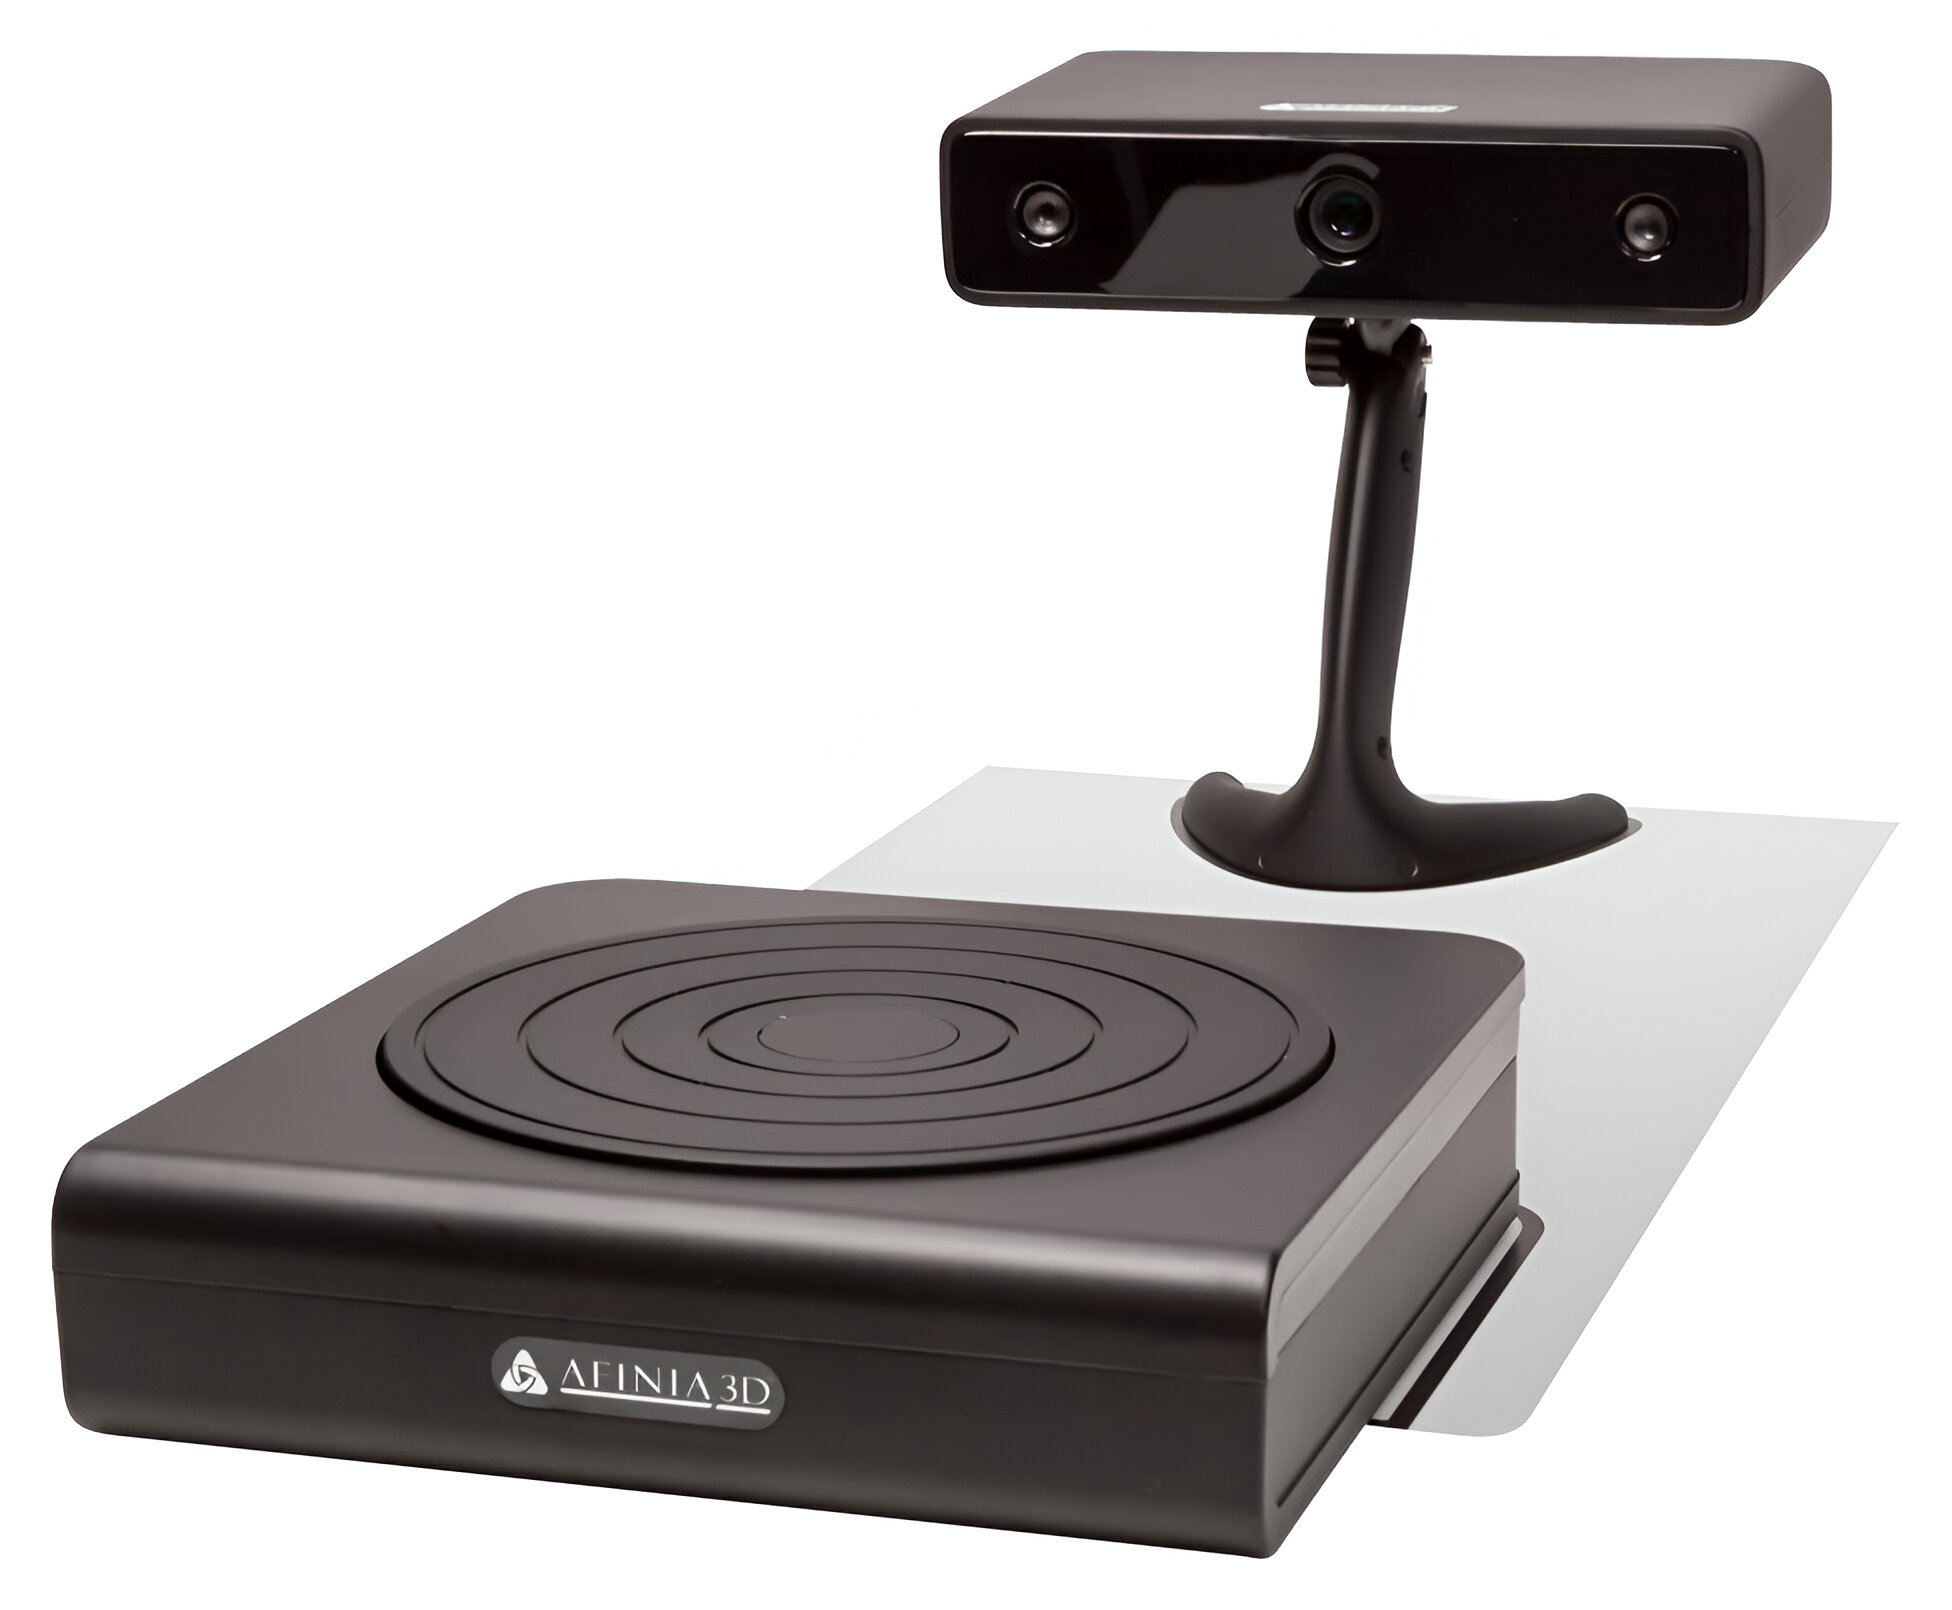
The Afinia 3D Scanner is a cutting-edge device that combines advanced technology with user-friendly features to make 3D scanning accessible to users of all experience levels. With its compact size and affordable price point, it has gained popularity among hobbyists, educators, and professionals alike.
Equipped with a high-resolution camera and dual lasers, the Afinia 3D Scanner is capable of capturing intricate details of objects, ensuring accurate and precise 3D scans. It utilizes structured light scanning technology, which projects a pattern of light onto the object and then calculates the shape and depth based on the distortion of the pattern. This allows for quick and efficient scanning without compromising on quality.
The Afinia 3D Scanner also comes with an intuitive and user-friendly software interface. The software provides various scanning modes, including a manual mode for capturing specific areas of an object and an automatic mode for scanning the entire object. It also allows users to adjust settings such as scan resolution and brightness to achieve the desired results.
One of the standout features of the Afinia 3D Scanner is its compatibility with a wide range of 3D printing software. This means that you can easily export your scanned models to popular 3D modeling and printing software such as AutoCAD, SolidWorks, or Blender. This seamless integration between scanning and printing makes the Afinia 3D Scanner a valuable tool for those involved in 3D printing and prototyping.
In addition to its technical capabilities, the Afinia 3D Scanner offers a user-friendly experience. Its compact and portable design allows you to easily transport it and set it up wherever you need it. The scanner is also designed with safety in mind, with features like a built-in shutter to protect your eyes from the laser and a safety interlock system to prevent accidents.
Overall, the Afinia 3D Scanner provides an accessible and efficient solution for capturing real-world objects and turning them into digital 3D models. Whether you’re a hobbyist exploring the world of 3D scanning or a professional in need of precise and accurate scans, the Afinia 3D Scanner is a reliable and cost-effective choice.
Preparing to Set Up the Afinia 3D Scanner
Before diving into the setup process, it’s essential to make sure you have everything you need to get started with your Afinia 3D Scanner. Here are some key steps to follow:
- Read the user manual: The user manual is your go-to resource for understanding the Afinia 3D Scanner’s features, assembly instructions, and troubleshooting tips. Take some time to thoroughly review the manual to familiarize yourself with the device.
- Find a suitable workspace: Choose a clean, well-lit area with enough space to accommodate the Afinia 3D Scanner and your computer. Ensure there is a stable surface to set up the scanner and plenty of room for you to move around comfortably during the scanning process.
- Check the system requirements: Before connecting the Afinia 3D Scanner to your computer, verify that your computer meets the minimum system requirements specified in the user manual. This includes the operating system, available USB ports, and graphics capabilities.
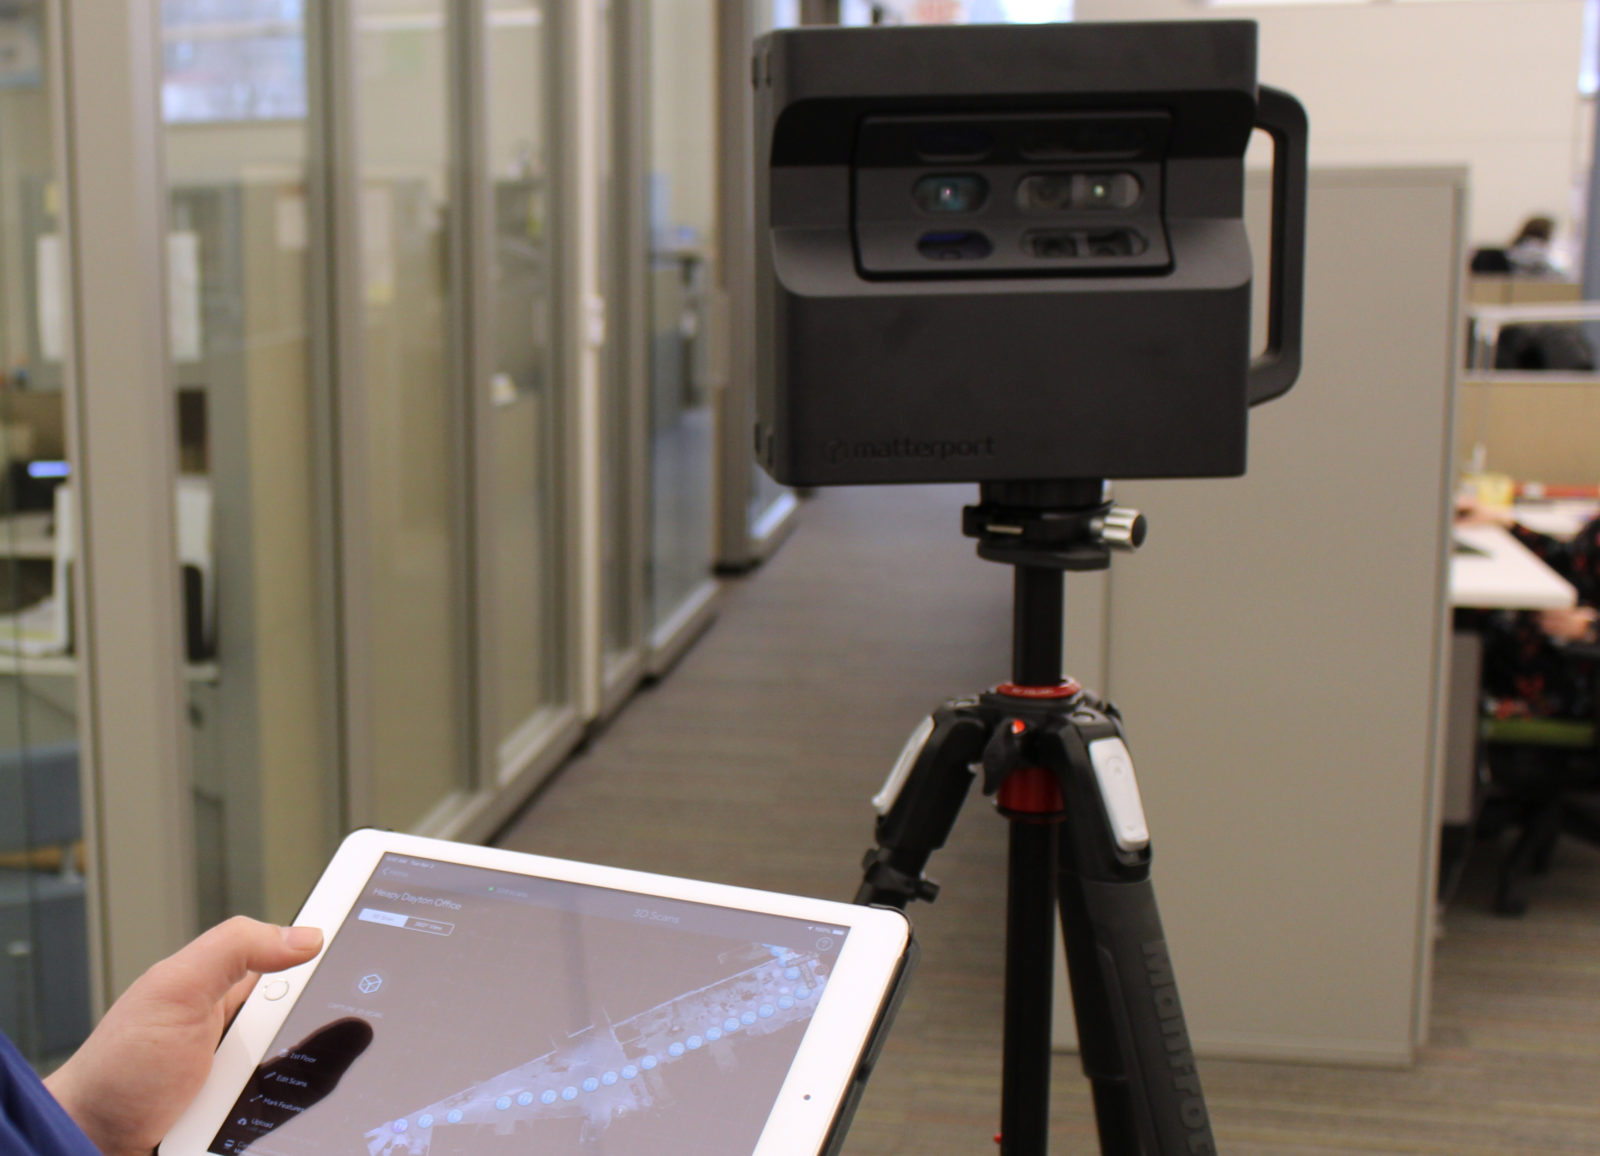
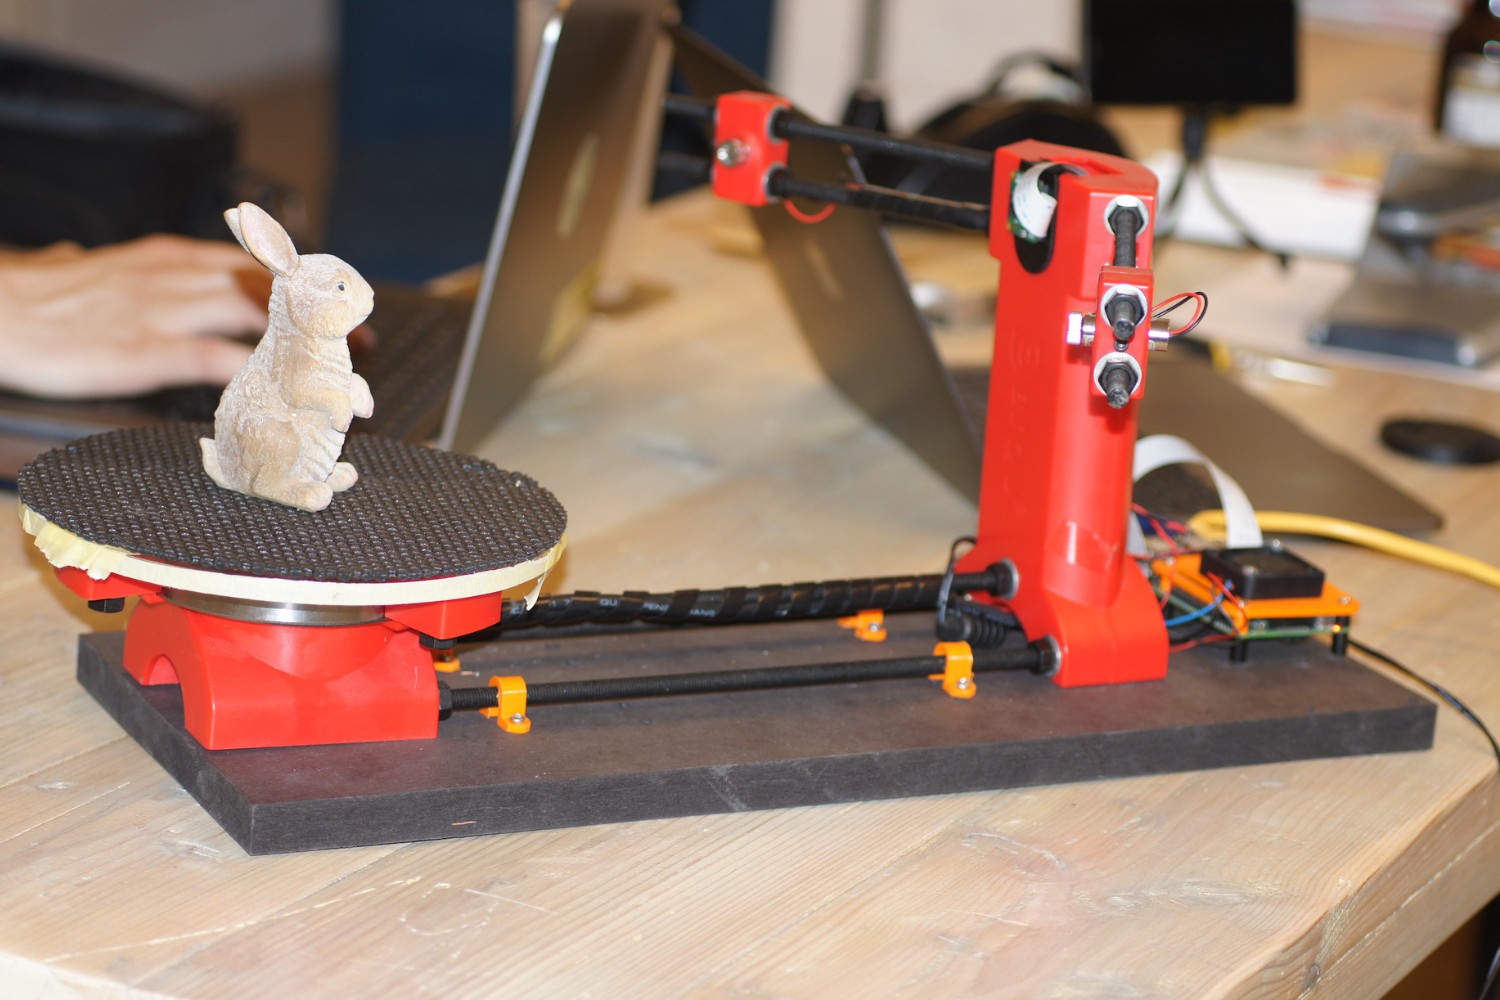
- Gather the necessary accessories: The Afinia 3D Scanner usually comes with the essential components, including the scanner unit, calibration panels, tripod stand, and required cables. Make sure you have all these items readily available before starting the setup.
- Prepare the objects to be scanned: If you already have specific objects in mind that you want to scan, ensure they are clean and free from any reflective surfaces. Remove any dust, fingerprints, or shiny coatings that might interfere with the scanning process. It’s also helpful to have a rotating turntable or a manual rotating platform to capture all angles of the object efficiently.
- Install the necessary software: In order to control and process the 3D scans, you’ll need to install the Afinia 3D Scanning Software on your computer. Refer to the user manual for the download link and installation instructions.
By following these preparatory steps, you’ll be well-equipped and ready to proceed with setting up your Afinia 3D Scanner. Taking the time to properly prepare ensures a smooth and hassle-free setup process, allowing you to make the most out of your 3D scanning experience.
Setting Up the Hardware Components
Now that you’ve prepared the necessary equipment and workspace, it’s time to set up the hardware components of your Afinia 3D Scanner. Follow these steps to ensure a proper and secure installation:
- Attach the scanner unit to the tripod: Start by attaching the Afinia 3D Scanner unit to the tripod stand. Ensure that the tripod is stable and adjusted to a height suitable for your scanning needs. This will provide a sturdy base for the scanner during the scanning process.
- Connect the power supply: Locate the power input on the back of the scanner unit and connect one end of the power supply cord to it. Plug the other end into a power outlet. This will provide the necessary power to the scanner during operation.
- Connect the USB cable: Take the USB cable included with the package and connect one end to the USB port on the scanner unit. Plug the other end into an available USB port on your computer. This connection enables communication between the scanner and your computer.
- Position the calibration panels: The Afinia 3D Scanner requires calibration before performing scans. Place the calibration panels provided with the scanner in the appropriate positions as instructed in the user manual. These panels help establish reference points for accurate scanning.
- Ensure proper lighting conditions: Adequate lighting is crucial for optimal scanning results. Make sure the scanning area is well-lit but without any direct light shining on the object or causing reflections. You can use diffused lighting or adjust the ambient light in the room to achieve the desired lighting conditions.
- Check the connections: Double-check all the connections to ensure they are secure. Make sure the power supply is firmly connected to the scanner unit and the power outlet. Verify that the USB cable is inserted fully into both the scanner unit and the computer’s USB port.
Once you have completed these steps, you have successfully set up the hardware components of your Afinia 3D Scanner. It’s important to ensure that all connections are secure and the calibration panels are properly positioned for accurate scanning. With the hardware set up, we can now move on to connecting the Afinia 3D Scanner to your computer and installing the necessary software.
Connecting the Afinia 3D Scanner to a Computer
Now that you have set up the hardware components of your Afinia 3D Scanner, it’s time to establish a connection between the scanner and your computer. Follow these steps to ensure a successful connection:
- Power on the Afinia 3D Scanner: Press the power button on the scanner unit to turn it on. Wait for the scanner to initialize and reach a ready state. It may take a few seconds for the scanner to boot up.
- Launch the Afinia 3D Scanning Software: Open the Afinia 3D Scanning Software on your computer. If you haven’t installed the software yet, refer to the user manual for download instructions. Launching the software will establish a connection between the scanner and your computer.
- Check the connection status: Within the software interface, you should see an indication of the connection status between the scanner and your computer. Look for a connection icon, usually located in the top or bottom toolbar of the software. It should show a green light or an “Connected” message to confirm a successful connection.
- Select the Afinia 3D Scanner: In the software, navigate to the scanner selection menu and choose the Afinia 3D Scanner from the available options. This will ensure that the software communicates with the correct device.
- Perform a test scan: To make sure the connection is working properly, perform a test scan. Place a small object on the scanning platform and follow the software’s instructions to initiate the scanning process. This will help you verify that the scanner is correctly capturing the object’s details and transferring them to your computer.
- Adjust settings and preferences: Once the connection is established and the test scan is successful, take some time to explore the software’s settings and preferences. Customize the scanning parameters, such as resolution and brightness, based on your specific requirements and the objects you plan to scan.
With the Afinia 3D Scanner successfully connected to your computer, you are now ready to move on to the next step: installing the Afinia 3D Scanning Software. This software will allow you to control the scanning process, manipulate the captured data, and ultimately convert your scans into digital 3D models.
Installing the Afinia 3D Scanning Software
Installing the Afinia 3D Scanning Software is a crucial step in the setup process of your Afinia 3D Scanner. Follow the steps below to ensure a smooth installation:
- Download the software: Visit the Afinia 3D website or refer to the user manual for the download link of the Afinia 3D Scanning Software. Make sure to download the version that is compatible with your computer’s operating system.
- Run the installation file: Locate the downloaded software file on your computer and double-click on it to run the installation process. Follow the on-screen prompts and instructions to proceed with the installation.
- Accept the end-user license agreement: During the installation process, you will be presented with the end-user license agreement (EULA). Read through the agreement carefully and, if you agree to the terms, click on the “Accept” or “Agree” button to proceed.
- Choose the installation location: The software installer will prompt you to select the destination folder where you want to install the Afinia 3D Scanning Software. You can choose the default location or specify a different folder according to your preference. Once selected, proceed with the installation.
- Complete the installation: Wait for the installation process to complete. This may take a few minutes, depending on your computer’s speed. Once the installation is finished, you will receive a confirmation message indicating that the software has been successfully installed.
- Launch the Afinia 3D Scanning Software: After installation, locate the software on your computer and launch it. Depending on your operating system, you can find the software in your applications or programs folder.
Once the Afinia 3D Scanning Software is installed and launched, you will have access to a wide range of features and functionalities to control and process your 3D scans. Take some time to familiarize yourself with the software interface, explore its settings, and refer to the user manual for detailed instructions on how to optimize your scanning experience.
Now that you have successfully installed the Afinia 3D Scanning Software, you are ready to move on to the exciting part of calibrating your Afinia 3D Scanner and scanning your first object!
Calibrating the Afinia 3D Scanner
Calibrating your Afinia 3D Scanner is a crucial step to ensure accurate and precise 3D scans. Calibration establishes the reference points and settings necessary for the scanner to capture objects with optimal accuracy. Follow the steps below to calibrate your Afinia 3D Scanner:
- Open the Afinia 3D Scanning Software: Launch the Afinia 3D Scanning Software on your computer, ensuring that the Afinia 3D Scanner is connected and recognized by the software.
- Access the calibration settings: Within the software interface, locate the calibration settings. Depending on the software version, this may be in the settings menu or a separate calibration tab. Click on the option to begin the calibration process.
- Follow the on-screen instructions: The software will guide you through the calibration process step by step. Pay close attention to the instructions and perform the necessary actions as prompted.
- Place the calibration panels: As part of the calibration process, you will be prompted to place the calibration panels in specific positions and orientations as indicated by the software. This allows the scanner to establish reference points for accurate scanning.
- Adjust the scanner settings: During the calibration process, you will have the opportunity to fine-tune the scanner settings, such as exposure and laser alignment, for optimal performance. Follow the instructions provided and make adjustments as necessary.
- Complete the calibration: Once you have followed all the calibration steps and made the necessary adjustments, the software will indicate that the calibration process is complete. Make sure to save the calibration settings for future use.
It’s important to note that calibration may need to be performed periodically or whenever significant changes occur, such as moving the scanner to a different location. Regular calibration ensures consistent and accurate results when scanning objects of varying shapes and sizes.
By properly calibrating your Afinia 3D Scanner, you’ll be equipped with the necessary settings and reference points to achieve high-quality 3D scans. Calibration sets the foundation for successful scanning, allowing you to capture precise and detailed digital representations of real-world objects.
With the calibration process complete, you’re now ready to embark on the exciting journey of scanning your first object using the Afinia 3D Scanner!
Scanning Your First Object
Now that you have set up and calibrated your Afinia 3D Scanner, it’s time to dive into the exciting process of scanning your first object. Follow these steps to ensure a successful scanning experience:
- Select the scanning mode: In the Afinia 3D Scanning Software, choose the appropriate scanning mode based on your object and desired outcome. The software typically offers options such as automatic, manual, or custom modes.
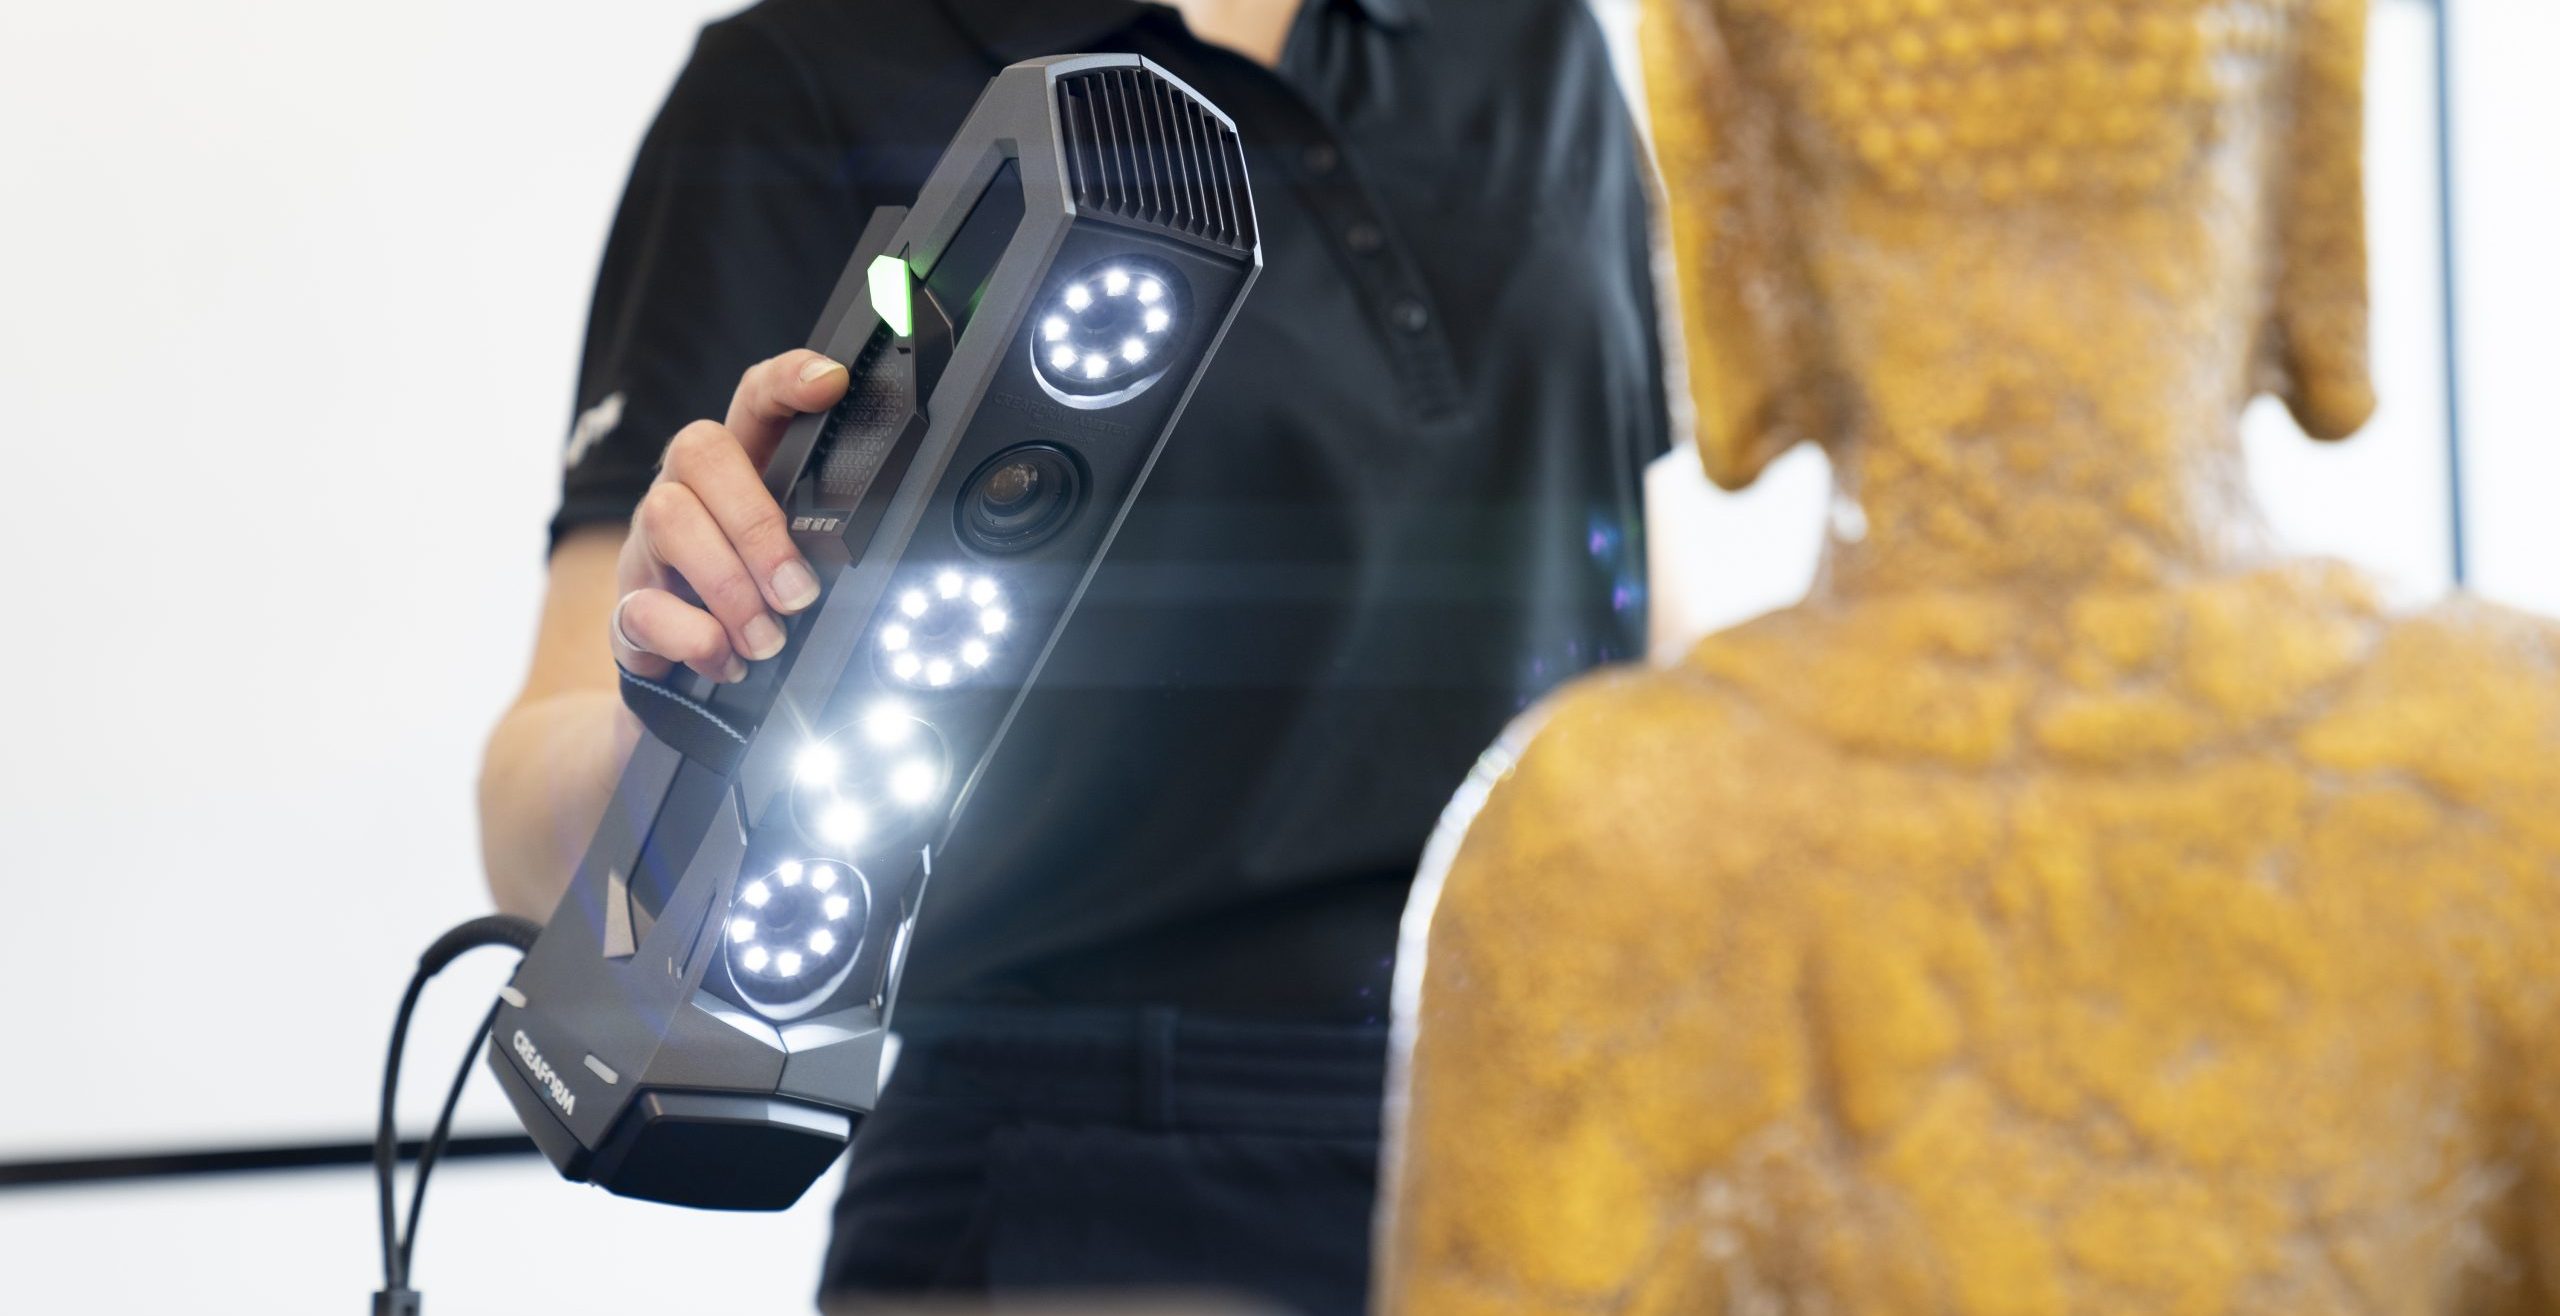
- Prepare the object: Place your object on the scanning platform or turntable. Ensure that the object is positioned securely and that it is well-lit without any direct light or reflections that could interfere with the scanning process.
- Adjust the scanning settings: Fine-tune the scanning settings in the software to suit your specific object and desired level of detail. You can adjust parameters such as resolution, exposure, and scan volume to achieve the desired results.
- Start the scanning process: Initiate the scanning process by following the instructions in the software. This may involve clicking a “Scan” button, selecting specific areas to scan manually, or following a step-by-step guide provided by the software.
- Capture multiple angles: To ensure a comprehensive and accurate scan, capture the object from different angles. Rotate the turntable or manually move the object to capture all sides and details. The software will guide you through the process and provide prompts for each scan.
- Review and optimize: After completing the scans, review the captured data in the software’s interface. Check for any missing or distorted areas and make any necessary adjustments to the scanning settings. This may involve rescanning specific areas or adjusting the exposure and other parameters.
- Export and save the scan: Once you are satisfied with the scan, export the data as a 3D model file. The software typically offers various file formats for export, such as STL or OBJ. Save the scan to your desired location on your computer or external storage device.
- Post-processing: Depending on your needs, you can further process the exported 3D scan using other software or import it into a 3D modeling program for editing or refinement. This allows you to clean up the scan, optimize the mesh, and prepare it for various applications such as 3D printing or visualization.
Scanning your first object with the Afinia 3D Scanner is an exhilarating experience. Through practice and experimentation, you will learn to master the scanning process and capture high-quality, detailed 3D models of real-world objects.
Remember, scanning can be a trial-and-error process, especially as you explore different objects and unique shapes. Don’t be afraid to experiment, adjust settings, and try again until you achieve the desired results. With patience and practice, you will unlock the full potential of the Afinia 3D Scanner and unleash your creativity in the world of 3D scanning and design.
Troubleshooting and Tips
While using the Afinia 3D Scanner, you may encounter certain challenges or issues. Here are some troubleshooting tips to help you overcome common problems and enhance your scanning experience:
- Poor scan quality: If your scans are coming out blurry or with missing details, check the focus and alignment of the scanner. Ensure that the object is well-lit and free from any obstructions. You may also need to adjust the scanning settings like resolution and exposure to optimize the results.
- Inaccurate scans: If the scans are not aligned correctly or contain distortions, recheck the calibration of the scanner. Make sure the calibration panels are properly positioned and that the scanner is calibrated according to the manufacturer’s instructions. Additionally, ensure that the scanning area is stable and free from vibrations.
- Tracking difficulties: If the scanner is having trouble tracking the object during the scanning process, ensure that the object is not moving and that the turntable or manual rotation is smooth and steady. Also, check the lighting conditions as excessive shadows or reflections can affect the tracking capability.
- Software issues: If you encounter software-related issues like crashes or errors, make sure that you have the latest version of the Afinia 3D Scanning Software installed. Check for any updates or patches available from the manufacturer’s website. It’s also recommended to close any other unnecessary programs running in the background that may be affecting the software’s performance.
- Optimize scanning conditions: To improve the scanning results, create an environment with consistent lighting, free from any light interference or reflective surfaces. Ensure that the scanning area is clean and minimize any background clutter that may distract or affect the accuracy of the scans.
- Experiment and practice: 3D scanning can be a learning process, and it’s normal to encounter challenges along the way. Take the time to experiment with different scanning techniques, settings, and objects. Practice will help you understand the capabilities of the Afinia 3D Scanner and improve your scanning skills.
- Refer to the user manual and resources: If you encounter any specific issues or need further guidance, always refer to the user manual provided with the Afinia 3D Scanner. It contains valuable information, troubleshooting tips, and step-by-step instructions. You can also explore online forums, support communities, and tutorials for additional help and insights.
By following these troubleshooting tips and implementing best practices, you can overcome common challenges and maximize the performance of your Afinia 3D Scanner. Remember, persistence, knowledge, and experience will ultimately lead to successful and high-quality 3D scans.
Conclusion
Congratulations on completing the setup and becoming familiar with the Afinia 3D Scanner! You have learned the essential steps to prepare, connect, calibrate, and scan objects with this powerful device. Through this guide, you have gained insights into the capabilities and features of the Afinia 3D Scanner, as well as troubleshooting tips to overcome common challenges.
The Afinia 3D Scanner opens up a world of possibilities for artists, designers, engineers, and hobbyists by allowing them to capture real-world objects and convert them into digital 3D models. With its user-friendly interface, robust scanning technology, and seamless integration with popular software, it provides an accessible and efficient solution for users of all levels of expertise.
As you continue your journey with the Afinia 3D Scanner, remember to practice, experiment, and explore. Each scan presents an opportunity to refine your skills and achieve better results. Don’t hesitate to consult the user manual, online resources, and support communities for additional guidance and tips.
Whether you’re using the Afinia 3D Scanner for personal projects, educational purposes, or professional work, this versatile tool will undoubtedly enhance your creative process and expand your possibilities. Let your imagination run wild as you 3D scan and bring your ideas to life in the digital realm.
Happy scanning with your Afinia 3D Scanner!