Introduction
Welcome to the exciting world of 3D scanning! In recent years, the advancements in technology have made it possible for individuals to create their own 3D scanner camera stations right in the comfort of their own homes or workshops. This revolutionary technology allows you to capture objects or even entire scenes in 3D, opening up endless possibilities for 3D printing, virtual reality, or architectural visualization.
In this guide, we will walk you through the process of building your very own 3D scanner camera station. From gathering the necessary tools to calibrating the camera and processing the 3D scans, we will cover all the essential steps you need to know to get started.
Before we dive into the nitty-gritty details, it’s important to understand the fundamental concept of 3D scanning. Essentially, a 3D scanner captures the geometry and texture of an object or scene to create a digital 3D model. By utilizing various scanning techniques and software algorithms, it is able to map and recreate the physical attributes of the subject in a virtual 3D space.
Whether you are an artist, designer, engineer, or simply a hobbyist, having your own 3D scanner camera station opens up a whole new world of possibilities. You can create detailed digital replicas of objects for prototyping, artistic creations, or even for preservation purposes. The ability to digitize objects or scenes with such precision and accuracy is truly remarkable.
Throughout this guide, we will provide step-by-step instructions along with valuable tips and insights to help you build and utilize your 3D scanner camera station. So, without further ado, let’s get started on this exciting journey into the world of 3D scanning!
Materials Needed
Before we begin building our 3D scanner camera station, let’s gather all the necessary materials and tools. Here’s a comprehensive list of what you’ll need:
- A digital camera: Look for a camera with good image quality and the ability to connect to a computer or laptop.
- A tripod: This will ensure your camera remains stable during the scanning process.
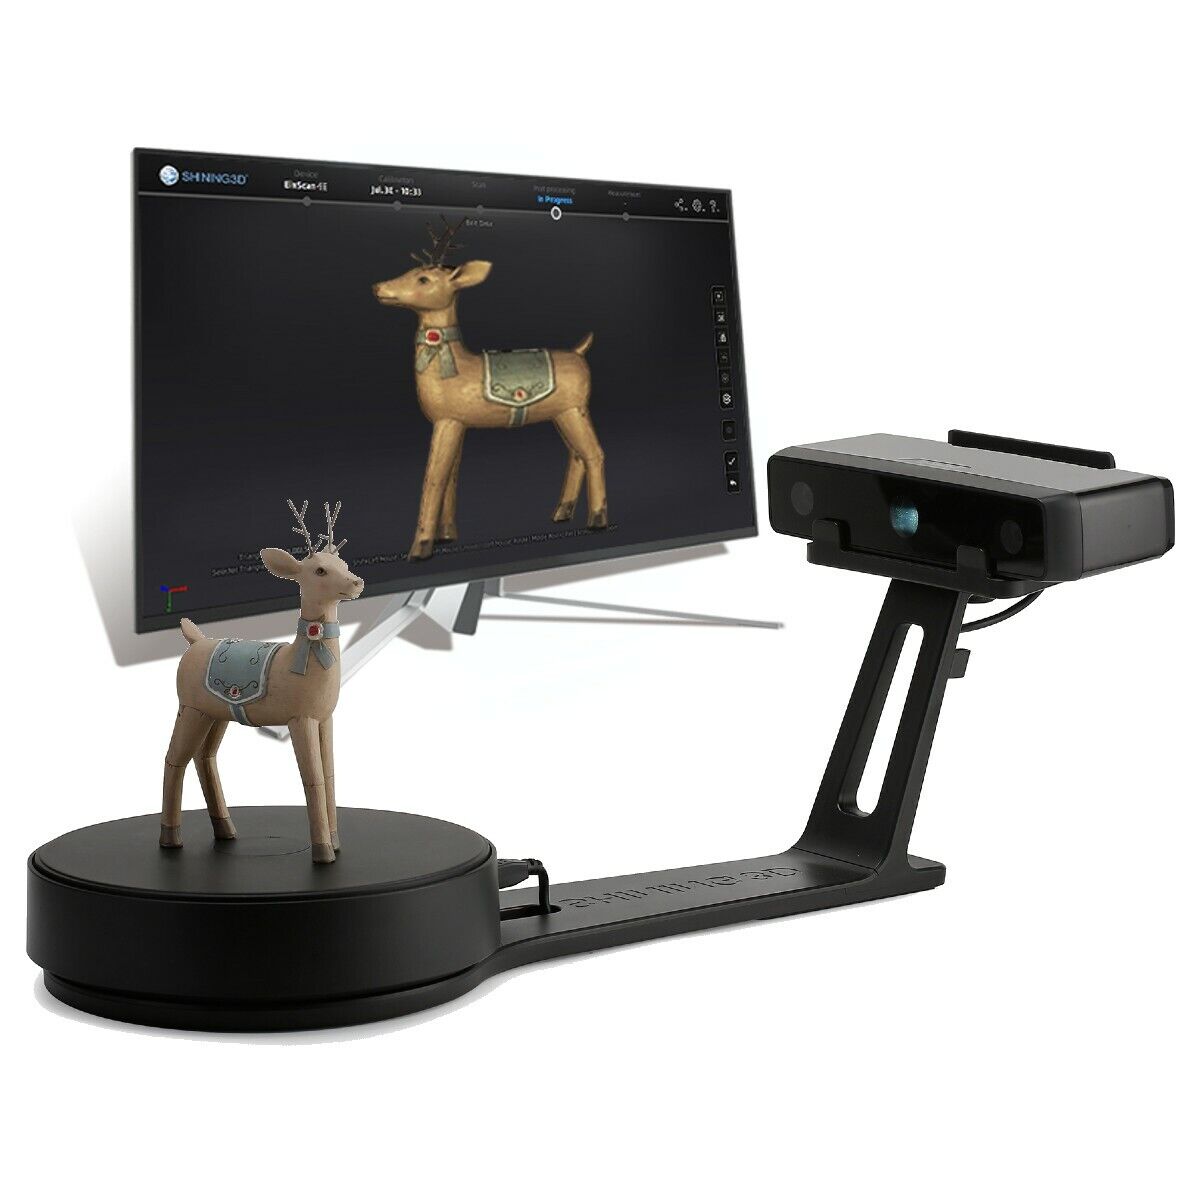
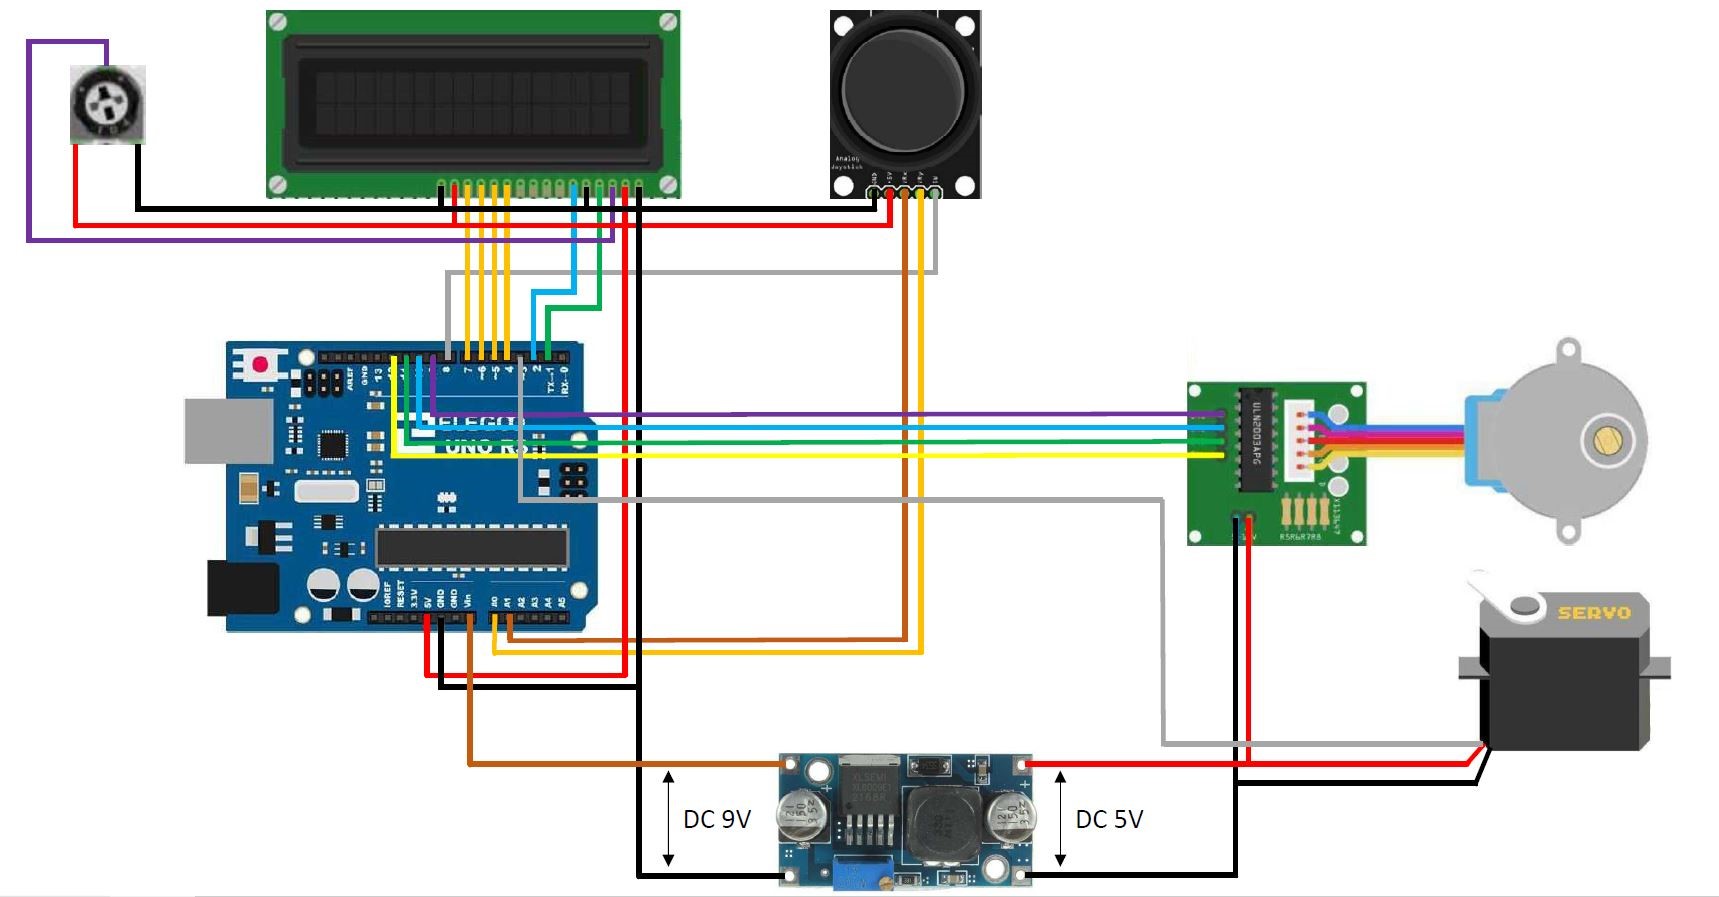
- A turntable: A rotating platform will allow you to capture 360-degree scans of objects.
- A computer or laptop: This will be used to process the 3D scans using specialized software.
- Lighting equipment: Proper lighting is essential for capturing high-quality scans. Consider investing in studio lights or lightboxes.
- Calibration targets: These are used to calibrate the camera and ensure accurate measurements in the 3D scans. You can either purchase calibration targets or create your own using printable patterns.
- Software: Look for 3D scanning software that is compatible with your camera and computer. Some popular options include Meshroom, ReconstructMe, or Skanect.
- A USB cable or memory card reader: This is needed to transfer the images from your camera to your computer.
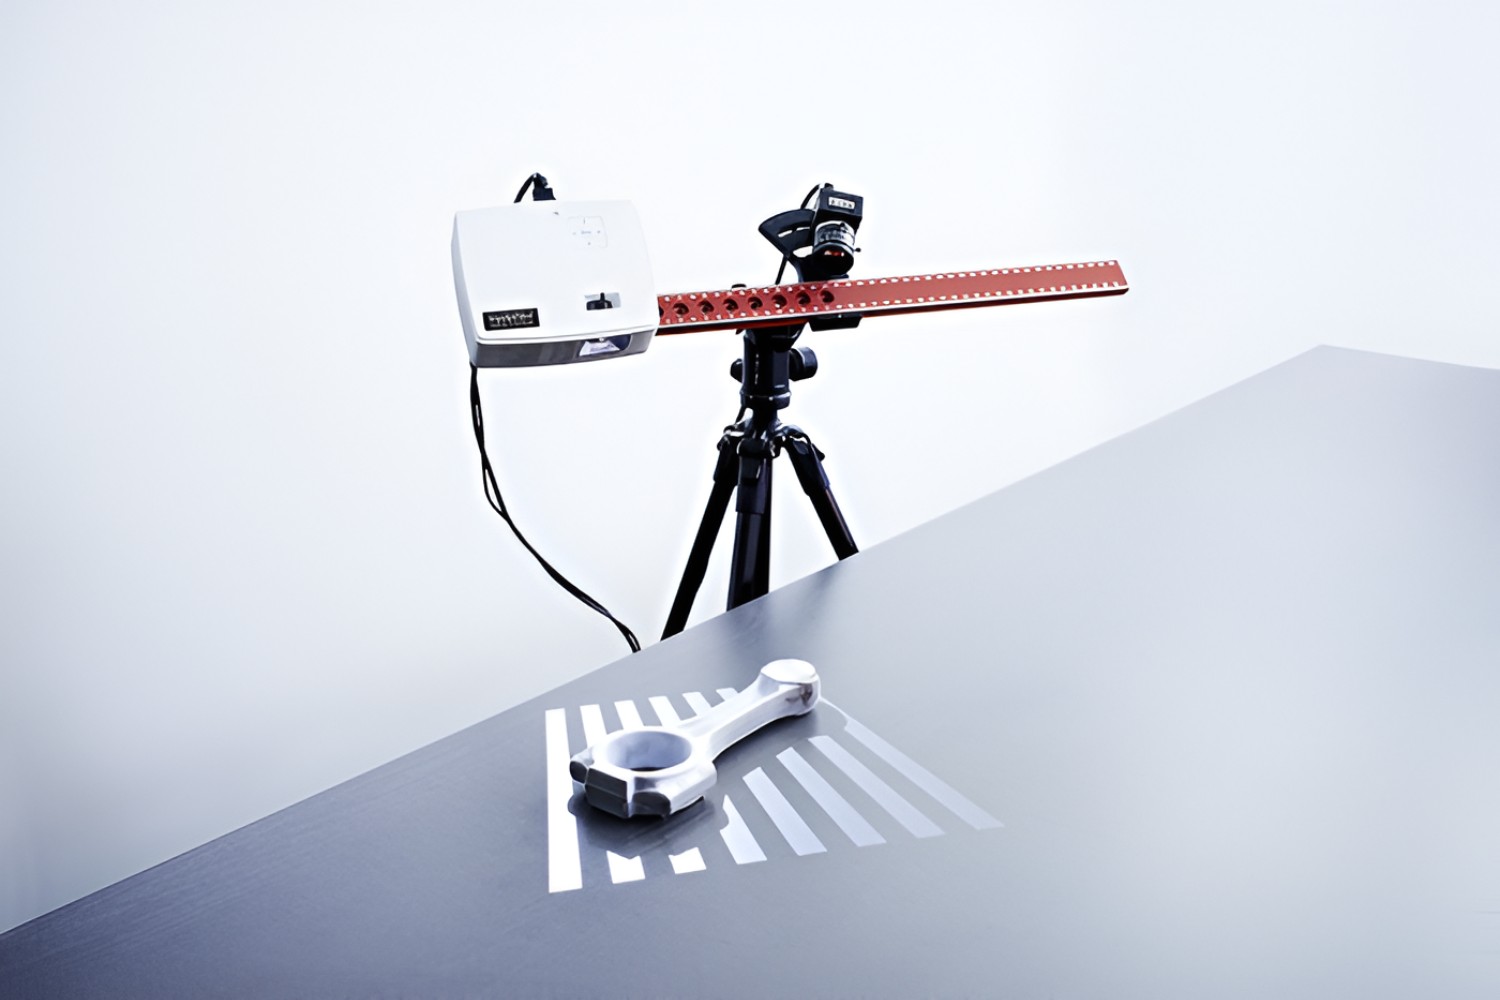
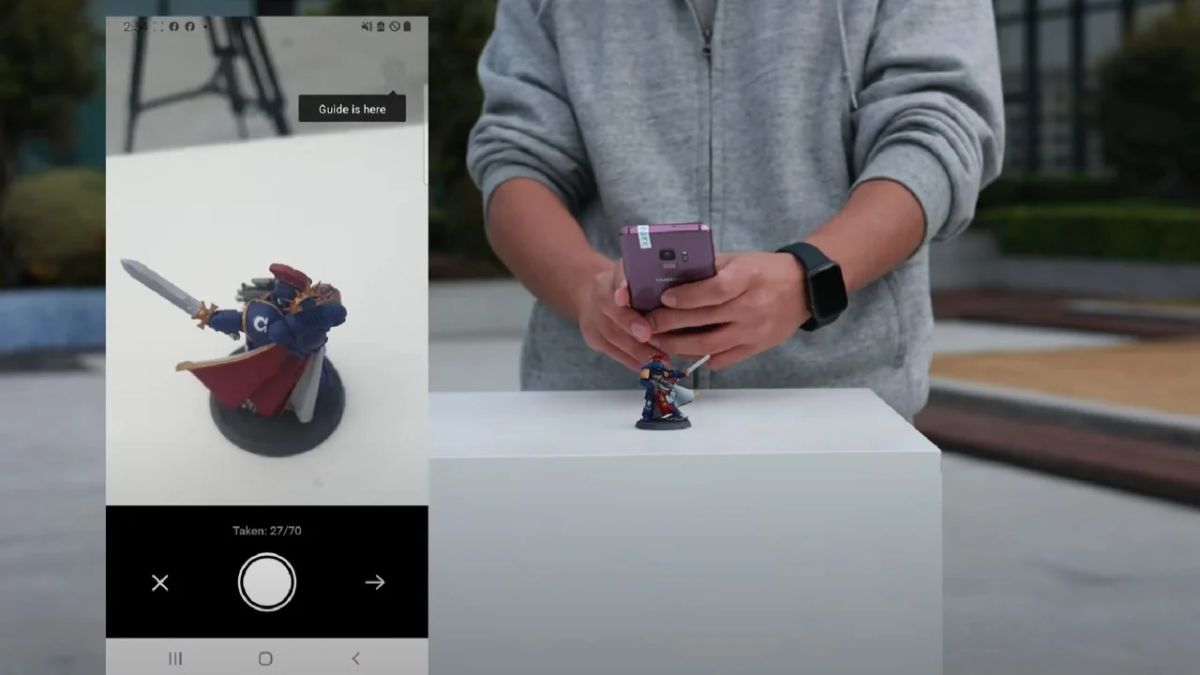
It’s worth mentioning that the specific materials may vary depending on the type of 3D scanning technique you choose to pursue. For example, if you opt for structured light scanning, you may need a projector and a specific type of software. Conversely, if you decide to go for photogrammetry, a simple digital camera and tripod should suffice.
Once you have gathered all the necessary materials, you’re ready to move on to the next steps of building your 3D scanner camera station. In the following sections, we will guide you through the process of assembling the camera station, installing the 3D scanning software, calibrating the camera, and capturing and processing your first 3D scans.
Step 1: Gather the necessary tools
Before we dive into building our 3D scanner camera station, it’s important to gather all the necessary tools. Having everything prepared will make the process smoother and more efficient.
Here are the essential tools you’ll need:
- Digital camera: Choose a camera that has good image quality and the ability to connect to a computer or laptop. Higher resolution cameras are recommended for capturing detailed scans.
- Tripod: A stable tripod is essential for keeping the camera fixed in position during the scanning process. This helps to avoid any blurred images or distortions.
- Turntable: A rotating platform allows you to capture 360-degree scans of objects. Look for a turntable that can support the weight of the objects you plan to scan.
- Computer or laptop: You’ll need a computer or laptop to process the 3D scans using specialized software. Ensure your computer meets the recommended system requirements for the chosen 3D scanning software.
- Lighting equipment: Proper lighting is crucial for capturing high-quality scans. Consider investing in studio lights or lightboxes to ensure uniform lighting conditions.
- Calibration targets: These targets help calibrate the camera and ensure accurate measurements in the 3D scans. You can purchase calibration targets or create your own using printable patterns.
- Software: Look for 3D scanning software that is compatible with your camera and computer. Some popular options include Meshroom, ReconstructMe, or Skanect.
- USB cable or memory card reader: You’ll need a cable or reader to transfer the images from your camera to your computer for processing.
It’s worth mentioning that the specific tools required may vary depending on the type of 3D scanning technique you choose. Different scanning techniques have different hardware requirements, so be sure to research the specific tools needed for your chosen method.
Now that you have all the necessary tools at hand, you’re ready to move on to the next steps of building your 3D scanner camera station. In the following sections, we’ll guide you through the process of preparing the workspace, assembling the camera station, installing the 3D scanning software, calibrating the camera, and capturing and processing your first 3D scans.
Step 2: Prepare the workspace
Creating a suitable workspace is crucial for building and operating your 3D scanner camera station effectively. Here are some key steps to follow when preparing your workspace:
- Clean and organize: Begin by decluttering and cleaning the area where you plan to set up your 3D scanner camera station. Remove any unnecessary items and create a clean, organized space to work in. This will help minimize distractions and create a conducive environment for scanning.
- Ensure adequate lighting: Good lighting is essential for capturing high-quality scans. Make sure your workspace is well-lit, preferably with natural light or using artificial lighting equipment such as studio lights or lightboxes. Avoid uneven or harsh lighting conditions that could affect the quality of your scans.
- Set up a stable surface: Place a sturdy table or workbench in your workspace to serve as the foundation for your 3D scanner camera station. The surface should be level and able to support the weight of your camera, tripod, turntable, and any other equipment you plan to use.
- Create a controlled environment: To minimize unwanted reflections and distractions in your scans, consider setting up a dedicated scanning area or enclosure. This can be as simple as using a curtain or backdrop to create a controlled environment. Additionally, if you’re using a turntable, make sure there’s enough space around it for the objects you plan to scan.
- Arrange cables and connections: Ensure that all cables, such as the USB cable from your camera, are properly connected and organized. Use cable management solutions to avoid any tangling or tripping hazards. Keeping a tidy workspace will make it easier to navigate and work efficiently.
- Eliminate electromagnetic interference: Switch off or move away from any electronic devices that could cause interference with your camera or scanner. This includes devices like smartphones, wireless routers, or other electronics that emit electromagnetic signals. Minimizing interference will help maintain the accuracy and quality of your scans.
By following these steps, you’ll create an optimal workspace for building and operating your 3D scanner camera station. A clean, well-lit, and organized environment will contribute to the success of your scanning process and ensure consistent results. With your workspace prepared, you’re now ready to proceed to the next step of assembling the camera station.
Step 3: Assemble the camera station
Now that you have gathered all the necessary tools and prepared your workspace, it’s time to assemble your 3D scanner camera station. Follow these steps to set up your camera station:
- Attach the camera to the tripod: Mount your digital camera securely onto the tripod. Ensure that it is stable and properly tightened to prevent any movement or wobbling during the scanning process. Adjust the height and angle of the camera to align with the object or scene you plan to scan.
- Position the turntable: Place the turntable on your stable work surface, ensuring that it is level and aligned with the camera. The turntable will enable you to capture 360-degree scans of your objects. Make sure there is enough space around the turntable for the objects you plan to scan.
- Connect the camera to the computer: Use a USB cable or a memory card reader to connect your camera to your computer or laptop. This will allow you to transfer the captured images for processing later on.
- Set up the lighting: Position your lighting equipment around the workspace to ensure consistent and well-distributed lighting. Experiment with different angles and intensities to find the best lighting setup for your specific scanning needs. Proper lighting is key to capturing accurate and detailed scans.
- Arrange the calibration targets: Place the calibration targets within the view of the camera. These targets will be used to calibrate the camera and ensure accurate measurements in your 3D scans. Make sure the targets are easily visible and well-positioned for calibration purposes.
- Secure any loose cables: Check that all cables are securely connected and are organized to prevent any interference or tripping hazards. Use cable management solutions to bundle and secure any loose cables, keeping your workspace neat and free from obstructions.
Take your time to ensure that everything is properly set up and secured before moving on to the next steps. This will help minimize errors or issues during the scanning process and maximize the quality of your final 3D scans.
With your camera station assembled, you’re now ready to proceed to the next step: installing the 3D scanning software. This software will be essential for capturing and processing your 3D scans, bringing your objects or scenes to life in the digital realm.
Step 4: Install the 3D scanning software
Now that your camera station is set up, the next step is to install the 3D scanning software on your computer. The software is crucial for capturing and processing the 3D scans that you will be creating. Follow these steps to install the software:
- Research and select the software: Explore different 3D scanning software options available and choose the one that best suits your needs. Consider factors such as compatibility with your camera, user-friendly interface, scanning capabilities, and available features.
- Download the software: Visit the official website of the chosen software provider and locate the download page. Make sure to download the correct version that is compatible with your operating system. Follow the instructions provided to initiate the download.
- Install the software: Locate the downloaded software file on your computer and double-click on it to begin the installation process. Follow the prompts and provide any required information or permissions to complete the installation.
- Configure the software: Once the software is installed, open it and take some time to familiarize yourself with the user interface and settings. Configure any necessary preferences or options according to your specific scanning requirements.
- Connect the camera: Connect your camera to your computer using the USB cable or memory card reader. Ensure that the camera is recognized by the software and properly connected for capturing the scans.
- Test the connectivity: Check the software to ensure that it is properly communicating with the camera. Some software may have built-in test features to verify the camera connection. Follow the instructions provided by the software to check for connectivity and troubleshoot if necessary.
It is important to carefully follow the installation steps provided by the software provider, as the process may vary depending on the software you have chosen. Pay attention to any additional requirements or dependencies for the software to function optimally.
Once the software is installed and the camera is connected, you can proceed to the next step of calibrating the camera. Camera calibration ensures accurate measurements and improves the quality of your 3D scans. In the following section, we will guide you through the process of calibrating your camera for optimal results.
Step 5: Calibrate the camera
Calibrating your camera is a critical step in the 3D scanning process. It ensures accurate measurements and improves the quality of your 3D scans. Follow these steps to calibrate your camera:
- Print or obtain calibration targets: If you don’t already have calibration targets, you can find printable patterns online or purchase pre-printed targets. Make sure to choose targets that are compatible with the 3D scanning software you’re using.
- Place the calibration targets: Position the calibration targets within the camera’s view and on the same plane as the objects you plan to scan. Ensure that the targets are well-lit and easily distinguishable in the captured images.
- Capture calibration images: Use the 3D scanning software to capture a series of images of the calibration targets. Follow the software’s instructions to ensure proper camera settings and image capture techniques. Take multiple images from different angles to cover the entire target.
- Import calibration images: Import the captured calibration images into the 3D scanning software. The software will use these images to analyze and calibrate the camera for accurate measurements.
- Run the calibration process: Initiate the calibration process within the software. The software will analyze the calibration images and perform the necessary calculations to adjust the camera settings for accurate 3D scanning.
- Verify calibration: Once the calibration process is complete, the software may provide a calibration result or quality assessment. Review the results to ensure that the calibration is successful. If any errors or warnings are reported, follow the provided instructions to troubleshoot and refine the calibration.
It’s recommended to periodically recalibrate your camera to maintain accurate measurements. Factors such as changes in lighting conditions or camera position may require you to recalibrate to ensure consistent results.
With your camera successfully calibrated, you’re now ready to move on to the exciting part: capturing your first 3D scans! In the next step, we will guide you through the process of capturing 3D scans using your camera station and the calibrated settings.
Step 6: Capture 3D scans
With your camera station set up, calibrated, and ready to go, it’s time to start capturing 3D scans of objects or scenes. Follow these steps to capture your first 3D scans:
- Position the object: Place the object you want to scan within the camera’s view. Ensure that the object is well-lit and positioned on the turntable, if you’re using one.
- Adjust camera settings: Configure the camera settings in the 3D scanning software to optimize the scan. Adjust parameters such as exposure, focus, and white balance based on the object and lighting conditions.
- Start the scanning process: Initiate the scanning process within the software. Follow the software’s instructions to capture a series of images or a video of the object from different angles. Be consistent with your shooting technique, maintaining a steady hand or using a remote trigger if necessary.
- Rotate the object (if using a turntable): If you’re using a turntable, activate it to rotate the object while capturing images. This will allow you to capture a complete 360-degree scan of the object.
- Ensure full coverage: Make sure to capture images from all sides of the object, ensuring that no areas or details are missed. Take additional shots if needed to fill in any gaps in the scan.
- Review and adjust: Periodically review the captured images on your computer to ensure the quality and coverage of the scan. Make any necessary adjustments to the camera settings or object positioning if required.
- Save and organize scanned data: Once you’re satisfied with the captured scan, save the data in the appropriate format supported by the 3D scanning software. Organize the files for easy access and future processing.
It’s important to practice and experiment with different scanning techniques to achieve the best results. Consider factors such as lighting, object placement, camera angles, and scan overlap to capture high-quality and accurate 3D scans.
Remember, capturing 3D scans is a learning process, and it may take some time to master. Take your time, be patient, and don’t hesitate to iterate and refine your scanning technique as you gain more experience.
Now that you have successfully captured your 3D scans, it’s time to move on to the final step: processing the scans and transforming them into usable 3D models. In the next section, we will guide you through the process of processing your scans using the software and turning them into ready-to-use 3D models.
Step 7: Process the 3D scans
After capturing your 3D scans, the next step is to process them using specialized software to transform them into usable 3D models. Follow these steps to process your 3D scans:
- Import the scans into the software: Open the 3D scanning software and import the captured scan data. Different software programs may have different import methods, so refer to the software’s documentation for specific instructions.
- Align the scans: Use the software’s alignment tools to align the individual scans in the correct position. This step is crucial for creating a cohesive 3D model from multiple scans. Ensure that the alignment is precise and that there are no gaps or overlaps between the scans.
- Refine the mesh: Utilize the software’s mesh refinement tools to clean up the scan mesh and remove any unwanted artifacts or noise. Smooth out rough areas, fill in holes, and enhance the overall quality and appearance of the model.
- Texture the model (optional): If desired, you can add texture or color to the 3D model using the software’s texturing tools. This step can enhance the realism of the model and make it visually appealing.
- Simplify or optimize the model (optional): Depending on the intended use of the 3D model, you can simplify or optimize it to reduce the file size or improve performance. This step may involve reducing the number of polygons or optimizing the mesh topology while preserving important details.
- Export the model: Once you’re satisfied with the processing and refinement of the 3D model, export it in a suitable file format that can be used in other software or applications. Commonly used file formats for 3D models include OBJ, STL, and FBX.
During the processing stage, don’t hesitate to experiment with different settings and tools within the software to achieve the desired results. Take the time to explore and familiarize yourself with the software’s capabilities and features to maximize the quality of your 3D models.
It’s important to note that the processing steps may vary depending on the specific software you’re using. Familiarize yourself with the features and functionalities of your chosen software to ensure you make the most out of its capabilities.
Congratulations! You have successfully completed the process of capturing and processing your 3D scans. You now have ready-to-use 3D models that can be utilized for various applications like 3D printing, virtual reality, or architectural visualization.
Remember to practice and refine your scanning and processing techniques over time to master the art of 3D scanning. With experience, you’ll be able to capture more intricate and detailed scans that will take your projects to the next level.
Conclusion
Congratulations on completing the process of building your own 3D scanner camera station! You’ve learned how to gather the necessary tools, prepare the workspace, assemble the camera station, install the 3D scanning software, calibrate the camera, capture 3D scans, and process them into usable 3D models. With this newfound knowledge, you have the ability to unlock endless possibilities in the world of 3D scanning.
Having your own 3D scanner opens up a whole new world of creativity and innovation. Whether you’re an artist looking to recreate intricate sculptures, an engineer in need of precise measurements, or a hobbyist experimenting with 3D printing, your 3D scanner camera station will be an invaluable tool.
Throughout this journey, you’ve learned the importance of a clean and organized workspace, proper lighting techniques, accurate camera calibration, and the necessary steps for capturing and processing high-quality 3D scans. Remember to continue honing your skills and experimenting with different scanning techniques to achieve even better results.
With your 3D scanner camera station, you can bring your ideas to life, create stunning visualizations, and even contribute to the world of digital manufacturing. The possibilities are limited only by your imagination.
Now, armed with the knowledge and skills gained from this guide, it’s time to embark on your own 3D scanning adventures. So, go out there and start scanning! Discover the boundless potential of 3D scanning and let your creativity soar.


