Introduction
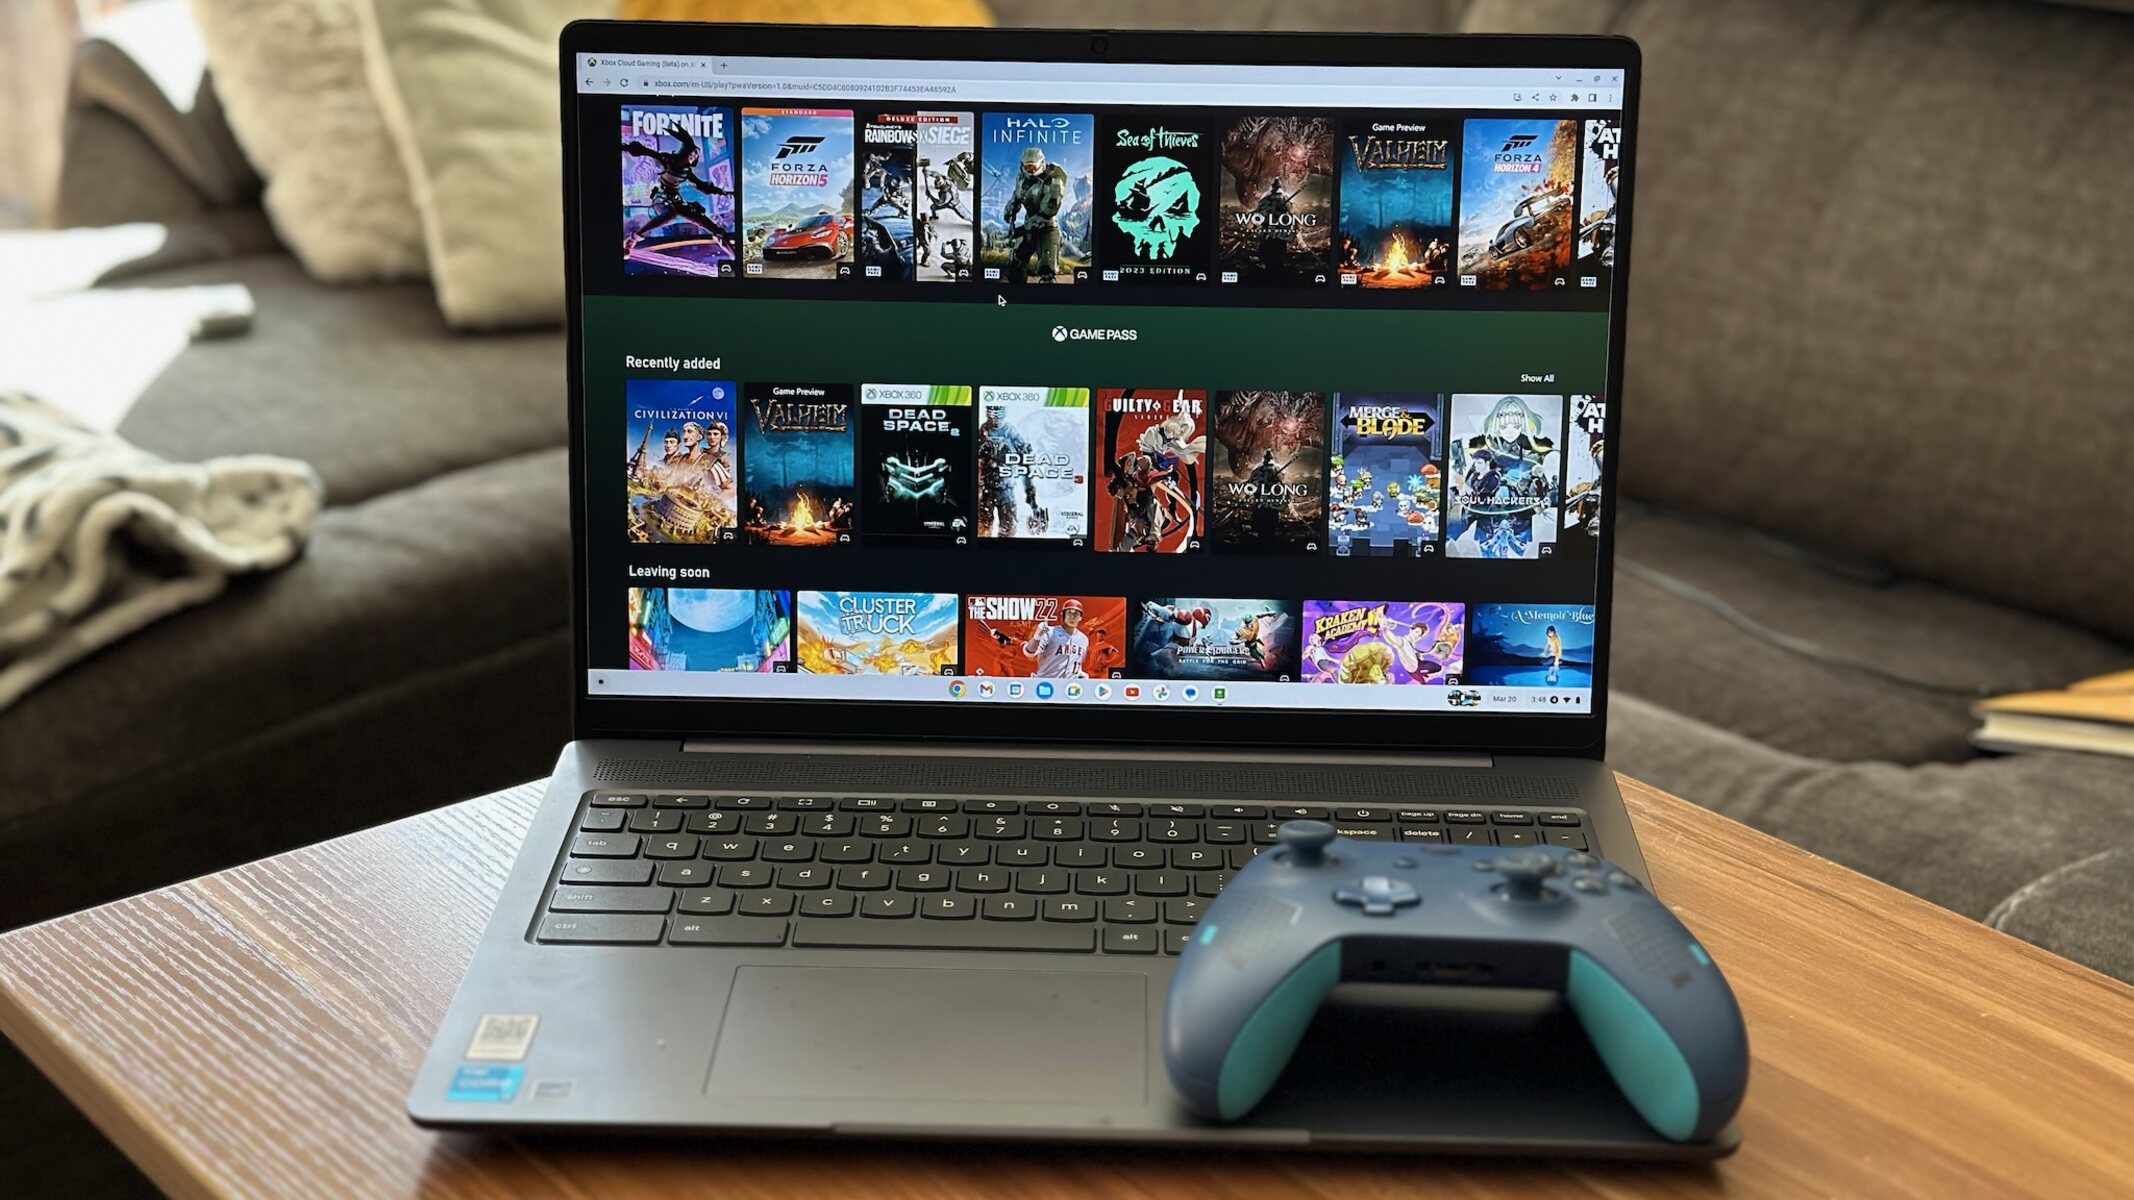
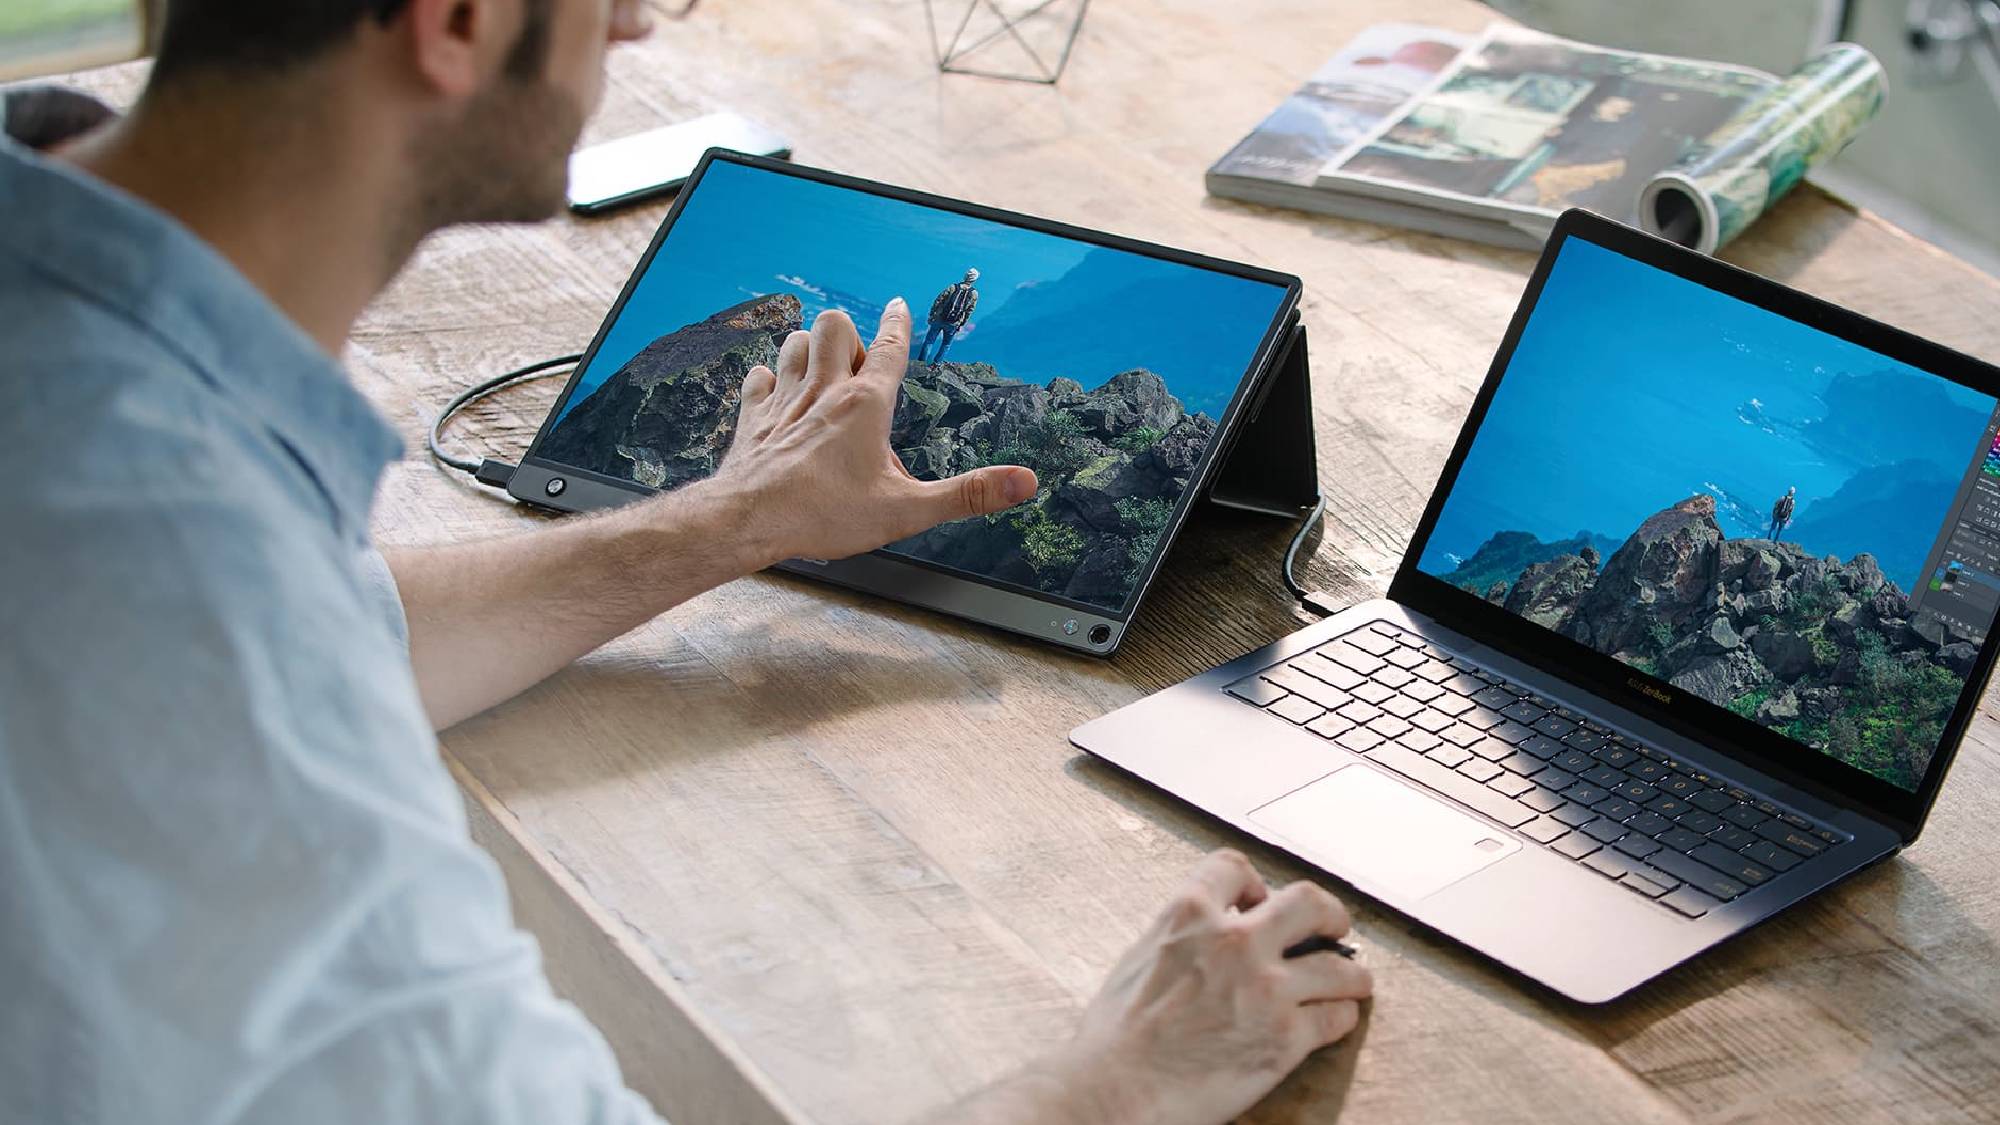
Connecting your Xbox to your laptop using an HDMI cable can open up a whole new world of gaming possibilities. Whether you want to enjoy your favorite Xbox games on a larger screen or make use of your laptop’s superior display and audio capabilities, this simple connection can greatly enhance your gaming experience.
In this guide, we will walk you through the step-by-step process of connecting your Xbox to your laptop using an HDMI cable. We’ll also provide tips and solutions for any issues you may encounter along the way. So, whether you’re a casual gamer or a hardcore enthusiast, get ready to bring your Xbox gaming to a whole new level on your laptop.
Before we dive into the steps, it’s important to note that not all laptops are equipped with HDMI ports. Therefore, it’s crucial to check if your laptop has an HDMI port before proceeding. Additionally, make sure that your Xbox model supports HDMI connectivity. Most modern Xbox models come with an HDMI port, but it’s always best to verify before attempting to connect.
Now that we have the prerequisites out of the way, let’s gather the necessary equipment and get started with the connection process.
Step 1: Check the laptop and Xbox compatibility
Before you connect your Xbox to your laptop, it’s important to ensure that both devices are compatible. Here are a few things to check:
- Laptop HDMI port: Check if your laptop has an HDMI port. Most laptops have an HDMI port, which is a small rectangular slot usually located on the side or back of the laptop. It’s labeled “HDMI” and has a distinctive shape that matches the HDMI cable connector.
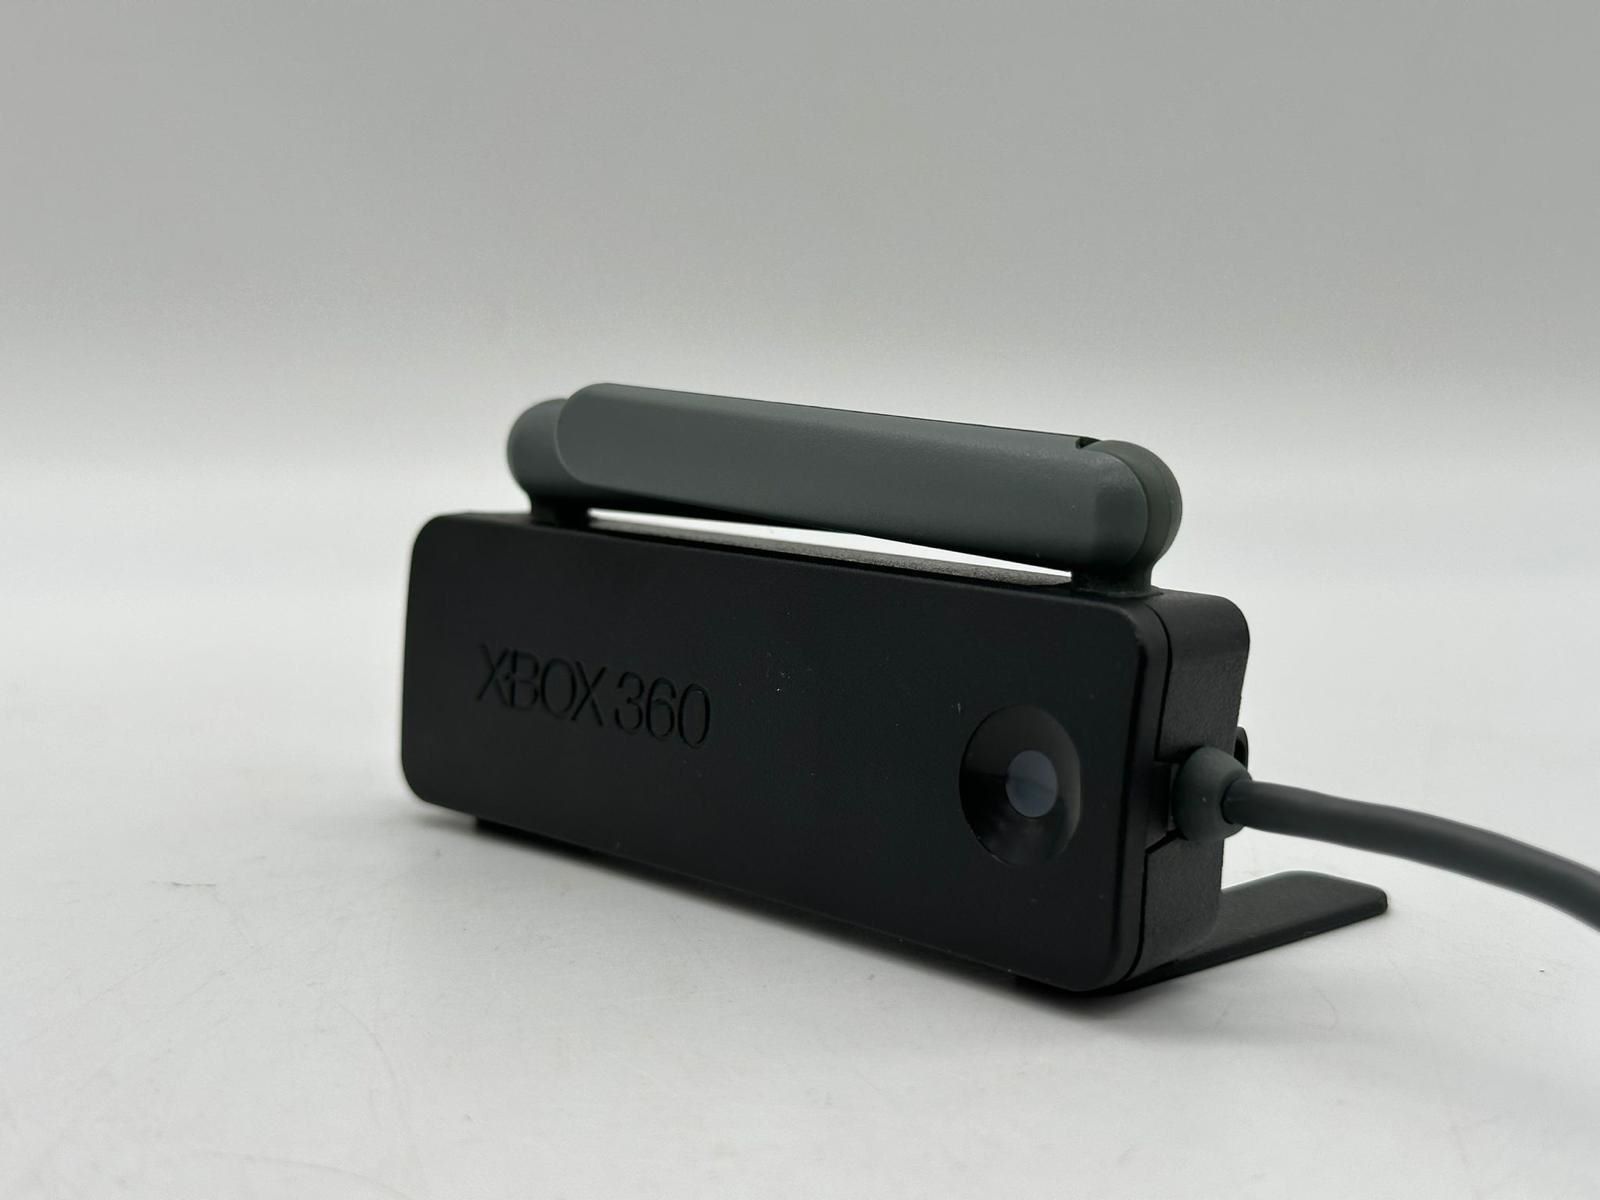
- Xbox HDMI port: Verify that your Xbox console has an HDMI port. The HDMI port on Xbox models is usually located on the back of the console. It looks similar to the HDMI port on your laptop, and it’s typically labeled “HDMI Out.”
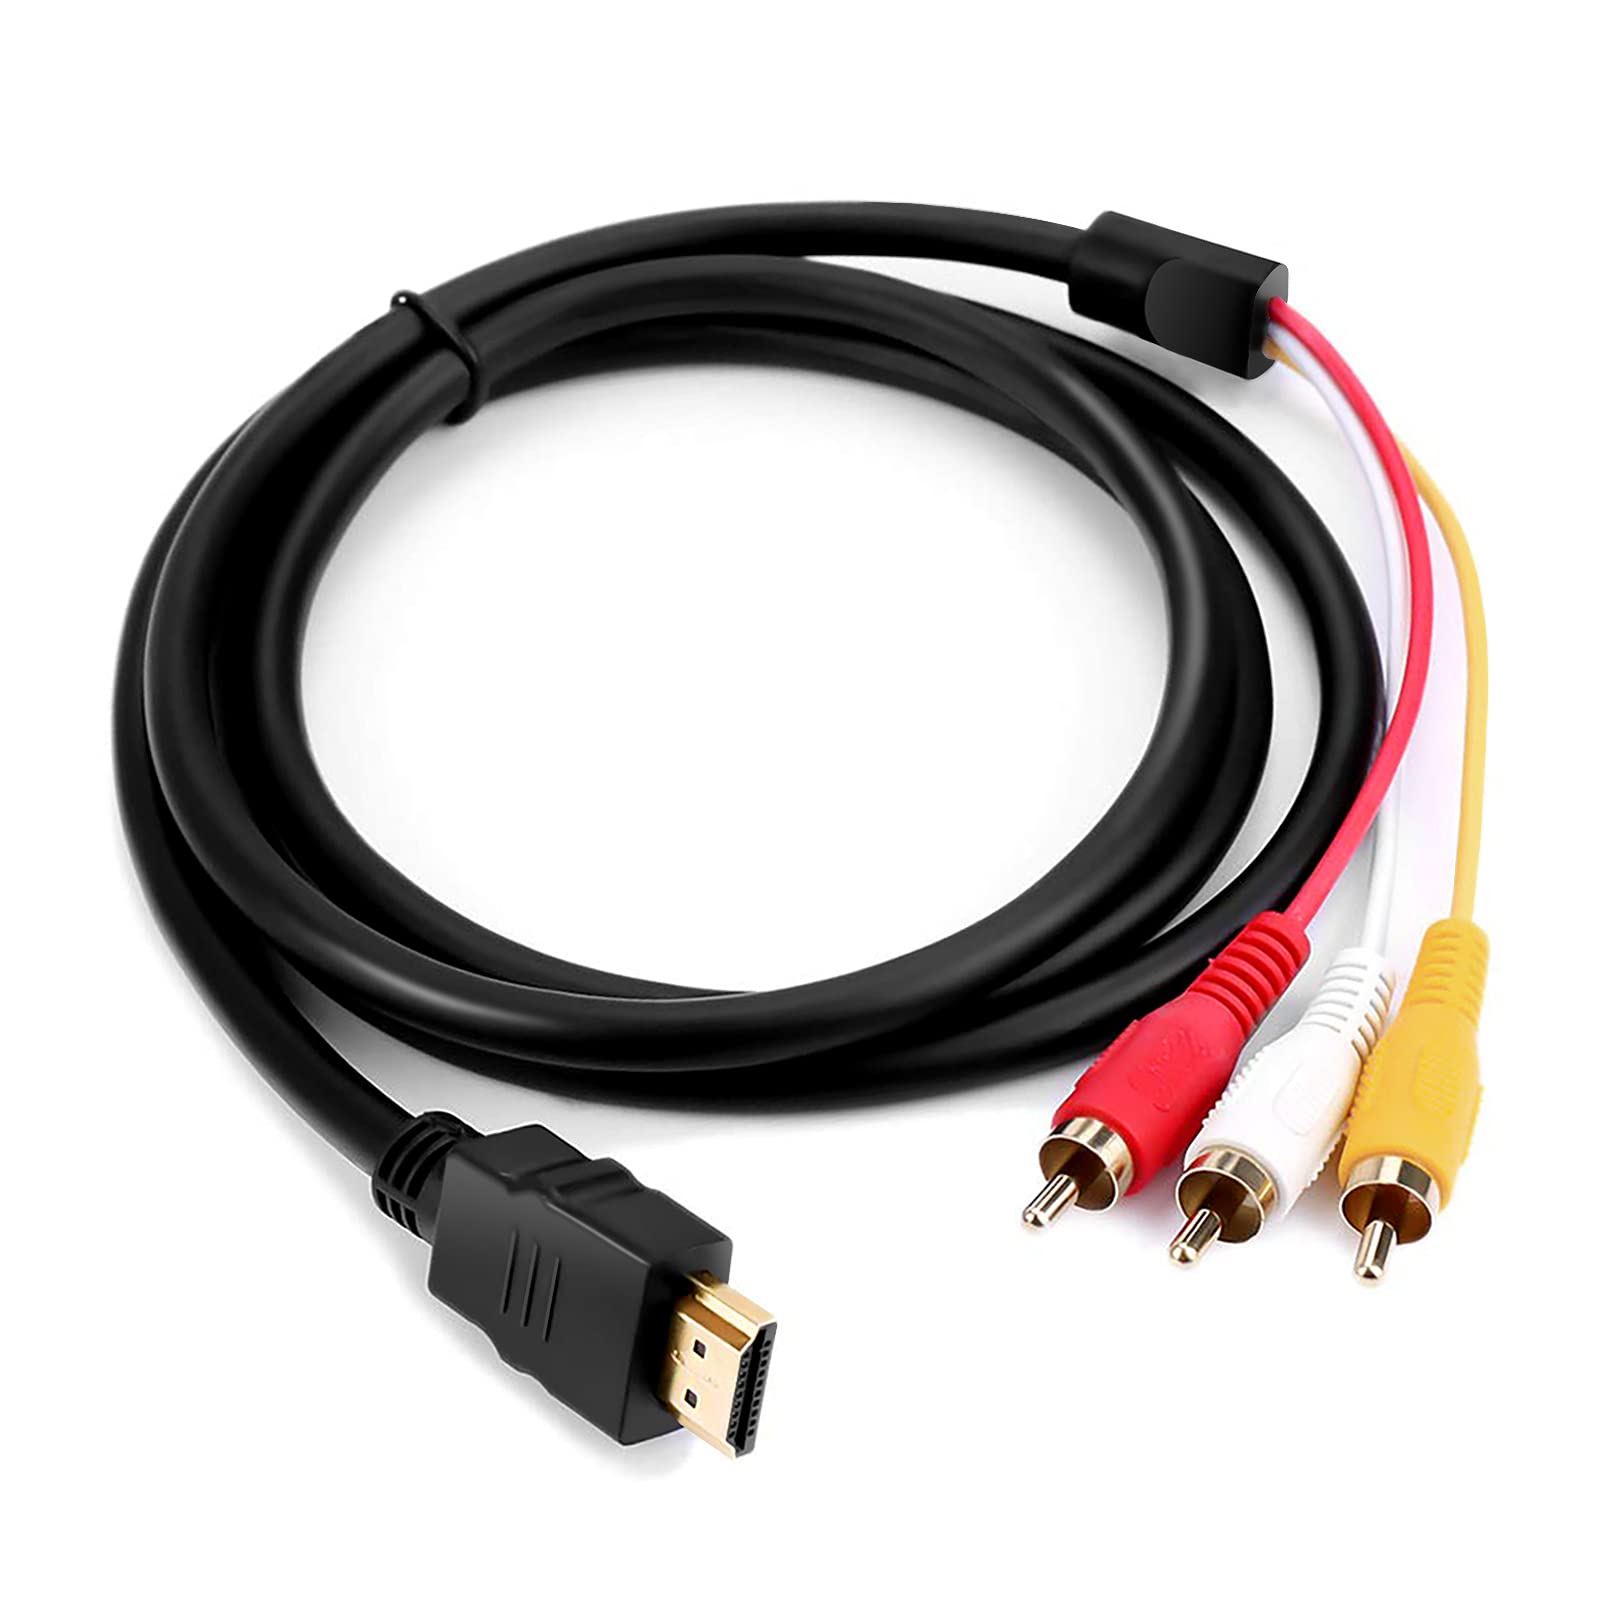
- HDMI cable: Ensure you have a high-quality HDMI cable. Look for an HDMI cable that supports the HDMI version of your laptop and Xbox. HDMI cables come in different versions, such as HDMI 1.4 and HDMI 2.0. It’s recommended to use an HDMI 2.0 cable for the best performance.
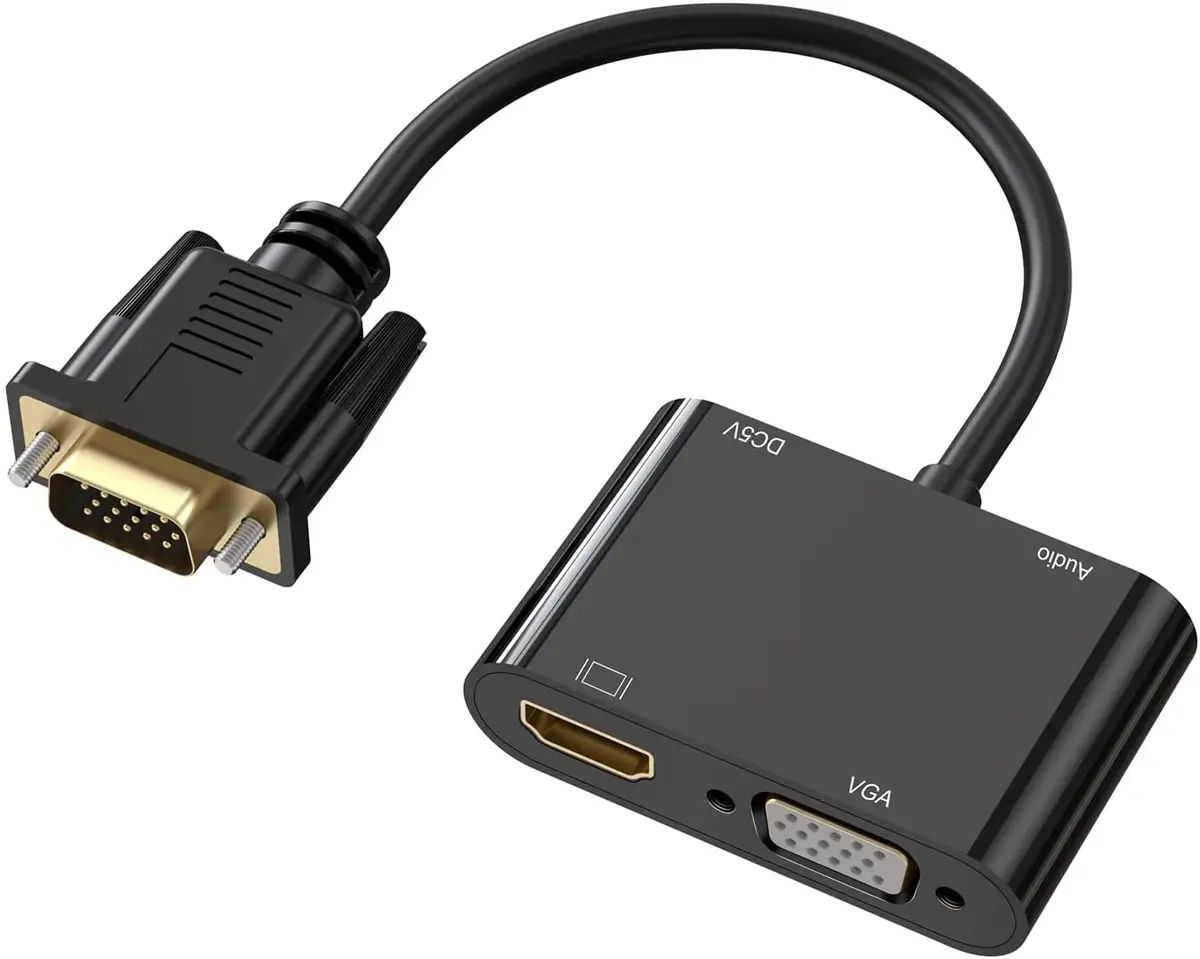
- HDMI-to-mini HDMI adapter: Some laptops, especially compact ones, have a mini HDMI port instead of a full-size HDMI port. If your laptop has a mini HDMI port, you’ll need an HDMI-to-mini HDMI adapter to connect the HDMI cable to your laptop. Make sure to have the adapter handy if needed.
By checking the compatibility between your laptop and Xbox, you can ensure a seamless and hassle-free connection process. If your laptop and Xbox meet the compatibility requirements, proceed to the next step, where we’ll gather the necessary equipment for the connection.
Step 2: Gather the necessary equipment
Now that you’ve confirmed the compatibility between your laptop and Xbox, it’s time to gather the necessary equipment for the connection. Here’s a list of items you’ll need:
- HDMI cable: Make sure you have a reliable HDMI cable with the appropriate length to connect your Xbox to your laptop. The cable should have HDMI connectors on both ends.
- HDMI-to-mini HDMI adapter (if needed): If your laptop has a mini HDMI port instead of a full-size HDMI port, make sure you have an HDMI-to-mini HDMI adapter ready. This will allow you to connect the HDMI cable to your laptop.
- Laptop power adapter: It’s always a good idea to have your laptop connected to a power source while gaming to avoid any battery-related interruptions.
- Xbox controller (optional): If you prefer to play your Xbox games using a controller, make sure you have a compatible Xbox controller ready. You can connect the controller to your Xbox wirelessly or via a USB cable.
- External speakers or headphones (optional): If you want to enhance your gaming experience with better audio quality, consider using external speakers or high-quality headphones.
Before proceeding to the next step, make sure you have all the required equipment gathered and ready. Once you have everything prepared, we can move on to connecting your Xbox to your laptop using an HDMI cable.
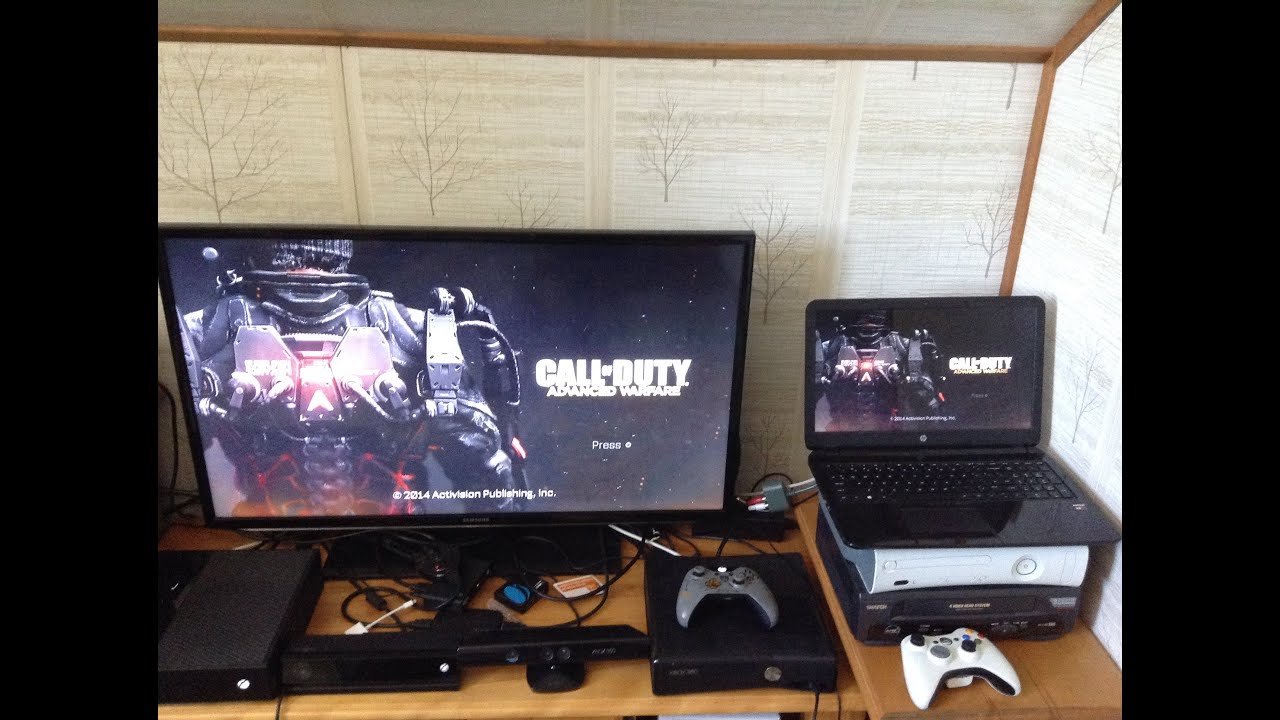
Step 3: Connect the Xbox to the laptop using an HDMI cable
Now that you have gathered all the necessary equipment, it’s time to connect your Xbox to your laptop using an HDMI cable. Follow these steps:
- Turn off both the Xbox and the laptop: Before making any connections, make sure both devices are turned off to avoid any potential damage.
- Locate the HDMI ports: On your Xbox, locate the HDMI port labeled “HDMI Out.” On your laptop, locate the HDMI port, which is usually labeled “HDMI.”
- Connect one end of the HDMI cable: Take one end of the HDMI cable and insert it into the HDMI port on the back of your Xbox console. Make sure it’s securely plugged in.
- Connect the other end of the HDMI cable: Take the other end of the HDMI cable and insert it into the HDMI port on your laptop. If your laptop has a mini HDMI port, use the HDMI-to-mini HDMI adapter first and then connect the HDMI cable to the adapter.
- Turn on the devices: Once the HDMI cable is connected, turn on your laptop and Xbox.
- Switch the laptop display input: On your laptop, open the display settings and select the appropriate input source for the HDMI connection. This may vary depending on your laptop model, but it’s usually labeled as “HDMI” or “External Display.”
- Set up Xbox display settings: On your Xbox, go to the display settings and make any necessary adjustments to ensure optimal display quality. You can customize settings like resolution, refresh rate, and aspect ratio according to your preference.
Once you have completed these steps, your Xbox should be successfully connected to your laptop via the HDMI cable. You will now be able to see your Xbox display on the laptop screen, allowing you to enjoy your favorite games in a whole new way.
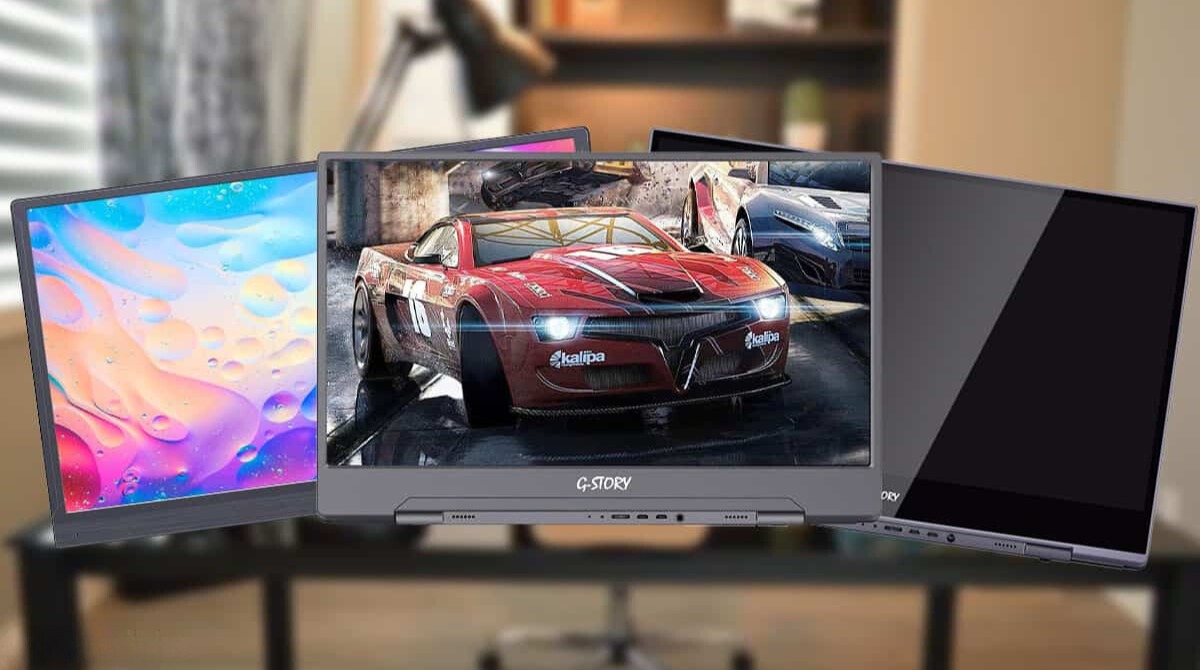
Step 4: Configure the display settings on the laptop
After connecting your Xbox to your laptop using an HDMI cable, it’s important to configure the display settings on your laptop to ensure the best gaming experience. Follow these steps to optimize the display settings:
- Open the display settings: On your laptop, right-click on the desktop and select “Display settings” from the context menu. This will open the display settings window.
- Select the connected display: In the display settings window, you should see two displays listed: the laptop’s built-in display and the external display (your Xbox). Click on the external display to select it.
- Adjust the resolution: Find the “Resolution” setting and choose the resolution that best suits your preferences and the capabilities of your laptop and Xbox. It’s recommended to select the native resolution of your laptop for the best display quality.
- Configure other display settings: Depending on your laptop’s display settings, you may have additional options to adjust, such as brightness, contrast, color settings, and orientation. Experiment with these settings to find your desired visual experience.
- Apply the changes: Once you have made the necessary adjustments, click on the “Apply” button to save the changes. Your laptop should now be optimized for gaming with your Xbox.
By configuring the display settings on your laptop, you can ensure that the visuals are displayed optimally and in line with your gaming preferences. Take some time to explore different settings and find the combination that enhances your gaming experience.
Step 5: Adjust audio settings for a better gaming experience
While the visual aspect of gaming is important, audio plays a crucial role in creating an immersive experience. To make the most of your gaming session with your Xbox connected to your laptop, follow these steps to adjust the audio settings:
- Open the sound settings: On your laptop, right-click on the Volume icon in the taskbar and select “Open Sound settings” from the context menu. This will open the sound settings window.
- Select the audio output device: In the sound settings window, locate the “Output” or “Playback” tab. Look for the connected audio output device, which may be listed as your laptop’s built-in speakers, headphones, or external speakers if connected. Select the appropriate device.
- Adjust the volume: Use the volume slider or buttons in the sound settings window to adjust the volume level to your desired level. Test the sound by playing a sample audio or video to ensure it’s working correctly.
- Configure additional audio settings: Depending on your laptop’s sound settings, you may have additional options to adjust, such as sound enhancements, equalizers, and audio effects. Explore these settings to customize the audio according to your preferences.
- Test the audio: Launch a game on your Xbox and listen to the audio output. Check if the sound is clear, balanced, and immersive. If not, revisit the sound settings and make further adjustments until you achieve your desired audio experience.
By adjusting the audio settings on your laptop, you can enhance the sound quality and immerse yourself in the gaming environment. Take the time to fine-tune the audio settings until you find the perfect balance that enhances your overall gaming experience.
Step 6: Troubleshooting common issues
While connecting your Xbox to your laptop using an HDMI cable is a straightforward process, you may occasionally encounter some common issues. Here are a few troubleshooting tips to help you overcome these issues:
- No display on the laptop: If you don’t see any display on your laptop after connecting the Xbox, make sure the HDMI cable is securely plugged into both devices. Try unplugging and reconnecting the cable. You may also need to adjust the display settings on your laptop to select the correct input source.
- No sound or poor audio quality: If you’re not getting any sound or experiencing poor audio quality, ensure that the audio output device on your laptop is set to the appropriate source. Check the volume levels on both your laptop and Xbox, and make sure they are not muted. You may also try using different audio ports or cables to rule out any potential hardware issues.
- Low resolution or blurry display: If the display appears low resolution or blurry, check the display settings on your laptop and ensure that the resolution is set to the optimal level. Also, verify the display settings on your Xbox and make any necessary adjustments to improve the visual quality.
- Intermittent signal loss: If you’re experiencing intermittent signal loss or flickering on your laptop screen, try using a different HDMI cable or port. Sometimes, faulty cables or incompatible ports can cause signal disruptions.
- Incompatible display modes or aspect ratios: Some games or applications may have specific display mode requirements. If you encounter compatibility issues, check the display settings on your Xbox and adjust the display mode or aspect ratio accordingly.
If you encounter any other issues not mentioned here, consult the user manuals or support resources for your laptop and Xbox for further troubleshooting guidance.
Remember, patience and persistence are key when troubleshooting. With the right troubleshooting approach, you can overcome any issues that may arise and enjoy a smooth gaming experience on your laptop with your Xbox.
Conclusion
Connecting your Xbox to your laptop using an HDMI cable is a fantastic way to expand your gaming experience. By following the steps outlined in this guide, you can easily connect the two devices and enjoy your favorite Xbox games on a larger screen with enhanced visuals and audio.
Remember to check the compatibility of your laptop and Xbox, gather the necessary equipment, and make the appropriate connections. Configure the display and audio settings on your laptop to optimize your gaming experience. Troubleshoot any common issues that may arise to ensure a smooth and uninterrupted gameplay session.
With this simple setup, you have the flexibility to play Xbox games on your laptop wherever you go. Whether you prefer the convenience of a laptop’s mobility or the superior display and audio capabilities, connecting your Xbox to your laptop opens up a new world of gaming possibilities.
Now that you have successfully connected your Xbox to your laptop, it’s time to get immersed in your favorite games and embark on exciting gaming adventures. Enjoy the immersive visuals, stunning graphics, and captivating sound as you dive into the world of gaming with your Xbox and laptop.